|
Loading an Application/Project to a Device |
  
|
Loading an Application/Project to a Device
|
Loading an Application/Project to a Device |
|
Overview
Once the project is completed, you are ready to load the project into a device. Then, the project becomes an application.
To Load a Project to a Device
![]()
The following step-by-step refers to the uploading of an application/project into a Windows Mobile device.
Step-by-step
1. Make sure the MCL-Client is installed in the device.
2. Connect the device to the PC via USB, ActiveSync (Windows XP) OR Windows Mobile Device Center should automatically launch.
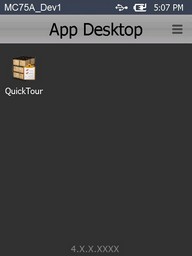
3. Make sure the device displays the App Desktop screen.

4. Click ![]() OR "Project"( located in the "Menu Bar" area) and select the "Load to Device"option to trigger the uploading of the project into the device. The following window opens:
OR "Project"( located in the "Menu Bar" area) and select the "Load to Device"option to trigger the uploading of the project into the device. The following window opens:
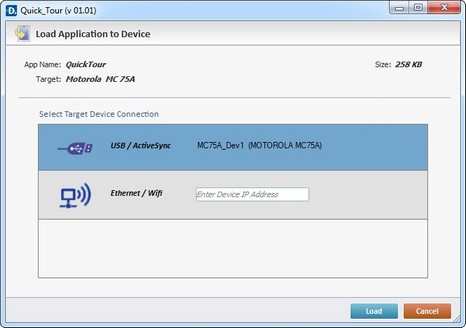
The"Load Application to Device" window displays the following information:
| • | The name of the project being uploaded into the device (App Name). |
| • | The manufacturer/model of the device receiving the upload (Target). |
| • | The project's size (Size). |
5. Select the appropriate connection enabling the upload:
USB |
Select this option to ensure a USB connection with the device. |
Ethernet/Wifi |
Select this option to enable an Ethernet/Wifi connection. It requires assigning the device IP in the box. |
6. Click ![]() .
.
|
|
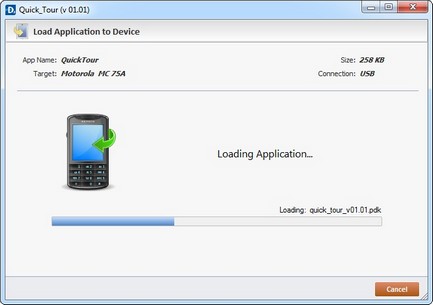
Example using a USB connection. |
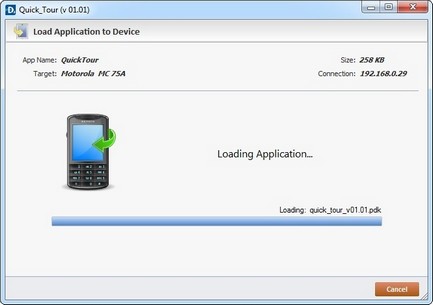
Example using an Ethernet/Wifi connection |
7. The success of the upload (using a USB connection) is confirmed by the following window:
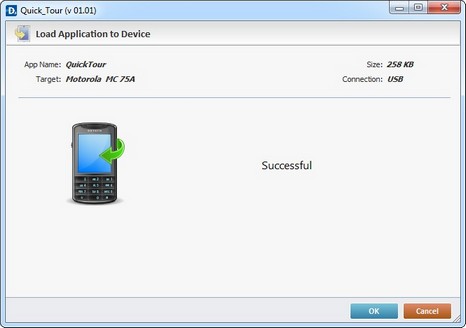
8. Once the operation is concluded this window closes automatically. The newly added application is displayed in the App Desktop screen of the device.
![]() See details on Failure to Upload a Project and App Desktop Hints below.
See details on Failure to Upload a Project and App Desktop Hints below.
If the application fails to load into the device, you will get an error message.
Below is an example of an upload failure and its corresponding troubleshooting.
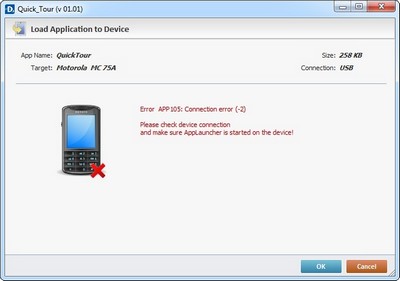
a. Check the USB cable connection.
b. Make sure the device is in the cradle and placed correctly.
c. Click ![]() to restart the upload.
to restart the upload.
App Desktop Hints
Below are some hints to help you work with App Desktop:
To exit App Desktop
a. Press the bottom right corner area of the App Desktop screen, hold for 3 seconds and, then, release.

b. An "Exit" window is displayed with the ![]() and
and ![]() buttons.
buttons.

c. Click ![]() to exit App Desktop.
to exit App Desktop.
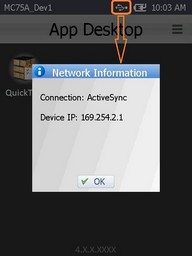
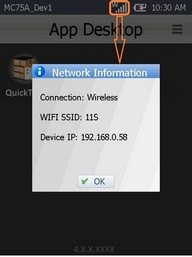
To access network information:
If the device is connected via Ethernet/Wifi, the App Desktop screen toolbar displays the ![]() icon.
icon.
a. Click it to open a "Network Information" window with the following information:
If the device is connected via USB, the App Desktop screen toolbar displays the ![]() icon.
icon.
a. Click it to open a "Network Information" window with the following information: