Navigating the Resources Module |
  
|
Navigating the Resources Module |
|
![]() The Resources module enables the management of all resources used in the project. It consists of three sections: "Images", "Sound" and "Others".
The Resources module enables the management of all resources used in the project. It consists of three sections: "Images", "Sound" and "Others".
|
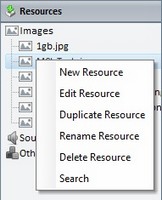
Access a shortcut menu by right-clicking the selected resource. |
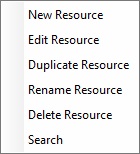
Use this right-click menu to:
|
Add a new resource. See To Add a Resource below. |
Open the default resource PC Editor to edit the selected resource (a text, an image or a sound (WAV) file, etc.). |
|
Duplicate the selected resource. The result is a duplicate resource with the same name as the original resource with an incremented number. |
|
Rename the selected resource. Once the resource's name is set to edit mode, enter the new name, click <Enter> and, then, <yes> in the confirmation window. |
|
Delete the selected resource. |
|
Open a "Search" window. See Detail of Search. |
|
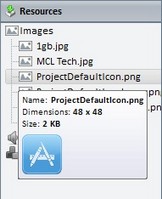
Preview some properties of an image resource file (dimensions and size) by mouse hovering it. |
To Add a Resource
Use one of the following:
a. Right-click one of the sections (Images, Sound or Others) or the empty space of the"Resources Module".
b.Click ![]() .
.
c. In the resulting OS browse window, browse and select the required resource.
OR
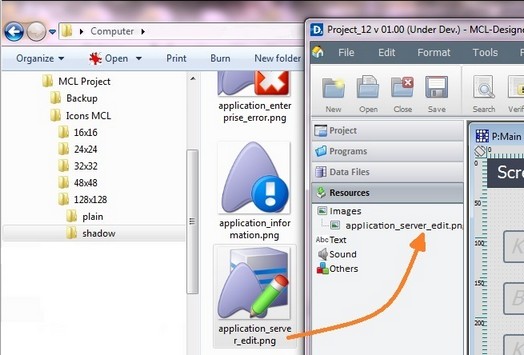
| • | Use the “Drag-and-Drop” mechanism – Drag a resource file from an OS browse window and drop it in the Resources area. |
|
![]()
Use the Drag-and-Drop mechanism to add image resources to screens in the project. Open the "Resources" module, drag the required image resource from the "Images" section and drop it on the intended screen.
Any added image is always sent backward in relation to any other object in the screen.
If the added object and the object already on the screen are both image resources, you can alternate their position and send one of the image resources forward/backward, as required.
To Delete a Resource
Use one of the following:
a. Select the resource you want to delete.
b. Click <Delete> in your PC keyboard.

c. Click ![]() to confirm the delete operation.
to confirm the delete operation.
OR
a. Right-click the resource you want to delete.
b.Click ![]() .
.
c. Click ![]() to confirm the delete operation.
to confirm the delete operation.