Appending Files to an Application
Overview
It is possible to append files to an application. An example of an additional file is a user guide, explaining the application's functionalities.
Step-by-step
1. In the Site Dashboard's "Control Panel" section, click ![]() to access
to access ![]() , in the row below. Click it and open the "Applications" page.
, in the row below. Click it and open the "Applications" page.

![]() Use the
Use the ![]() button (located below the application icon) to access the
button (located below the application icon) to access the ![]() option. Check it to ensure the viewing of all application versions. If left unchecked, you only view the latest application version.
option. Check it to ensure the viewing of all application versions. If left unchecked, you only view the latest application version.
2. Click the name of the application you want to attach files to (displayed in light blue). This opens the corresponding "Application Details" page.
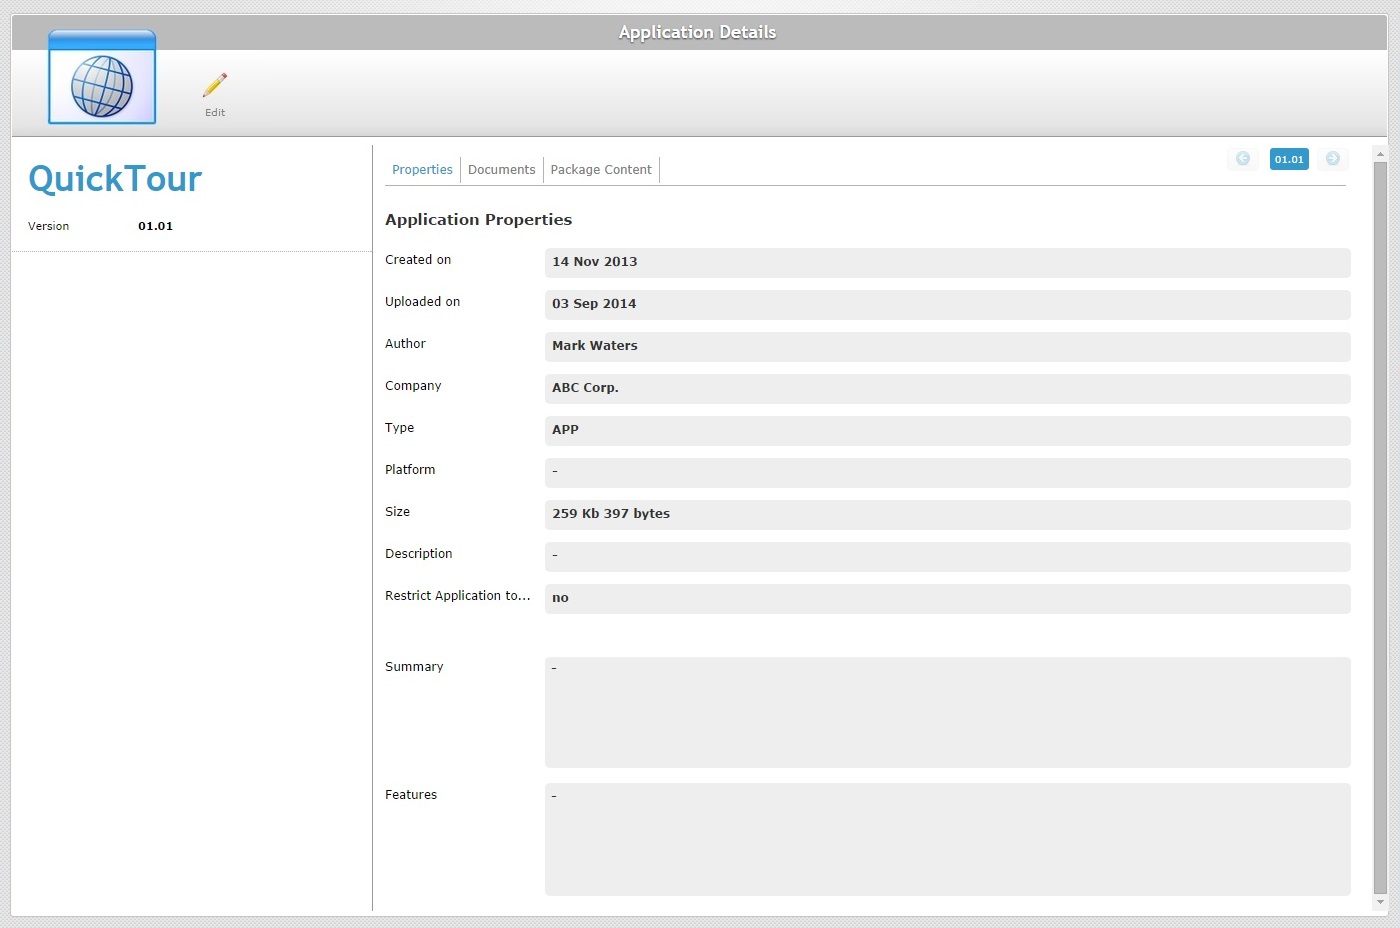
3. Open the "Documents" tab.
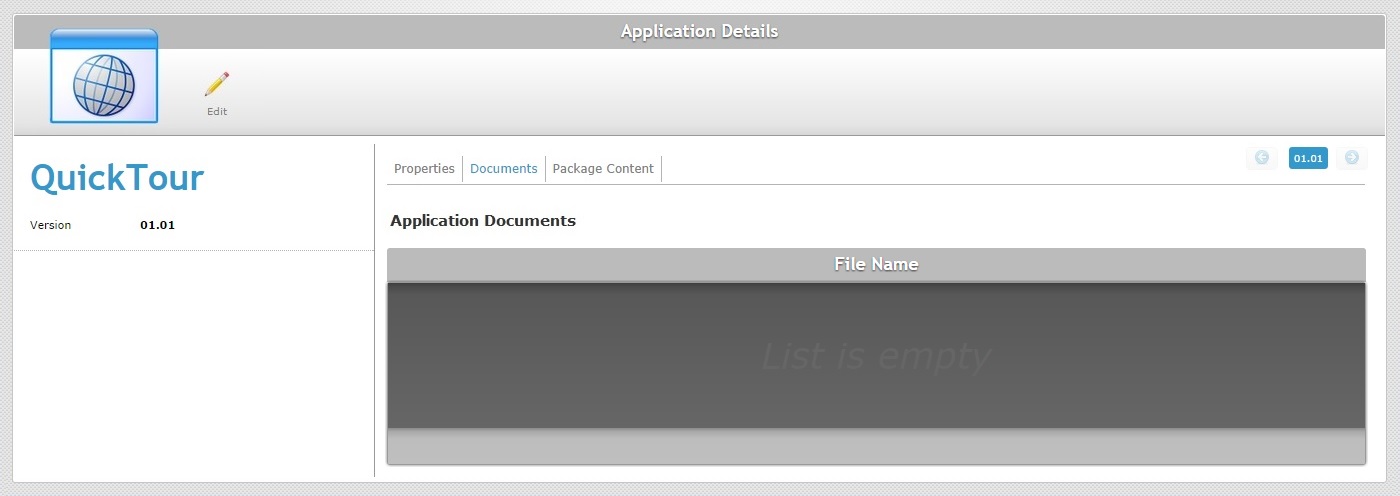
4. Click ![]() to set the page to "edit mode".
to set the page to "edit mode".
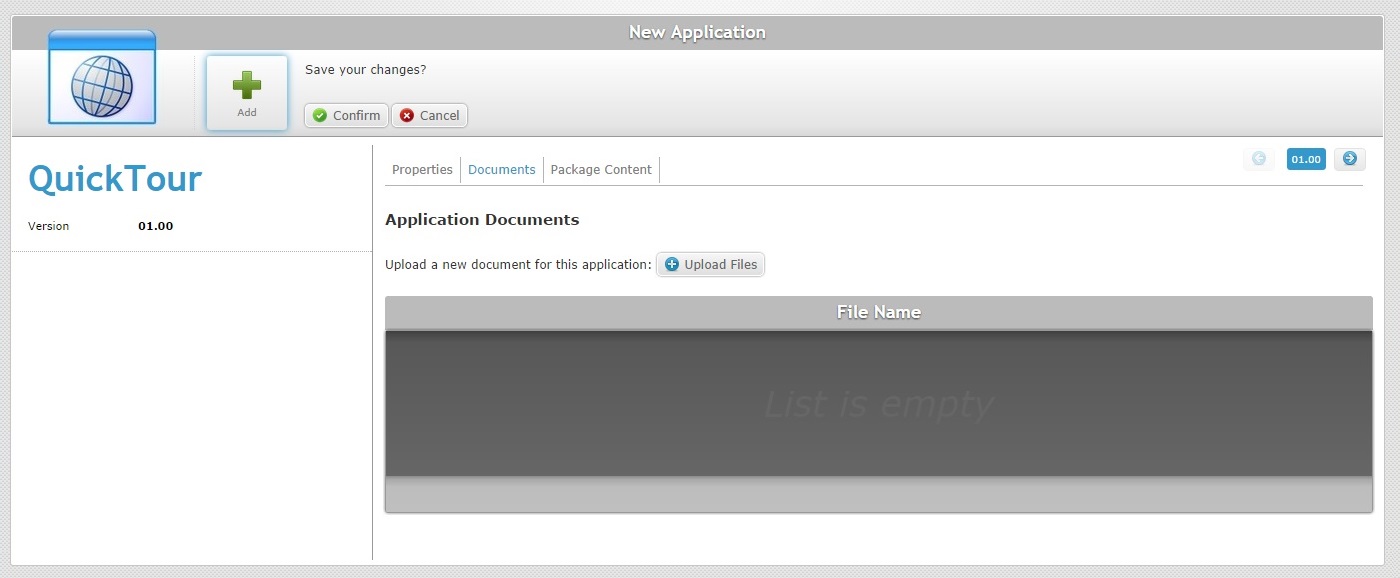
5. Click ![]() and open an OS File Explorer window.
and open an OS File Explorer window.
![]()
If, for some reason, you close the OS File Explorer window, you can reopen it with the use of the "Upload file" window (it opens at the same time as the OS File Explorer window, in the background):
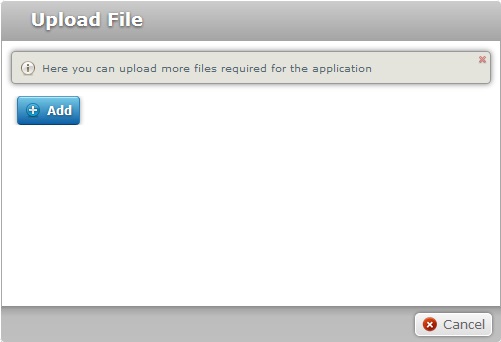
a. Click ![]() to open the OS File Explorer again.
to open the OS File Explorer again.
b. Proceed to step 6.
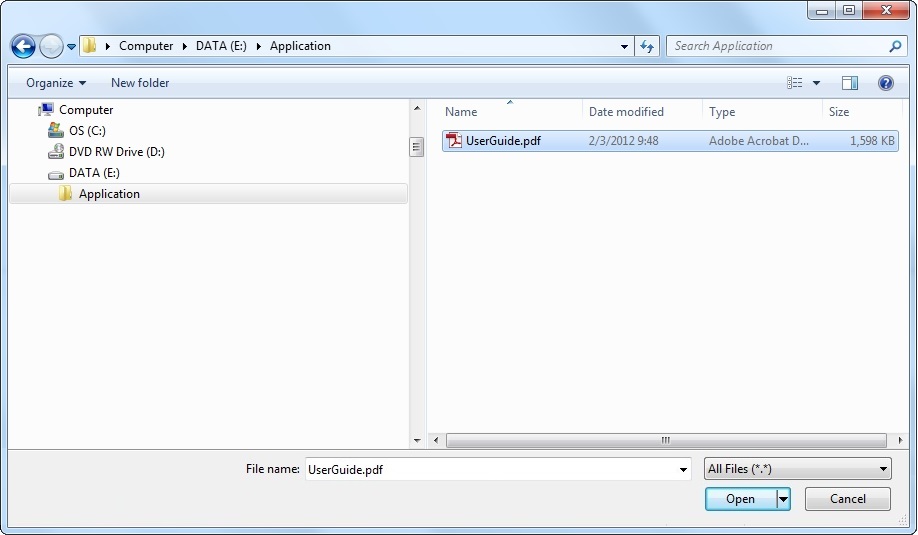
6. Use one of the following to define the file you want to upload:
a. Select the required file and click ![]() .
.
OR
b. Double-click the intended file.
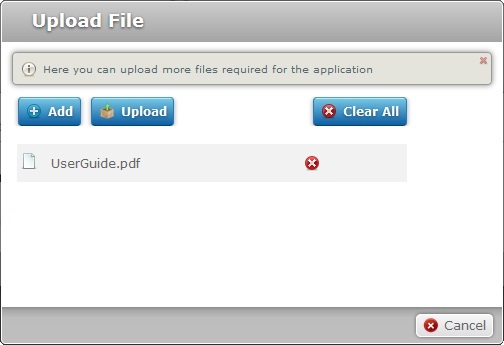
![]()
Keep in mind that you have to add files, one by one. If you want to add more files, click ![]() and repeat step 6.
and repeat step 6.
You can delete a file, at any given time. Click the corresponding ![]() OR clear all the files by clicking
OR clear all the files by clicking ![]() .
.
7. Once you have all the required files displayed in the "Upload File" window, click ![]() .
.
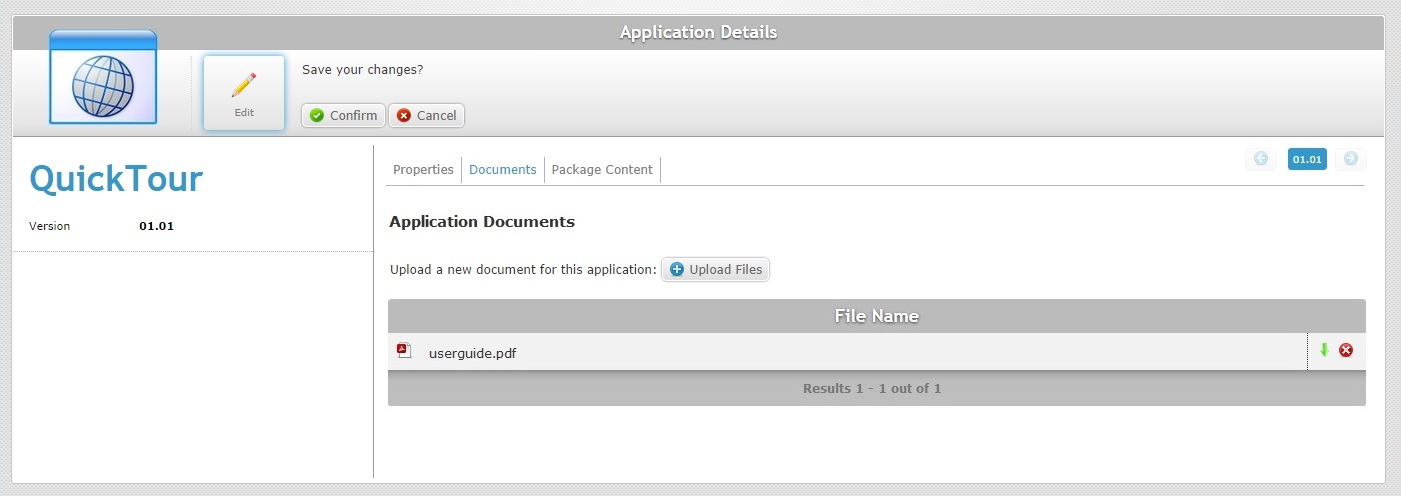
8. Conclude the "Upload Files" operation by clicking ![]() .
.