|
Editing Server Details |
  
|
Editing Server Details
|
Editing Server Details |
|
Overview
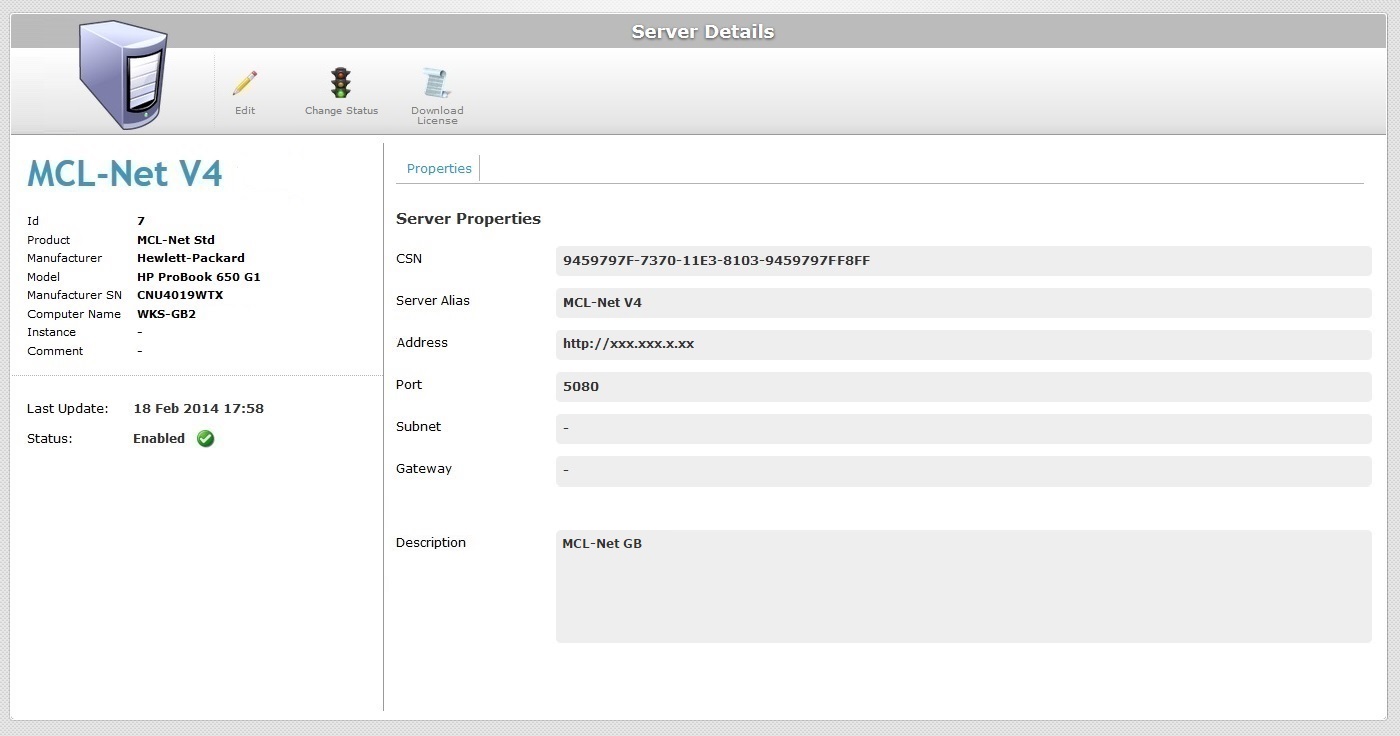
The details displayed in the "Properties" tab of the "Server Details" page are editable. It is also possible to change the server's current status. A server either has an "Enabled" or a "Disabled" status.
Step-by-step
1. Click ![]() , in the "Control Panel" and, in the resulting row below, click
, in the "Control Panel" and, in the resulting row below, click ![]() .
.
This opens a "Servers" page.
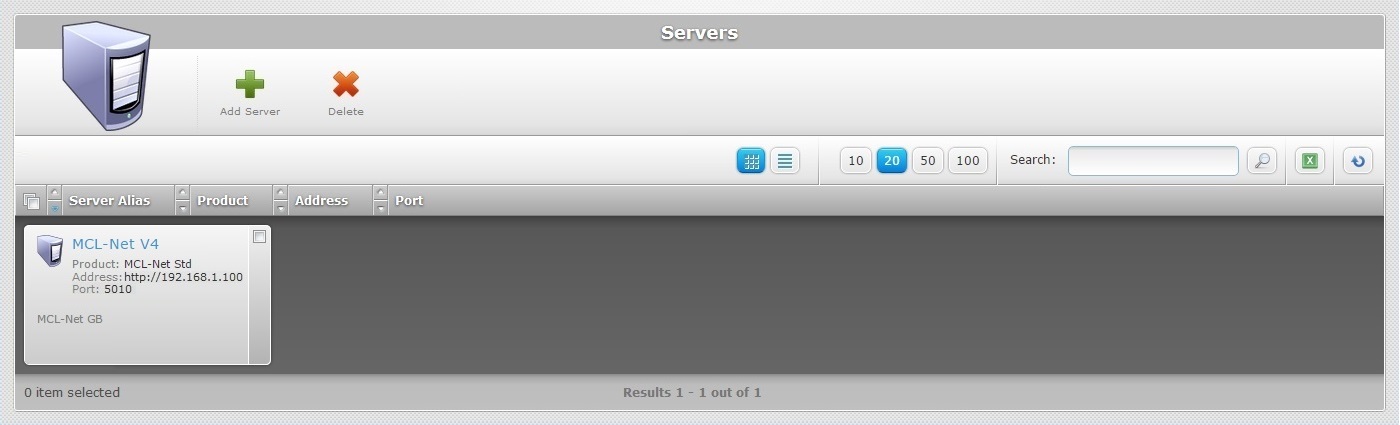
2. Select the server you want to view by clicking its alias (displayed in light blue). This opens the corresponding "Server Details" page.
3. Click ![]() to set the page to "edit mode".
to set the page to "edit mode".
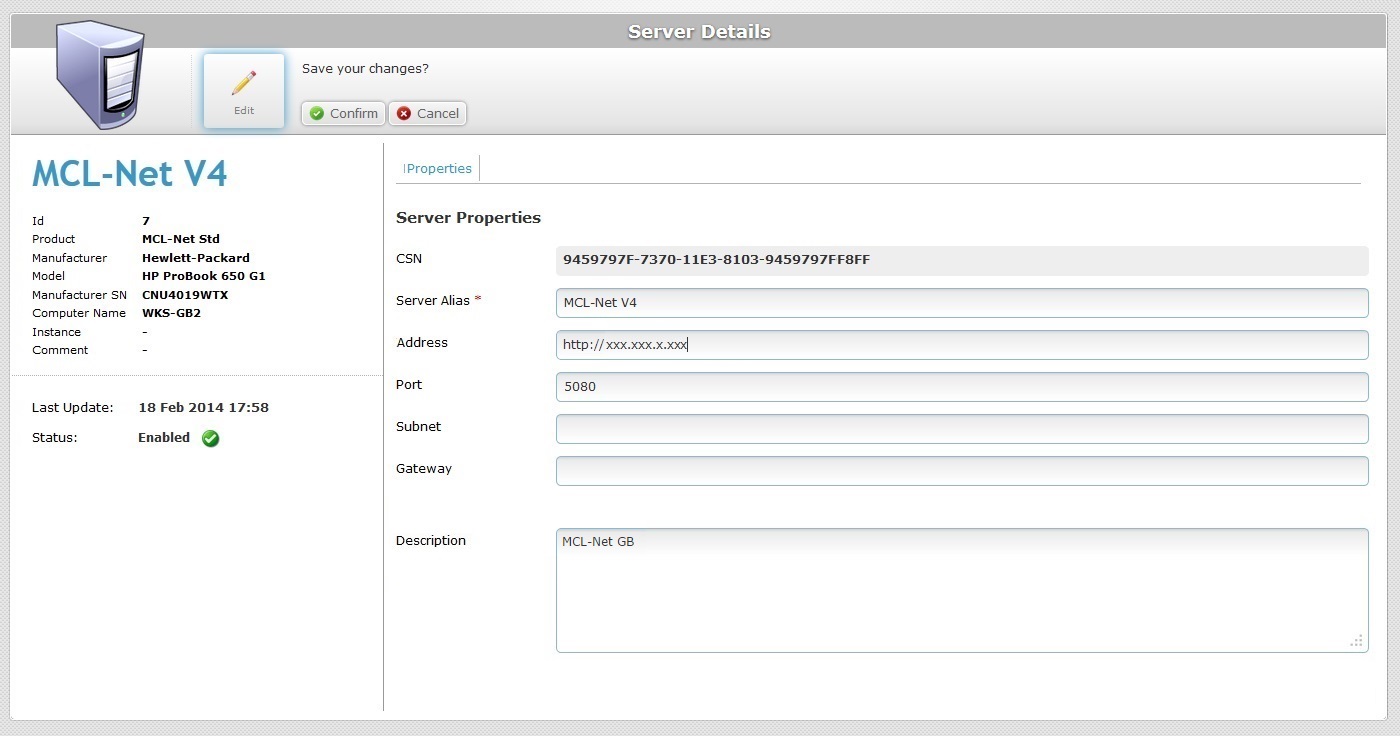
4. Make the necessary modifications in the following fields:
CSN |
This field is NOT editable. |
Server Alias * |
Maintain or enter a different alias.
The underscore and/or dash characters are allowed. Start the server's alias with an alphabetic character. |
Address |
Maintain or enter a new server address (if it is an MCL-Net server, enter "http:// + IP number"). |
Port |
Maintain or enter a different port. |
Subnet |
Maintain or enter a different subnet mask. |
Gateway |
Maintain or enter a new gateway. |
Description |
Maintain or edit the entered information. |
5. Once you have edited the required fields, click ![]() to conclude the server details edition.
to conclude the server details edition.
A server either has an "Enabled" or a "Disabled" status.
![]() If you apply a "disabled" status to a server, the communication flow between server and the devices, that are associated to that server, will be interrupted. Operationally speaking, even though a server is "disabled", it will still communicate with the account to check for status changes. It simply will not perform any tasks.
If you apply a "disabled" status to a server, the communication flow between server and the devices, that are associated to that server, will be interrupted. Operationally speaking, even though a server is "disabled", it will still communicate with the account to check for status changes. It simply will not perform any tasks.
Step-by-step
1. Click ![]() , in the "Control Panel" and, in the resulting row below, click
, in the "Control Panel" and, in the resulting row below, click ![]() .
.
This opens a "Servers" page.
2. Select the server you want to view by clicking its alias (displayed in light blue). This opens the corresponding "Server Details" page.
3. Click ![]() .
.
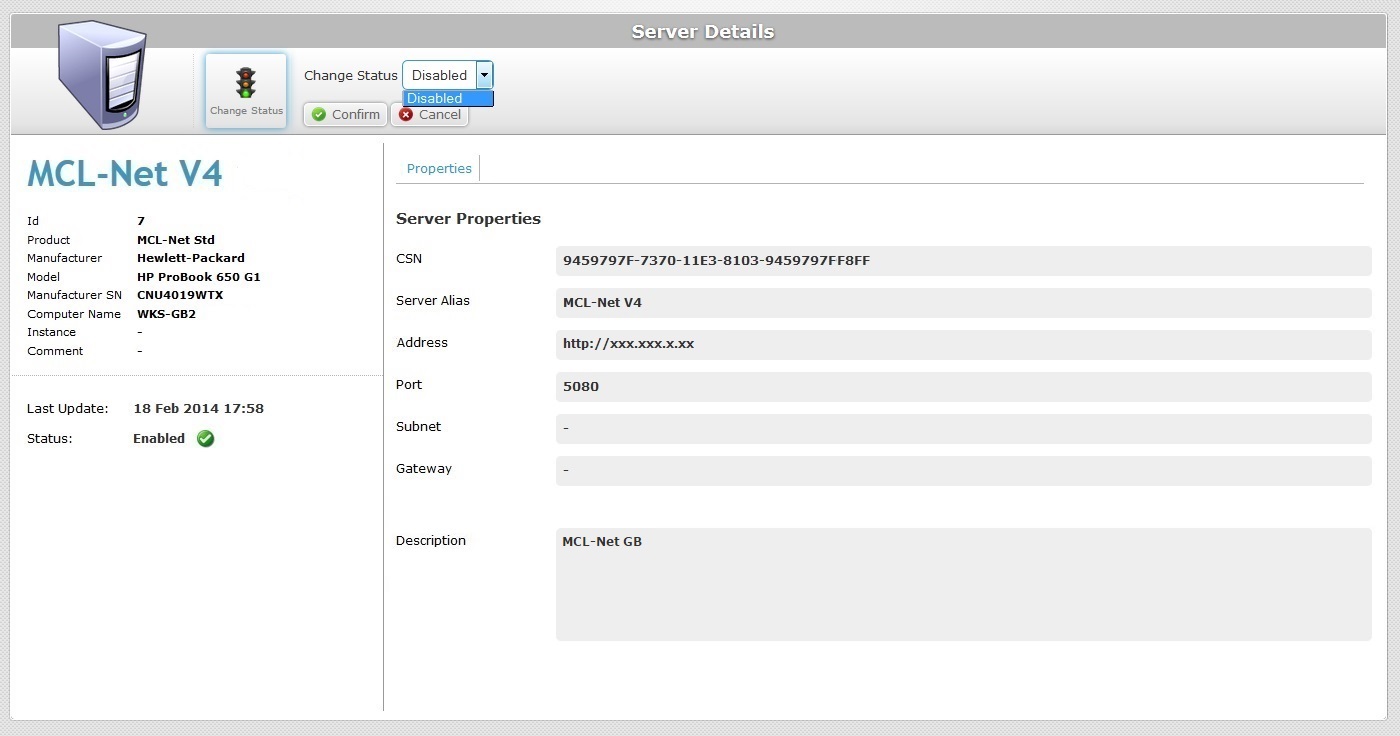
4. Select the required status from the drop-down list.
5. Click ![]() to conclude the operation.
to conclude the operation.
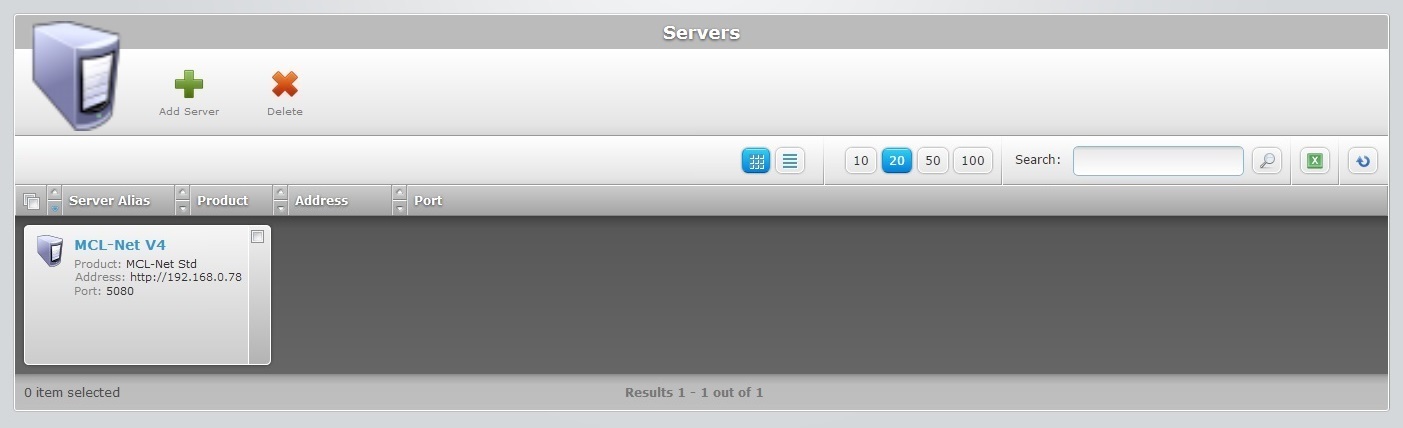
The new status is displayed in the "Status" field to the left of the "Server Details" page.
Editing a non-MCL-Net server
1. Click ![]() , in the "Control Panel" and, in the resulting row below, click
, in the "Control Panel" and, in the resulting row below, click ![]() to open a "Servers" page.
to open a "Servers" page.
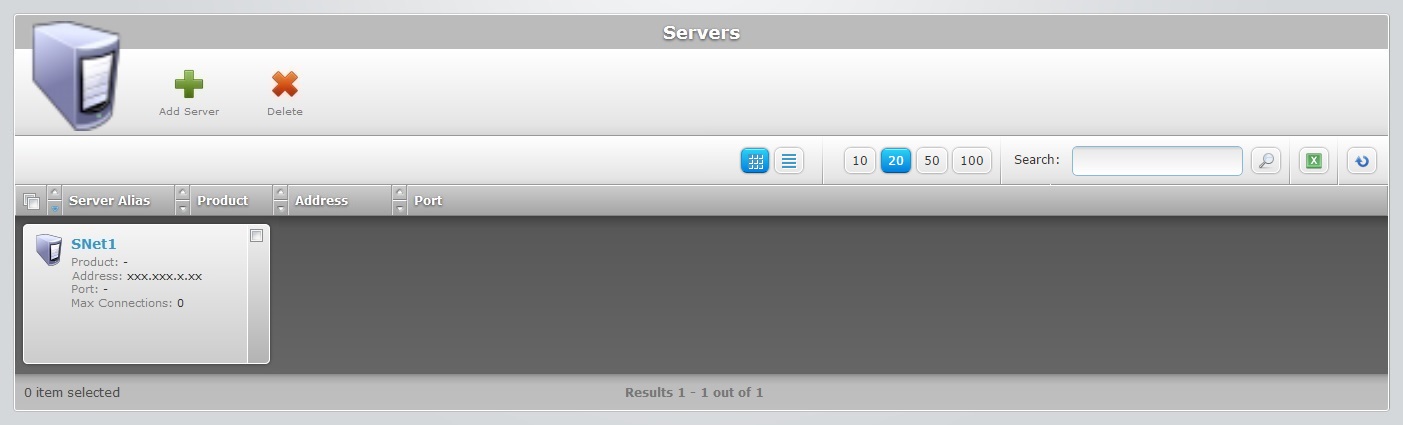
2. Select the server you want to view by clicking its alias (displayed in light blue). This opens the corresponding "Server Details" page.
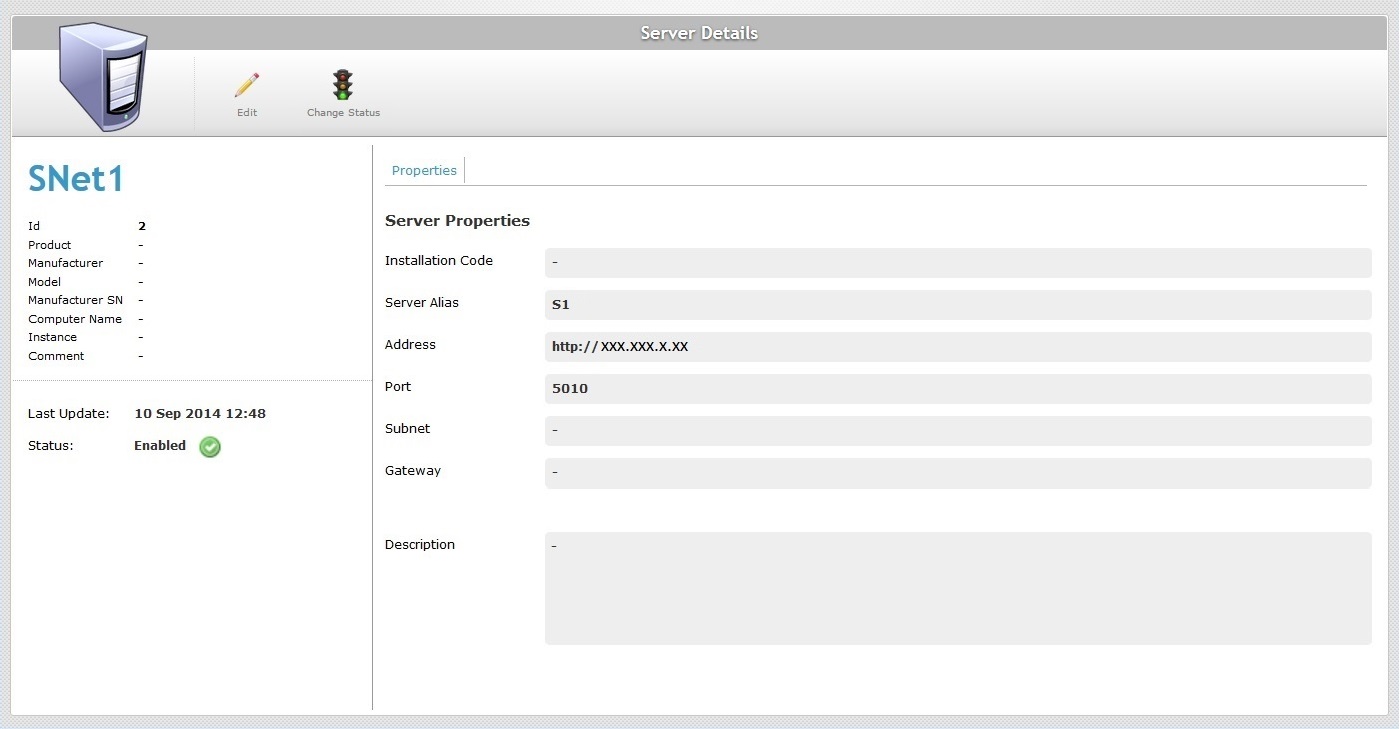
3. Click ![]() to set the page to "edit mode".
to set the page to "edit mode".
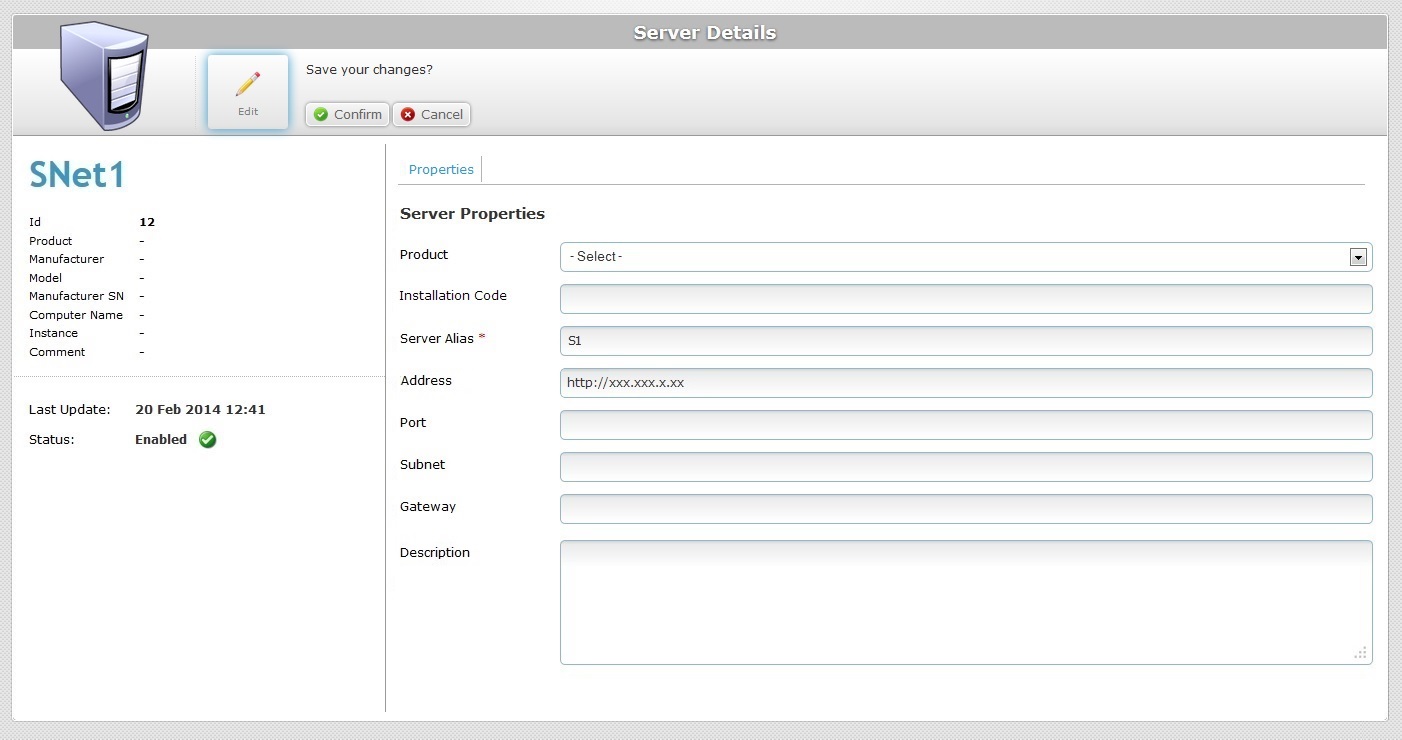
4. Make the necessary modifications.
Product |
Maintain a non-MCL-Net server OR select an available MCL-Net product from the drop-down list. |
Installation Code |
If you have selected an MCL product, enter the Installation code provided by MCL-Net. Refer to the MCL-Net V4 User Guide for more detailed information on MCL Net V4 subscription activation steps. |
Server Alias * |
Maintain or enter a name to be the server's alias. |
Address |
Maintain or enter a different server's address (if it is an MCL-Net server, enter "http:// + IP number"). |
Port |
Maintain or enter a different server's port. |
Subnet |
Maintain or enter a different server's subnet mask. |
Gateway |
Maintain or enter a different server's gateway. |
Description |
If relevant, edit the information regarding the server. |
5. Once you have edited the required fields, click ![]() to conclude the server details edition.
to conclude the server details edition.