|
Pairing/Staging between Devices via NFC |
  
|
Pairing/Staging between Devices via NFC
|
Pairing/Staging between Devices via NFC |
|
Overview
It is possible to execute a Pairing/Staging using a "master device" whose information (the device group to associate with and, eventually, staging information such as the defined network configurations) can be copied onto another device (the "secondary device"). The information to be copied (pairing and, eventually, staging information) is available in the NFC chip.
The secondary device is meant to use NFC to retrieve its information and, then, apply it to its OS and/or MCL environment.
Once the pairing/staging is concluded, the device is connected to the same device group, using the same network settings as the "master" device (if that staging information was available in the NFC chip).
![]()
This feature is NOT available for devices running MCL-Client 4.20P01 or higher.
Before initiating this Pairing/Staging, consider the following:
•The "NFC" and "Android Beam" options MUST be active in both devices.
•The compatible MCL-Agent for Android devices MUST to be installed into both the "master" and "secondary" devices. See Installing MCL-Agent into an Android Device.
•If the "master device's" destination device group ONLY includes devices of a specific manufacturer/model/OS version, both "master" and "secondary" devices MUST have the same manufacturer/model/OS version.
•If the "master" device is associated to a "Generic Android" device group (this implies the "master" has a "Generic Android" firmware installed), the "secondary" device attempting to pair/configure, must also have a "Generic Android" firmware installed.
•There MUST be an Internet connection, via Wifi.
•The "secondary" Android device MUST have its system date up-to-date and its timezone MUST be the same as the one defined in the destination site.
•The "master" Android device must have an "Enabled" status/CANNOT be included in the "Unassigned" device group for the pairing/staging operation to be available.
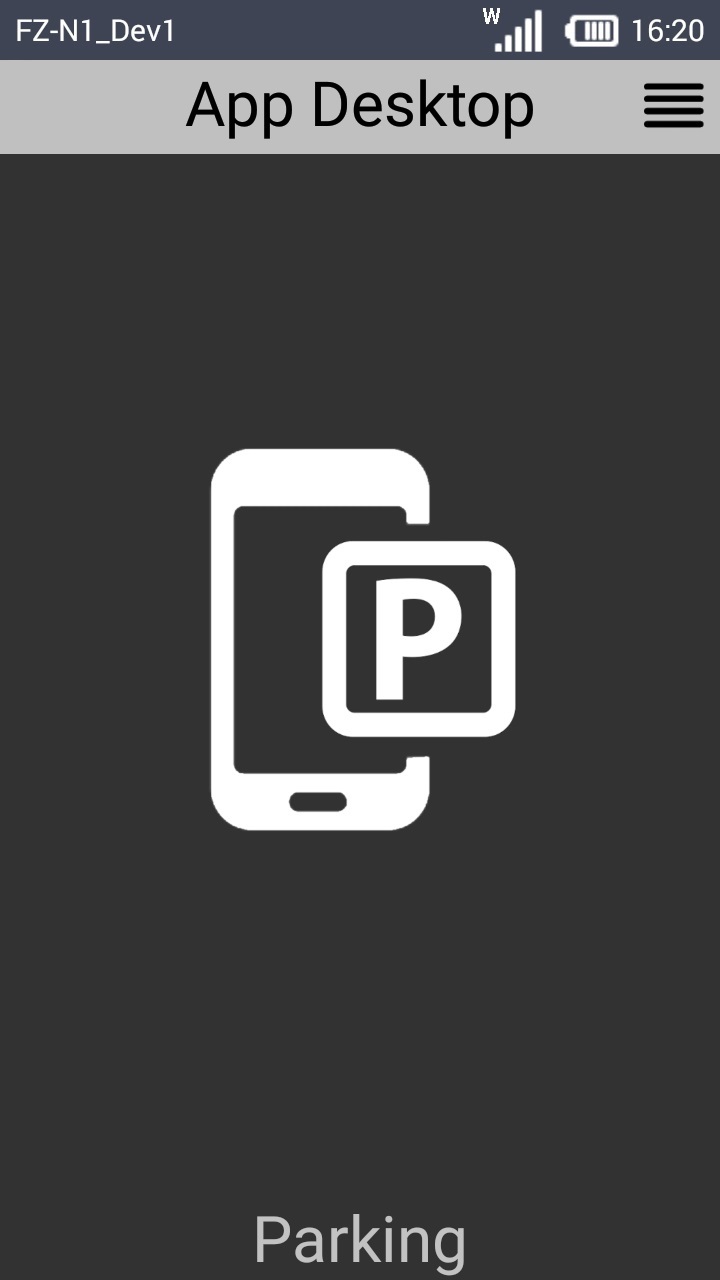
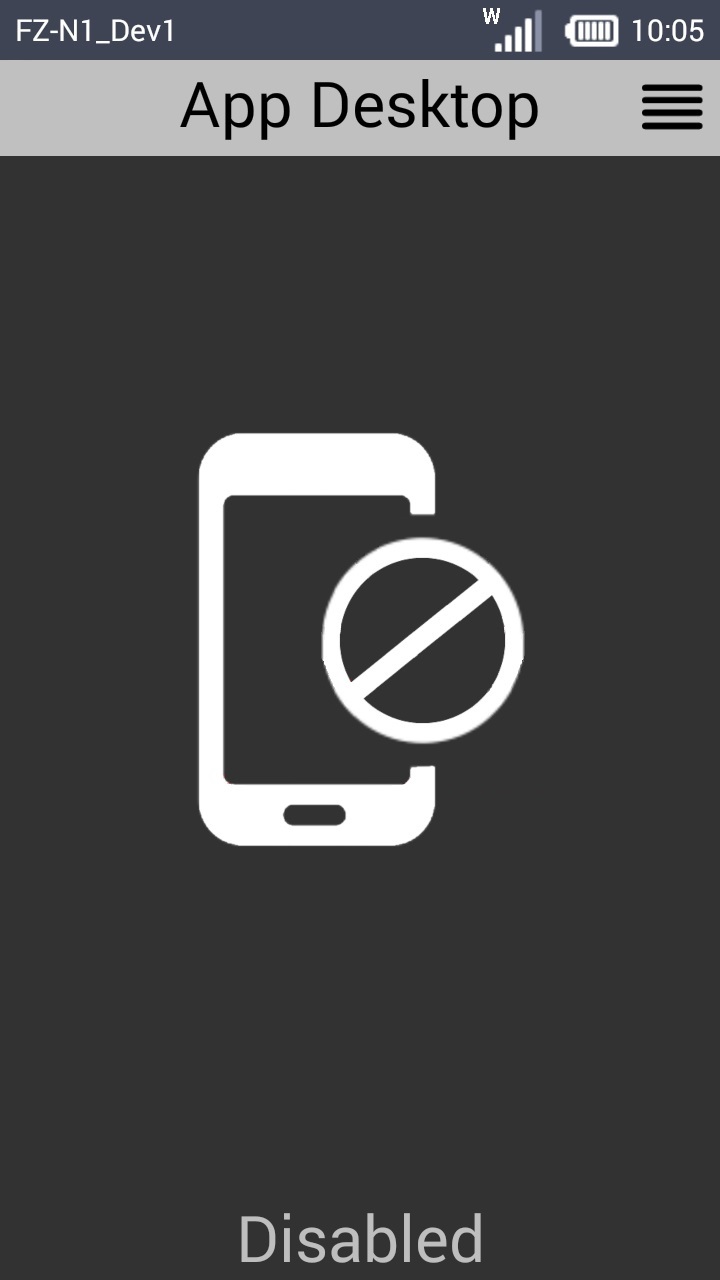
Below is an example of what you view, when launching MCL App Desktop, if the "master" device is included in the "Unassigned" device group or if its status is disabled.
"Master" device is included in the "Unassigned" device group |
"Master" device has a "Disabled" status |
|
|
The following step-by-step illustrates the options/steps to take for the pairing/staging of an Android Zebra WT6000 device with the use of another Android Zebra WT6000.
Step-by-step
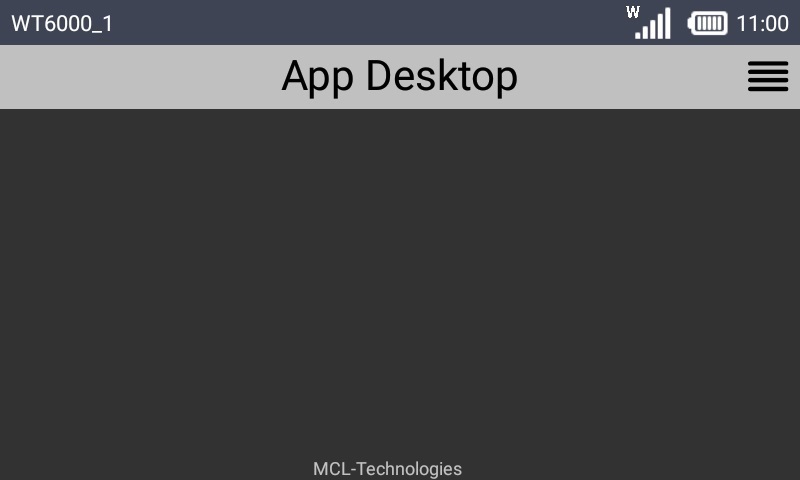
1. MCL App Desktop must be open in the "master" device.
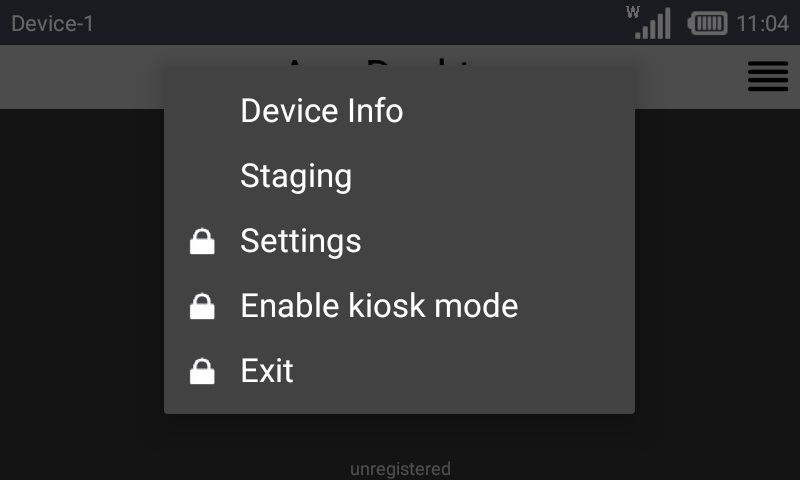
2. Click ![]() (located on the screen's upper right corner) to access MCL App Desktop's menu options.
(located on the screen's upper right corner) to access MCL App Desktop's menu options.
As an alternative, use the "Menu button" (![]() ) (a software or hardware key on the Android device).
) (a software or hardware key on the Android device).

The options available in MCL App Desktop's menu depend on the device's OS version and manufacturer.
3. Click ![]() .
.

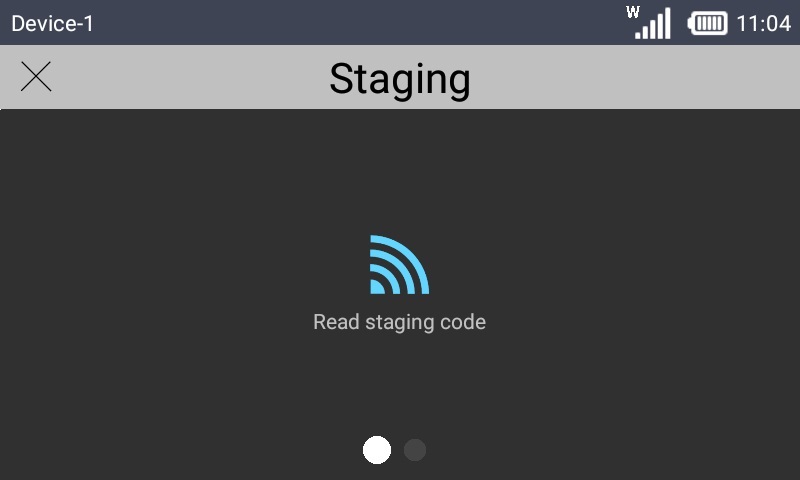
4. The first option is for an automatic pairing (see Automatic Pairing/Staging). Ignore it and slide the screen to the right - swipe left or use the ![]() , at the bottom of the screen.
, at the bottom of the screen.
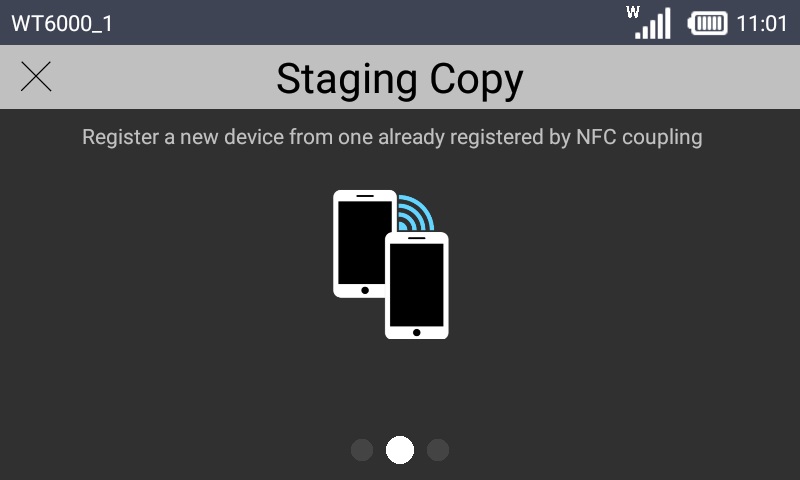
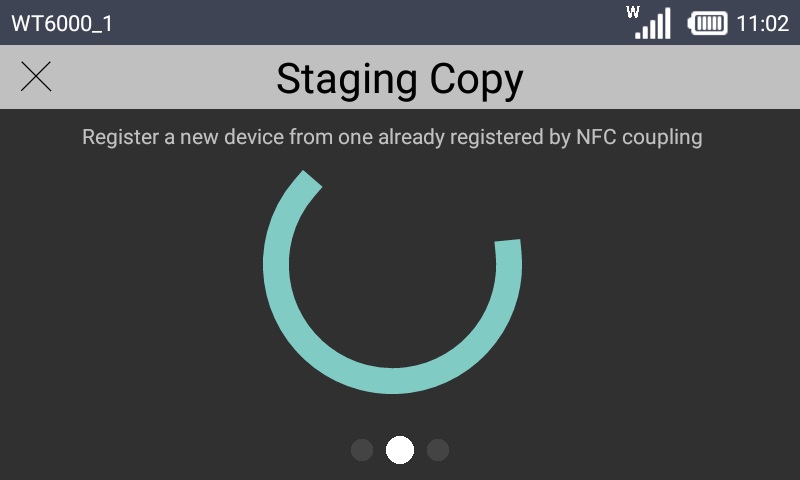
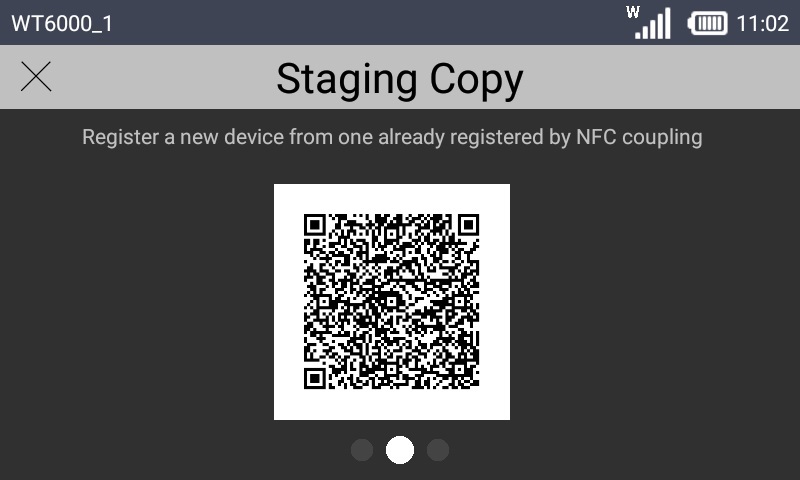
5. Press the image of the 2 devices in the device's screen (![]() ) and wait.
) and wait.
Master device:
|
|
|
6. Move your attention to the "secondary device" - another Android Zebra WT6000:
It MUST have a compatible MCL-Agent installed. If it does not, install it. See Installing MCL-Agent into an Android Device.
MCL App Desktop must be open in the "secondary device".

7. Click ![]() (located on the screen's upper right corner) to access MCL App Desktop's menu options.
(located on the screen's upper right corner) to access MCL App Desktop's menu options.
8. Click ![]() .
.
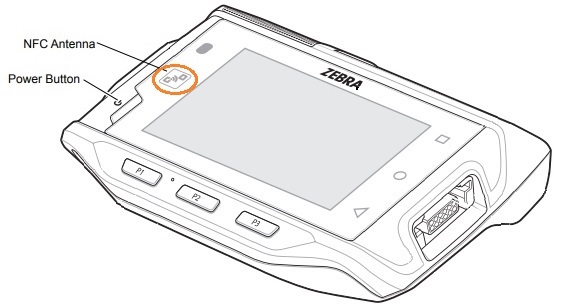
9. Place the "secondary device" next to the "master device" making sure that the NFC symbols ![]() in each device are close together (preferably one over the other).
in each device are close together (preferably one over the other).
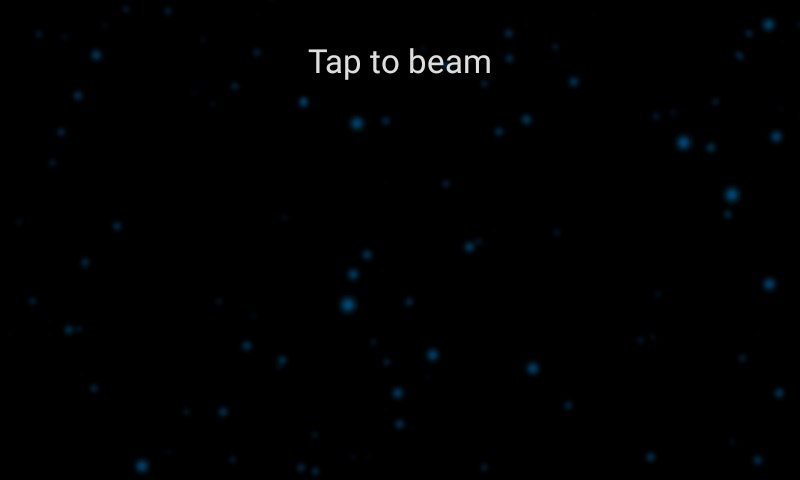
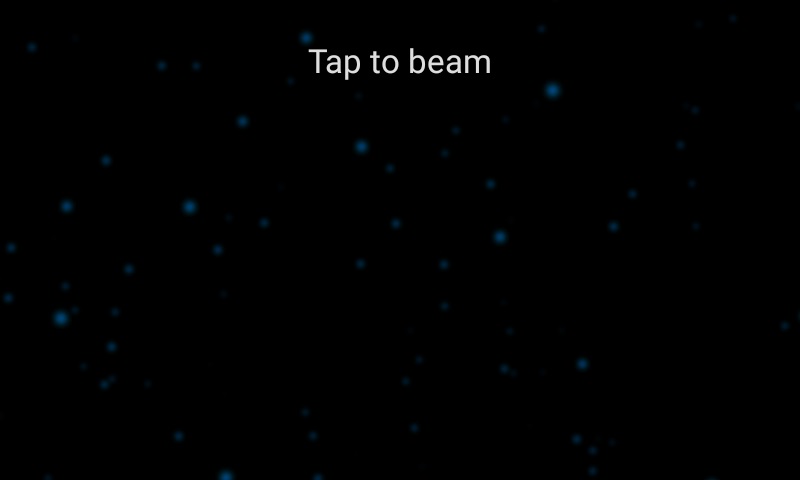
The screen in both devices will display the "Tap to beam" message:
Master device |
Secondary device |
|
|
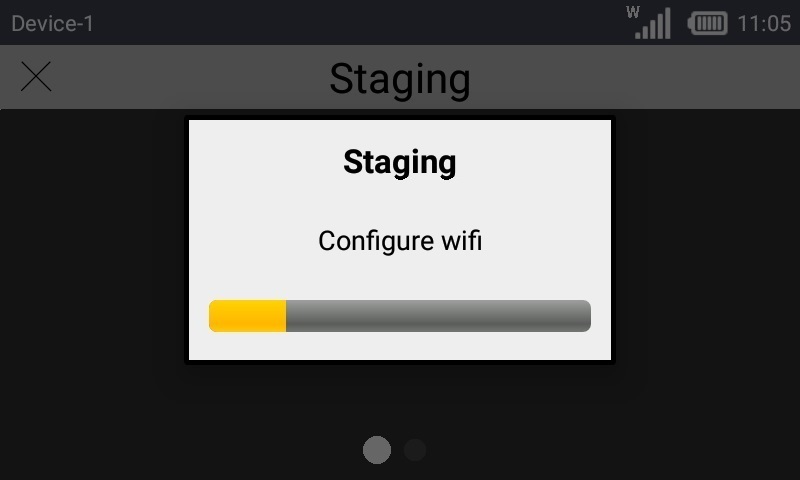
10. Touch the "master" device's screen.
A beep will sound in the "secondary" device to signal that the pairing/staging process will be initiated.
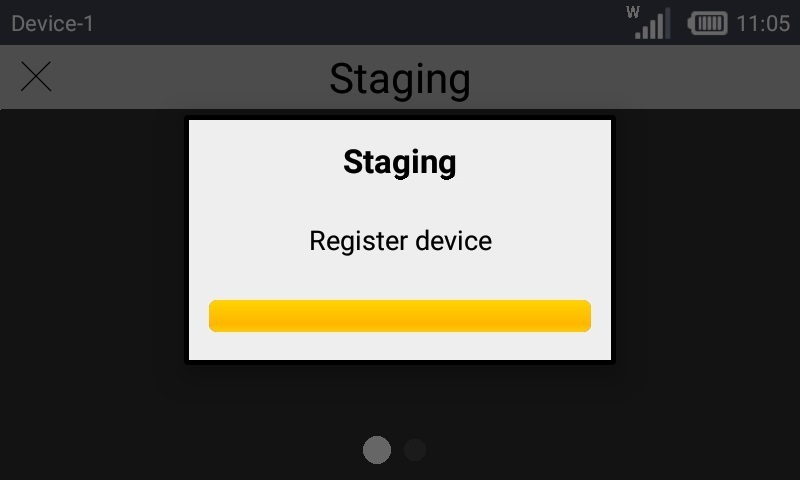
The "secondary" device's screen displays the following:
|
|
|
The "master" device returns to the previous screen, allowing you to perform a new pairing/staging with another "secondary" device (repeat step 6 onwards).

Once the pairing/staging is complete, the "secondary device" returns to the MCL App Desktop screen.
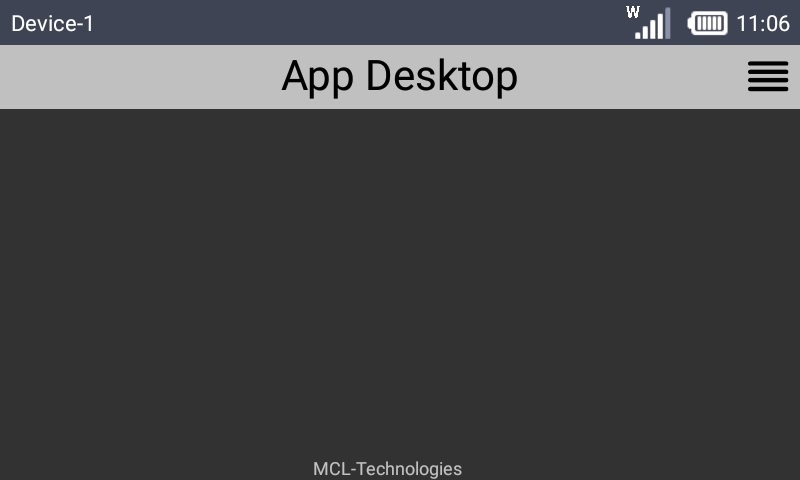
The "secondary device" is, now, associated to the same device group as the "master" device and, if there was any staging information copied, it uses the same network configurations to communicate with the account.
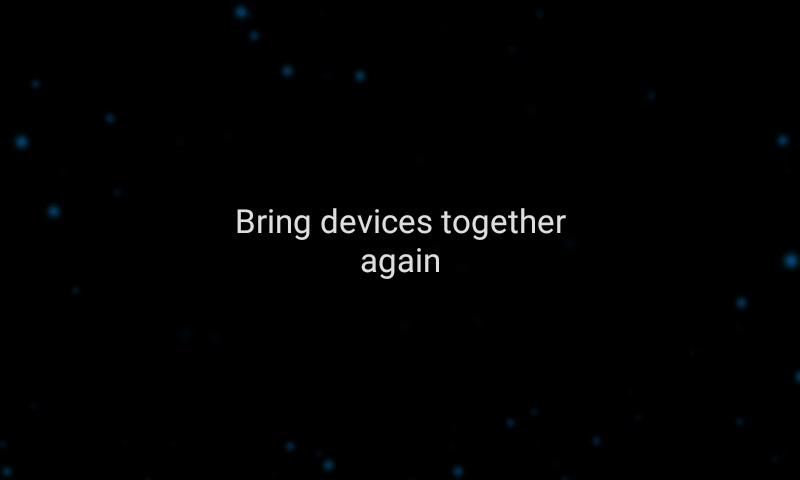
Example 1 If the devices are NOT close enough, a warning message pops up. Bring the devices nearer making sure that the NFC symbols
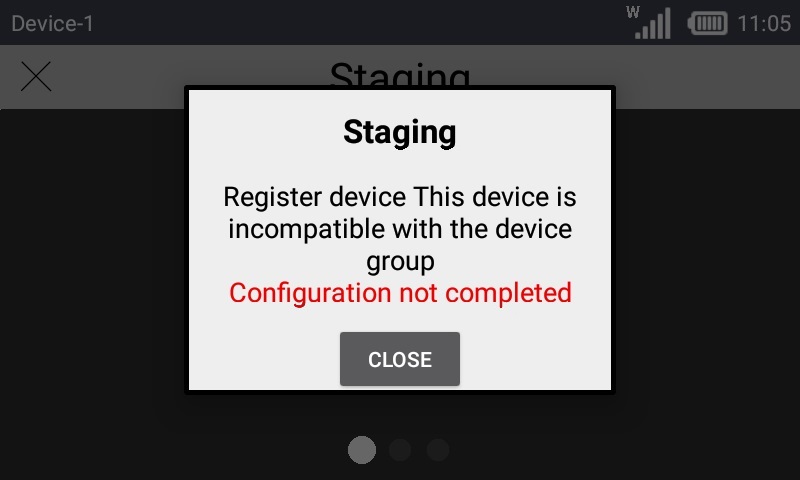
Example 2 If the "secondary device" is not compatible (in terms of Manufacturer/Model/OS) with the "master" device, a warning message is displayed. In this case, you must use another "secondary" device that has the same Manufacturer/Model/OS) to pair/stage OR you must use another "master" device - one that has the same Manufacturer/Model/OS as the "secondary" device.
|