|
Working with Message Box Process |
  
|
Working with Message Box Process
|
Working with Message Box Process |
|
Process Purpose
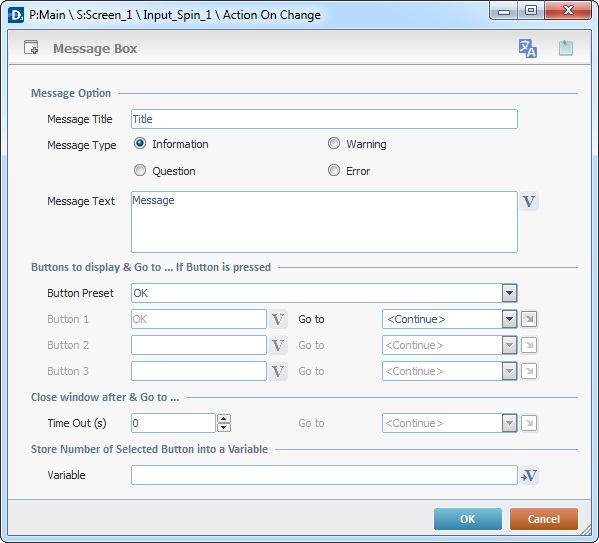
The Message Box process is used to display a message box. The purpose of this display element is to present information, to issue a warning, to ask a question or display an error message.
When you add a process, you are required to define its settings. This occurs in the process's properties window which is displayed automatically after having added the Message Box process.
If any subsequent edition is required, double-click the process to open its properties window and enter the necessary modifications.
Proceed as follows:
Message Option |
|||
Message Title |
Enter the text that will appear in the message box's header. |
||
Message Type |
Decide on the type of message box by checking "Information"; "Warning"; "Question" or "Error". See Detail of Message Box Types below. |
||
Message Text |
Enter the text that will be displayed in the message box or click |
||
Buttons to display |
|||
Button Preset |
Define the message box's buttons. Select an option from the drop-down list. Selecting "Custom" will activate the three boxes below ("Button 1; "Button 2" and "Button 3"). |
||
Button 1 ➔3 |
Options only available if the selected "Button Preset" option is "Custom". Enter a text in each box or select a variable with that value by clicking each corresponding |
Go to |
Provides quick links for a "Go to" process ("Next Screen"; "Exit"; etc.) to be executed when the event is fulfilled. See Detail of a |
Close window after & Go to... |
|||
Time Out |
As an option, associate a countdown to the display of the "message box". Specify the seconds that will pass until the "message box" disappears. |
||
Store Number of Selected Button Into a Variable |
|||
Variable |
Define a variable to store the number of the button that was selected. (Ex: Considering that the selected buttons are "Yes, No and Cancel", should the "Yes" button be selected, the variable will contain "1". If the chosen button is "No", the variable will contain "2". The "Cancel" button will be represented as "3" within the variable). |
||
Detail of Message Box Types
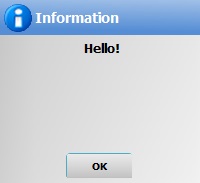
Information |
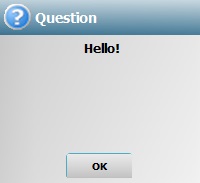
Question |
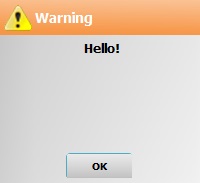
Warning |
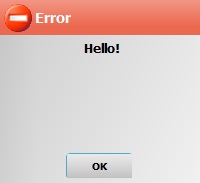
Error |
|
|
|
|
![]() The type and number of displayed buttons is defined in the Button Preset option.
The type and number of displayed buttons is defined in the Button Preset option.
Detail of a ![]() window
window
|
This window is an alternative to the drop-down list of destinations. Select a destination screen or routine within the same program as this object, in the left table. Specify the target even more by selecting from the table to the right. The available options are a consequence of your choice in the left table. If you want to add more processes, select the <Action> option. Finish this operation by clicking |
If required, use the icons on the upper right corner of the properties window:
![]() Use this icon to open a "Localization" window where you can enter the translation of the native word associated to the selected object/screen.
Use this icon to open a "Localization" window where you can enter the translation of the native word associated to the selected object/screen.
![]() Use the icon to attach any relevant notes to this process. Click it and enter your notes in the resulting text box. These notes will be displayed in the corresponding "Actions" tab or "Process" window (in the "Notes" field) and in the "Developer Report".
Use the icon to attach any relevant notes to this process. Click it and enter your notes in the resulting text box. These notes will be displayed in the corresponding "Actions" tab or "Process" window (in the "Notes" field) and in the "Developer Report".
After filling in the required options, click ![]() to conclude or
to conclude or ![]() to abort the operation.
to abort the operation.
The added process is displayed in the corresponding "Actions" tab or "Process" window.
![]()
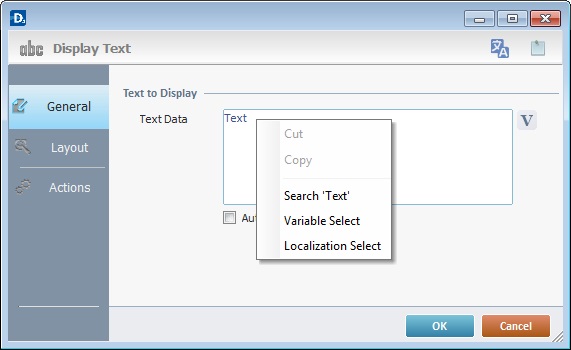
Use the right click in MCL-Designer's input boxes to access certain features regarding the input box's option as well as general actions such as "Copy"; "Paste"; "Search".
Ex: If you right-click the "Text Data" input box (included in a "Display Text" properties window), you are provided with the "Paste", "Search..." and "Variable Select" options.
If you right-click any other input box, it will provide other possibilities.