|
Host |
  
|
Host
|
Host |
|
Overview
The "Host" tab contains project information regarding communication settings with MCL-Net V4.
These options can be edited during project development (only unpublished projects can have their settings edited).
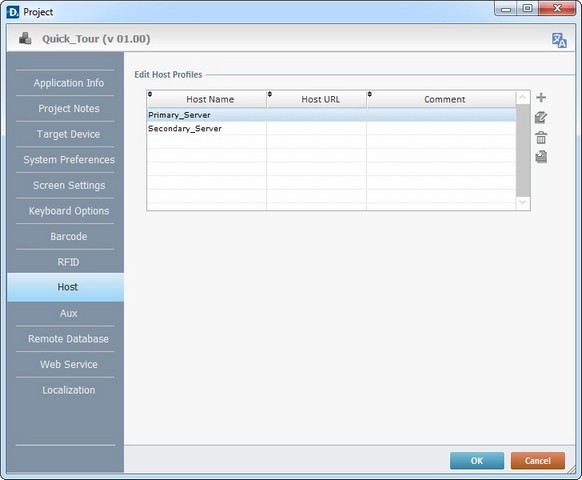
This tab includes the “Edit Host Profiles”.
After creating a project, there is no information. However, as the project is developed, Host profiles are added.
Host profiles can be added, deleted,edited or copied by using the ![]() icons located to the right of the table.
icons located to the right of the table.
![]()
This table is for your reference, profiles do not need to be created/added.
When the “Set Host Address” process is used to create a new profile, it is automatically added to this table.
See Working with Host Services Processes Group OR Working with Remote Database Processes.
To Create a Host Profile
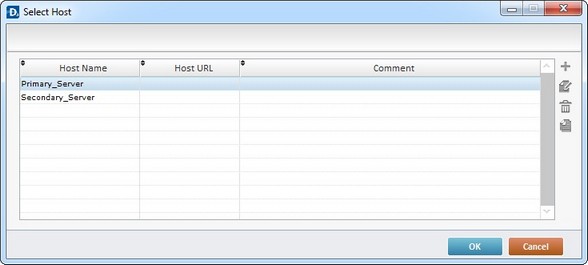
Host profiles can be created in the "Host" tab of the "Project Properties" window but, also, within the processes included in the Host Services and Remote Database process groups. See Working with Host Services Processes Group OR Working with Remote Database Processes.
Step-by-Step
1. Access the “Host” tab of the "Project Properties" window by clicking "Project" (located in the Menu Bar) and selecting the "Properties" option in the resulting menu.
OR
1. In the properties window of a Host related process, click ![]() (if available).
(if available).
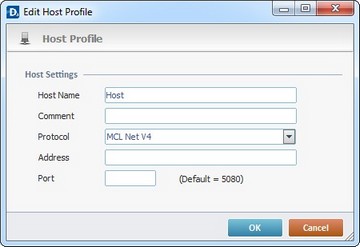
3. Fill in the following options according to the project's requirements:
Host Settings |
|
Host Name |
Enter a Host Name. |
Comment |
As an option, add comments to the Host connection. |
Protocol |
Select the appropriate Protocol ("MCL-Net V4" that uses port 5080 (HTTP) or "MCL-Net V4 (Secured)" that uses port 5446 (HTTPS)) from the drop-down list. |
Address |
Enter the IP address for the Host connection. |
Port |
Enter the port or use the default values associated to the previously selected Protocol. |
![]() Refer to the MCL-Net V4 User Guide for more information on how to set the Port on MCL-Net V4.
Refer to the MCL-Net V4 User Guide for more information on how to set the Port on MCL-Net V4.
4. Click ![]() to conclude or
to conclude or ![]() to abort the operation.
to abort the operation.