|
Importing/Exporting Programs |
  
|
Importing/Exporting Programs
|
Importing/Exporting Programs |
|
Overview
Programs can be reused in other MCL-Designer projects. It is possible to import them, through the Library, from other projects or you can export Programs from your current project to be reused in future MCL-Designer projects.
To Import a Program from Library
Step-by step
1. Use one of the following to access the "Library Manager" window:
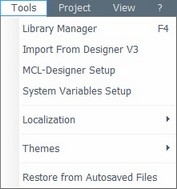
A. Go to the "Menu Bar", click "Tools" and, in the resulting menu, select "Library Manager".
B. Click < F4>.
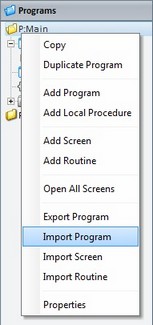
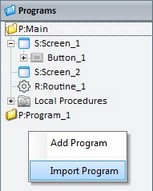
C. Right click a program or the "Programs" module and, in the resulting menu, select "Import Program".
Right click a Program |
Right click the "Programs" module |
|
|
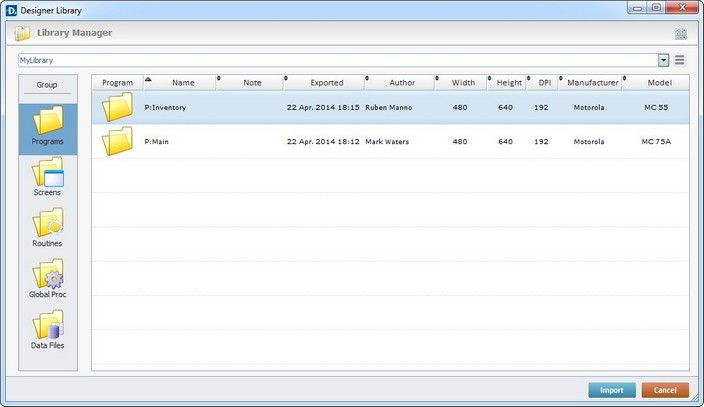
Whichever the option chosen (A, B or C), it opens the "Library Manager" window.
![]()
If required, select a different source library or rename it by clicking ![]() . See To define a Library.
. See To define a Library.
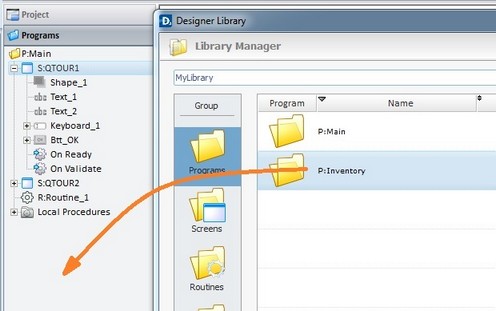
2. Select the program you want to import into your current project.

3. Use one of the following to access the "Import into Project" window and continue the import operation:
I. Double-click the program you want to import.
II. Drag and drop the intended program into the "Programs" module.
III. Select the intended program and click ![]() .
.
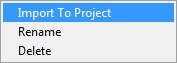
IV. Right-click the selected program and click the "Import to Project" option.
The corresponding "Import into Project" window opens.
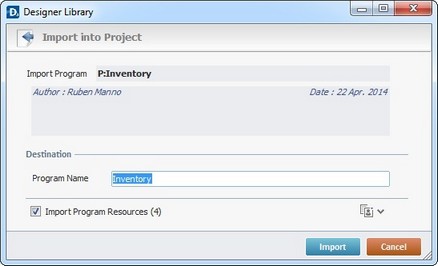
This window displays information that cannot be edited (regarding the program being imported) and information you can edit (the "Destination" section).
4. Maintain or enter new information, as required by the project.
Import Program |
Displays the program's name. NOT editable. |
Displays the program's author and when the program was added to the library. It can also include notes entered during the export into Library operation. NOT editable. |
|
Destination |
|
Program Name |
Maintain or enter a new name for the program. Make sure the target project does not include a program with the same name. |
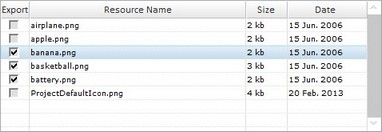
Import Program Resources (x) |
If the program contains resources, check this option to ensure they are included in the import. Their destination is the target project's "Resources" module. |
![]()
It is possible to append project resources (appended during the program's export into the "Library" - see To Export a Program to Library) to the program's import, even though they are not included in the program.
a. To view all project resources, click ![]() .
.
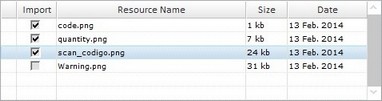
b. Check the project resources you want to include in the import.
c. If you want, click ![]() to hide the resource list.
to hide the resource list.
5. Click ![]() to conclude the program import.
to conclude the program import.
The newly imported program is displayed in the "Programs" module and ready to be used in the project.
![]()
If the imported program uses a global variable that is already in use, in the current project, it is renamed after the global variable of the current project.
EX: The global variable A0, contained in the imported program is named "Test2". The global variable A0 of the current project is named "Test1". After the program import, the global variable "Test2" is renamed "Test1" according to the global variable of the current project.
Example of an Import Alert
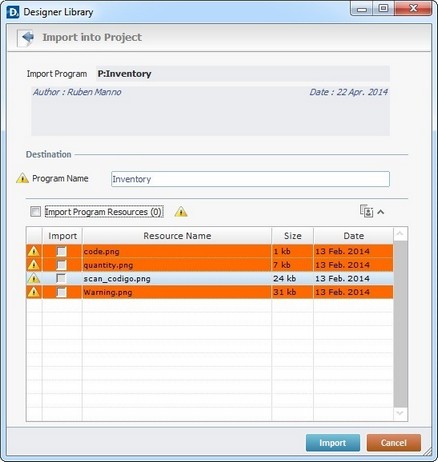
The ![]() marks an occurrence. This example includes two issues:
marks an occurrence. This example includes two issues:
| • | The destination project contains a program with the same name as the one to be imported. |
| • | The destination project contains resources with the same name as the ones being imported. |
Example of an Import Error
If the name of the program to import already exists in the destination project, the following message box opens:
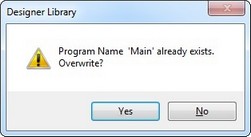
a. Click ![]() and replace the existing program for the newly imported one.
and replace the existing program for the newly imported one.
OR
b. Click ![]() to return to the " Import into Project" window, change the program's name in the corresponding box and click
to return to the " Import into Project" window, change the program's name in the corresponding box and click ![]() to conclude.
to conclude.
To Export a Program to Library
Step-by step
1. Open the "Programs" module.
2. Right-click the program you want to export.
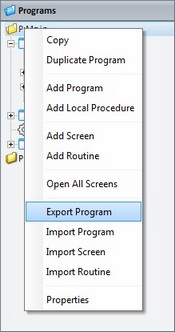
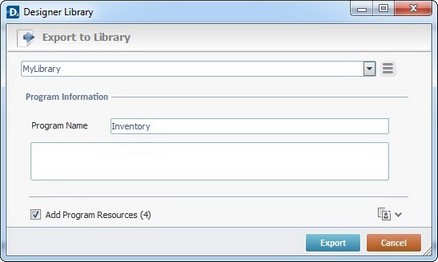
3. In the resulting menu, select "Export Program" to open the "Export to Library" window.
![]()
If required, select a different source library or rename it by clicking ![]() . See To define a Library.
. See To define a Library.
4. Fill in the following options:
Program Information |
|
Program Name |
Displays the program's name. Maintain or enter a new name. |
Text Box |
If required, add notes regarding the program being exported. |
Add Program Resources(x) |
If the program contains resources, check this option to ensure they are included in the export. |
![]()
It is possible to append project resources to the program's export, even though they are not included in the program.
a. To view all project resources, click ![]() .
.
b. Check the project resources you want to include in the export.
c. If you want, click ![]() to hide the resource list.
to hide the resource list.
5. Click ![]() to conclude the export.
to conclude the export.
The exported program is available in the Library ("Programs" section) and ready to be imported into another project.
Example of an Export Error
If the library already contains a program with the same name, the following message box appears:
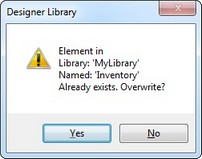
a. Click ![]() to overwrite the existing program.
to overwrite the existing program.
OR
b. Click ![]() to return to the " Export to Library" window, change the program's name in the corresponding box and click
to return to the " Export to Library" window, change the program's name in the corresponding box and click ![]() to conclude.
to conclude.