|
Editing a User |
  
|
Editing a User
|
Editing a User |
|
Overview
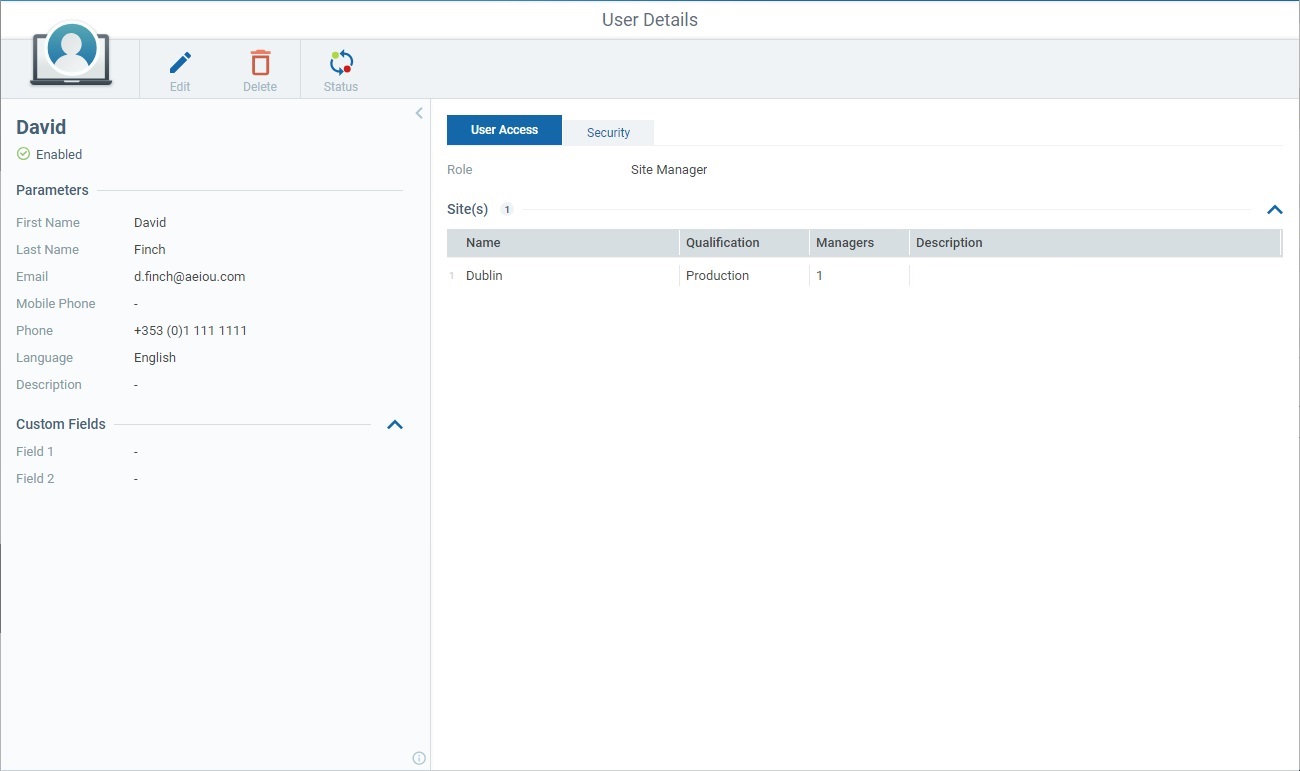
Some user details are editable - this is performed in the user's details page. See To Edit a User below.
You can also modify the user's status (depending on current status). This can be performed in the "User Management" page and in a user's details page.
See To Enable/Disable a User in the "User Management" Page and/or To Enable/Disable a User in a "User Details" Page.
To Edit a User
Step-by-step
1. Click ![]() and, then,
and, then,  to access the "User Management" page.
2. Use one of the following methods to access the details page of a particular user:
•Click the username of the intended user (it is displayed in light blue) to open the corresponding "User Details" page and, then, click ![]() to set the page to edit mode.
to set the page to edit mode.
|
|
|
•Select the intended user by checking the corresponding ![]() and, then, click
and, then, click ![]() . The user's details page opens in edit mode.
. The user's details page opens in edit mode.
3. Edit the left panel and/or the "User Access"/"Security" tabs as required:
Left Panel
If required, edit the available fields in the "Parameters" and/or "Custom Fields" section. The fields marked with an asterisk are mandatory, meaning, they must always contain information.
If the "Custom Fields" section is hidden, click the arrow to the right to expand its content.
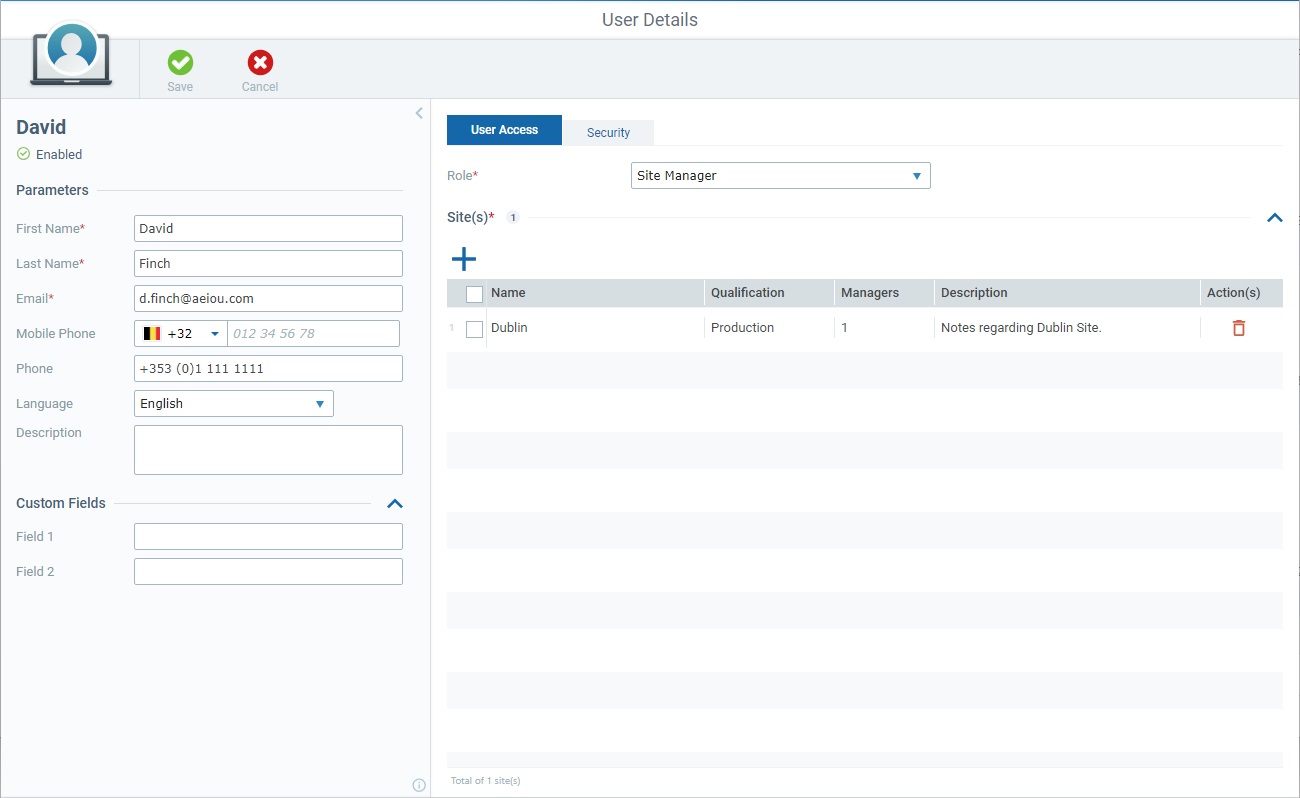
"User Access" tab
The fields available in this tab depend on the user's role and must contain information after your edition.
Role * |
Maintain or select a different role from the drop-down. If the selected role is "custom user", you have the added possibility to edit this user's access rights (the access rights for all other roles are predefined/non-editable). See Access Rights Edition (Custom User). |
Site(s) * |
This section is available to all user roles except for the account administrator who has full access to the account/sites, by default. If the section is hidden, click the arrow to the right to expand its content:
Maintain or select a different site or sites from the drop-down: ▪Click For more details on this window, see Details of the Site Selection window. ▪If you want to remove an assigned site, click the
▪As an alternative to this single site deletion, you can bulk delete all sites: a. Click the check box to the right of the "Name" column to select all sites at once. b. Click |
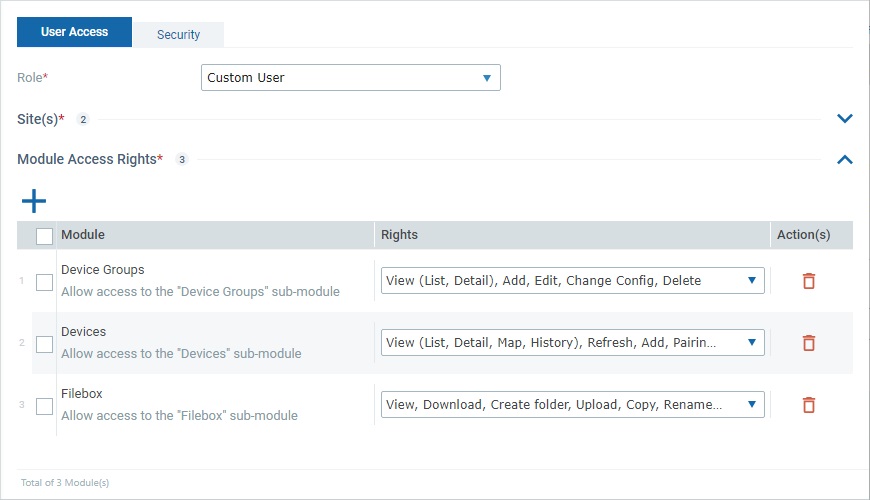
Module Access Rights * |
This section is available to all user roles except for the account administrator/site manager roles who have full access to the account/assigned site(s), by default. If the section is hidden, click the arrow to the right to expand its content:
ONLY the sub-module(s)/access rights attributed to a Custom User can be edited. The access rights of the other user roles - Site Supervisor, MDM Manager, Device Manager, Operator Manager, Deployment Manager, Configuration Manager - are predefined and CANNOT be edited.
To edit the access rights of a custom user, see Access Rights Edition (Custom User) below. |
ONLY the custom user's rights can be edited - that means, you can decide which of the listed operational sub-modules the custom user can access and which actions he can perform within each sub-module. The access rights defined in the "Module Access Rights" section apply to all the sites the custom user is associated to.
If this section is hidden, click the arrow to the right to expand its content.
To Remove Current Access Rights
Use one of the following methods to remove access rights from the "Module Access Rights" section:
▪Click the
▪Execute a Bulk Deletion: a. Check the box next to the "Name" column so all listed sites are selected (this activates the b. Click c. Confirm the deletion by clicking the resulting
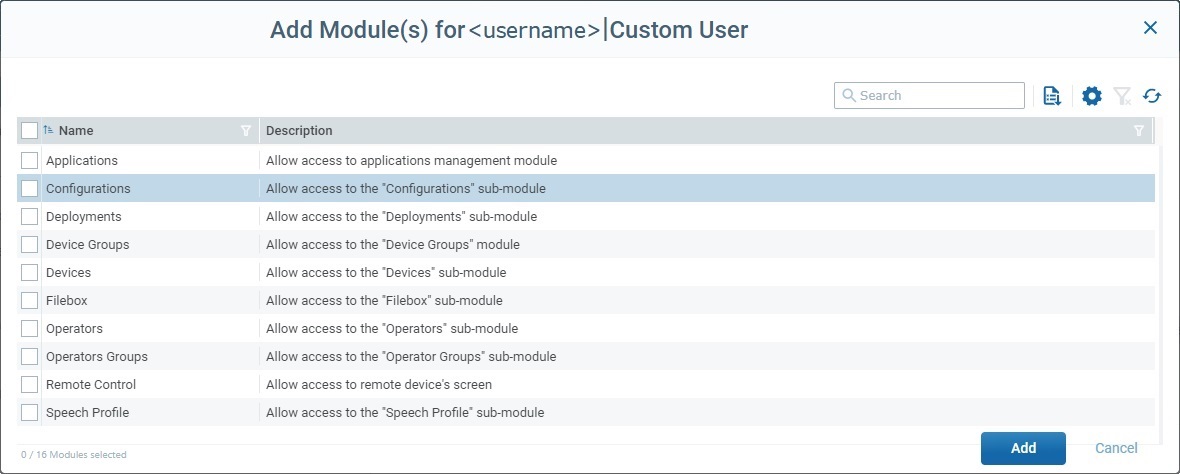
To Add/Edit Access Rights
1. Click
2. Check/uncheck the intended sub-modules. For more details on this window's available options, see Details on the Sub-Module Selection window.
3. Click
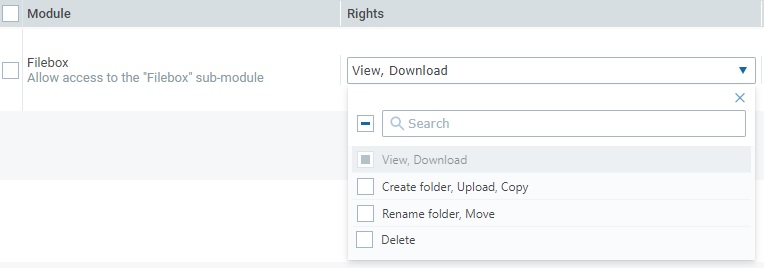
4. If required, open the drop-down in the "Rights" column for each listed sub-module and add/remove rights to the default ones by checking/unchecking the corresponding check box. You can use the search box to look for a specific right. Close the drop-down by clicking outside its box or the X button.
The rights you define here for the custom user will be applied to all the sites this custom user is associated to.
|
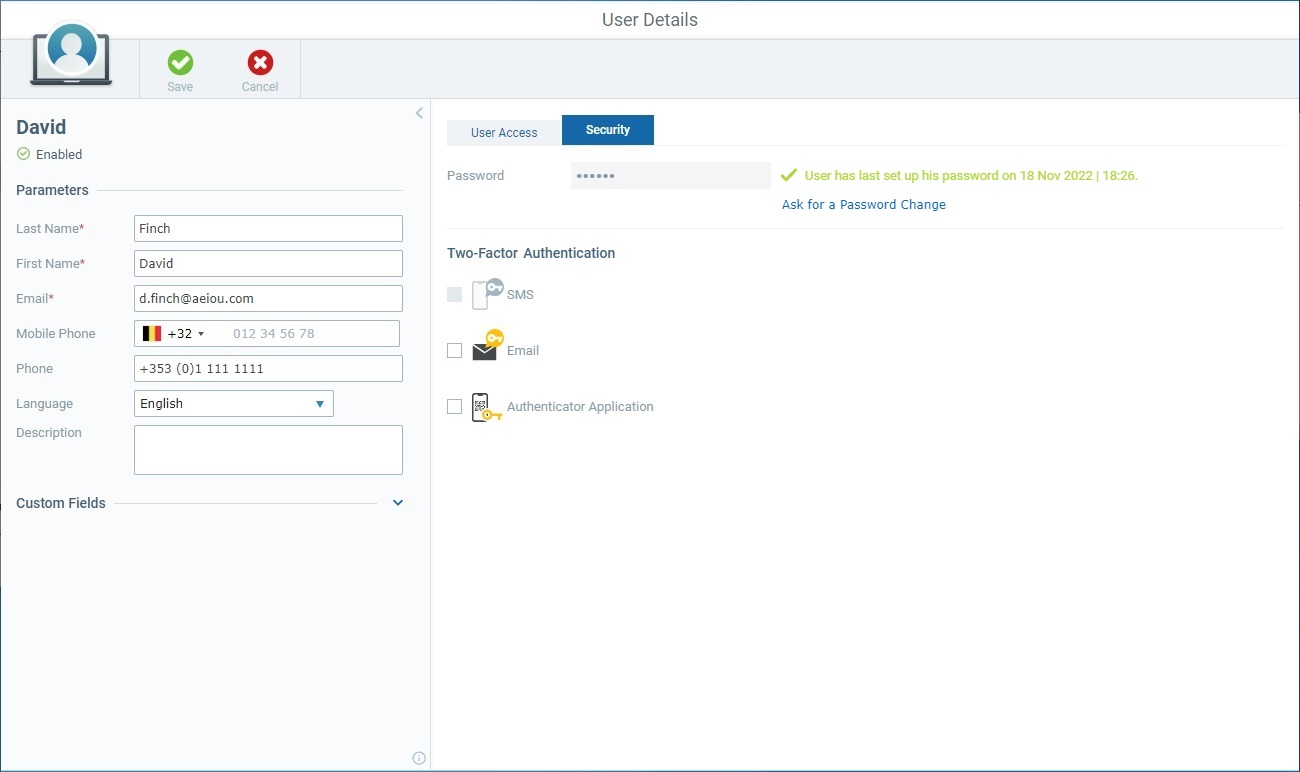
If a password reset is required, click the "Ask for a Password Change" link - this will trigger a request to the user to change his password - and confirm your choice in the resulting window. See Forced Password Reset.
Once this link is clicked, the current password is no longer valid and the user will NOT be able to log in to the MCL-Mobility Platform account/site until he resets the password.
The user's status is automatically changed to "Pending Password Request".
![]() Be aware that ONLY a user can set up his own password. You can only trigger a password reset procedure in this page.
Be aware that ONLY a user can set up his own password. You can only trigger a password reset procedure in this page.
Maintain or edit your choices for Two-Factor Authentication:
Two-Factor Authentication |
|
SMS |
Only active if the user has a defined mobile phone number. Check this option if you want the user to have the possibility to use the SMS method to receive the required code for the login. |
Check this option to give the user the choice to receive an email with the required code for the two-factor authentication login. |
|
Authenticator Application |
Check this option to allow this choice to the user in case he wants to use the code provided by an authenticator application to log in to MCL-Mobility Platform. |
It is also possible to have all options unchecked. As a result, Two-Factor Authentication will NOT be applied to the current user, he will ONLY use his password to log in to the account or site.
4. Once you have edited the required fields in the left panel and/or the tabs, click ![]() to apply the modifications.
to apply the modifications.
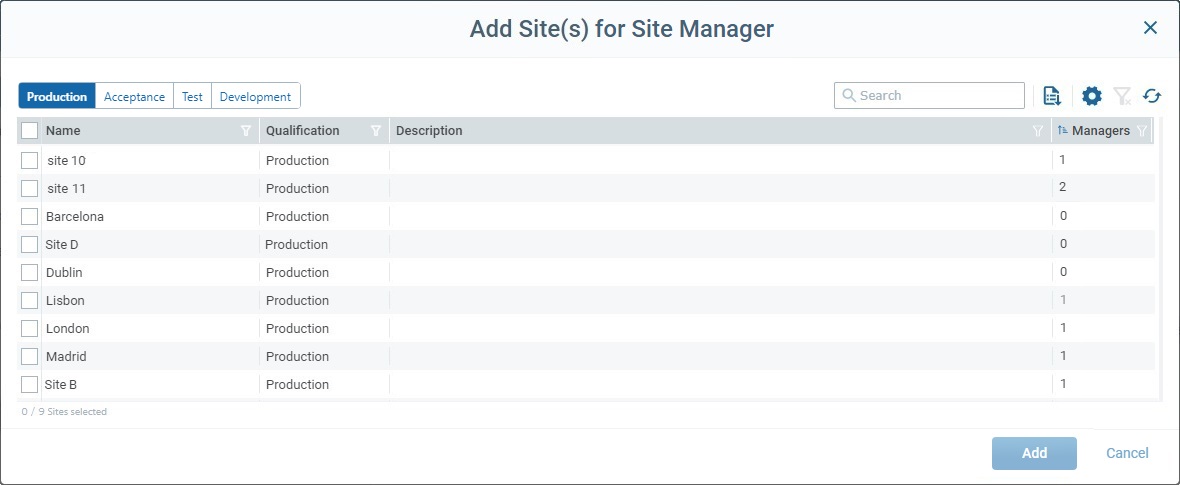
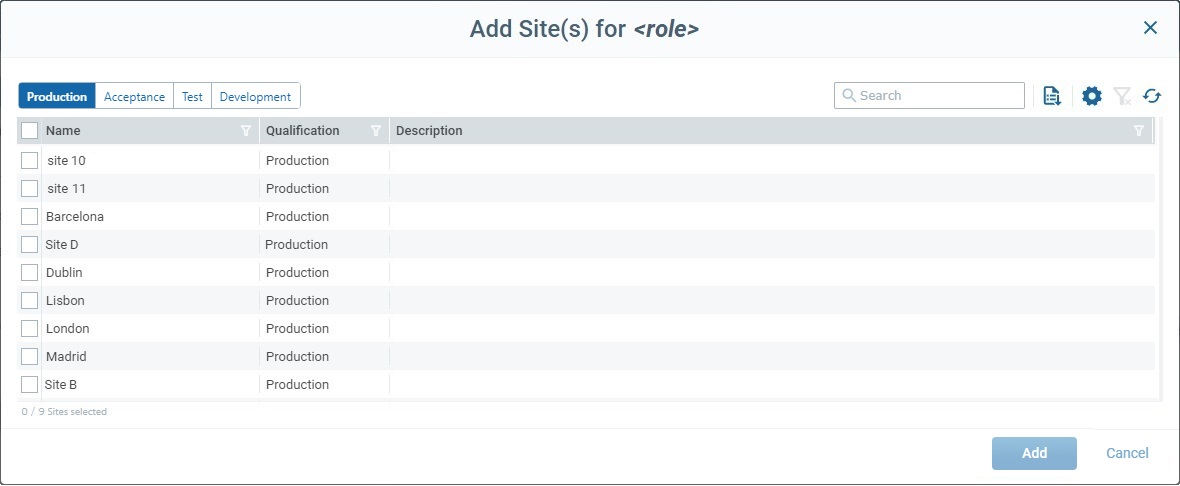
This pop-up window provides a list of sites so you can assign sites to a user. With the exception of the account administrator (who must have full access to the account), all the other roles must have, at least, one site assigned to them. There are 2 versions of this site selection window - the window for the site manager also includes a "Managers" column to indicate how many site managers each of the listed sites have.
Available options:
•Use the
•Enter a site related value in The list will automatically change according to the search. To end the search, empty the search box OR click The search will ONLY apply to the currently displayed list.
•Use
•Click
•Click
•Use
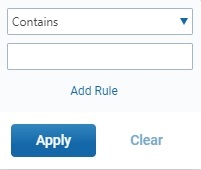
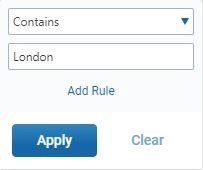
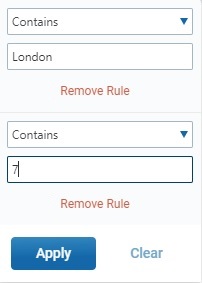
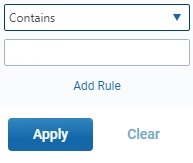
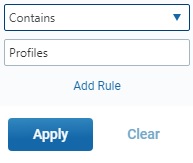
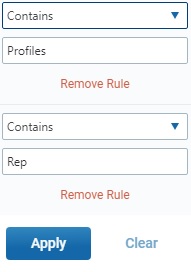
•Use the options included in the header of each column to organize/filter the listed items:
Example:
Make sure the defined rules do NOT conflict with each other because it could lead to an empty view.
If required, click You can use the
|
This pop-up window provides a list of the sub-modules you can assign to a custom user. All the other roles have predefined access rights that cannot be edited so this pop-up window is not available to them. To open it, you must have the custom user's details page set to edit mode and click the
Available options in the sub-module selection pop-up window:
•Enter an access right related value in The list will automatically change according to the search. To end the search, empty the search box OR click The search will ONLY apply to the currently displayed info.
•Use
•Click
•Click
•Use
•Use the options included in the header of each column to organize/select/filter the listed items:
Example:
Make sure the defined rules do NOT conflict with each other because it could lead to an empty view. If required, click You can use the
|
To Enable/Disable a User in the "User Management" Page
A user can have one of 4 statuses - "Enabled", "Disabled", "Pending" or "Pending Password Request" (the last 2 statuses are managed by the system).
This operation can only be applied to users with an "Enabled" or "Disabled" status.
If you change a user's status to "Disabled", he will NOT be able to access MCL-Mobility Platform until you change it back to "Enabled".
Step-by-step
1. In the Admin Dashboard's "Control Panel", click ![]() and, in the resulting row, select .
and, in the resulting row, select .
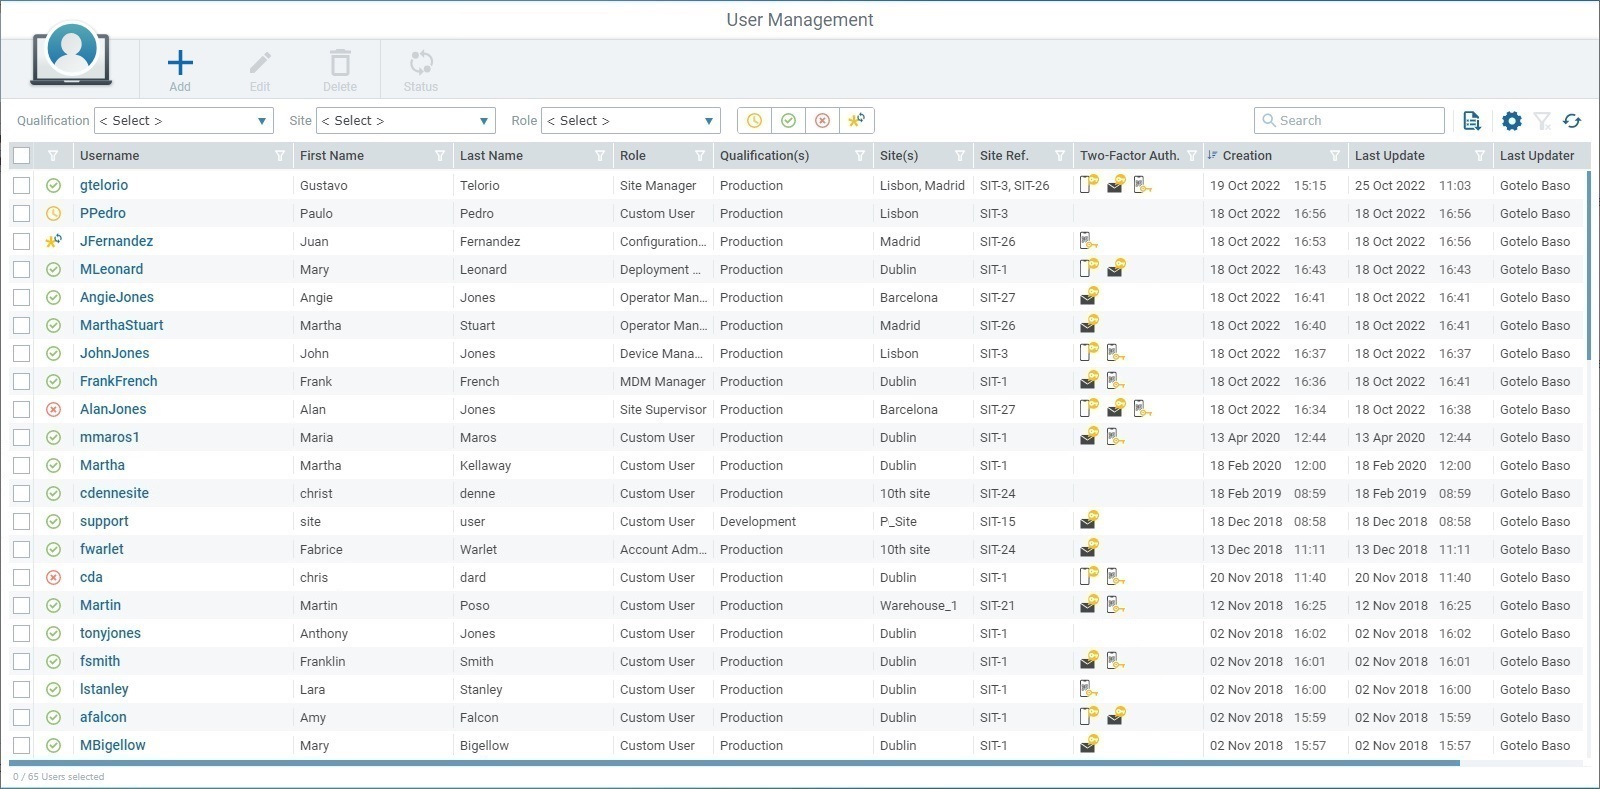
2. In the "User Management" page, select the user(s) whose status you want to change by checking the corresponding ![]() .
.
![]() If you want to perform a bulk status change, make sure that all the selected users have the same status, meaning, they must all have an "Enabled" or a "Disabled" status. Otherwise, the
If you want to perform a bulk status change, make sure that all the selected users have the same status, meaning, they must all have an "Enabled" or a "Disabled" status. Otherwise, the ![]() button will NOT activate.
button will NOT activate.
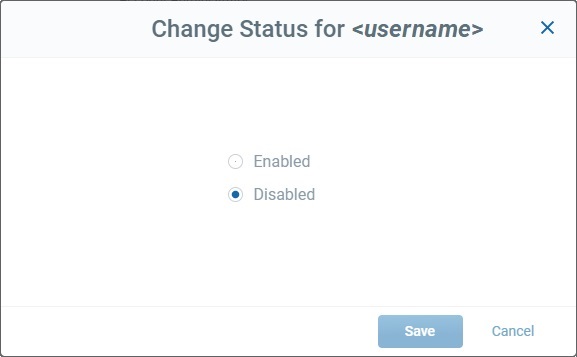
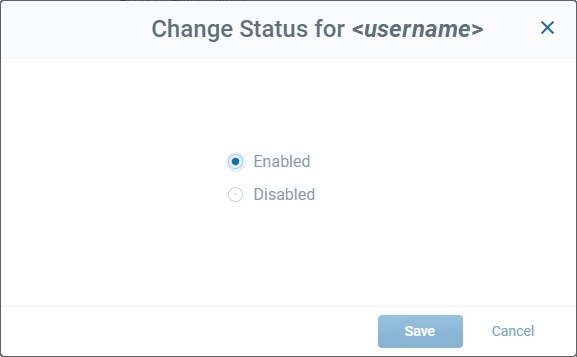
3. Click ![]() . The ensuing "Change Status for ..." window will be adapted to the current status of the selected user(s).
. The ensuing "Change Status for ..." window will be adapted to the current status of the selected user(s).
Current Status = "Disabled" |
Current Status = "Enabled" |
|
|
4. Check the option that represents the opposite status to the current one and click ![]() . This button only becomes active after you have checked a different status from the current one.
. This button only becomes active after you have checked a different status from the current one.
The status changes are immediately applied to the selected user(s).
To Enable/Disable a User in a "User Details" Page
You can enable/disable a user whenever necessary as long as his status, at the time, is NOT "Pending" or "Pending Password Request" because these 2 statuses are managed by the system and relate to the setup/reset of the user's password (the Status Change button is deactivated).
If you change a user's status to "Disabled", he will NOT be able to access MCL-Mobility Platform until you change it back to "Enabled".
Step-by-step
1. Open the "User Details" page of the user whose status you want to change.
2. Confirm the user's current status. You can only perform the alteration if the user is currently "Enabled" or "Disabled".
The status is displayed in the left panel, below his username.
![]() OR
OR ![]()
3. Click ![]() and, then, change the user's status in the ensuing window:
and, then, change the user's status in the ensuing window:
User's Current Status = "Disabled" |
User's Current Status = "Enabled" |
|
|
4. Check the option that represents the opposite status to the current one and click ![]() which is, now, active.
which is, now, active.
The status changes are immediately applied to the selected user.