Barcode
Overview
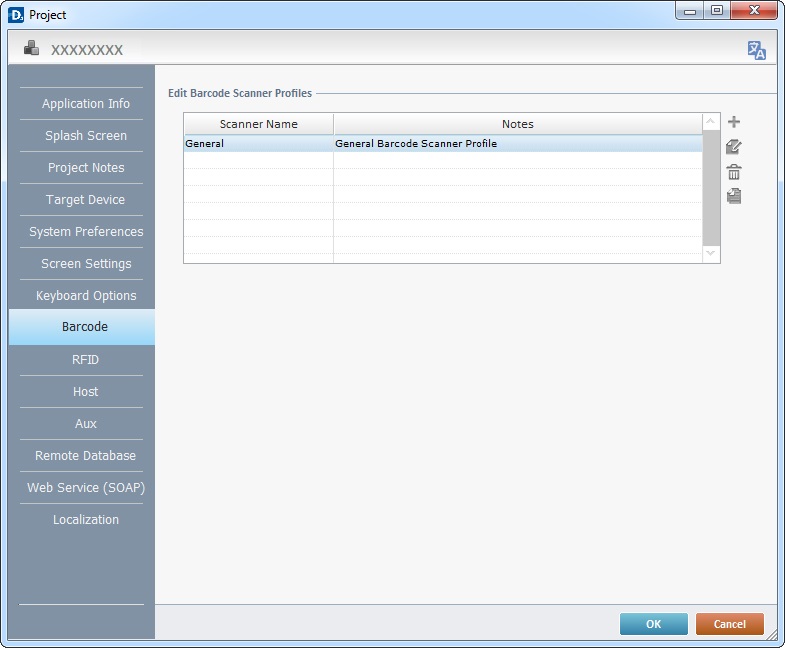
This tab displays the Barcode Scanner profiles contained within a project.
When a project is created, a barcode scanner profile is automatically generated (General scanner profile).
The barcode scanner profile(s) can be edited during project development (only unpublished projects can have their settings edited).

Use the ![]() icons located to the right of the table to, respectively, add, delete, edit and copy scanner profiles.
icons located to the right of the table to, respectively, add, delete, edit and copy scanner profiles.
The default scanner profile, "General", includes generic scanner settings. This scanner profile is editable.
Click ![]() to apply the modifications OR proceed to another tab.
to apply the modifications OR proceed to another tab.
To have more details on creating/editing a Barcode Scanner profile, see:
To Create a Barcode Scanner Profile
To Edit a Barcode Scanner Profile
To Create a Barcode Scanner Profile
Step-by-step
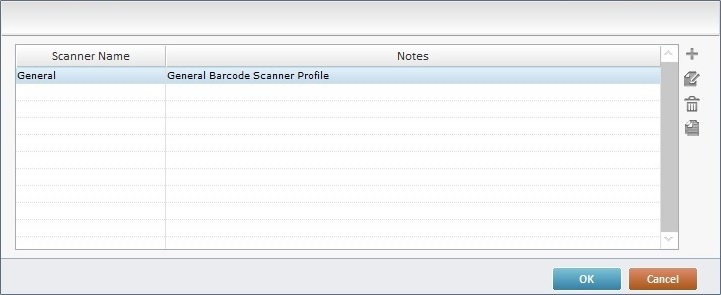
1. Use one of the following to open the table with the existing scanner profiles:
a. Open the "Barcode" tab of the current project's properties window (Project menu ,in the Menu Bar>Properties option>Barcode tab).
b. Click ![]() in the "Input Barcode" object's properties window.
in the "Input Barcode" object's properties window.

2. Click ![]() (located to the right of the table).
(located to the right of the table).

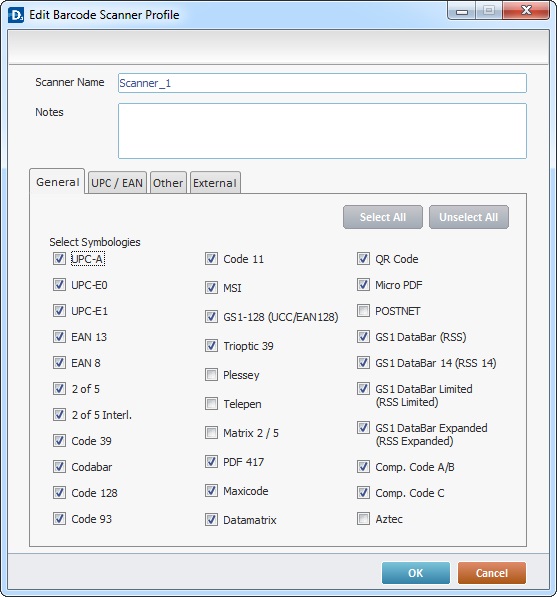
3. In the "Scanner Name" box, maintain the suggestion or enter a name for the new scanner profile.
A profile name is a logical name given by the developer and used to easily identify a profile for later use.
4. If relevant, fill in the "Notes" box.
5. Construct a profile by going to each tab (General>UPC/EAN>Other>External) and selecting the required options.
Detail of the "General" tab
|
The "General" tab is open by default. Check the required options from the available list of barcode symbologies. Use the Click |
Detail of the "UPC/EAN" tab
|
Check the required options according to the profile that is being created. Click |
Detail of "Other" tab
|
Check the required options according to the profile that is being created. Click |
Detail of "External" tab
|
If you want to use an external scanner connected to the device via an RS-232 port (COM Port), check “Use External Scanner”. Define the COM port options according to the profile that is being created. Click
|
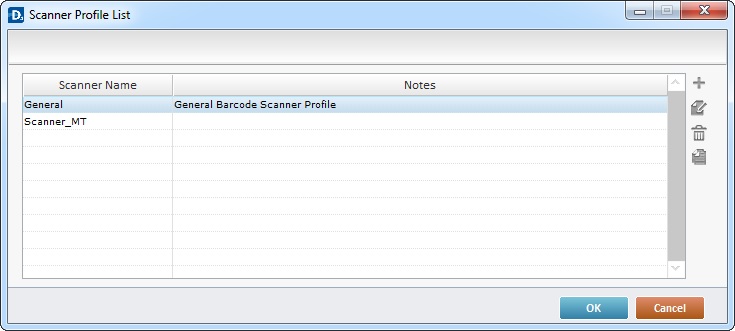
6. Back in the "Scanner Profile List", click ![]() to apply the selected options.
to apply the selected options.
To Edit a Barcode Scanner Profile
1. Use one of the following to open the "Scanner Profile List":
a. Open the "Barcode" tab of the project's properties window (Project menu ,in the Menu Bar>Properties option>Barcode tab).
b. Click ![]() in the "Input Barcode" object's properties window.
in the "Input Barcode" object's properties window.

2. Access the barcode scanner profile you want to edit. Double-click the intended scanner profile OR select it and click ![]() .
.

3. Maintain or edit the available options in the "General", "UPC / EAN", "Other" and "External" tabs, as required by the project.
4. Click ![]() to conclude or
to conclude or ![]() to abort the operation.
to abort the operation.