|
Working with Set Parameters Process |
  
|
Working with Set Parameters Process
|
Working with Set Parameters Process |
|
Process Purpose
The Set Parameters process is used to set the parameters of the device’s photo camera.
When you add a process, you are required to define its settings. This occurs in the process's properties window which is displayed automatically after having added the Set Parameters process.
If any subsequent edition is required, double-click the process to open its properties window and enter the necessary modifications.
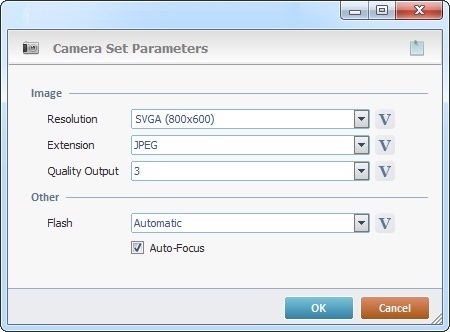
Fill in the following options:
Image |
|
Resolution |
Select the desired resolution for the image from the drop down list or click |
Extension |
Select the desired image file “extension” ("JPEG” or “PNG”)from the drop-down list or click |
Quality Output |
Only enabled if the selected “Extension” is “JPEG”. Select the desired “Quality Output” (“1”, “2” or “3”) from the drop-down list or click This setting is device dependent, some devices have better “JPEG” quality when set to “1” and others when set to “3”. |
Other |
|
Flash |
Select the “Flash” options (“Automatic”; “Not Activated” or “Activated”) from the drop-down list or click |
Auto-Focus |
Check this option to use the Auto-Focus parameter of the device's photo camera. |
If required, click ![]() to attach any relevant notes to this process. Click it and enter your notes in the resulting text box. These notes will be displayed in the corresponding "Actions" tab or "Process" window (in the "Notes" field) and in the "Developer Report".
to attach any relevant notes to this process. Click it and enter your notes in the resulting text box. These notes will be displayed in the corresponding "Actions" tab or "Process" window (in the "Notes" field) and in the "Developer Report".
After filling in the required options, click ![]() to conclude or
to conclude or ![]() to abort the operation.
to abort the operation.
The added process is displayed in the corresponding "Actions" tab or "Process" window.
![]()
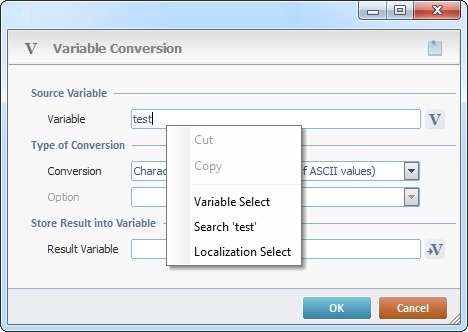
Use the right click in MCL-Designer's input boxes to access certain features regarding the input box's option as well as general actions such as "Copy"; "Paste"; "Search".
Ex: If you right-click the "Variable" input box (included in a "Conversion's" properties window), you are provided with the "Search..."and "Variable Select" options.
If you right-click another input box, it will provide other possibilities.