Add an Add-on to an MCL-Client License |
  
|
Add an Add-on to an MCL-Client License |
|
Overview
An MCL-Client (perpetual) license includes a defined number of license units to be activated in devices and a Support Service (= access to software updates for a limited period of time + limited number of license unit transfers).
If required, you can extend the Support Service via an Add-on - the add-on is associated to the intended MCL-Client license (= "master license") that has already been registered in your MCL-License Manager account.
![]()
The purchased add-on MUST be compatible with the (perpetual) master license you want to associate it to. It must be of the same type (Std or Pro) and it must include the same number of license units. For instance, if the master license is an MCL-Client Pro license with 5 license units, the add-on must also be an MCL-Client Pro add-on with 5 license units. An MCL-Client Pro add-on with 10 license units or an MCL-Client Std add-on with 5 license units will NOT be compatible with that master license.
Feel free to contact MCL Support for more details on the available add-ons for your setup.
After the purchase of an MCL-Client add-on, you receive an email (subject: "Add-on Delivery Notification") with information regarding that product and a link to MCL-License Manager.
Save this email because it contains information that may be used in the add-on addition (ex: the add-on activation code).
It is possible to associate an add-on to a license via the "Registration Link" (link provided by the "Add-on Delivery Notification" email) OR to perform the addition in the "License Activations" page of the target license (= "master license").
See Add-on Addition via Registration Link below and/or Add-on Addition in the "License Activations" Page (MCL-License Manager Account).
Add-on Addition via Registration Link
Step-by-step
1. Click the link ("Registration Link") provided by the email you receive when purchasing an MCL-Client add-on (subject: "Add-on Delivery Notification").
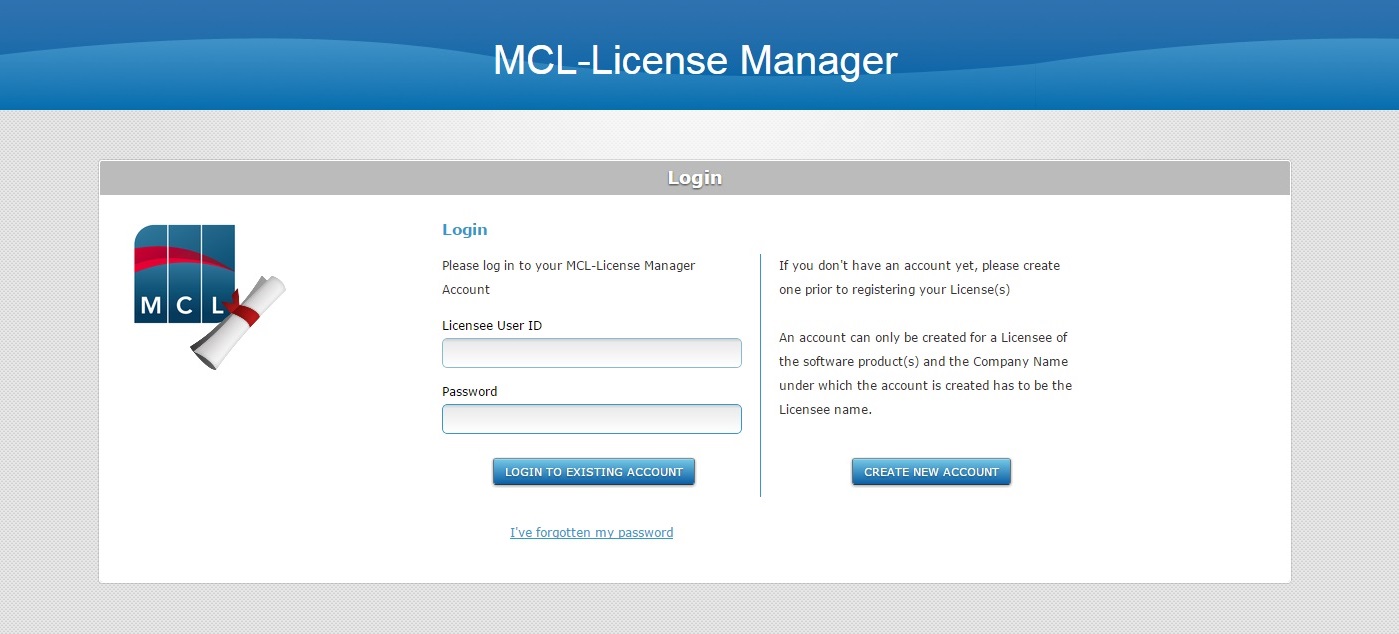
2. Enter the username and password in the corresponding fields and click ![]() to log in to your MCL-License Manager account.
to log in to your MCL-License Manager account.
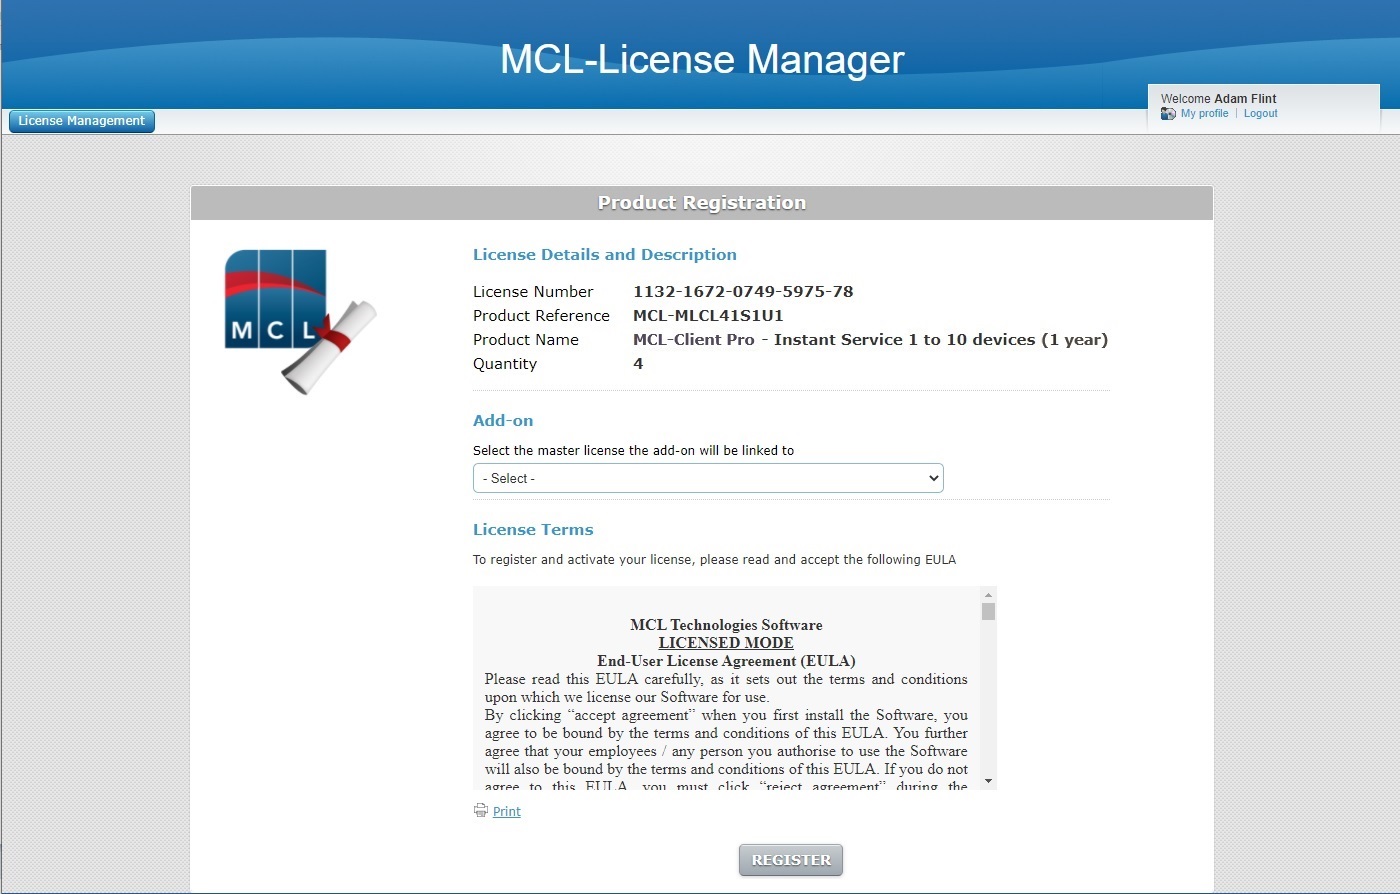
3. Select the MCL-Client license that will include the new add-on from the drop-down.
4. Read the add-on's "EULA" document (scroll down to access the text and activate the ![]() button).
button).
If required, click ![]() to print the "EULA" document.
to print the "EULA" document.
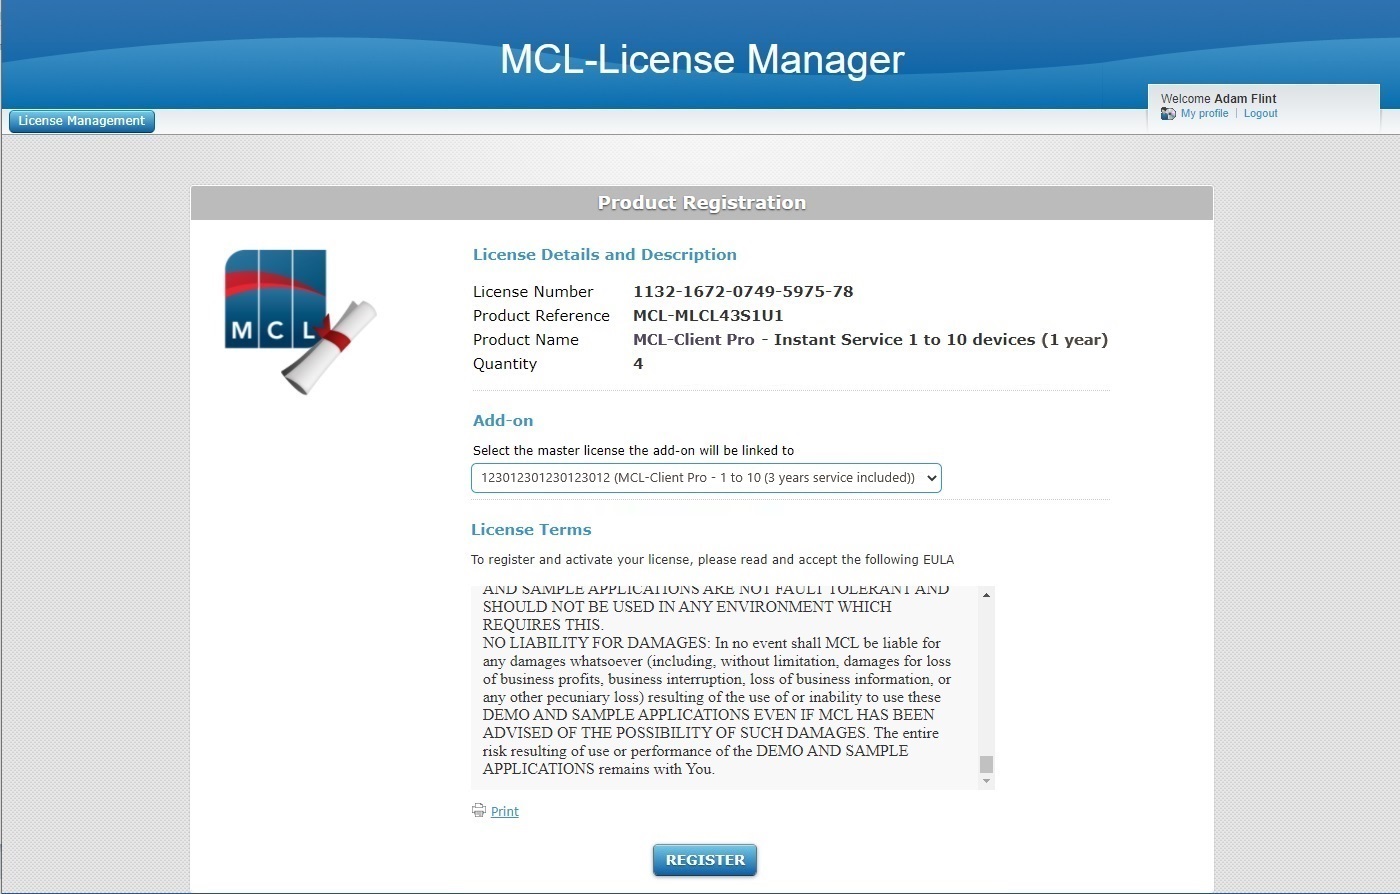
5. Click ![]() . (This button only activates after you have scrolled down the "EULA" document.)
. (This button only activates after you have scrolled down the "EULA" document.)
At this point, you receive an email (subject: "Add-on Activation") with the product name, product reference, add-on number and the master license number as well as a link ("License administration") to access your MCL-License Manager account.
The next page displays add-on and company/licensee details.
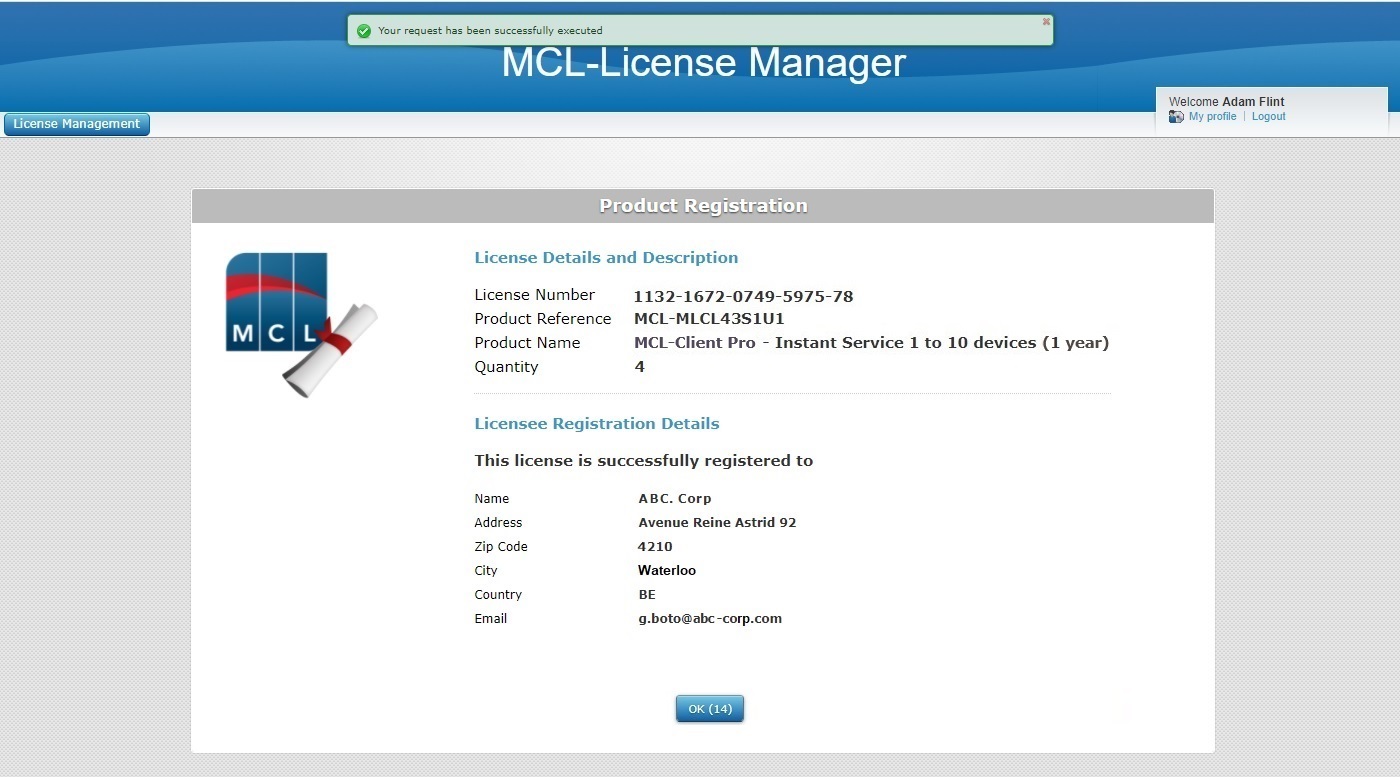
6. Click ![]() to open the "Licenses" page immediately or wait for the countdown (in the "OK" button) to end.
to open the "Licenses" page immediately or wait for the countdown (in the "OK" button) to end.
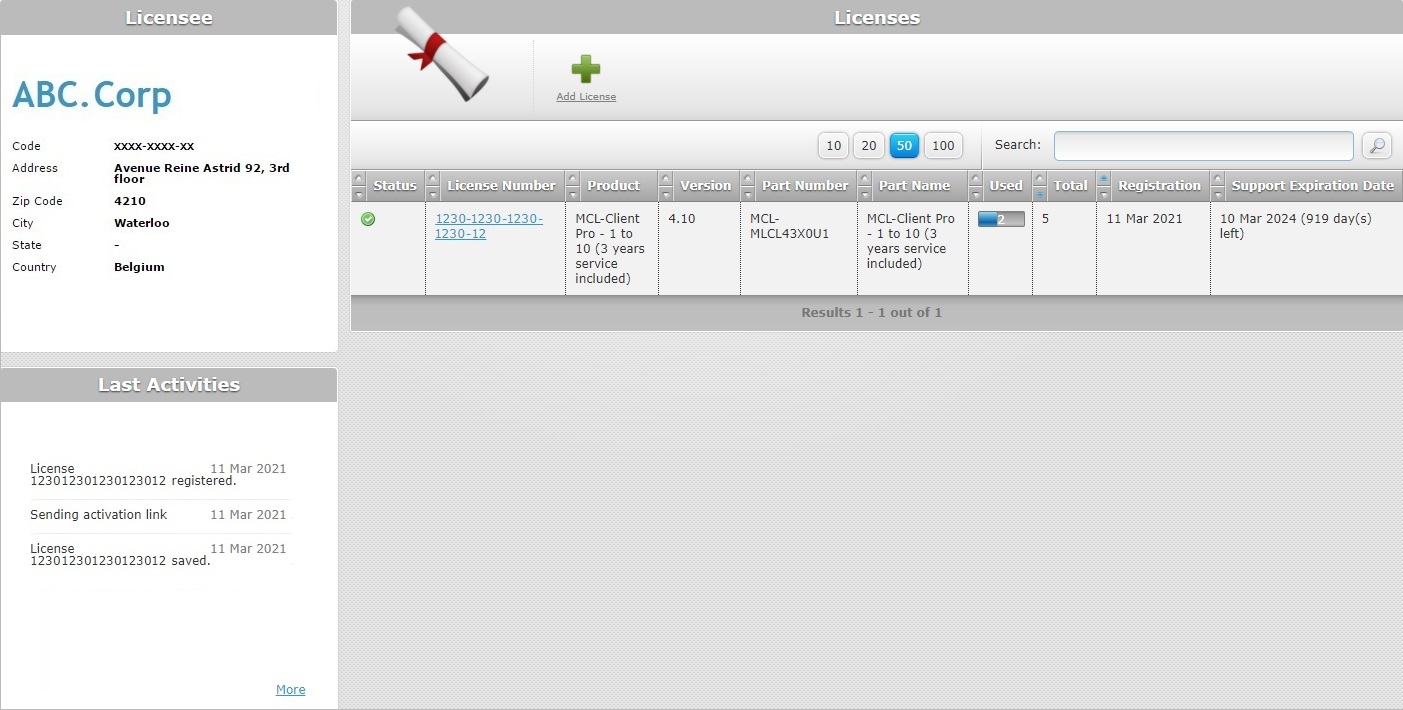
7. Click the number (displayed in blue) of the license you associated the add-on to to open the corresponding "License Activations" page.
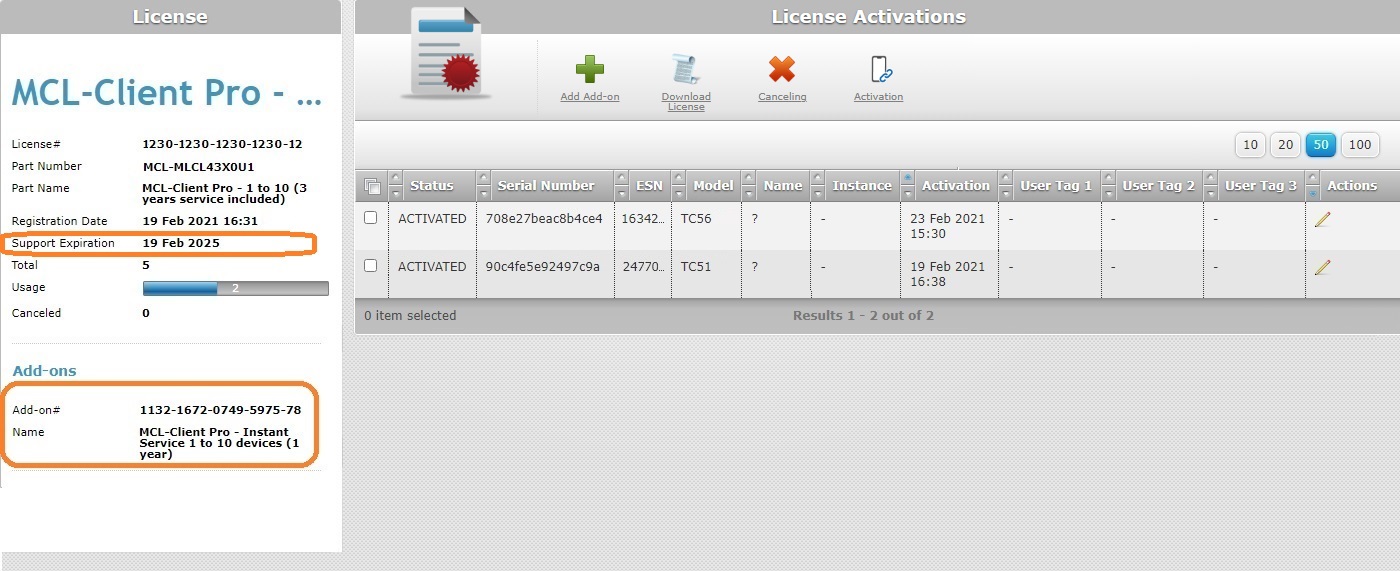
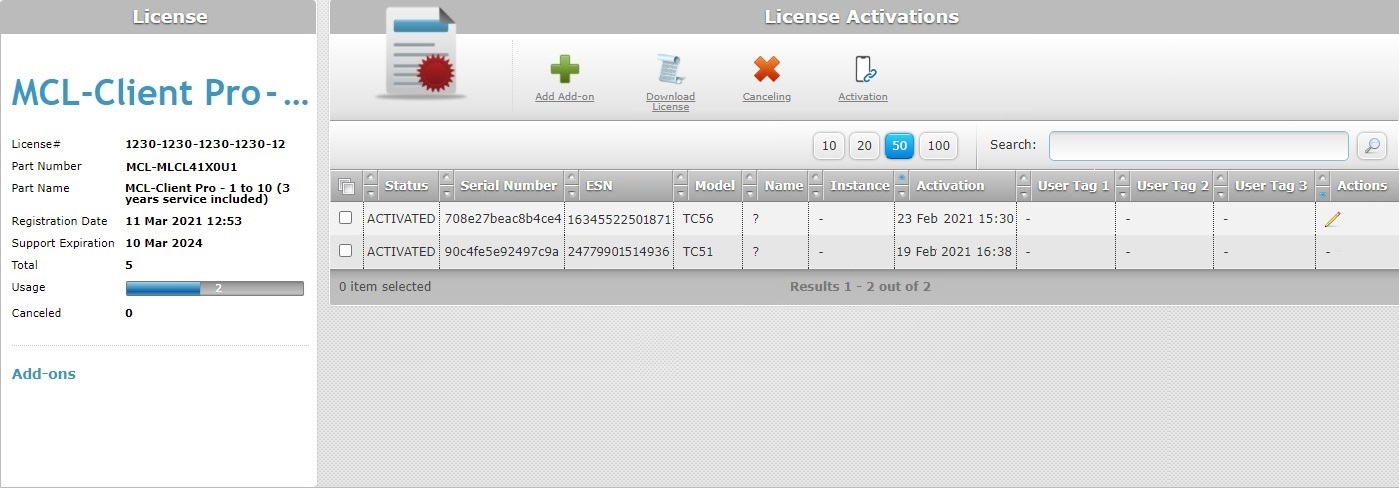
The add-on details are displayed to the left, in the "Add-ons" sub-section.
Add-on Addition in the "License Activations" Page (MCL-License Manager Account)
Step-by-step
1. Access your MCL-License Manager account and log in.
![]() Enter https://license.mcl4e.com/mclls/licensing/login.html in your internet browser to open your MCL-License Manager account.
Enter https://license.mcl4e.com/mclls/licensing/login.html in your internet browser to open your MCL-License Manager account.
You can also use the links included in received MCL emails (ex: link in the email you receive after purchasing an MCL (perpetual) license).
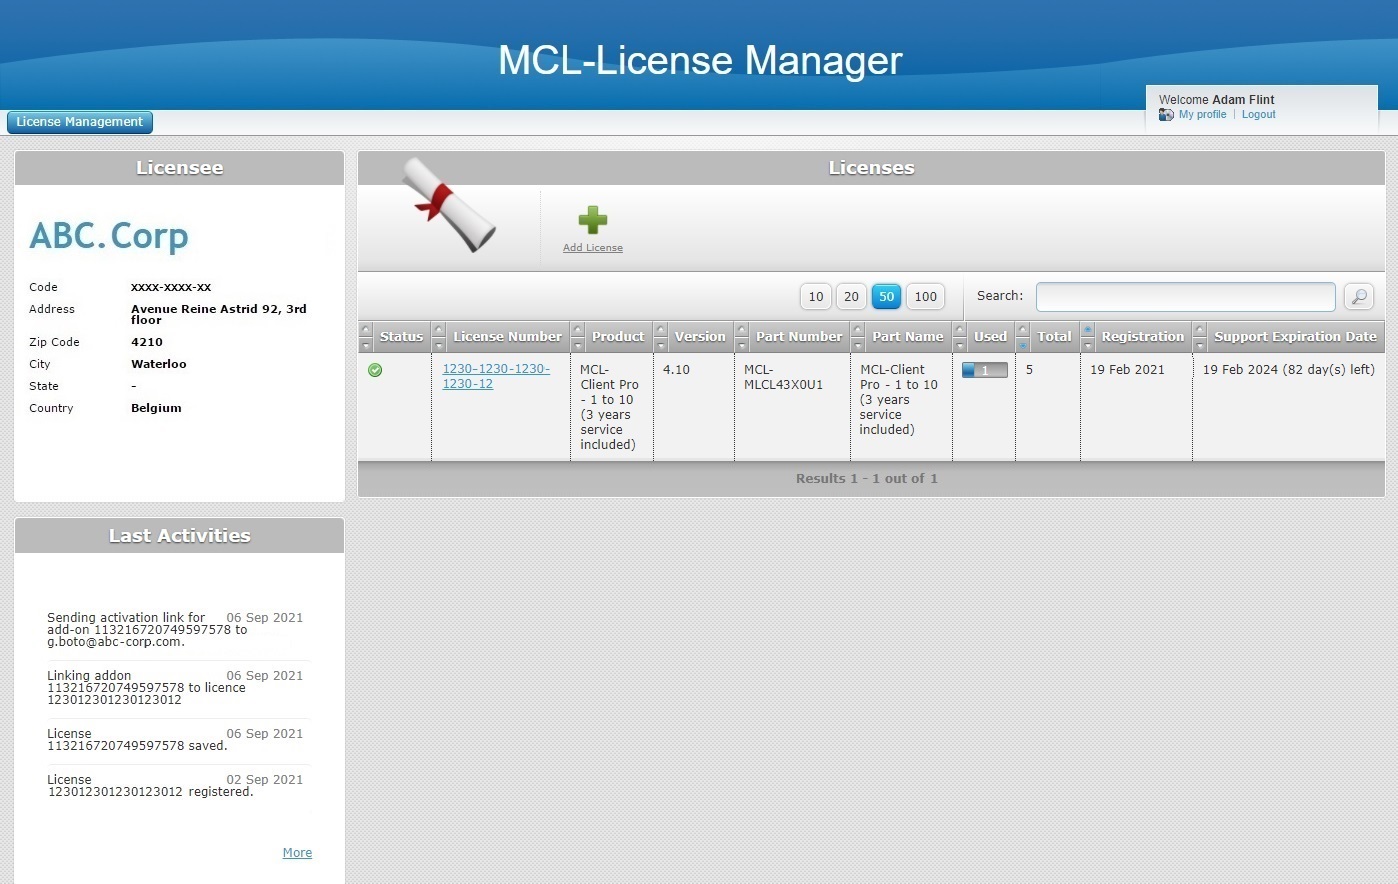
2. Click the number of the MCL-Client license you want to associate the add-on to (displayed in light blue).
3. Click  .
.

4. Enter the add-on number and activation code (information provided by the "Add-on Delivery Notification" email).
5. Read the "EULA" terms regarding the new add-on (scroll down to access the text and activate the ![]() button).
button).
If required, click ![]() to print the "EULA" document.
to print the "EULA" document.
6. Click ![]() to conclude the operation. (This button only activates after you have scrolled down the "EULA" document).
to conclude the operation. (This button only activates after you have scrolled down the "EULA" document).

The add-on details are displayed in the left panel, in the "Add-ons" sub-section.