|
Editing a Deployment |
  
|
Editing a Deployment
|
Editing a Deployment |
|
Overview
Only deployments with a "Planned" or an "Active" status can be edited. The "Edit" option is NOT available in an ongoing deployment's "Deployment Plan Details" page, meaning, a deployment with a "Started" status is NOT editable.
Step-by-step
1. To access the Deployments sub-module, click ![]() ( in the Control Panel) and, in the resulting row below, click
( in the Control Panel) and, in the resulting row below, click ![]() .
.
This opens the "Deployment Plans" page.
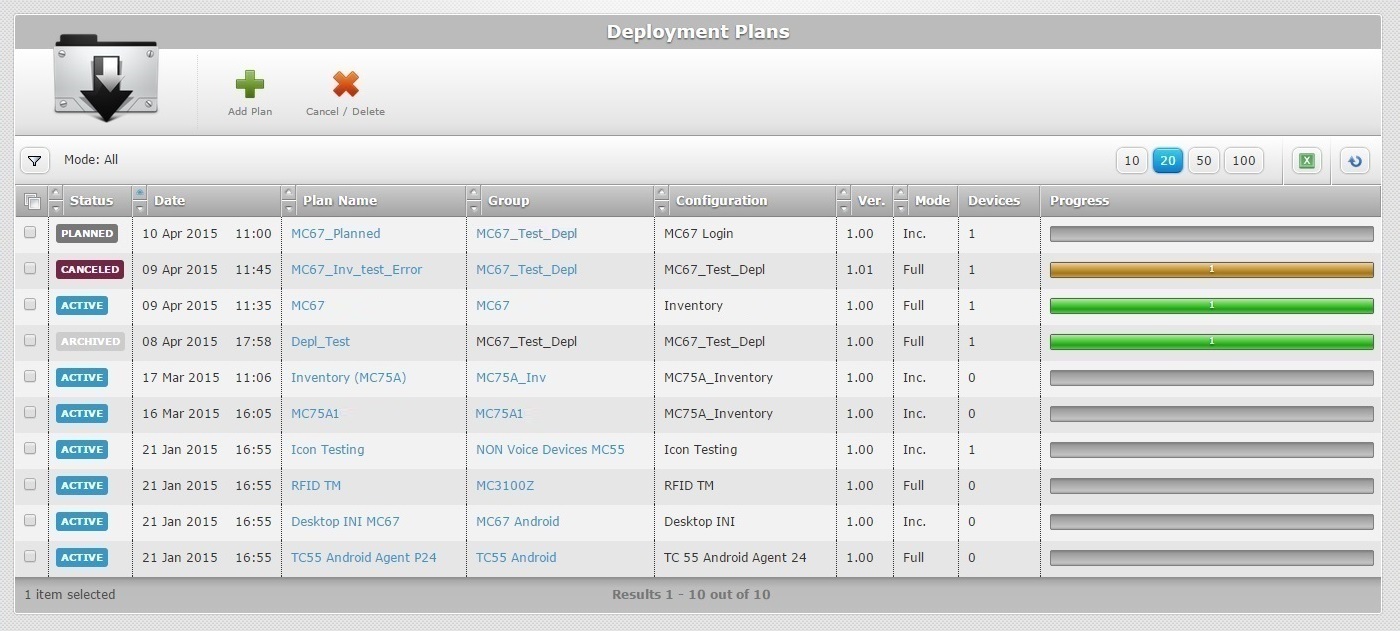
![]()
Make sure the selected view mode displays the planned and active deployments.
2. Click the name of the deployment you want to edit (displayed in light blue).
3. Click ![]() to set the page to "edit" mode.
to set the page to "edit" mode.
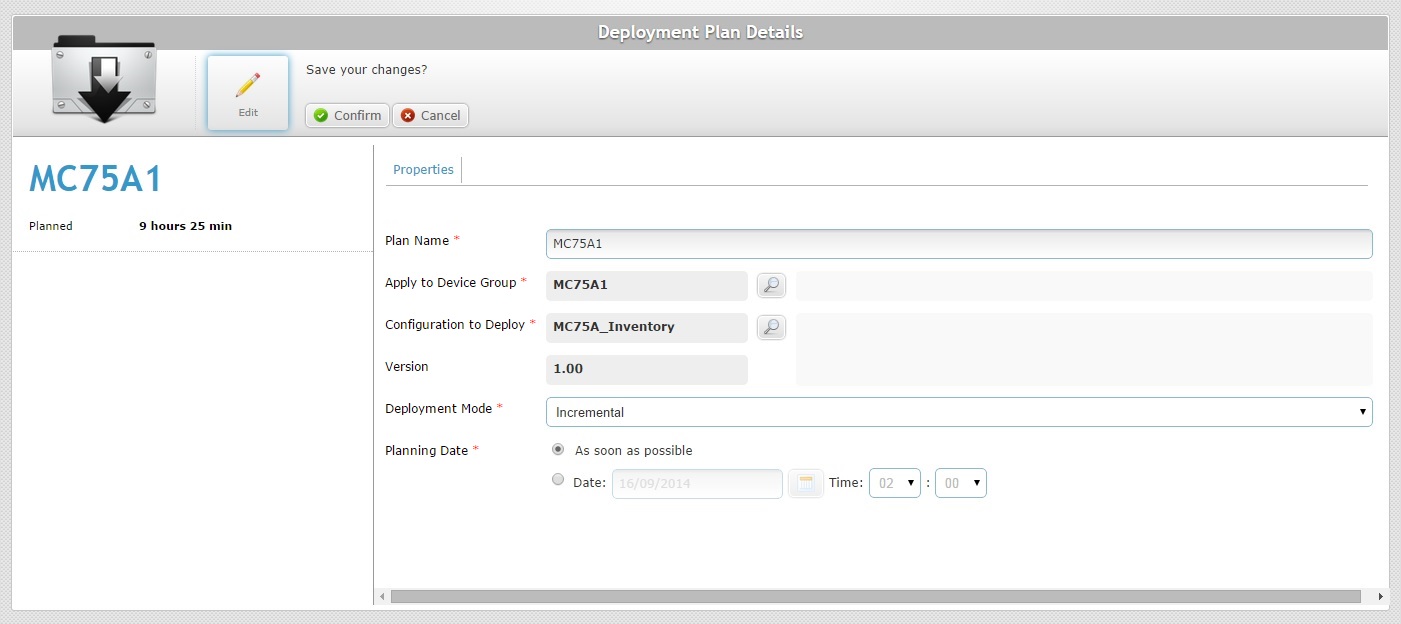
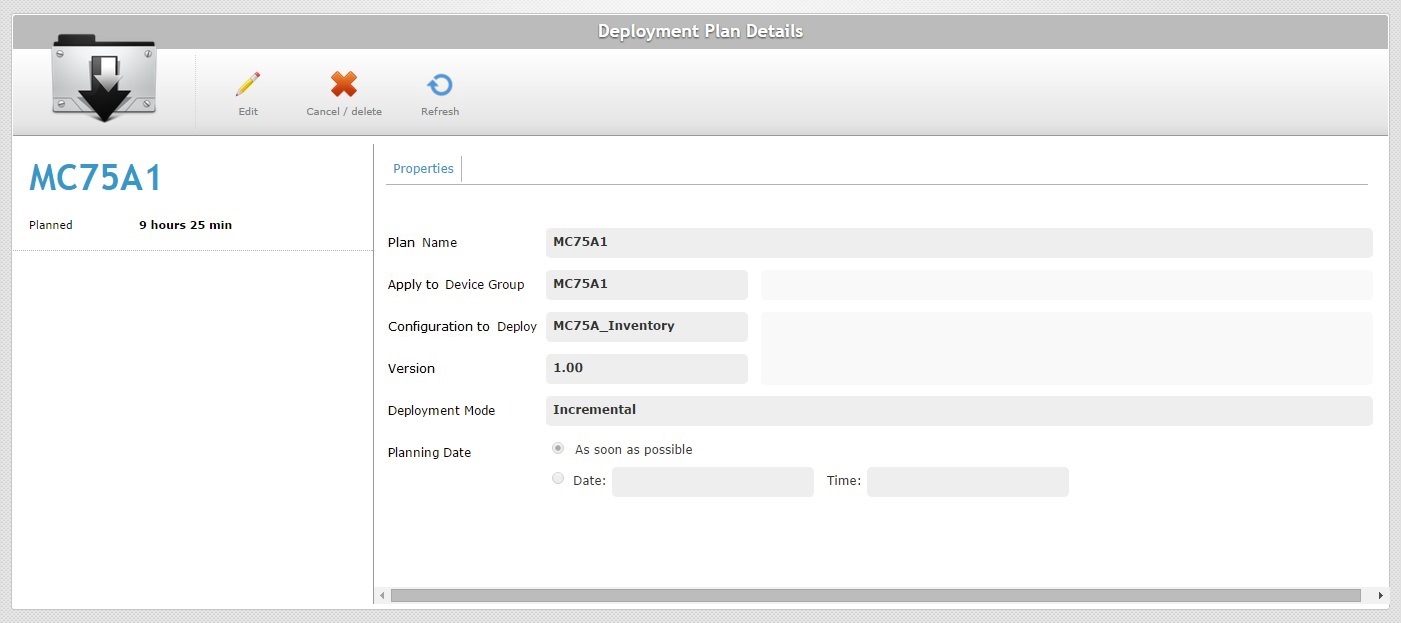
4. If required, modify the configuration and version, the mode and "Planning Date" in the "Properties" tab (the fields marked with an asterisk are mandatory):
Plan Name * |
Maintain or enter a new name for the deployment (minimum of 4 characters).
The underscore and/or dash characters are allowed. Start the deployment plan's name with an alphabetic character. |
||||||||||
|---|---|---|---|---|---|---|---|---|---|---|---|
Apply to Device Group * |
Maintain or select a different target device group (click the corresponding |
||||||||||
Configuration to Deploy * |
Maintain or select a different configuration for deployment (click the corresponding |
||||||||||
Version |
The selected configuration's version. This field is NOT editable, it is automatically filled in once a configuration is selected. |
||||||||||
Deployment Mode * |
Maintain or select another deployment mode: Incremental: only components present in the deployed configuration, that are not present in the device, will be implemented. Full Install: deletes all the MCL applications/firmware and forces the installation of the components present in the deployed configuration.
Check the following examples:
Due to their multipurpose nature, Misc files are an exception. No matter what the selected deployment mode (“Incremental” or “Full Install”), deployed misc files are NOT removed from the target device, they are added to it. |
||||||||||
Planning Date * |
Maintain or define a different planning date: As soon as possible: Check this option so that the deployment starts as soon as the device contacts the account and the deployment criteria are met. Date: Check this option and enter the intended date and time with the use of the |
5. To save your changes, click ![]() .
.