|
Generating a New QR Code for Pairing/Staging |
  
|
Generating a New QR Code for Pairing/Staging
|
Generating a New QR Code for Pairing/Staging |
|
Overview
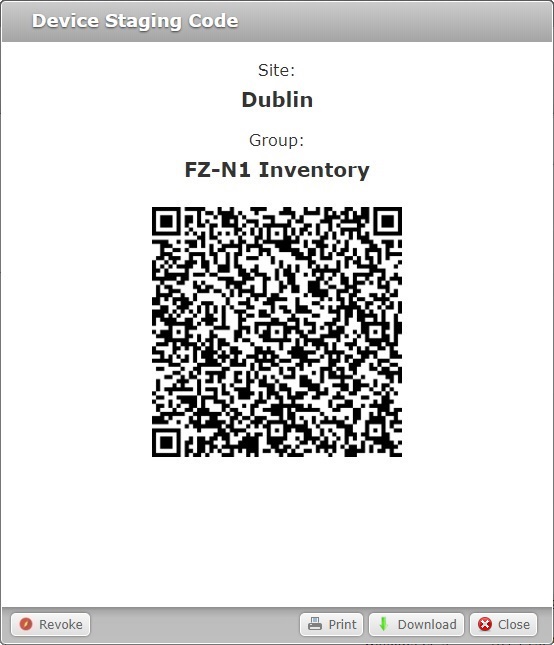
The QR Code is an essential element for the pairing and, eventual, staging operations. It is generated in the details page of the device group you want to associate a device to or get the network settings from. It contains information on the destination device group's identity/location (pairing information) and, optionally, information on the device group's settings, namely, the network profiles defined for Cellular and/or Wifi communication between its devices and the account (staging information).
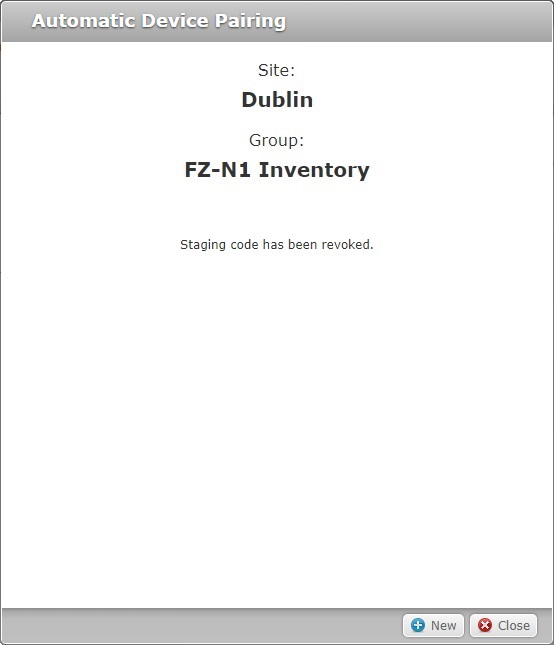
If for some reason, the QR Code is revoked (ex: for security reasons), you must generate a new one before attempting to pair devices/execute a staging again.
The information contained in the QR code can also be delivered in a file format, specifically, with an "*.mcfg" file. If there is no active QR code (ex: because it was revoked), you must generate a QR code with the necessary information and, ONLY then, will you have access to the "File" option and can download the information needed for the pairing/staging.
Whenever you access the ![]() option and, then, select the active QR code/"*.mcfg" file, its information is refreshed with any edition you may have performed.
option and, then, select the active QR code/"*.mcfg" file, its information is refreshed with any edition you may have performed.
The creating of a new QR code for a device group is performed in the device group's own details page ("Device Group Details" page).
To generate a QR Code for the "Unassigned" device group, access the "Pairing" button in the "Devices" page.
To Generate a QR Code in a Device Group's "... Details" Page
This operation is only possible if there is no currently active QR code for the intended device group.
Ex: A device group will NOT have an active QR Code if it has been previously revoked (see Revoking the QR Code for Pairing/Staging).
Step-by-step
1. Click  in the "Control Panel".
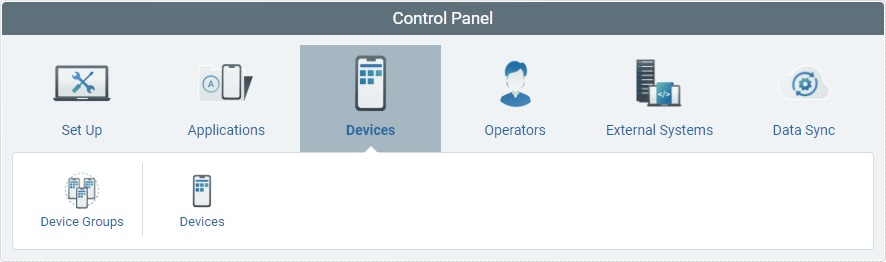
2. In the resulting row below, click ![]() to access the "Device Groups" page.
to access the "Device Groups" page.
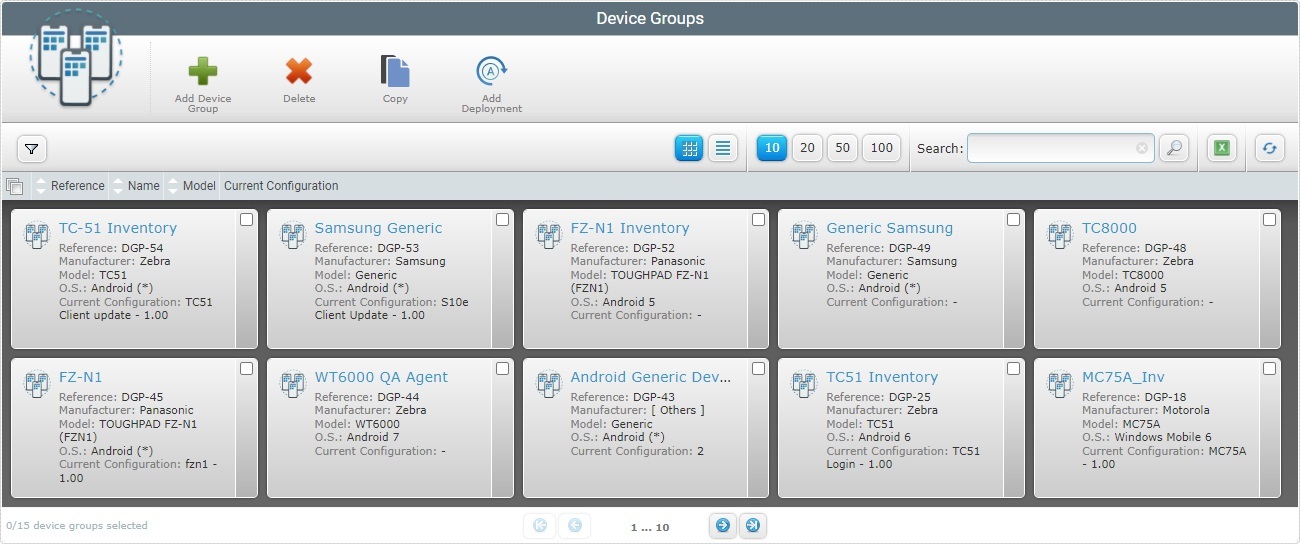
3. Click the intended device group's name (displayed in light blue).
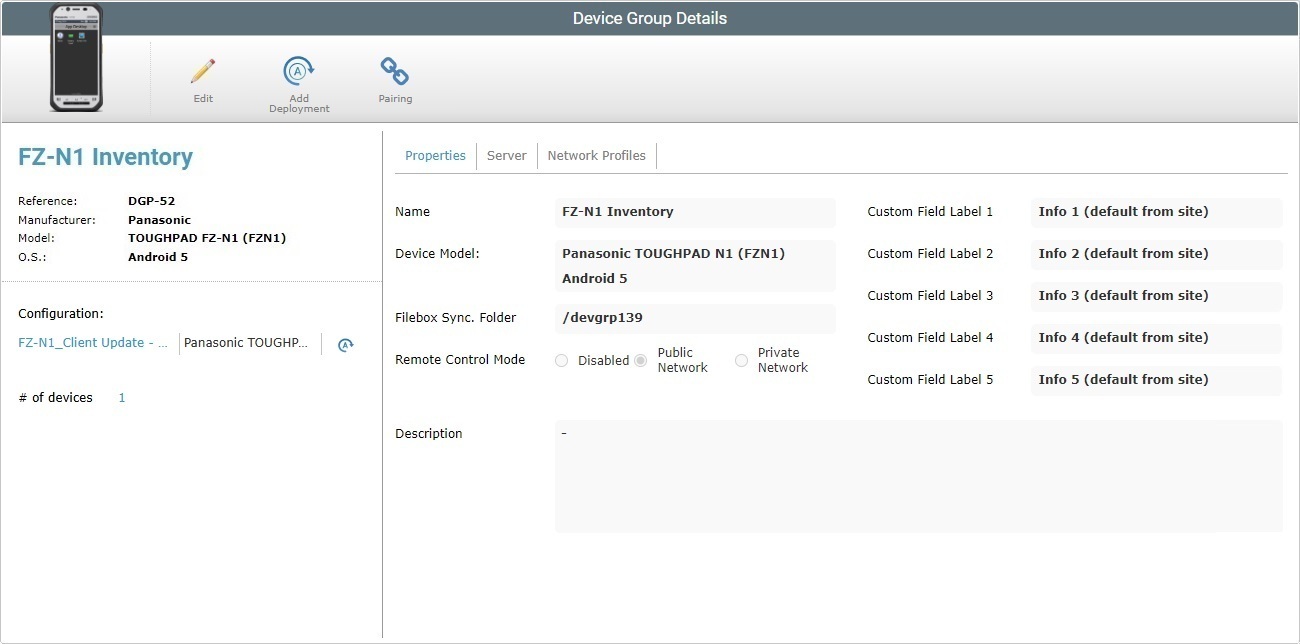
4. Click ![]() .
.
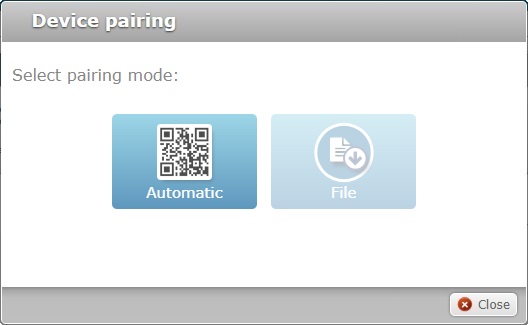
5. Click ![]() .
.
6. Click ![]() to continue.
to continue.
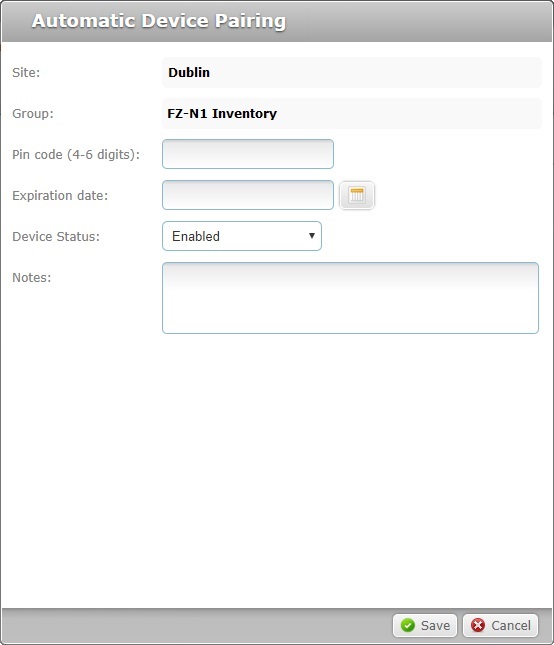
7. Fill in the fields that are editable:
Site |
Refers the current site. Not editable. |
Group |
Refers the selected device group. Not editable. |
Pin code |
If required, you can create the need for a PIN code when using the Automatic mode for the devices associating to this device group (after reading the QR code, the operator is forced to enter the defined PIN code to complete the pairing/staging operation). Enter a PIN code: Use 4 to 6 numeric characters ONLY(0-9) .
Leave the field empty, if you do NOT require the use of a PIN code for the automatic pairing/staging operation. |
Expiration Date |
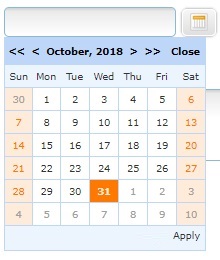
If required, define an expiration date for the generated code. Enter a beginning and an ending date (DD/MM/YYYY) or use the a. Click the corresponding
b. Select the appropriate date. Use the <</</>/>> to navigate the months/years. If you want to exit the calendar, click
c. Click
Leave the field empty, if you do NOT want the QR Code to expire. |
Device Status |
Define the status the device should have after it is paired with the device group. Maintain"Enabled" (default option) or select "Disabled" or "Locked". |
Notes |
If relevant, add information regarding the created QR Code. |
8. Click ![]() to complete the operation.
to complete the operation.
The newly created QR Code is ready for use.
To Generate a QR Code in the "Devices" Page
![]()
To perform this, you MUST first have revoked the QR Code for the "Unassigned" device group. See Revoking the QR Code for Pairing/Staging.
This step-by-step is ONLY meant for the generating of aQR Code for the "Unassigned" device group.
Step-by-step
1. To access the Devices sub-module, click .
2. In the resulting row below, click  to open the "Devices" page.
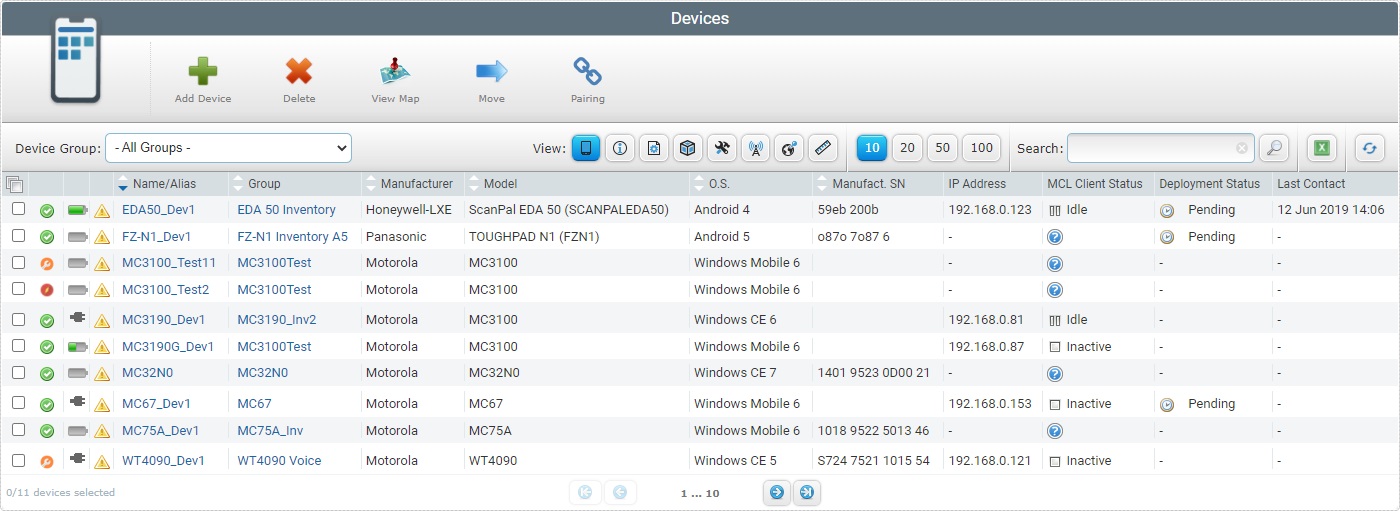
3. Click ![]() .
.
4. Click ![]() to open the pop-up window with the QR Code.
to open the pop-up window with the QR Code.
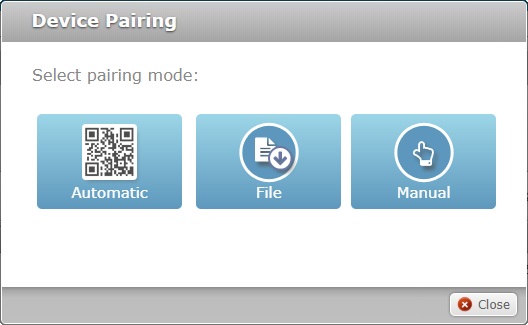
5. Click ![]() to continue.
to continue.
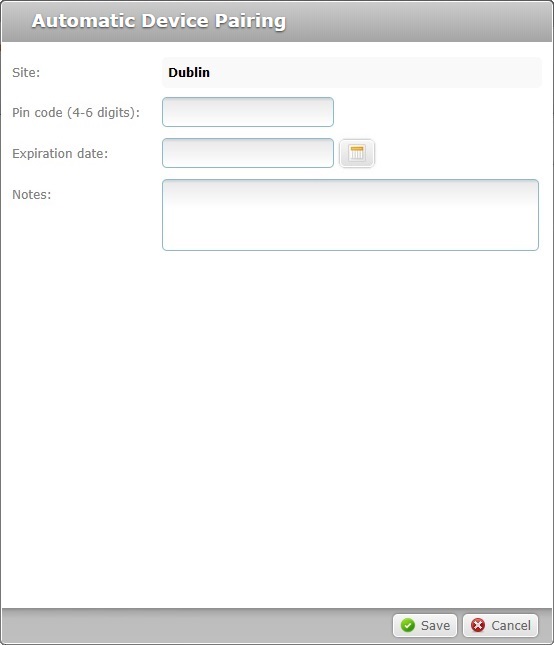
6. Fill in the editable fields:
Site |
Refers the current site. Not editable. |
Pin code |
If required, you can create the need for a PIN code when using the "Automatic mode" for the devices associating to this device group (after reading the QR code, the operator is forced to enter the defined PIN code to complete the pairing/staging operation). Enter a PIN code: Use 4 to 6 numeric characters ONLY (0-9).
Leave the field empty, if you do NOT need a PIN code to be used in the pairing/staging operation. |
Expiration Date |
If required, define an expiration date for the generated code. Enter a beginning and an ending date (DD/MM/YYYY) or use the a. Click the corresponding
b. Select the appropriate date. Use the <</</>/>> to navigate the months/years. If you want to exit the calendar, click
c. Click
Leave the field empty, if you do NOT want the QR Code to expire. |
Notes |
If relevant, add information regarding the created QR Code. |
7. Click ![]() to complete the operation.
to complete the operation.
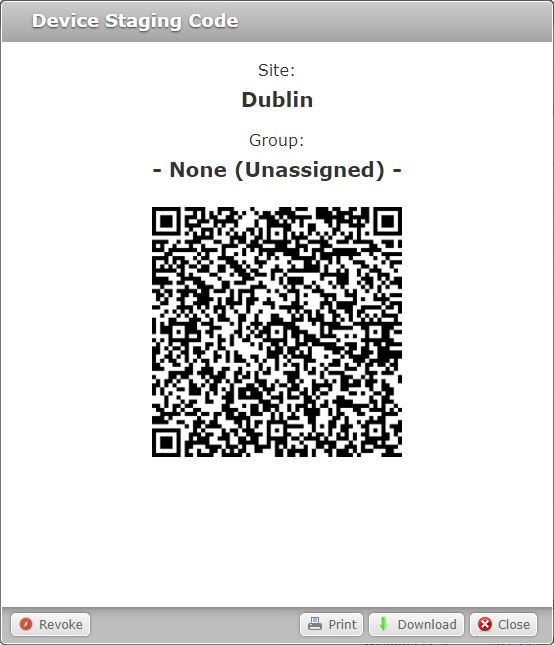
The newly created QR Code is ready for use.