|
Adding a Device/Staging a Device |
  
|
Adding a Device/Staging a Device
|
Adding a Device/Staging a Device |
|
Overview
Devices are added to a Device Group within a site (pairing operation) and they adopt its settings (ex: network settings) through a staging operation. See Pairing and Staging Operations.
These operations can be sequential (first the pairing, then, the staging) or simultaneous - You can connect a device to your MCL-Mobility Platform account, specifically, to a device group, and provide the necessary settings/network profiles associated to that target device group so the device can be configured accordingly, at the same time.
There are 4 modes of Pairing/Staging:
•Automatic mode - ONLY available for Android devices (with camera).
This mode allows you to pair the device or pair and configure a device with the network settings defined in the destination device group. This mode is based on the use of a QR code that contains pairing and, optionally, staging information (ex: the used wifi/cellular profile) which is delivered and adopted by the device after it scans the QR code.
See Automatic Pairing/Staging.
•File mode - Available for all supported Windows Mobile/Windows CE and Android devices. More suited for Mass Pairing/Staging (the pairing/staging of a large number of devices, at the same time).
This mode uses an "*.mcfg" file ,provided by the destination device group, which has to be copied/installed into your device(s).
This file includes the current pairing information and, if available, the current staging information (ex: network settings).
See File Pairing/Staging.
•Pairing/Staging between Devices - ONLY available for Android devices with camera or NFC.
Executed between 2 devices - a device that is NOT connected to the account or has outdated settings (= "secondary device") retrieves the available pairing/staging information from another device that is already associated to the account and is configured with the required settings - the "master device".
The "secondary device" can read the QR code displayed on the "master device's" screen with its camera or it can use NFC, if both devices have that feature. Once copied, the information is applied by the "secondary device", meaning, it pairs with the same device group that already includes the "master device" and, if there is any staging information, it adopts the same configurations in its OS and/or MCL environment. See Pairing/Staging between Devices.
![]()
The Pairing/Staging via NFC is NOT available for devices running MCL-Client 4.20P01 or higher.
•Manual mode - This mode only contemplates the pairing operation and is available for all supported Windows Mobile/Windows CE and Android devices.
The Manual pairing consists of adding a pin code, provided by the device's MCL-Agent, to the account to establish a link between the account and the device.
This mode is adapted to the device's OS, meaning, it provides different options for the pairing of a Windows Mobile/Windows CE device and an Android device.
See Manual Pairing.
![]()
To ensure the simultaneous pairing and staging of a new device (using the "Automatic" mode or "File" mode), the site must have a device group with the appropriate settings, meaning, compatible with the new device's type and with the necessary network profile(s). If there is none, create a compatible device group and define the appropriate wifi/cellular profile for it. That information will be included in the corresponding QR code/"*.mcfg" file, when generated.
For details on creating a device group, see Creating a Device Group.
For more information on network profiles, see Cellular Network Profile Creation and/or Wifi Network Profile Creation;
![]() Prior to any pairing (and possible staging) operation, you MUST install the compatible MCL-Agent into the devices.
Prior to any pairing (and possible staging) operation, you MUST install the compatible MCL-Agent into the devices.
To install MCL-Agent in a Windows Mobile device, see Installing MCL-Agent into a Windows Mobile/CE Device.
To install MCL-Agent in an Android device, see Installing MCL-Agent into an Android Device.
If required, you can add an entry to the device list with a device's information/details. This will NOT automatically establish a link between the account and that device. The added entry will be static until a device with the same SSN (and containing MCL-Agent) is connected to the account. In other words, when the actual device is paired with the account.
The entry is added via the "Devices" page. See Add Entry to Device List.
Installing MCL-Agent into a Windows Mobile/CE ![]() Device
Device
![]()
Depending on the device's manufacturer, download the most appropriate Windows Mobile or Windows CE MCL-Agent Package:
For more information, check our MCL-Technologies download website.
![]()
This package is to be used ONLY for initial installations (for devices without any MCL firmware installed). It CANNOT be used in any future deployments of a configuration (ex: for a downgrade).
Step-by-step
1. Turn on the device.
2. Connect the device to a computer, via USB.
3. In your PC, open Windows Mobile Device Center.
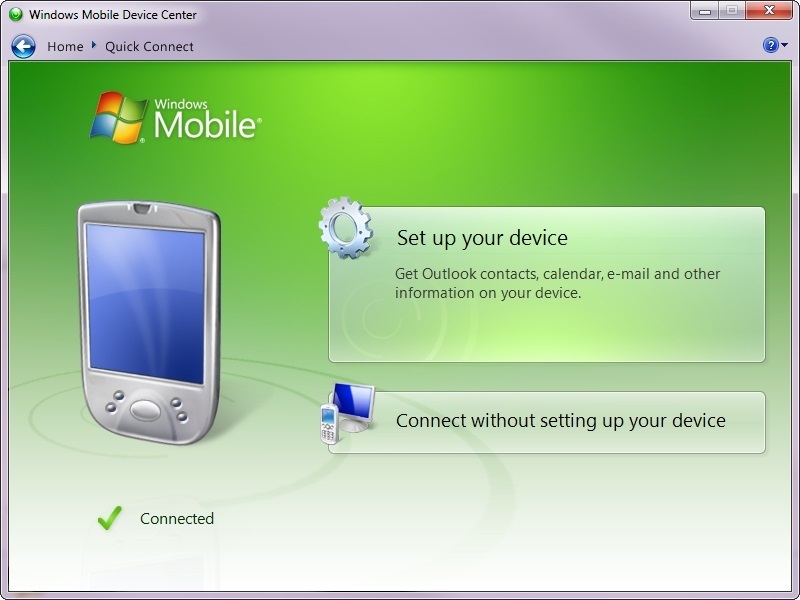
4. Select the "Connect without setting up your device" option.
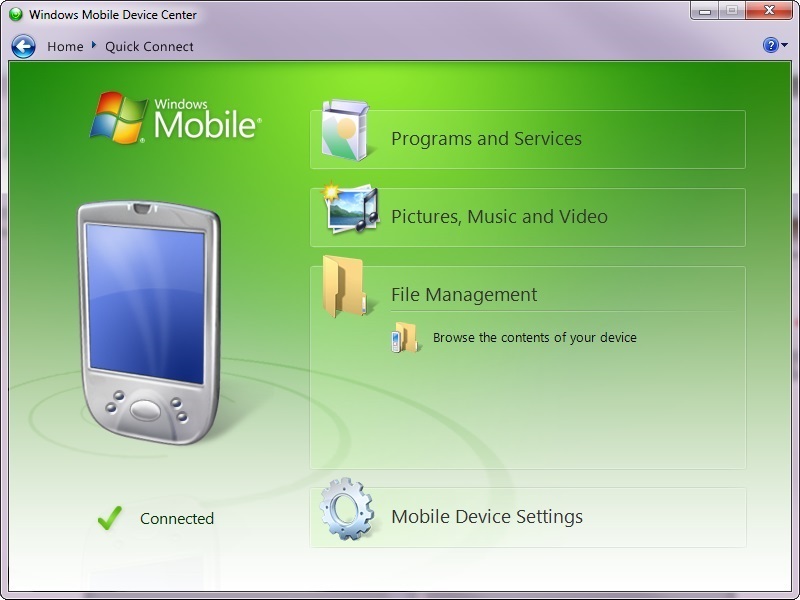
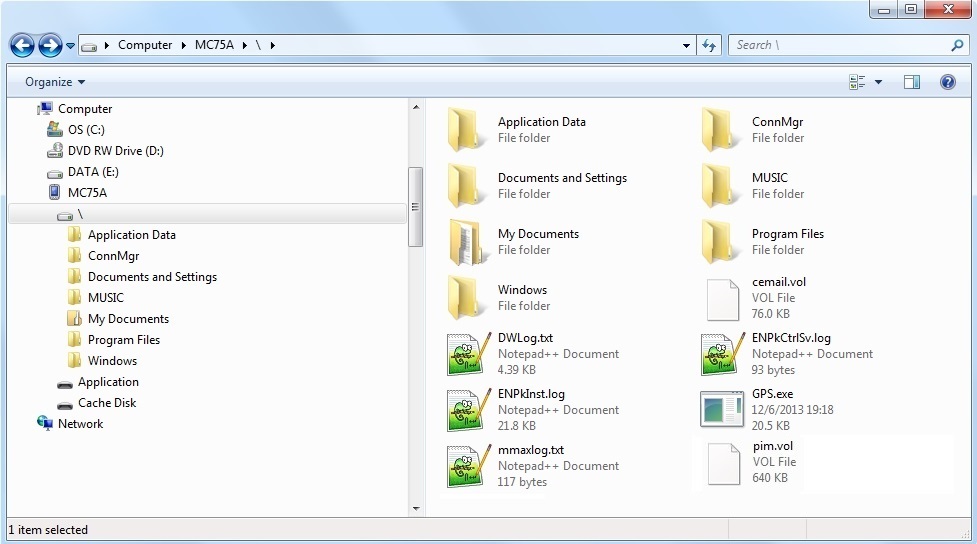
5. Click "File Management" and, then, "Browse the contents of your device" to browse, via your PC, for folders within your device.
6. Locate a folder, within the device, to copy the MCL-Agent files into.
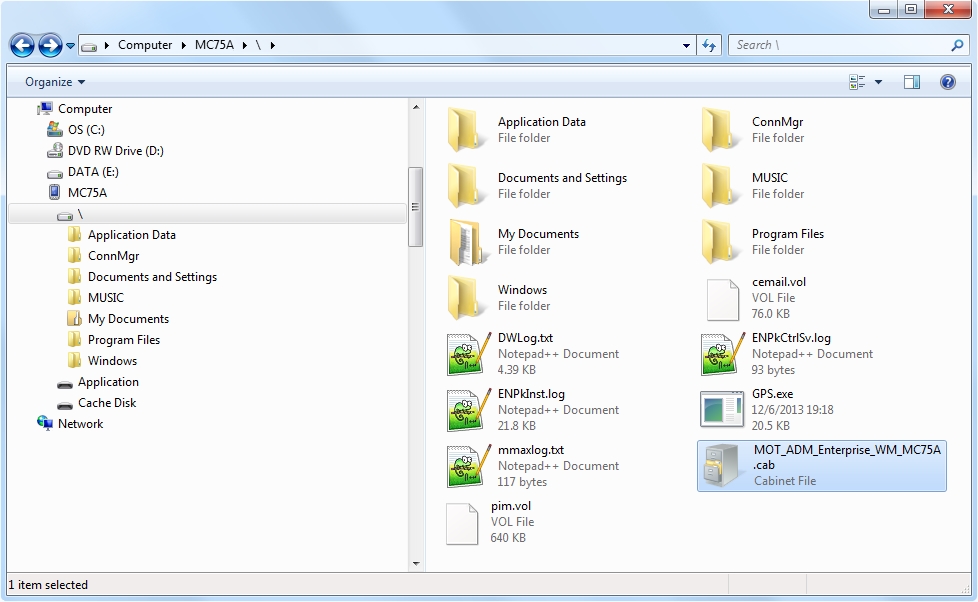
7. Drop the previously downloaded MCL-Agent Package into the folder within the device.
8. Back in your device's screen, locate the folder you have copied the MCL-Agent file into.
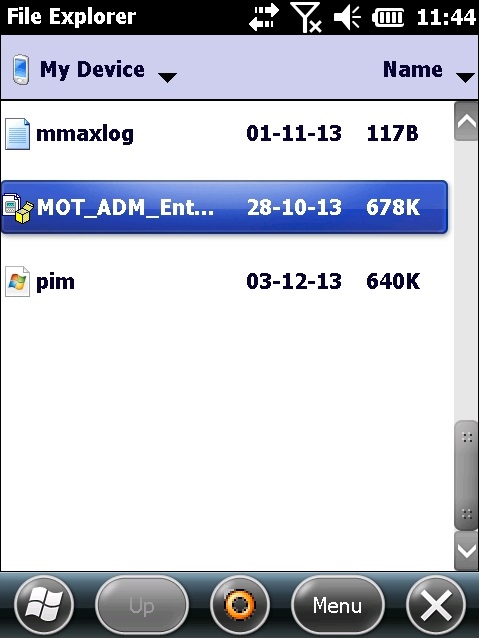
9. Click the "MOT_ADM_Ent..." package.
The selected package will automatically begin the installation.
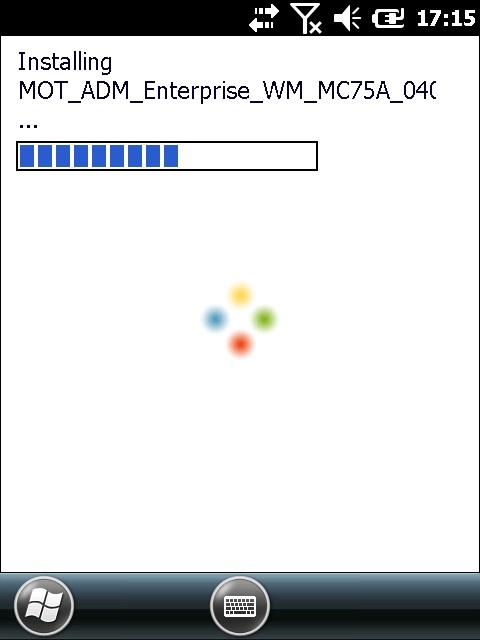
You can check the installation's progress. Once it is completed, you will view the following screen.
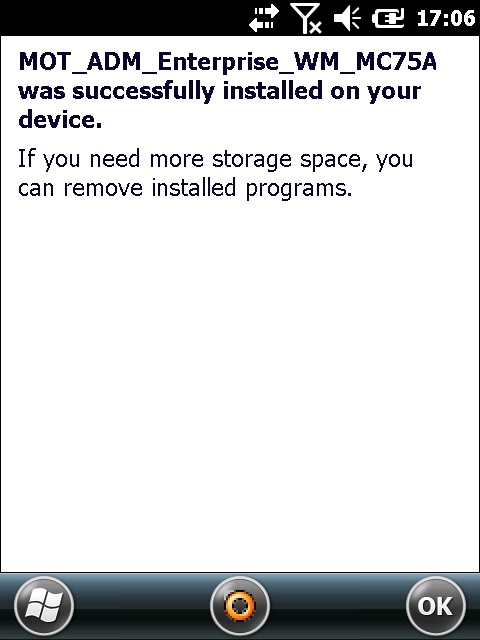
10. Click ![]() .
.
11. Perform a reboot to auto-start the MCL-Agent and App Desktop.
![]()
As an alternative, launch the MCL App Desktop application from the device's program files.
12. Connect the device to the account - choose a compatible mode/operation among the ones described above.
Installing MCL-Agent into an Android ![]() Device
Device
![]() Depending on the device's manufacturer, download the most appropriate Android MCL-Agent Package:
Depending on the device's manufacturer, download the most appropriate Android MCL-Agent Package:
For more detailed information, check our MCL-Technologies download website.
![]()
This package is to be used ONLY for initial installations (for devices without any MCL firmware installed). It CANNOT be used in any future deployments of a configuration (ex: for a downgrade).
Step-by-step
1. Turn on the device and connect it to a computer, via USB.
The USB connection between your device and the computer is automatically detected/established.
![]()
Depending on the OS version, you may have to take additional steps in your device (ex: To "Turn on USB Storage" ).
Follow the instructions provided by your device and continue to step 2.
2. In your PC, you should be able to see the connected device (example image for a Zebra TC57X Android 13 (connected to the PC by cradle/USB Snap-On cable) in a Windows 11 PC).
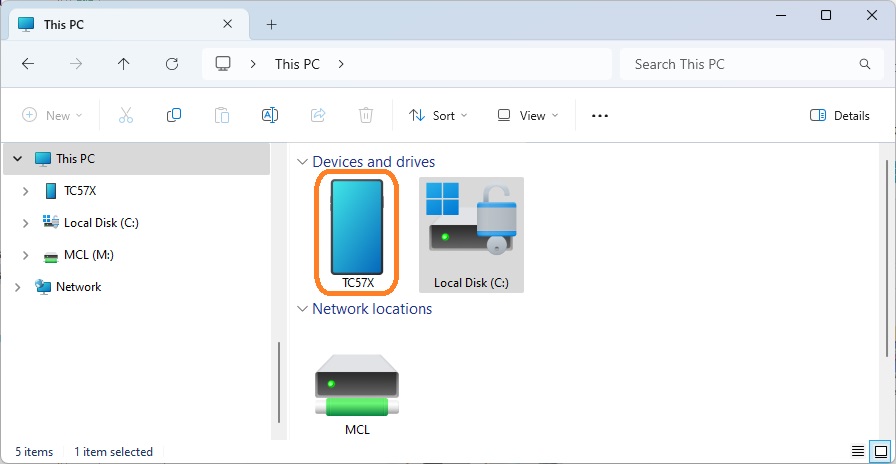
If Autoplay options are not set to open/execute, use an OS browse window to check for the "Removable Disk" that represents the Android device.
3. Open an OS browse window to go to the folder where you downloaded the Android MCL-Agent Package file into.
4. Select and copy the file.
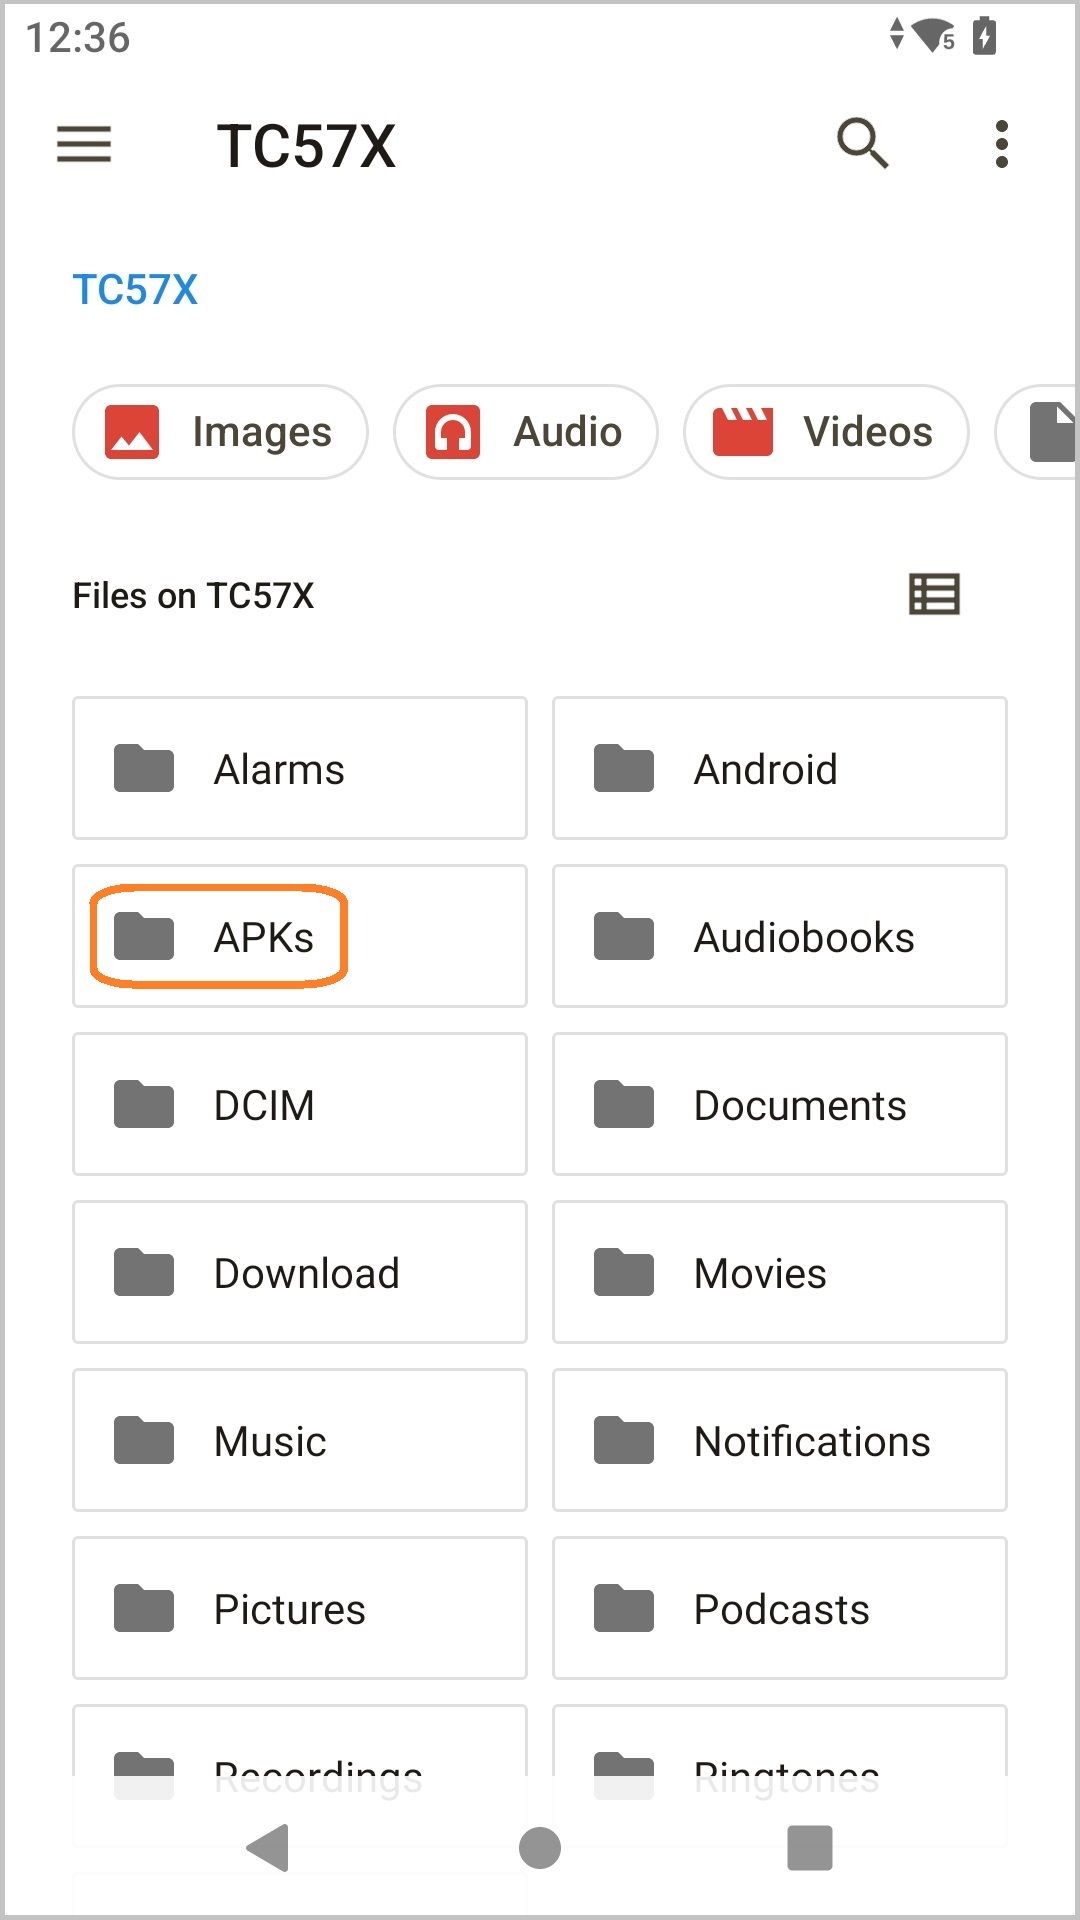
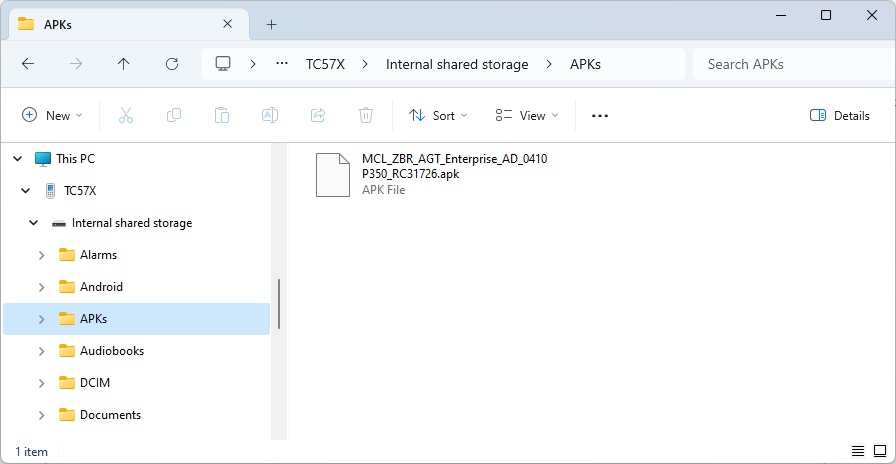
5. Back in the Android device (referred has "TC57X"), paste the copied Android MCL-Agent Package file into a location of your choice (ex: An "APKs" folder).
![]()
Depending on the OS version/manufacturer and model, you may have to take additional steps in your device (ex: Making sure the "USB Preferences" option is set to "File Transfer" (in a Zebra TC57X Android 13)).
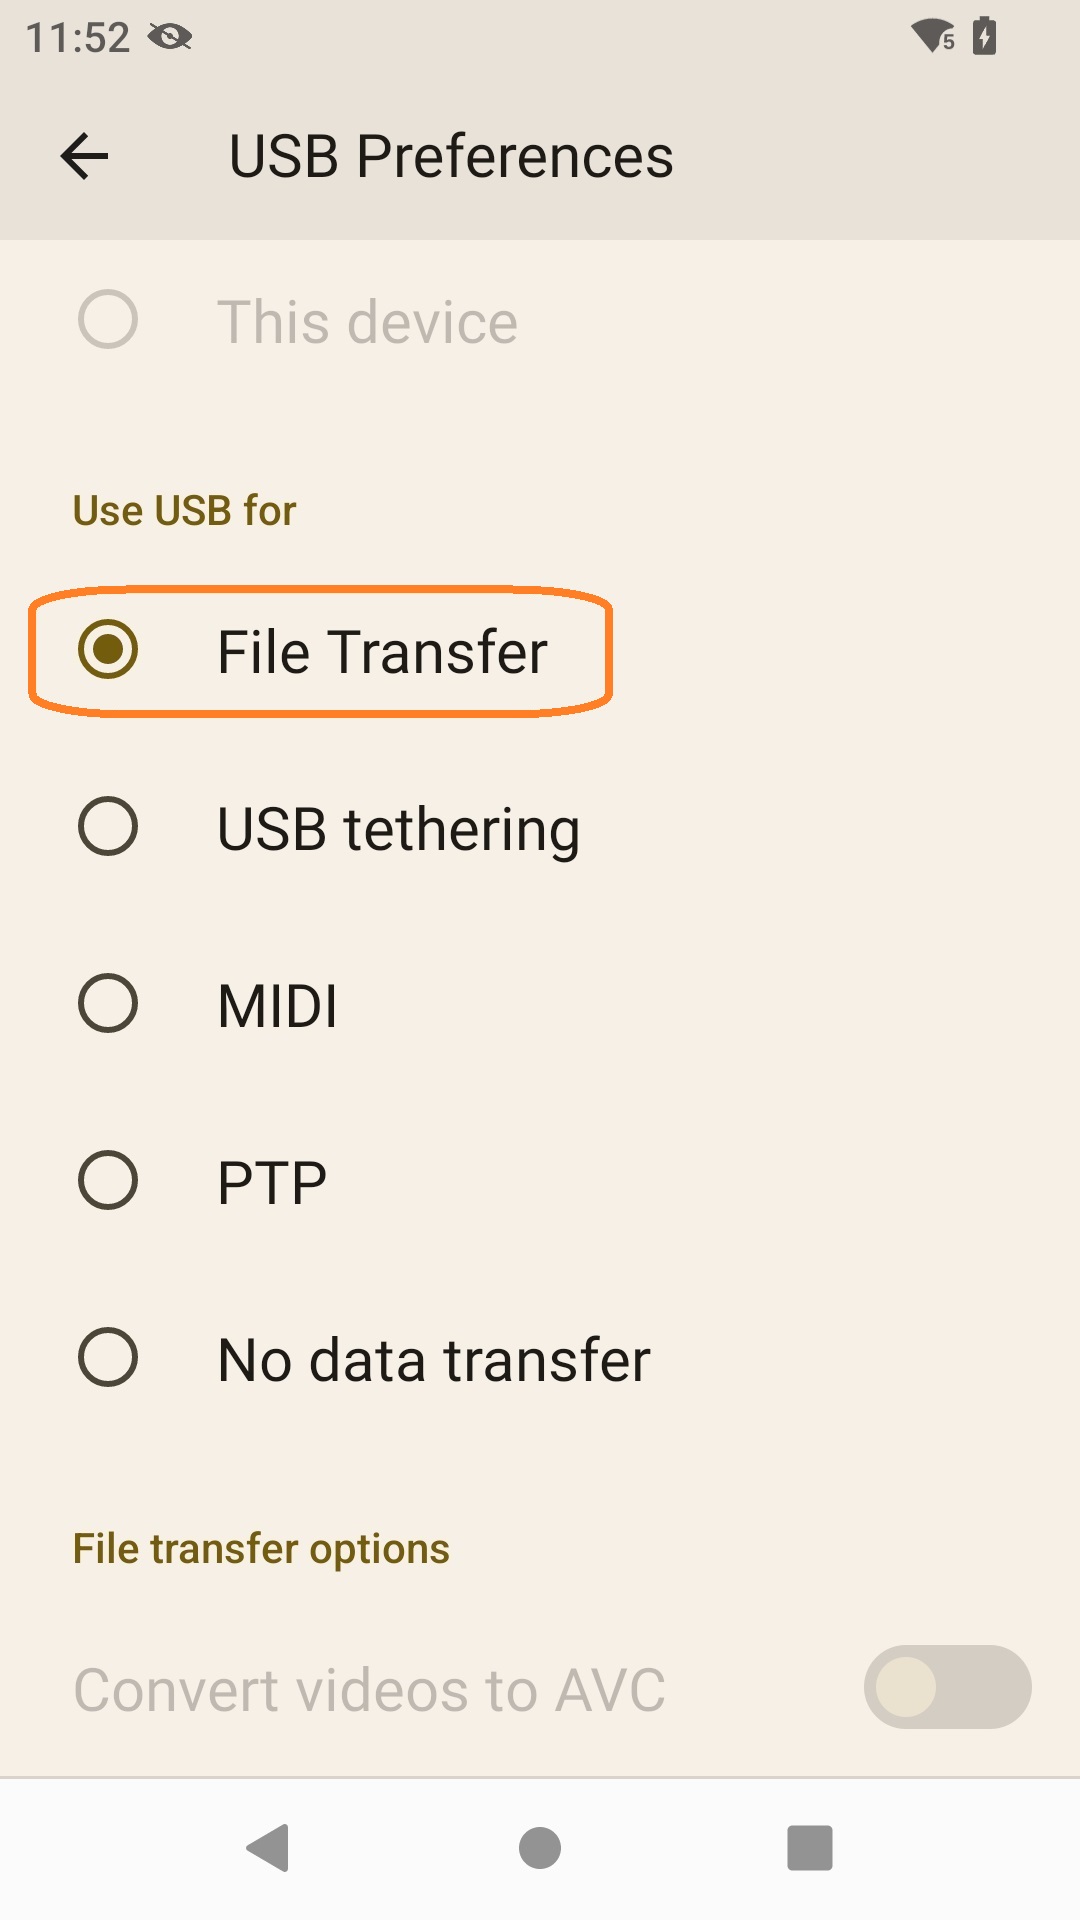
Follow the instructions provided by your device and continue to step 6.
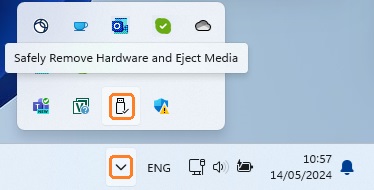
6. If available, use the "Safely Remove Hardware and Eject Media" tool, on your PC, to safely disconnect the Android device from your PC.
![]()
Depending on the OS version, you may have to take additional steps in your device to "unmount" it (ex: To "Turn off USB storage").
Follow the instructions provided by your device and continue to step 7.
7. Remove the USB cable from your Android device.
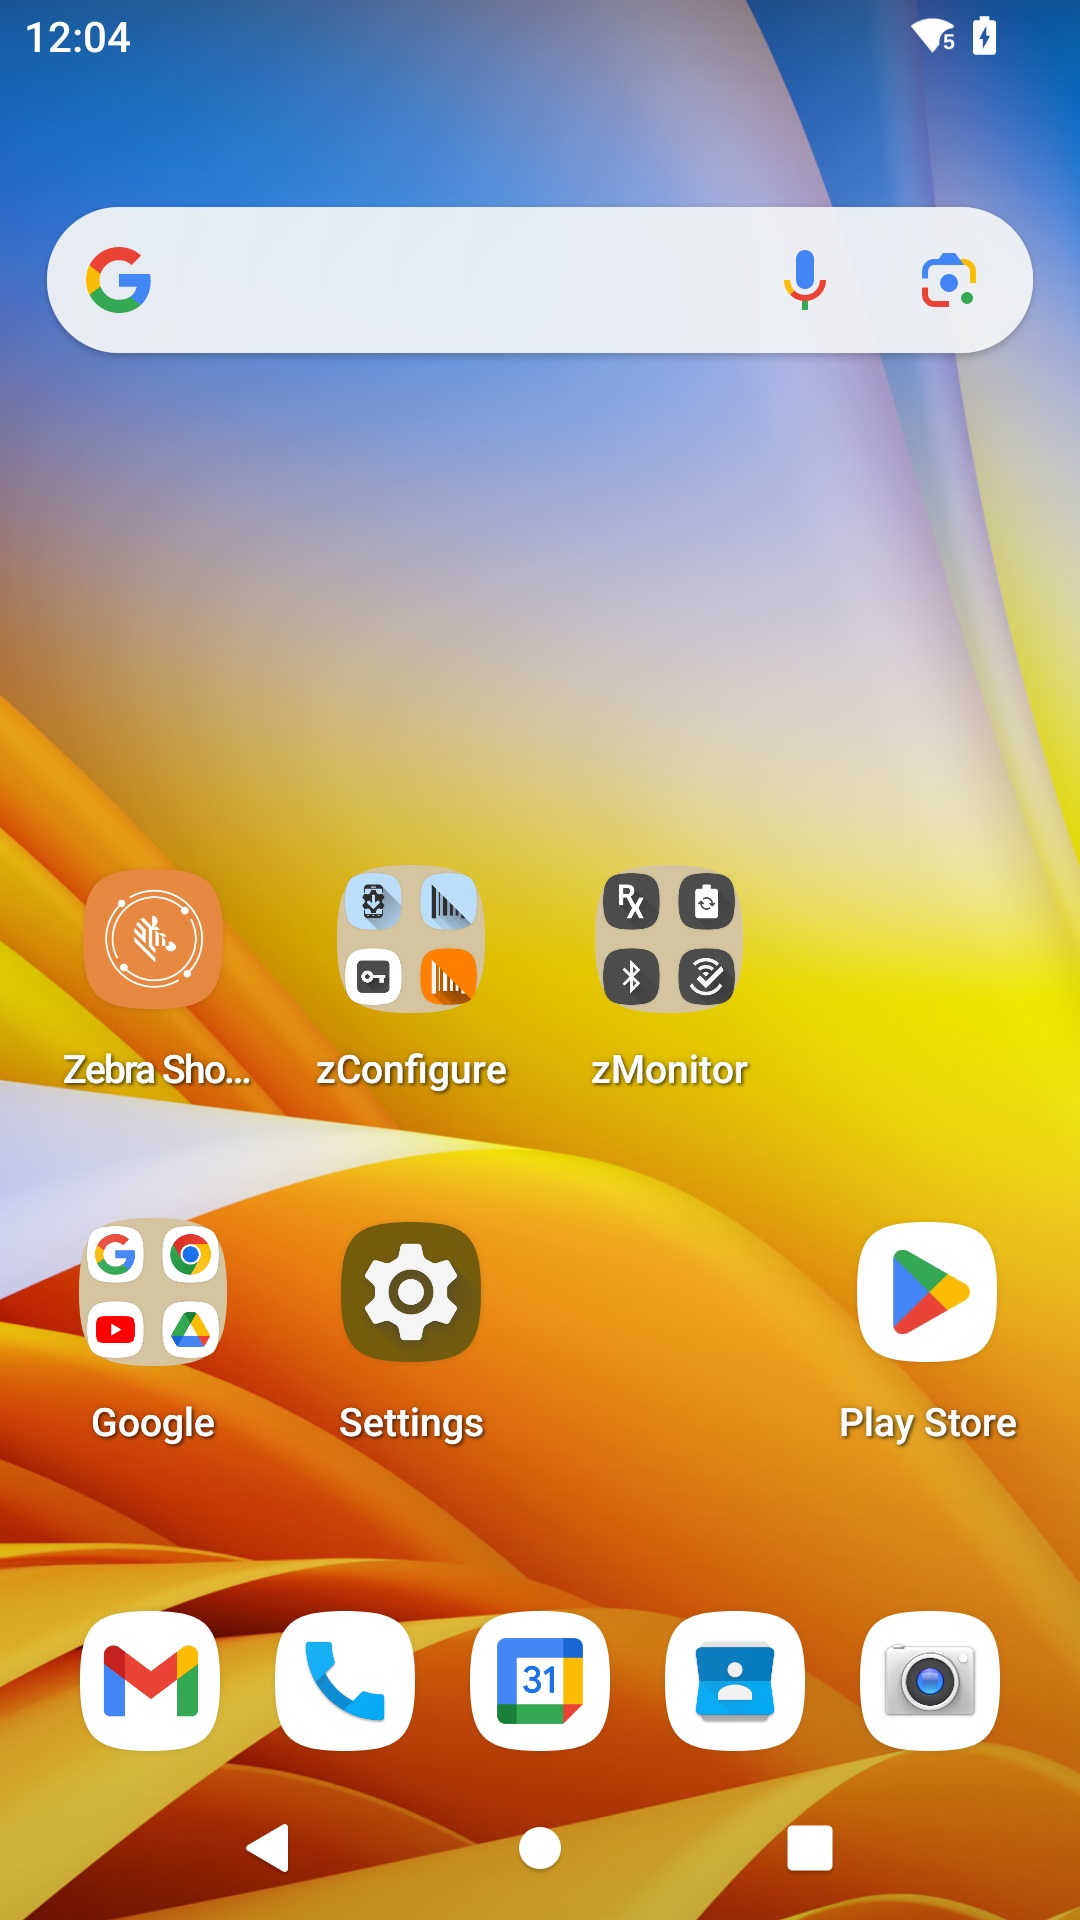
8. Click the "Settings" icon (![]() ).
).
 20%
20%
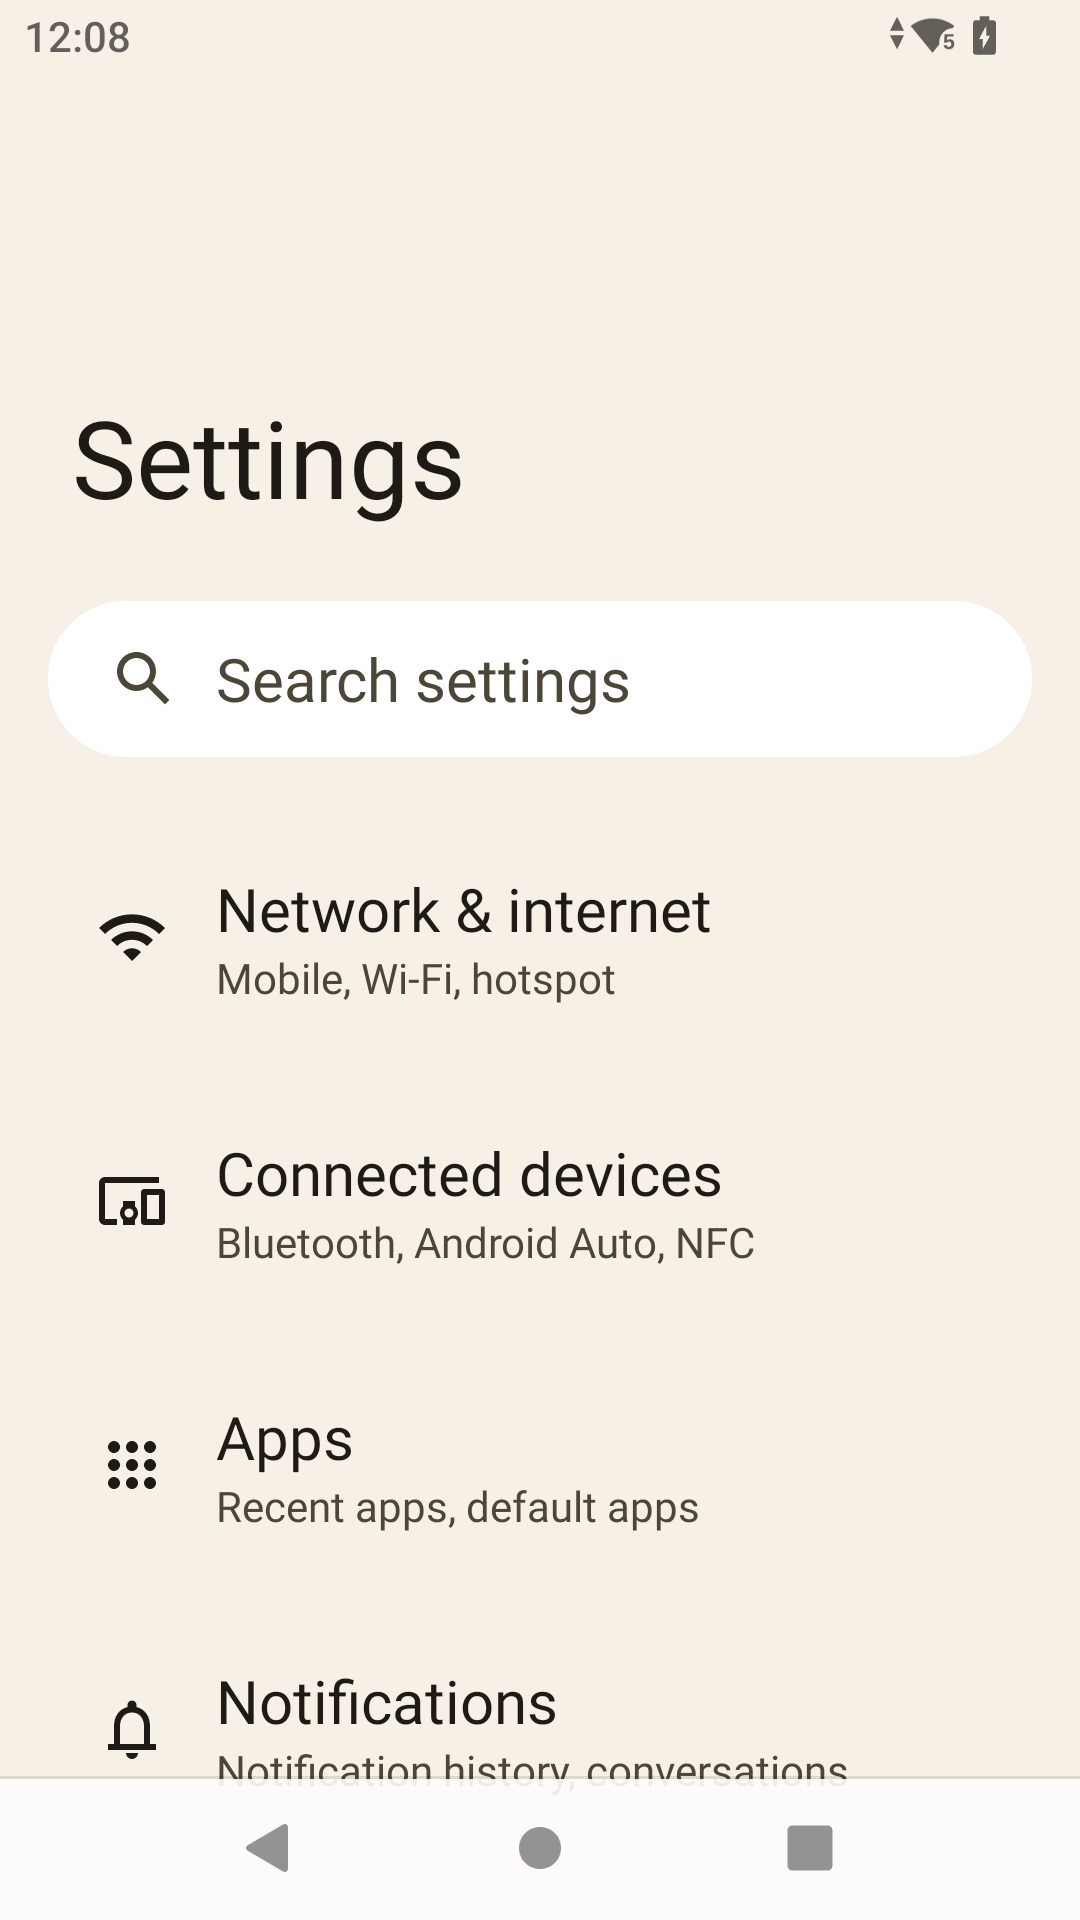
9. Select the "Apps" option (![]() ).
).
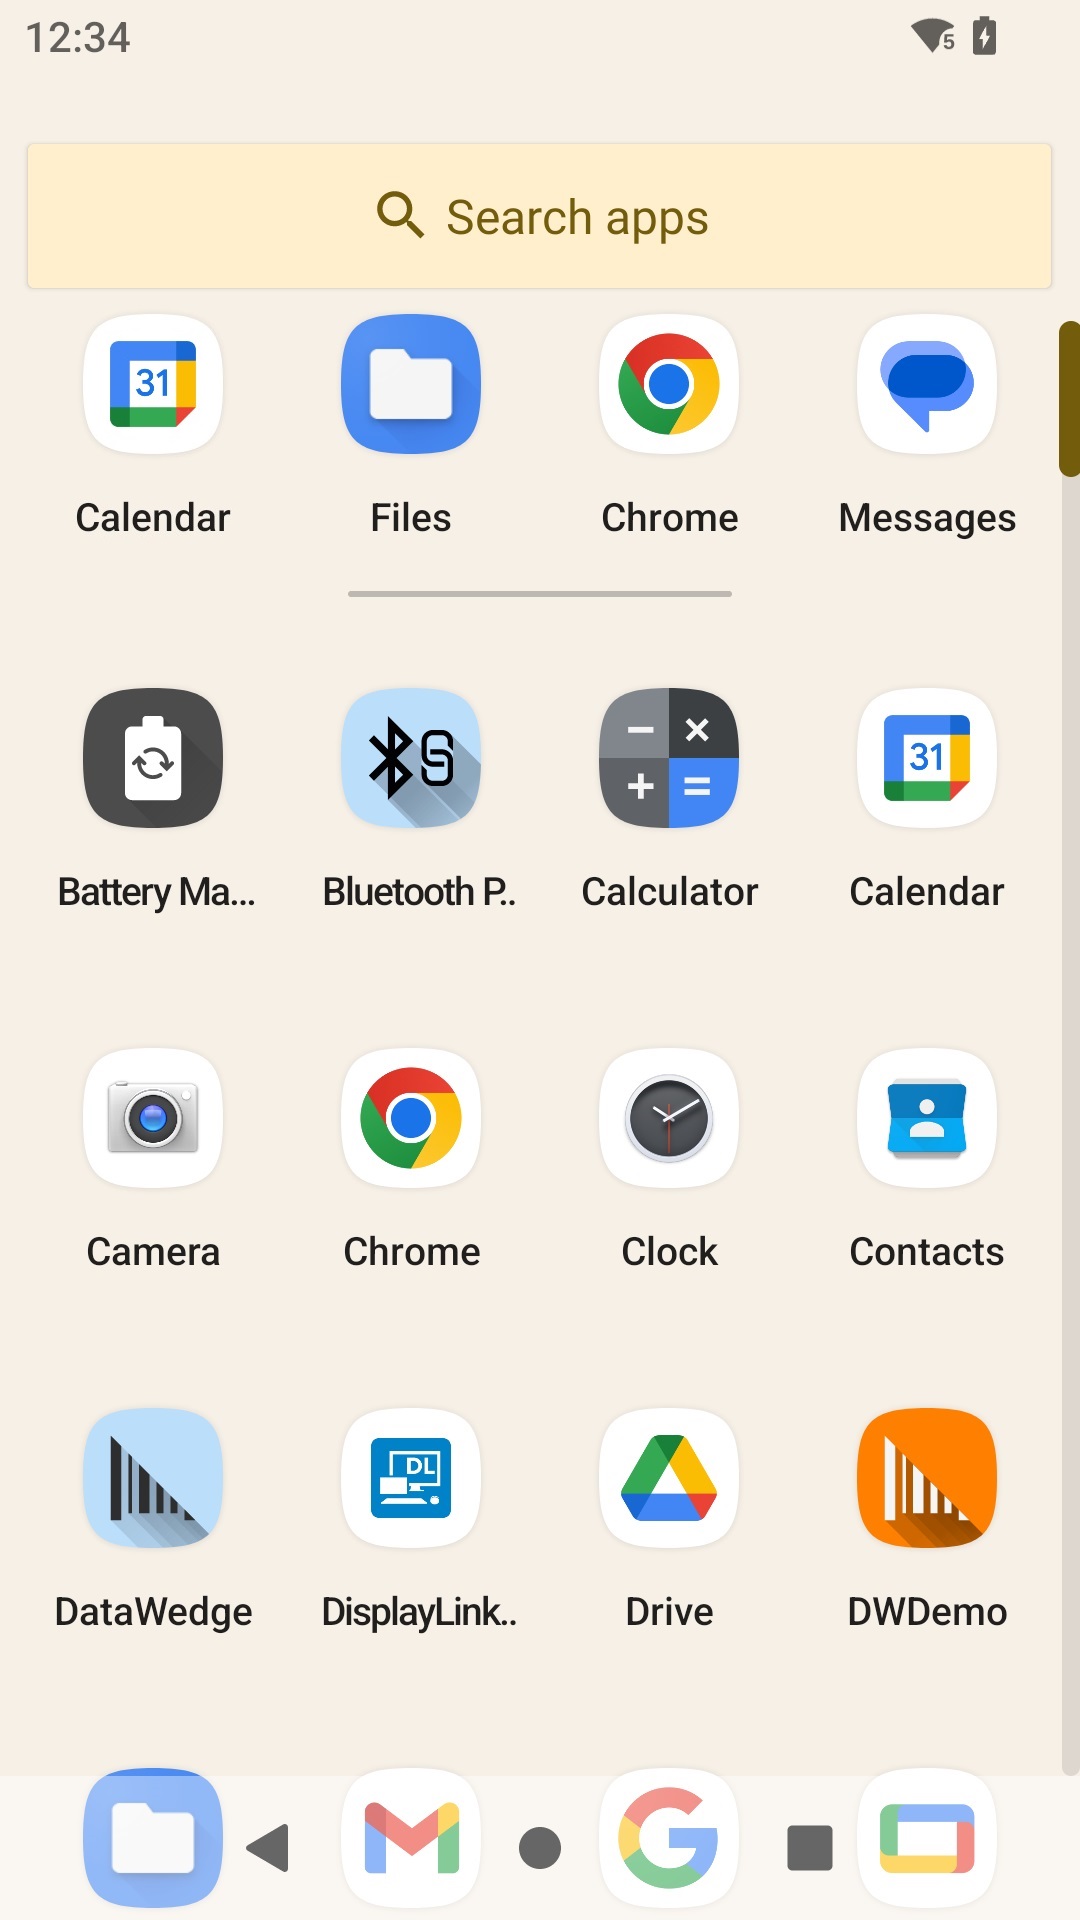
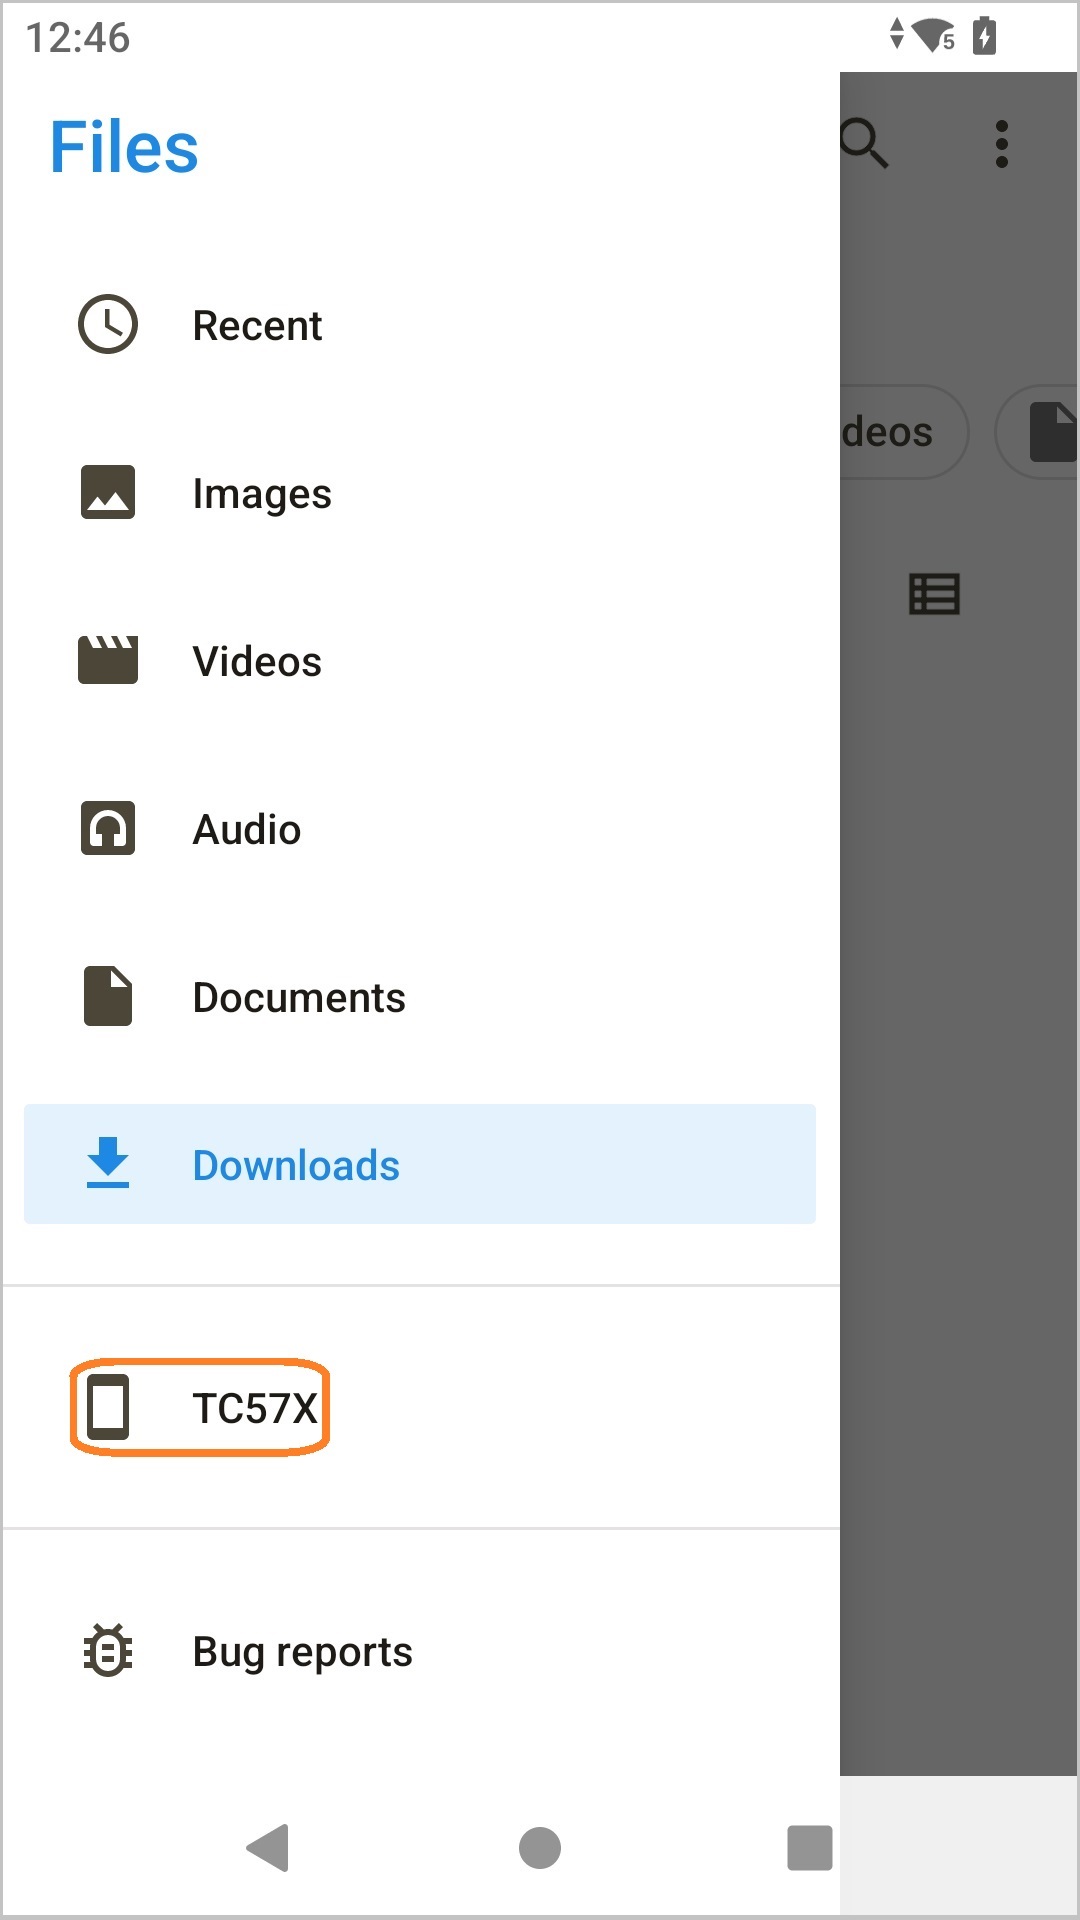
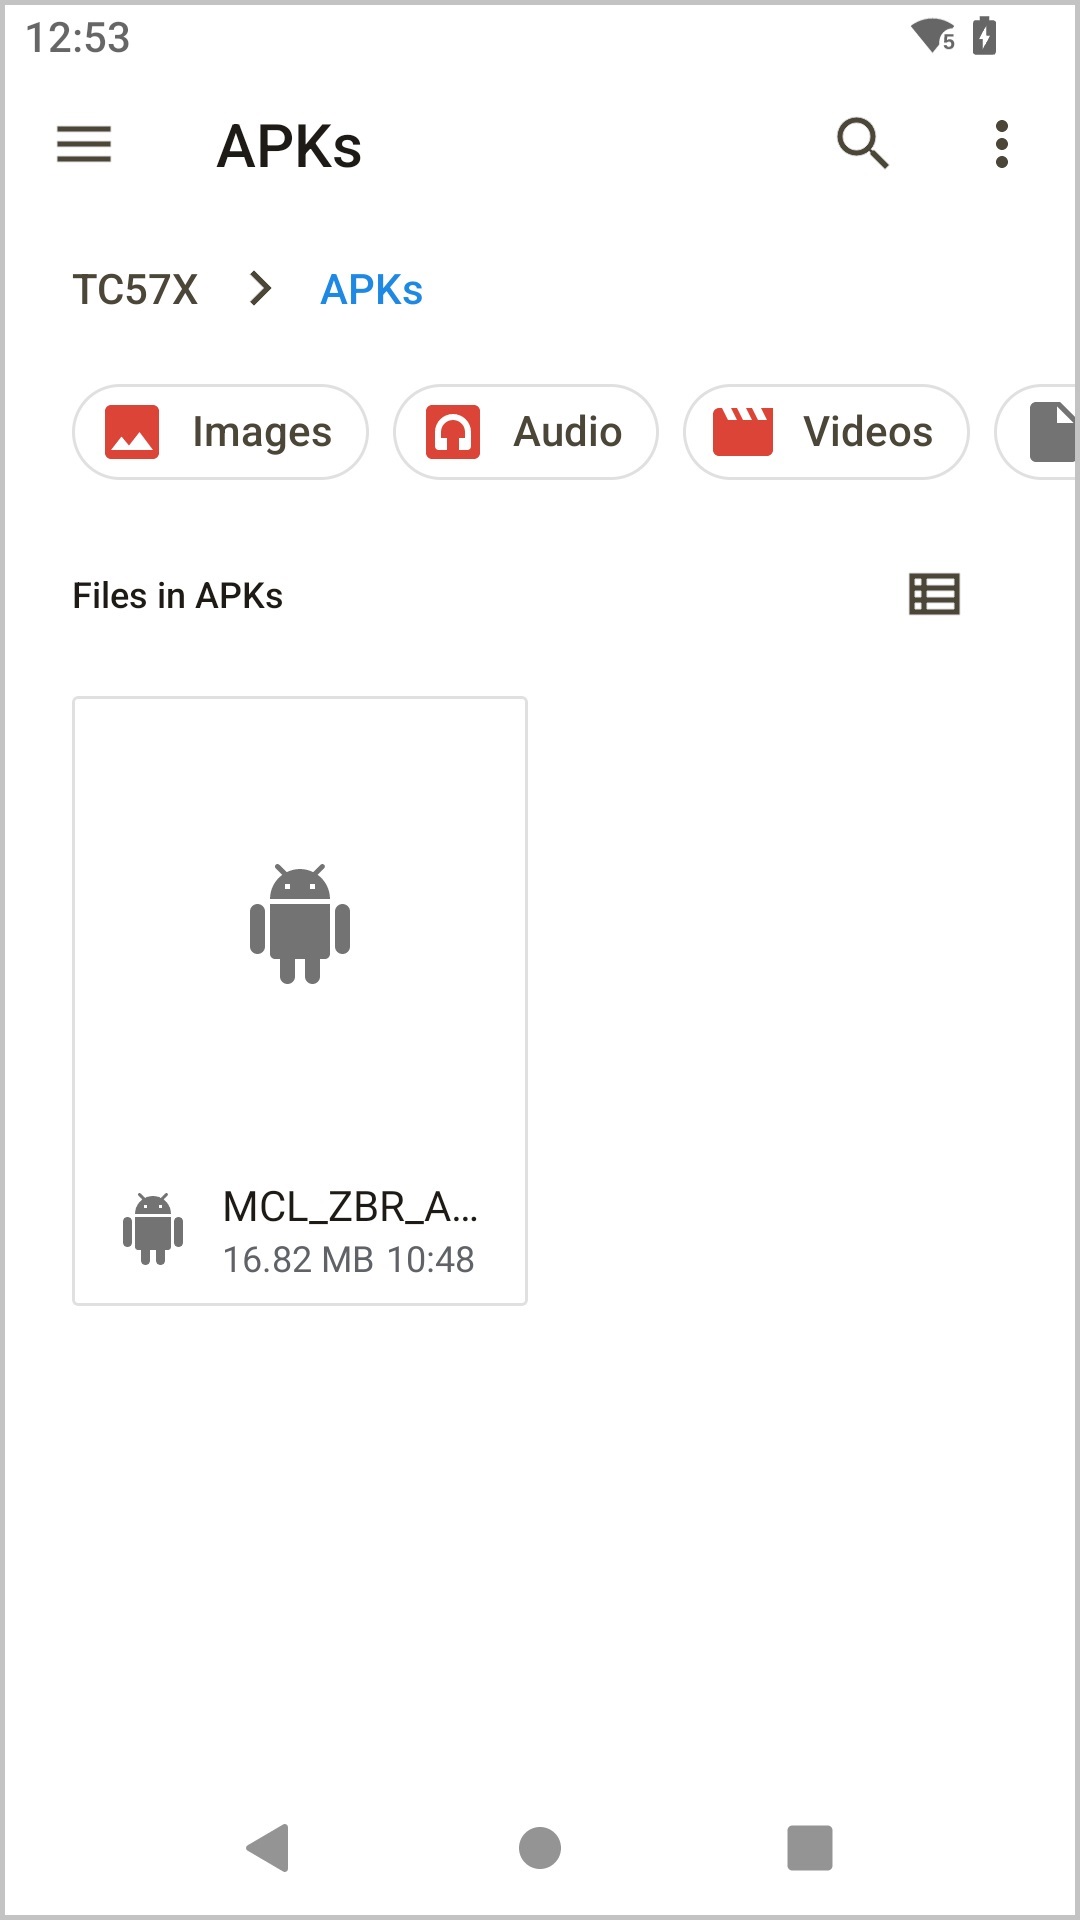
10. Click ![]() to open the Files app to locate the Android MCL-Agent Package file you have copied.
to open the Files app to locate the Android MCL-Agent Package file you have copied.
|
|
|
|
|
11 Execute the Android MCL-Agent Package file by clicking it.
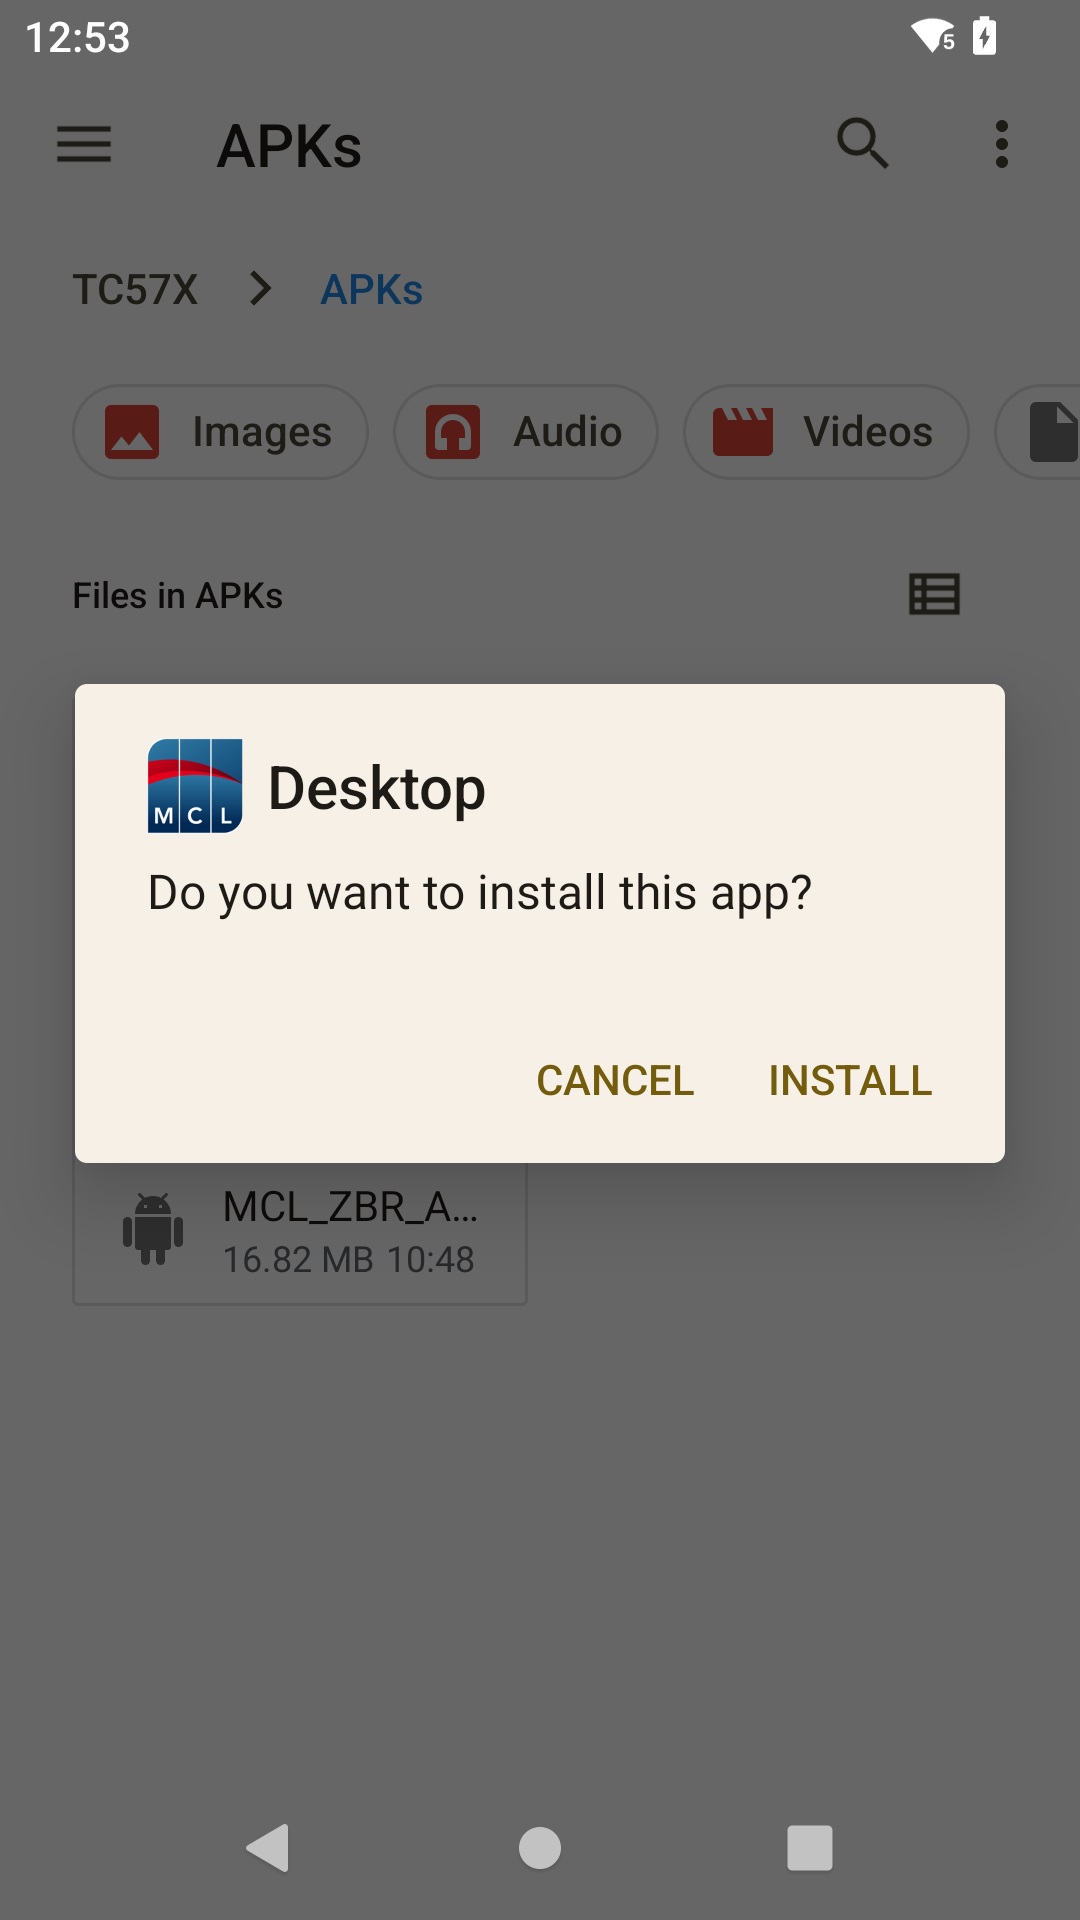
12. Click "Continue" in the warning message.
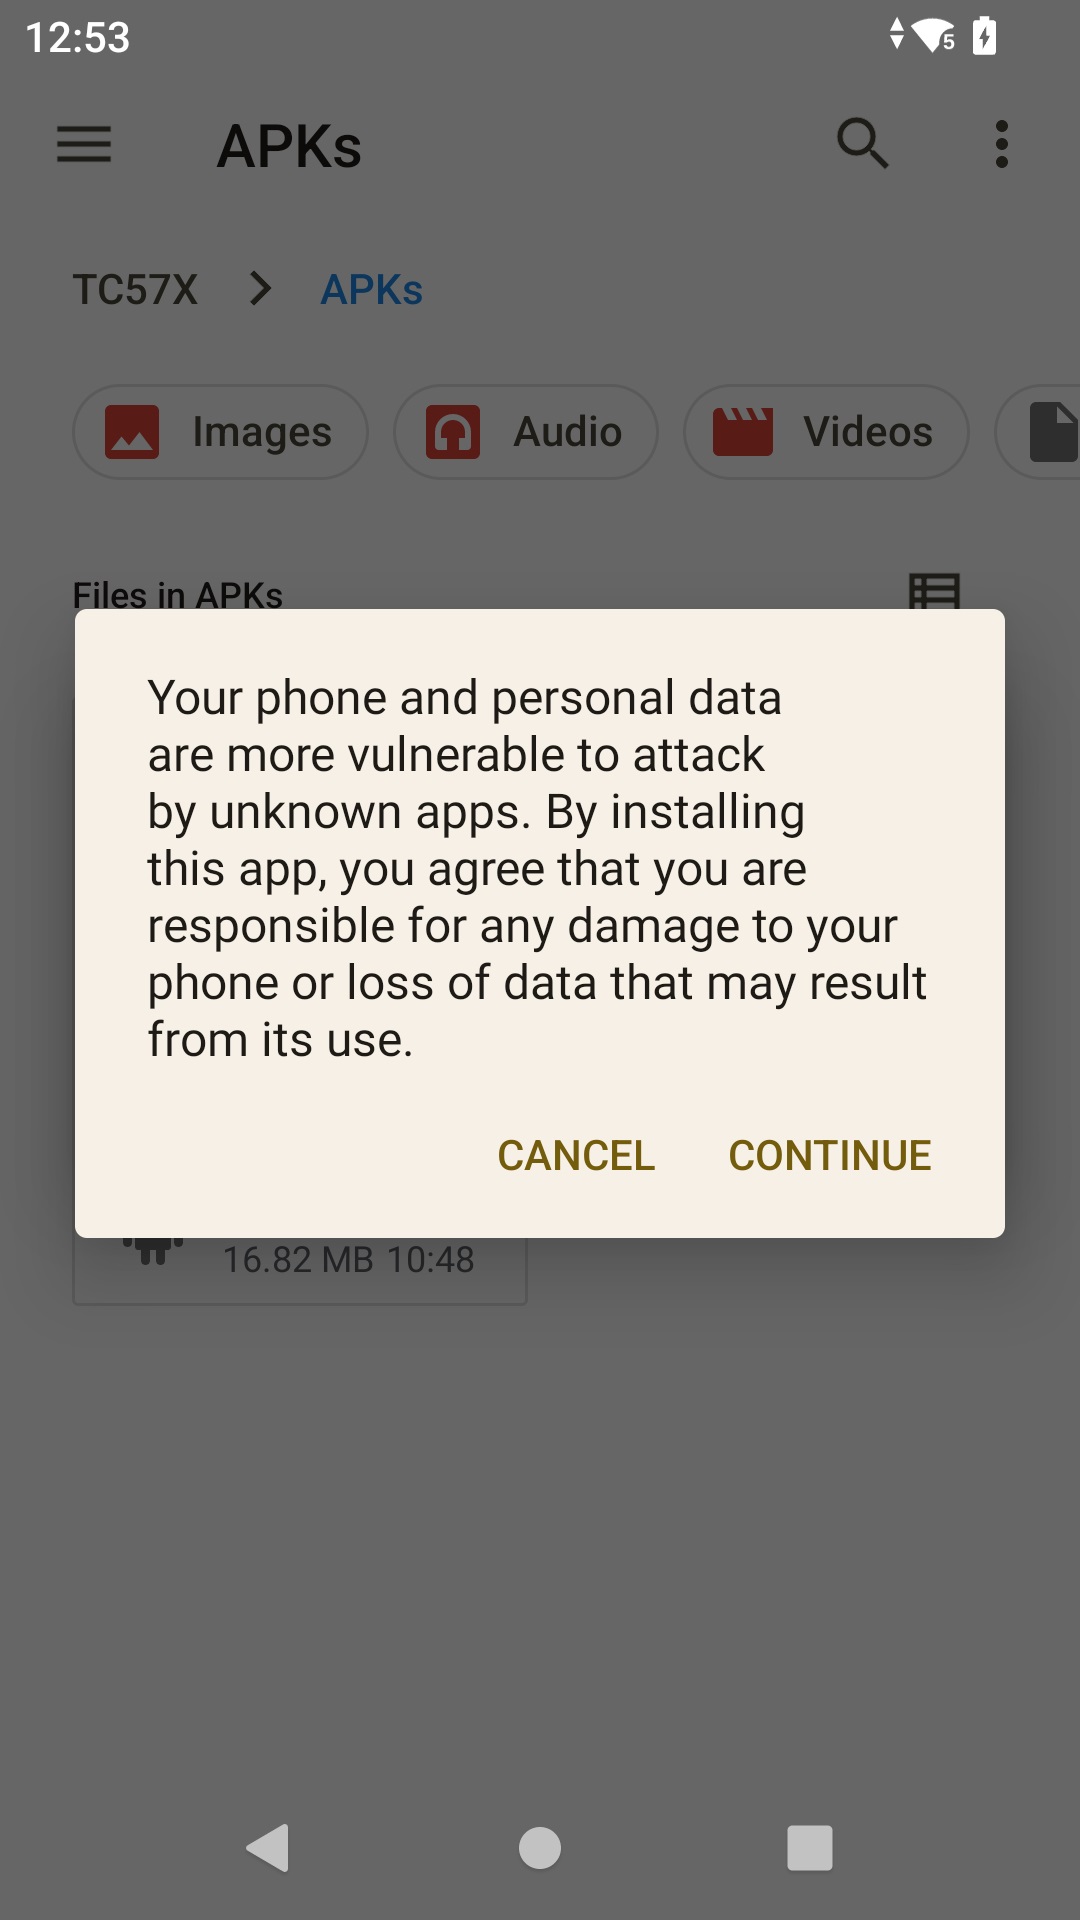
13. Click the ![]() option.
option.
|
|
|
![]() The granting of permissions is no longer required when installing MCL-Agent version 4.10 or above.
The granting of permissions is no longer required when installing MCL-Agent version 4.10 or above.
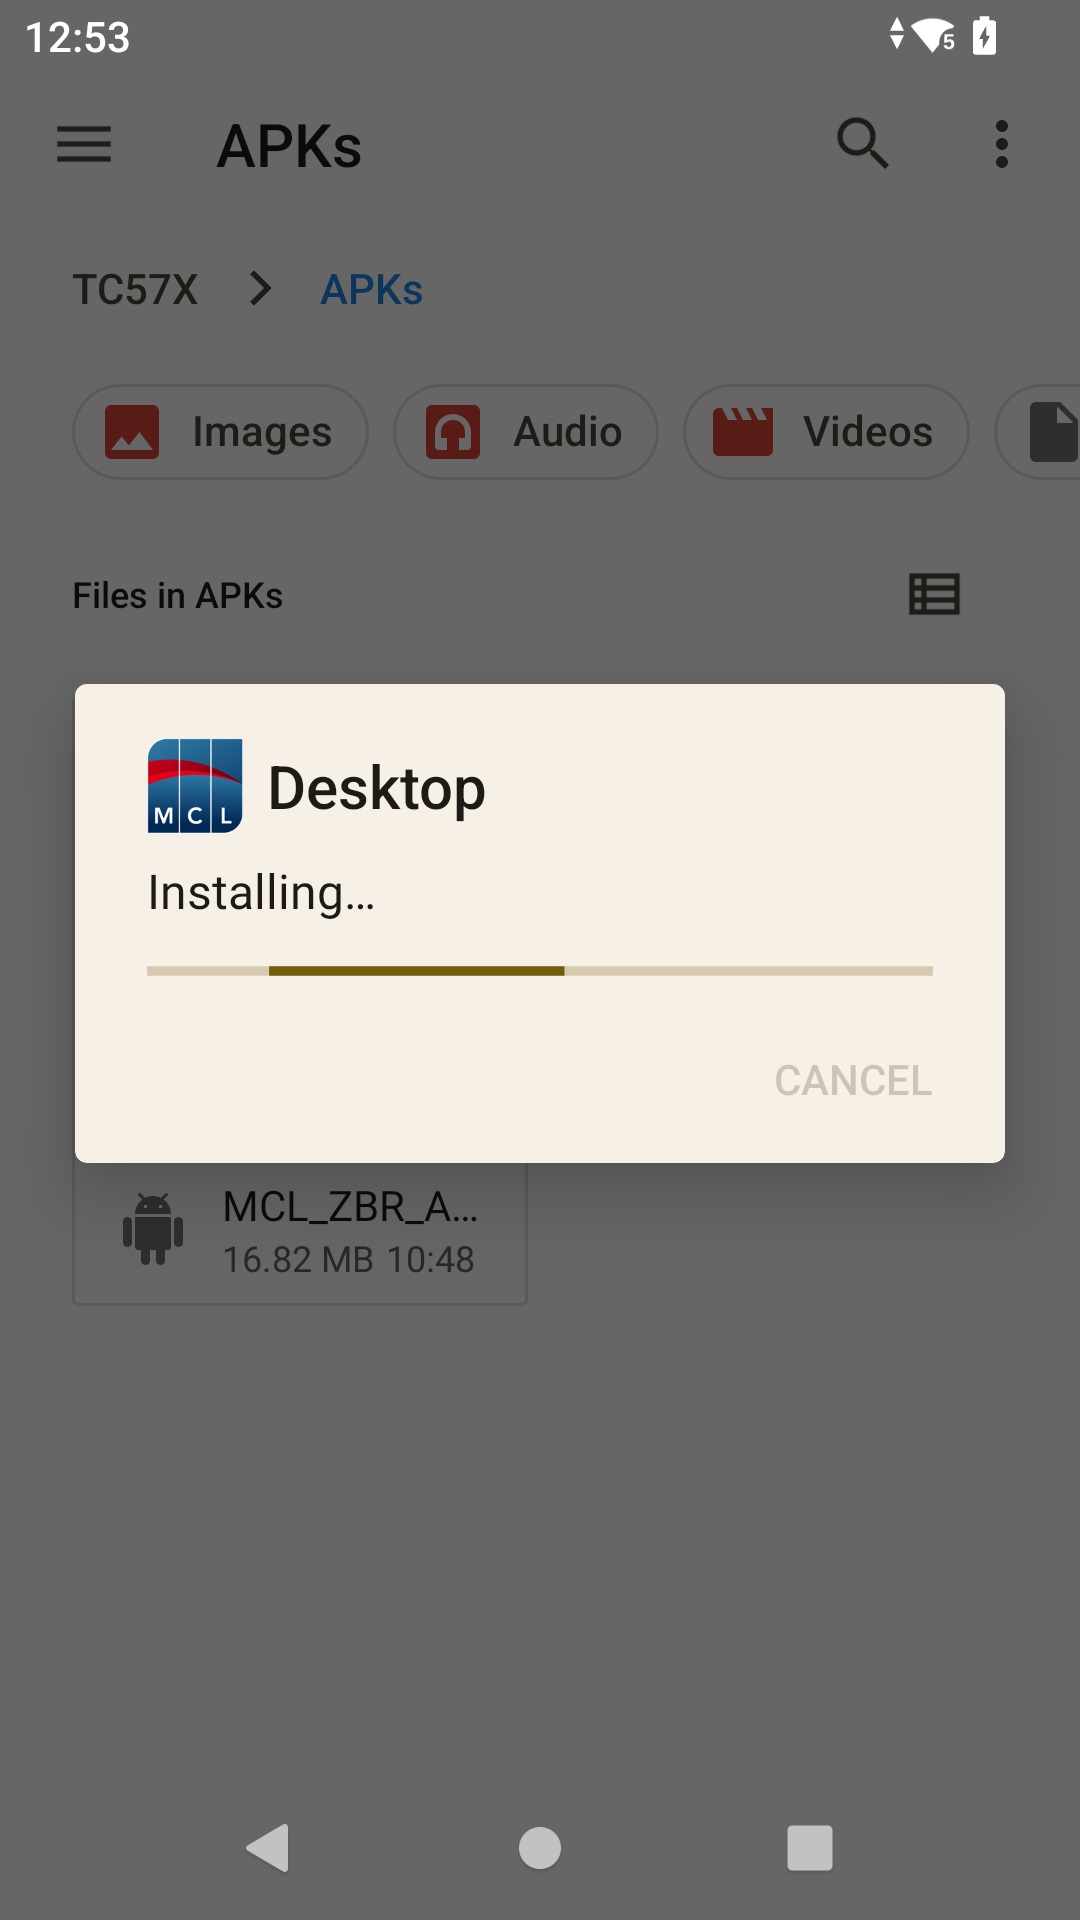
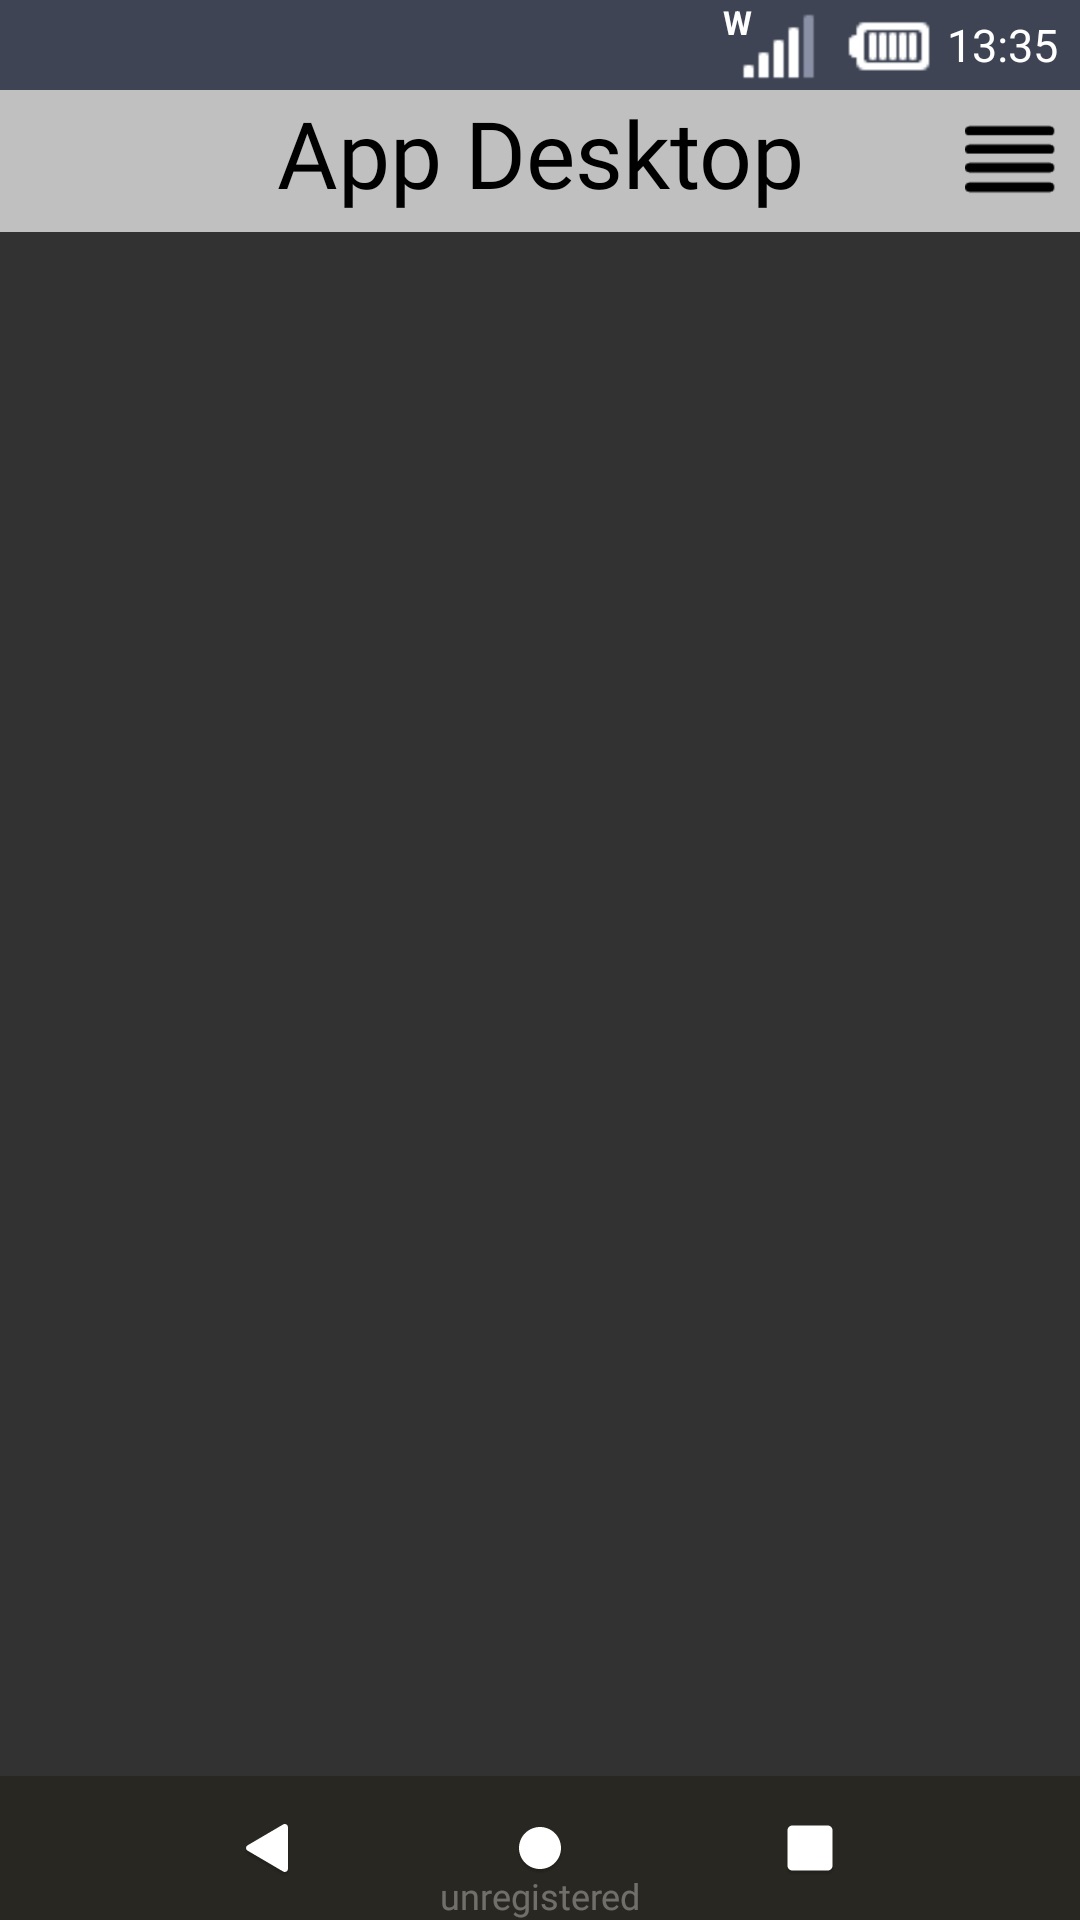
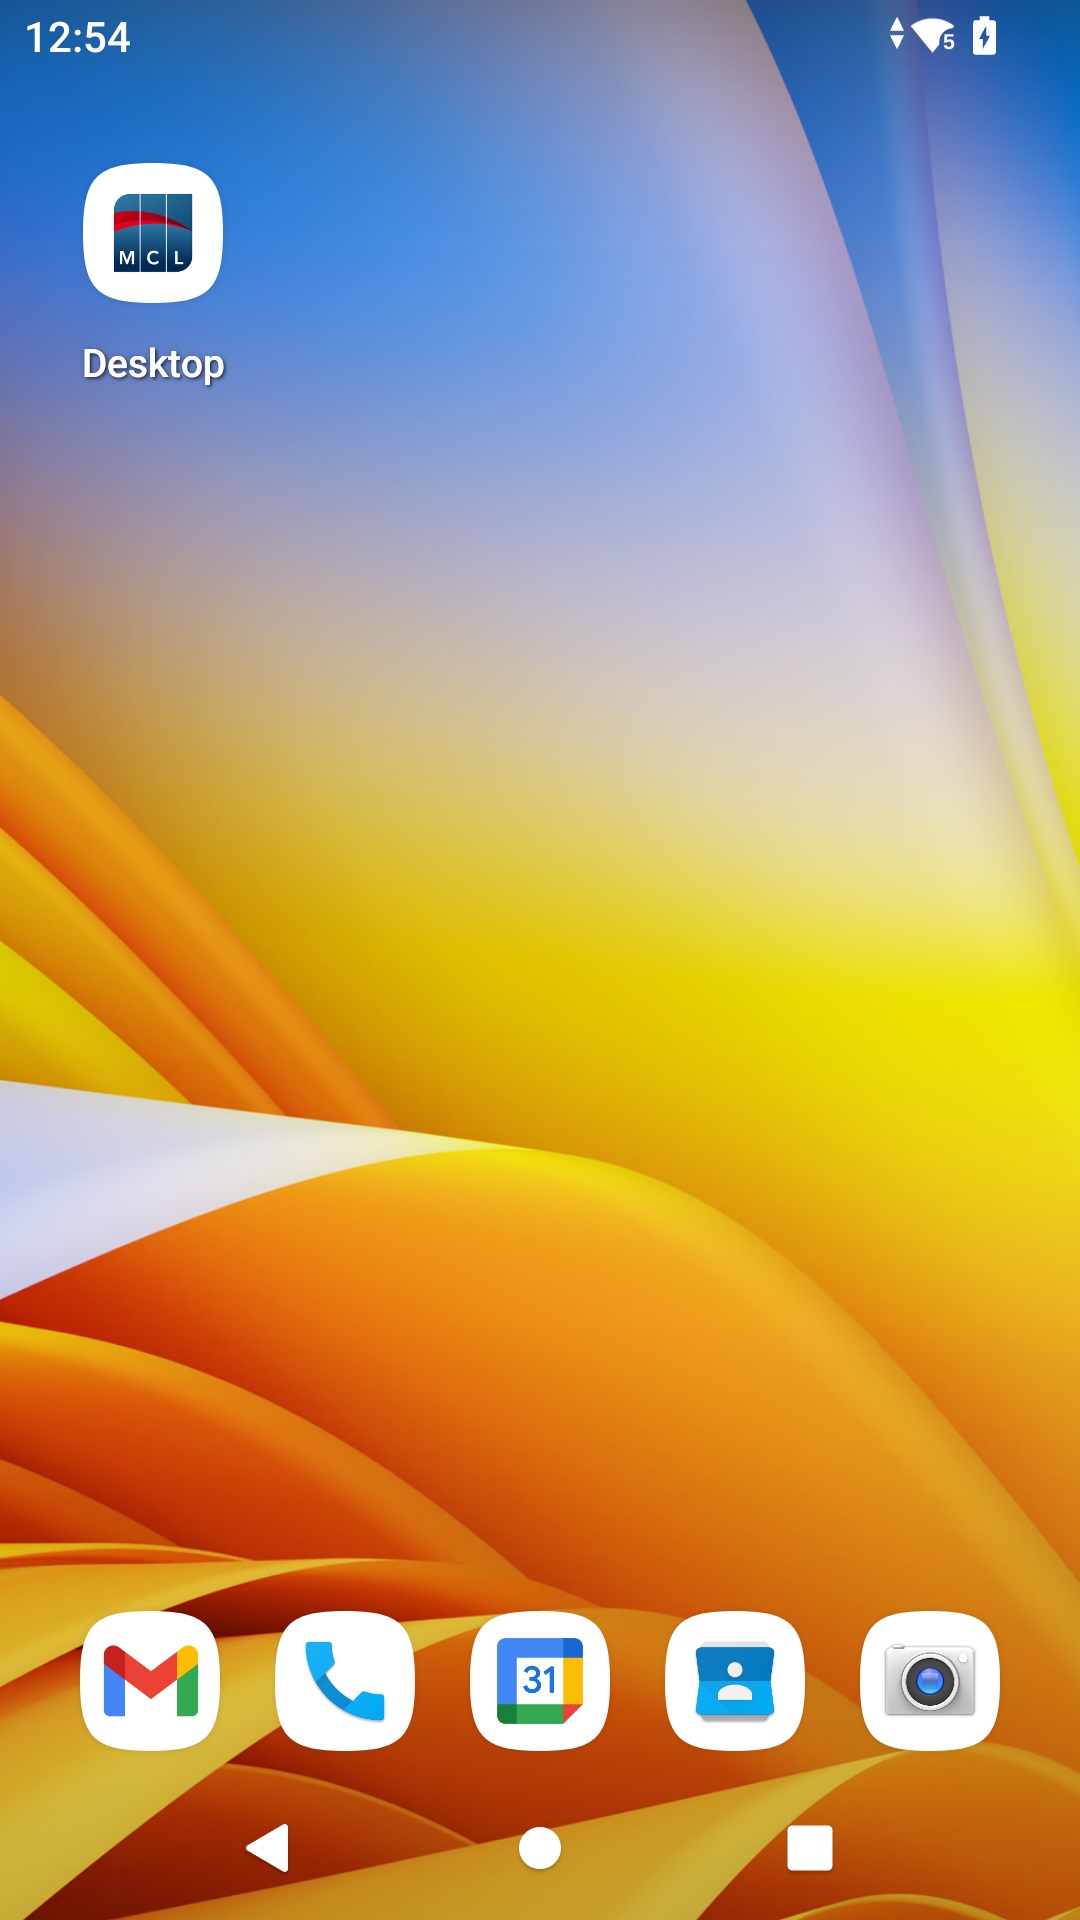
14. When the installation ends, the "Desktop" icon is displayed in the devices screen. Click it to launch the app.
 20%
20%
15. Click ![]() . 20%
. 20%
|
|
|
15. Register/connect the device in the account - choose a compatible mode/operation among the ones described above.
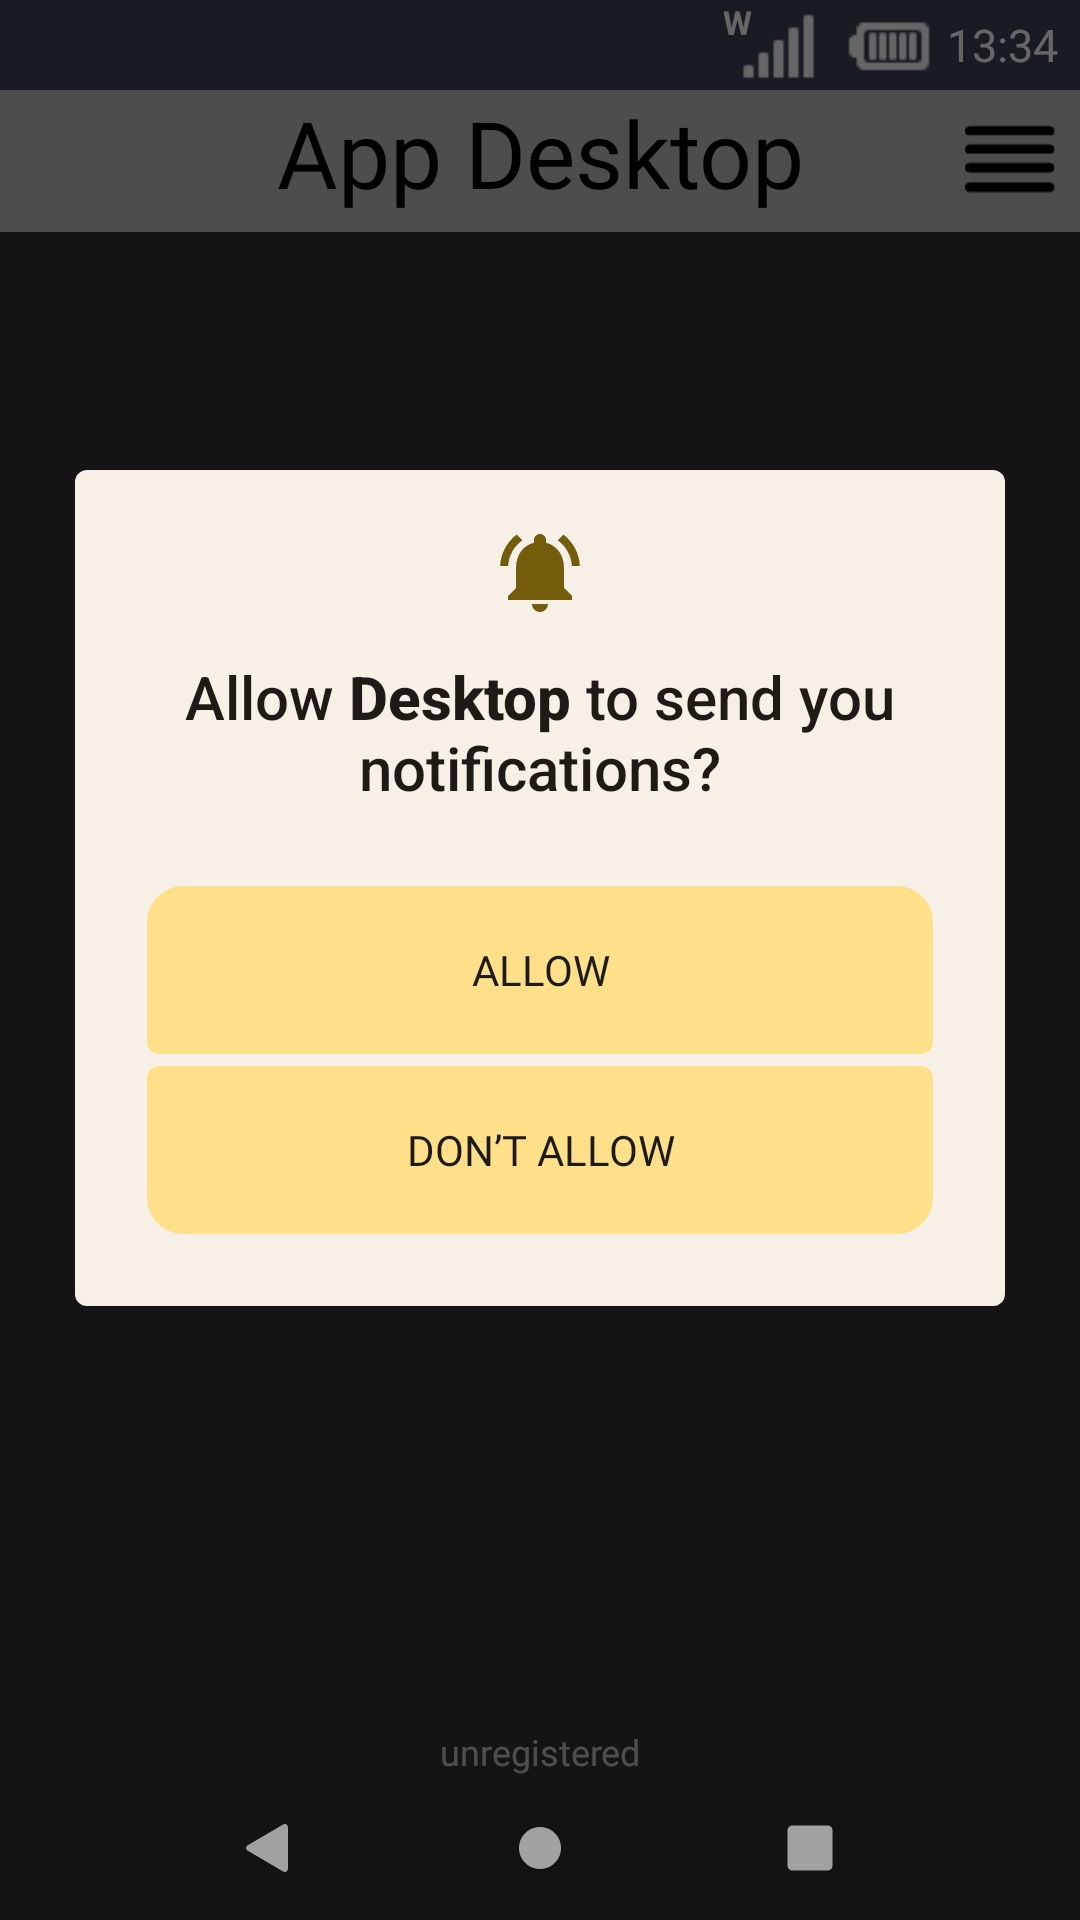
![]() During a Staging process (or when using MCL applications), you may be required to allow the use of the camera, storage, phone, microphone, location, or any other setting according to the application's needs. This is valid ONLY for devices with MCL-Agent v4.10 or above and it is manufacturer/device dependent - certain manufacturers/devices already have these permissions enabled by default.
During a Staging process (or when using MCL applications), you may be required to allow the use of the camera, storage, phone, microphone, location, or any other setting according to the application's needs. This is valid ONLY for devices with MCL-Agent v4.10 or above and it is manufacturer/device dependent - certain manufacturers/devices already have these permissions enabled by default.
Permissions can be granted when requested (ex: while running an MCL application, you may get a pop-up window requesting you grant a specific permission) or manually (access the MCL App Desktop menu, select "Permissions" and grant the intended permissions.
Once a permission is granted, it CANNOT be revoked.
Sometimes, when performing a staging, the system might not request a permission, such as the use of the device's camera, although it is necessary to that operation. In those cases, you can access the "Permissions" option of the MCL App Desktop menu and grant the intended permission(s) manually.
This step-by-step ONLY describes how to add an entry to the site's device list - the device will NOT be connected/ready for use, it is NOT paired to the site.
Step-by-step
1. Click  , in the "Control Panel" and, in the resulting row below, select the
  sub-module to open a "Devices" page.
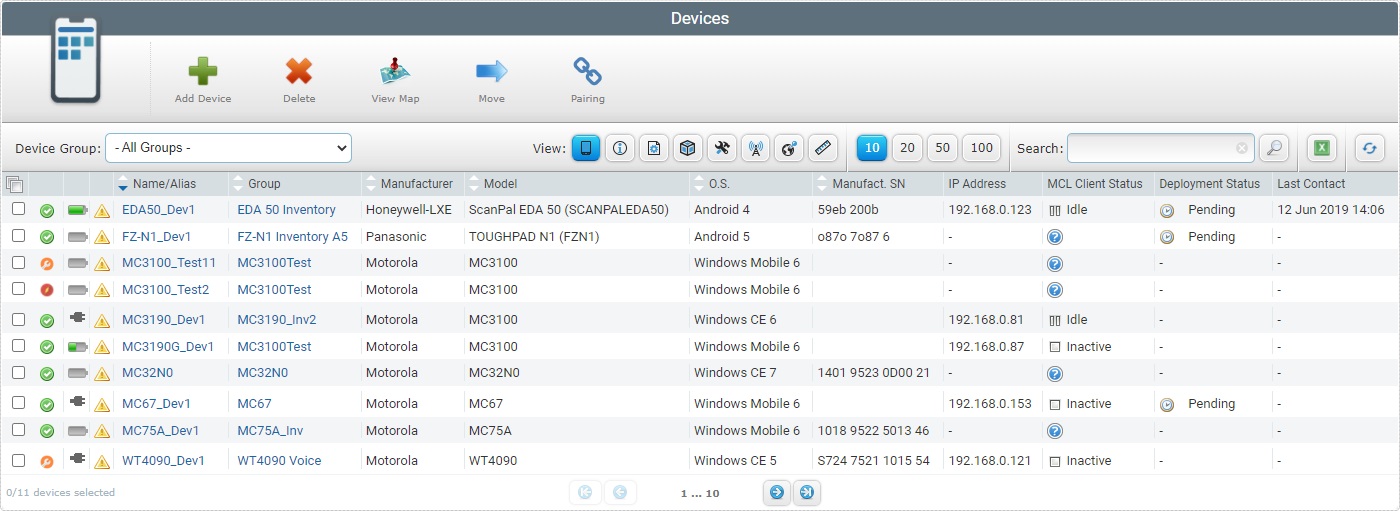
2. Click ![]() to open the "New Device" page, in edit mode. The "Properties" tab is open, by default.
to open the "New Device" page, in edit mode. The "Properties" tab is open, by default.
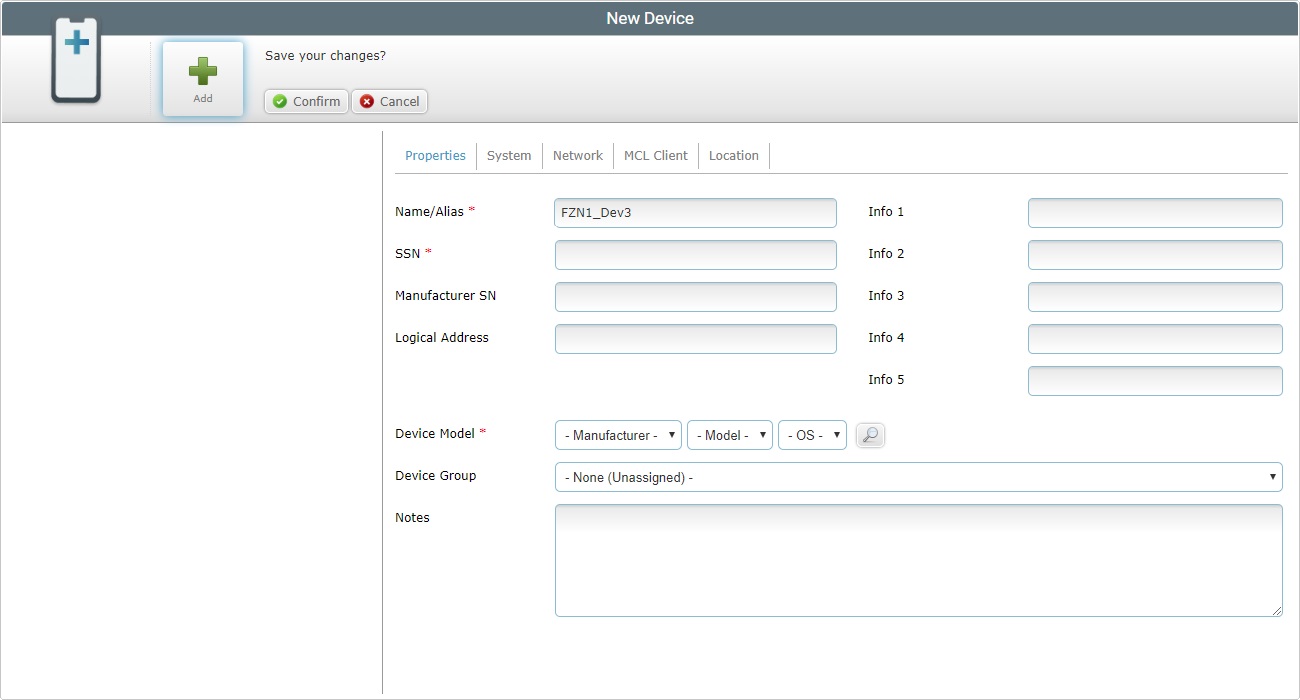
3. Fill in the information regarding the new device (the fields marked with an asterisk are mandatory):
Name/Alias * |
Enter the device's name.
•Use alphabetic/numeric characters (a-z; A-Z; 0-9) •Underscore and/or dash characters are allowed •Always start the entity's name with an alphabetic character |
SSN * |
Enter the device's SSN - this information is provided by the device, via the MCL-Agent installed in the device. |
Manufacturer SN |
Enter the device's SN - this information is displayed in the physical device and is unique to each device. |
Logical Address |
If required, enter the MCL Logical Address (Subnet ID – Device ID) (MCL Client Version 3 legacy). |
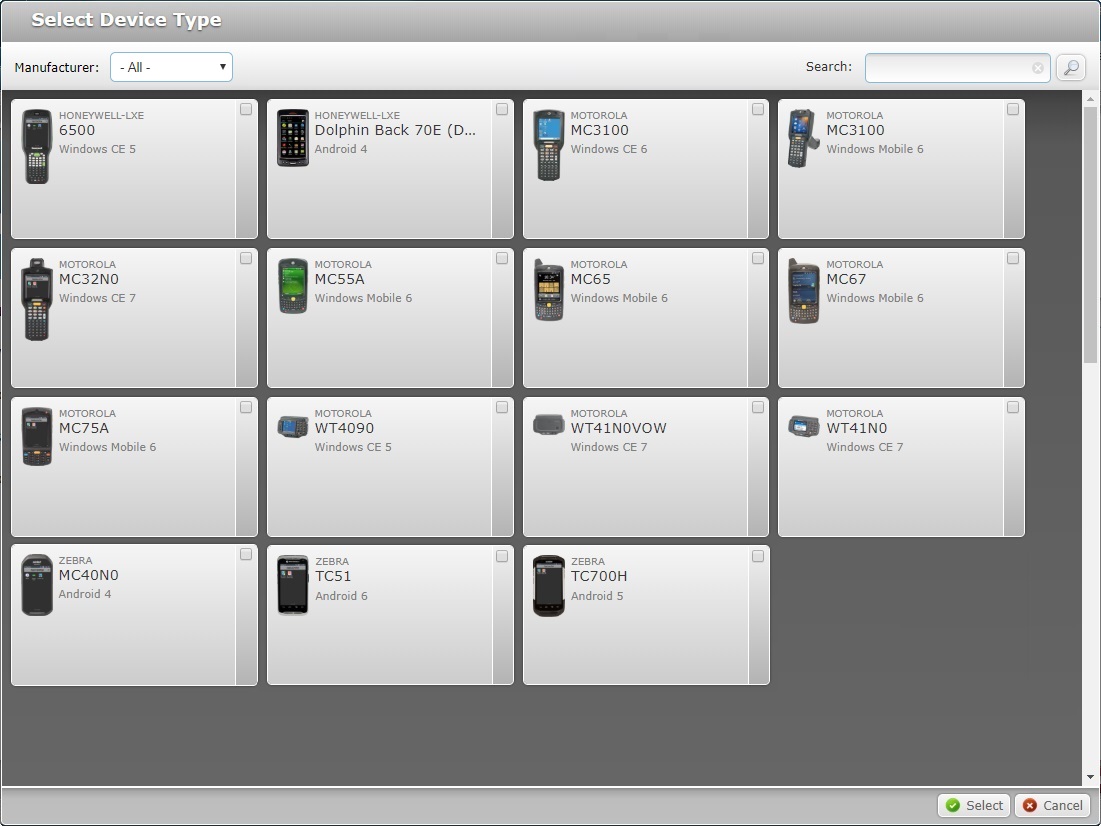
Device Model |
Select the new device's manufacturer, model and OS in the corresponding drop-down. As an alternative, click
The Samsung manufacturer provides a "Generic Device Android" option - this generic "device model" is compatible with all Samsung Android devices. This means you can create a device group for "Generic Device Android" devices (it can contain different Samsung models) and deploy configurations to it. In this case, the configuration's target MUST be "Samsung Generic Device Android". It will NOT be available for other device groups with a specific Samsung device type, it can ONLY be deployed for this device group.
If required, the MCL-Mobility Platform provides a "Generic Android" software. This software should ONLY be used if there is NO specific MCL-Agent V4 software available for your Android devices because it has some limitations compared to the specific MCL firmware. Selecting "[Others]" + "Generic" + "Android" in the corresponding drop-down means the new device has the "Generic Android" software installed and NOT the specific MCL firmware for its model. When pairing this device , it MUST be included in a device group with a "Generic Android" target device model. |
Device Group |
Select the destination device group from the drop-down list. Ensure that a compatible device group is created beforehand. See Creating a Device Group.
If the selected device model for this entry is "[Others]" + "Generic" + "Android", the available device groups will be the ones you create with a "Generic Android" target device model and the "- None (Unassigned)-" default device group. If the new device is included in the "Unassigned" device group, it must be moved to another device group after pairing or else it CANNOT be used, it will be inactive. |
Notes |
If relevant, add notes regarding the device. |
Info 1 > Info 5 |
These field labels can be customized - their designation can be modified according to the information they are supposed to retrieve. (See "Editing Site Details" - Custom Labels tab.) Enter the requested information. |
a. Clicking the device model's
b. Select the device type by checking the corresponding
Use the following options to control the display of listed items:
•
I. Enter what you want to search for. II. Click III. To conclude the search operation, empty the search box and click
•
|
The other tabs do NOT provide any information at this point and are NOT editable. The information to be displayed in each tab is automatically entered, as soon as the device establishes a connection with the account, via MCL-Agent, meaning, a pairing. (MCL-Agent must be installed in the device and is responsible for the communication between device and the account.)
For more details on the information that will be contained in these tabs, see Device Details.
4. Click ![]() to save the entered information.
to save the entered information.
The added entry is displayed in the "Devices" page but the device it represents is NOT, effectively, connected to the account. To do so, you MUST pair the device to the account. Check the modes mentioned above and use the one that better suits your needs.
![]() Once the added device is paired with the account, verify the device's current status.
Once the added device is paired with the account, verify the device's current status.
If it is "Disabled", change it. See Changing a Device's Status.
If it is included in the "Unassigned" device group, move it to a compatible device group and enable it. Otherwise, it will not be available for use. See Moving a Device.
In MCL-Mobility Platform:
![]()
![]()
Occurrence: After entering the PIN code and clicking ![]() .
.
Cause: The entered PIN code is incorrect.
Action: Make sure the PIN code is correct, enter it in the appropriate field and click ![]() .
.
In the Windows Mobile/CE ![]() Device:
Device:
Occurrence: After clicking ![]() in the pop-up menu.
in the pop-up menu.
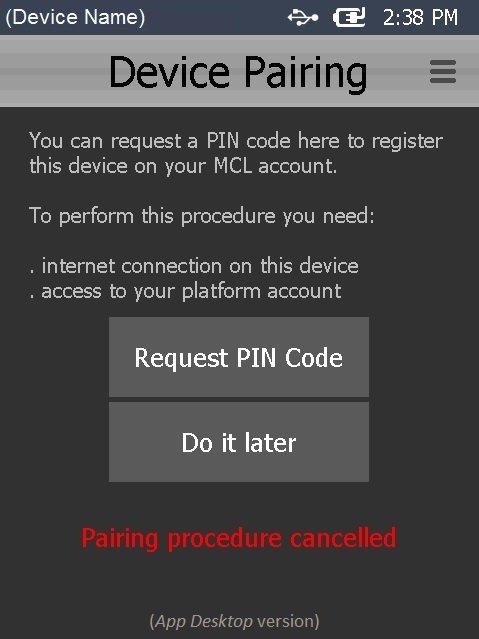
Cause: Aborted pairing operation.
Action: Click ![]() to return to MCL App Desktop OR click
to return to MCL App Desktop OR click ![]() to resume the pairing operation.
to resume the pairing operation.
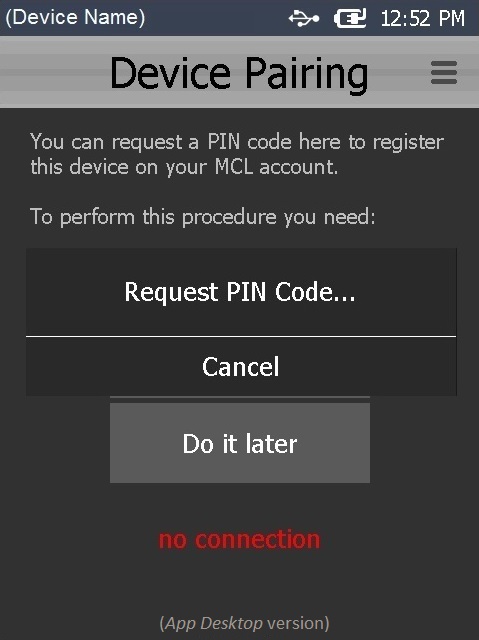
Occurrence: After you have clicked ![]() and during PIN code generating.
and during PIN code generating.
Cause: No internet connection (no access to the MCL-Mobility Platform).
Action: Depends on the type of connection used by your device:
•If your device is connected via USB, make sure that:
a. Windows Mobile Device Center is connected to the device.
b. Windows Mobile Device Center is allowing the device to use your PC's internet connection.
•If your device is connected via WiFi, check:
a. the WiFi connection (network, profile, etc.).
In MCL-Mobility Platform:
![]()
![]()
Occurrence: After entering the PIN code and clicking ![]() .
.
Cause: The entered PIN code is incorrect.
Action: Make sure the PIN code is correct, enter it in the appropriate field and click ![]() .
.
In the Android ![]() Device
Device
Occurrence: After clicking ![]() in the screen that displays the generated PIN code (step 5).
in the screen that displays the generated PIN code (step 5).
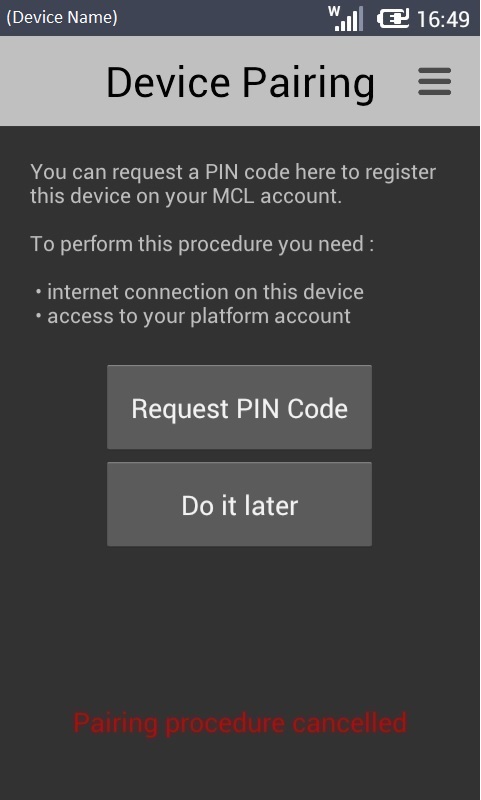
Cause: Aborted pairing operation.
Action: Click ![]() to return to MCL App Desktop OR click
to return to MCL App Desktop OR click ![]() to resume the pairing operation.
to resume the pairing operation.