|
Moving a Device |
  
|
Moving a Device
|
Moving a Device |
|
Overview
Devices can be moved from one device group to another no matter what their status. It is also possible to move more than one device at a time, as long as they have the same device type (same manufacturer/model and OS).
This mobility is possible within a site and/or between sites, depending on the access rights of the user performing the operation:
•site users move devices between device groups within the same site.
•Account administrators can transfer devices to any device group included in the account's sites.
•Site managers can move devices among the device groups included in the sites they manage.
Devices can be moved within the MCL-Mobility Platform - the "transfer" is performed in the account and, then, reported to the device when it communicates with the account.
See To Move a Device in the "Devices" Page and/or To Move a Device in its "... Details" Page.
When moving a device into the "Unassigned" device group, consider that that device will be disabled, not available for use. See To Move a Device into the Unassigned Device Group.
Moving a device out of the "Unassigned" device group, implies manually changing its status to "enabled", if you want to work with it. See To Move a Device From the Unassigned Device Group.
If necessary, you can also move a device to another device group, at device level, via a QR Code or "*.mcfg" file which identifies the new device group that will contain the device - once the device reads that QR code/has the file installed, it is configured so it is associated to the new device group and this change is communicated to the account.
See To Move a Device with a QR Code/"*mcfg" File.
Another alternative is to use a device that is already included in the destination device group ("master" device) and have its settings copied onto the device you want to move ("secondary" device"). See To Move a Device Using another Paired Device
![]() Before moving a device, make sure the destination device group exists. If it does not exist, create one according to the device's settings. See Creating a Device Group.
Before moving a device, make sure the destination device group exists. If it does not exist, create one according to the device's settings. See Creating a Device Group.
![]() If you want to move the device to another site, make sure that its defined timezone is the same as the one set for the destination site.
If you want to move the device to another site, make sure that its defined timezone is the same as the one set for the destination site.
![]() The use of the QR code scan to move a device is ONLY available to Android devices with camera.
The use of the QR code scan to move a device is ONLY available to Android devices with camera.
The use of the "*.mcfg" file is available for both Android and Windows Mobile/CE devices.
To Move a Device in the "Devices" Page
Step-by-step
1. To access the Devices sub-module, click  , in the "Control Panel" and, in the resulting row below, click
  .
.
This opens a "Devices" page.
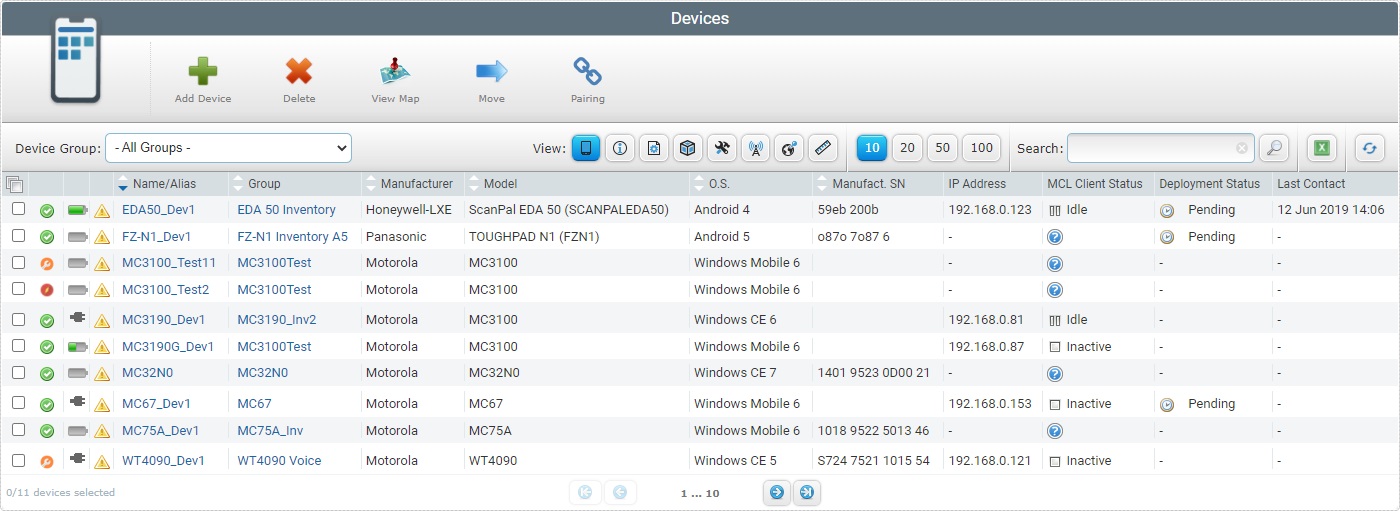
2. Select the device(s) you want to move by checking the corresponding ![]() .
.
![]()
If you intend to move more than one device at a time, they must be of the same manufacturer/model/OS.
![]() The drop-down shows only device groups compatible with the device(s) to move.
The drop-down shows only device groups compatible with the device(s) to move.
3. Click ![]() .
.
If unable to continue, check Possible Error Message(s) to know how to proceed.
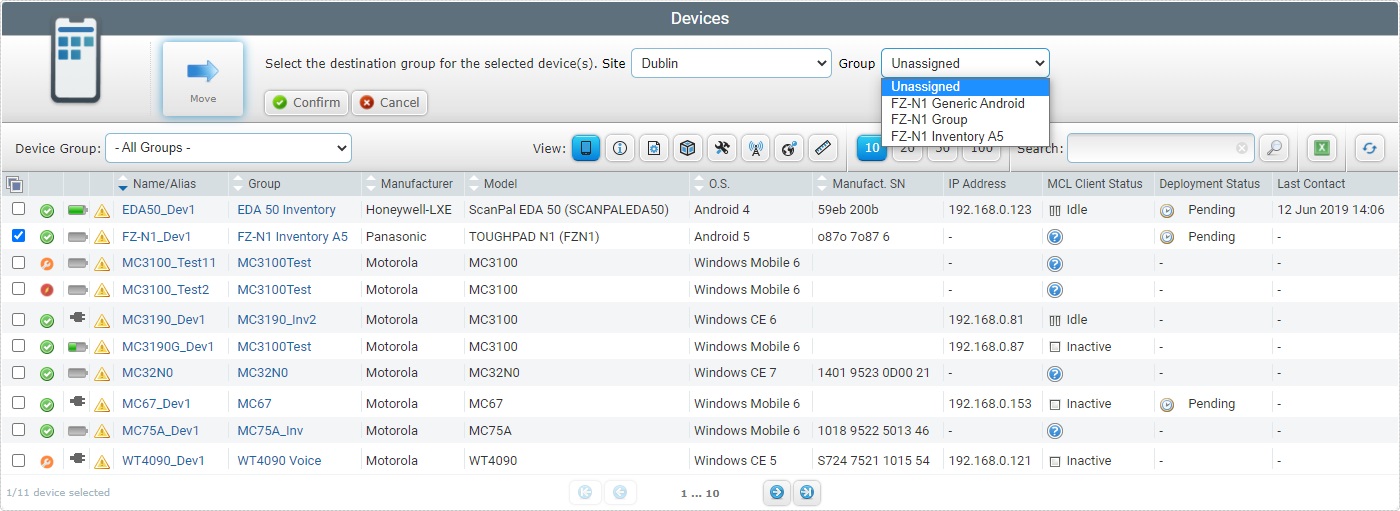
4. Select the site which includes the target device group (the current site is the default option).
![]() Depending on the user profile performing this task, the "Site" drop-down list can present different options (an account administrator can move a device into any existing device group, no matter what the site; a site manager moves devices between device groups included in the sites he manages, the site user can only move devices to device groups within his site.
Depending on the user profile performing this task, the "Site" drop-down list can present different options (an account administrator can move a device into any existing device group, no matter what the site; a site manager moves devices between device groups included in the sites he manages, the site user can only move devices to device groups within his site.
5. Select the device group in the corresponding drop-down. The options available depend on the previously selected site.
The target device group must be compatible with the device(s), meaning, the same manufacturer/model and OS.
If an error message appears, check Possible Error Message(s) to know how to proceed.
6. Click ![]() to conclude the operation.
to conclude the operation.
The information in the "Devices" page is automatically filtered to only display the devices included in the selected target device group. To view all devices, select "All Groups" in the "Device Group" drop-down.
To Move a Device in its "... Details" Page
Step-by-step
1. To access the Devices sub-module, click , in the "Control Panel" and, in the resulting row below, click .
This opens a "Devices" page.
2. Click the name of the device you want to delete (displayed in light blue).
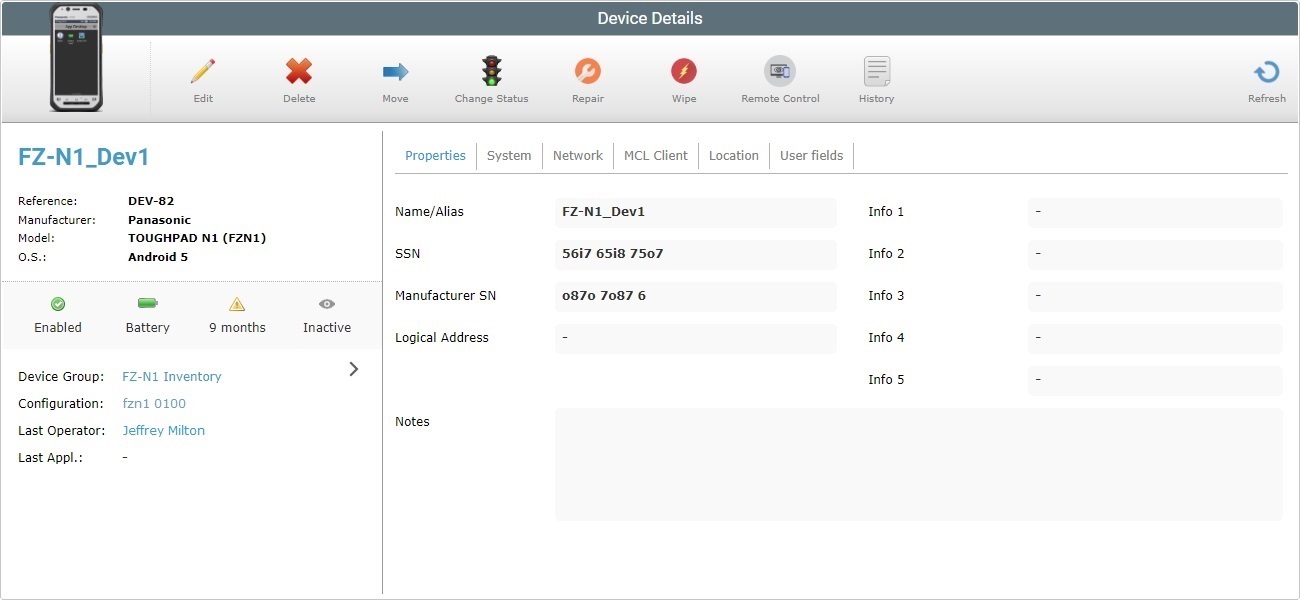
3. Click ![]() .
.
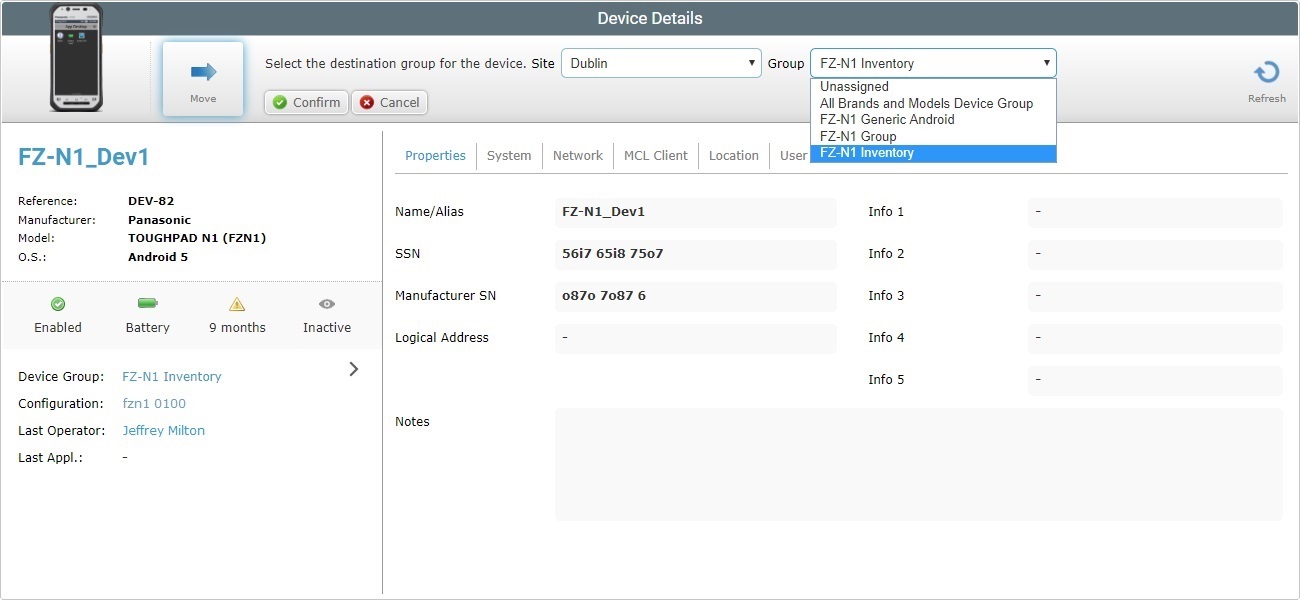
4. Select the site which includes the target device group (the current site is the default option).
![]() Depending on the user profile performing this task, the "Site" drop-down list can present different options (an account administrator can move a device into any existing device group, no matter what the site; a site manager moves devices between device groups included in the sites he manages, the site user can only move devices to device groups within his site.
Depending on the user profile performing this task, the "Site" drop-down list can present different options (an account administrator can move a device into any existing device group, no matter what the site; a site manager moves devices between device groups included in the sites he manages, the site user can only move devices to device groups within his site.
5. Select the destination device group in the corresponding drop-down. The options available depend on the previously selected site and the compatible device groups it contains.
If an error message appears, check Possible Error Message(s) to know how to proceed.
6. Click ![]() to conclude the operation.
to conclude the operation.
To Move a Device with a QR Code/"*.mcfg" File
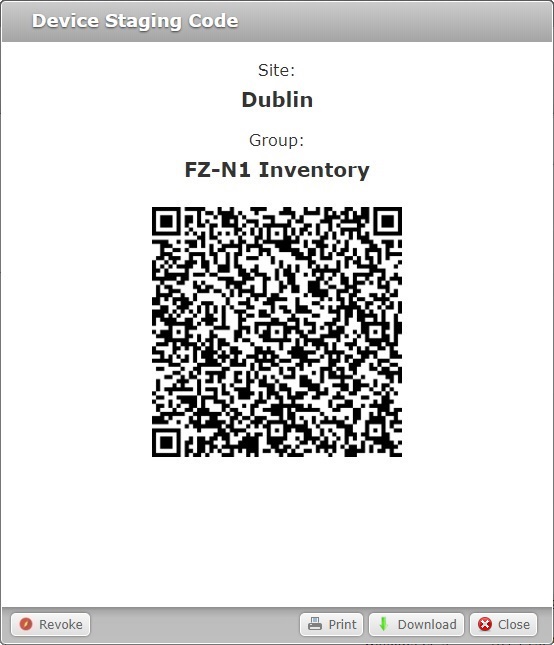
This operation requires the destination device group to have an active QR Code because you must either have the device read the pairing information in a QR code format (Automatic mode) OR install the "*.mcfg" file (another format for the same pairing information) into the device (File mode). If the destination device group does NOT have an active QR Code, generate a new one - see Generating a New QR Code for Pairing/Staging.
![]()
The use of the QR code scan for moving a device is ONLY available to Android devices with camera.
The use of the "*.mcfg" file is available for both Android and Windows Mobile/CE devices.
Step-by-step
1. Access the site with the device group you want to move the device to.
2. Open the details page of the destination device group.
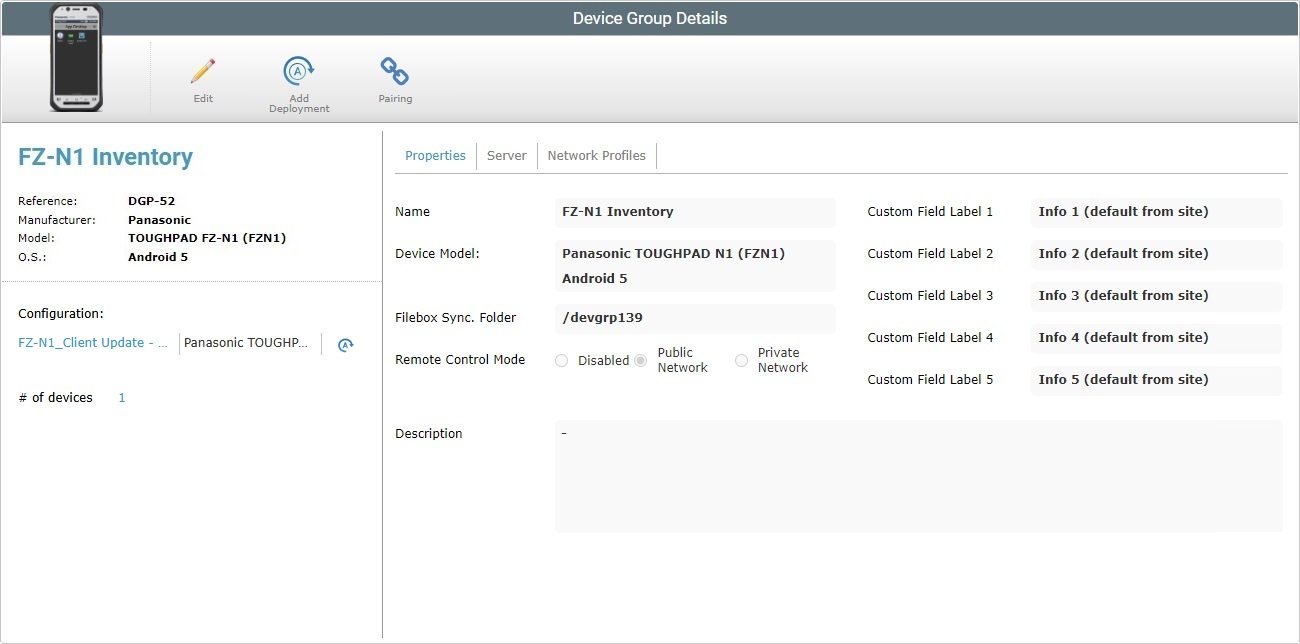
3. Click ![]() .
.
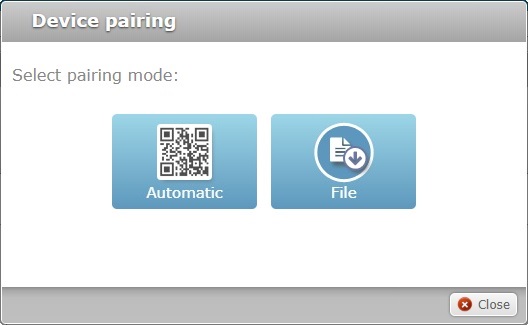
4. At this point, choose the best suited pairing mode:
Automatic mode - This mode is based on the scanning of the device group's QR code by the device you want to move (ONLY available if the intended device and device group are Android)
File mode - This mode uses a file ("*.mcfg") that must be installed into the intended device to deliver the destination device group's pairing information.(Available for Android and WM/CE devices)
Follow the appropriate step-by-step:
a. Click
This pop-up window allows you to scan the QR code with the intended device, directly OR print the QR code and distribute it to the person performing the scan (use the If there is no QR code currently active (empty window), you must generate a new QR code (see Generating a New QR Code for Pairing/Staging).
To perform the QR code scan with the device, proceed as follows:
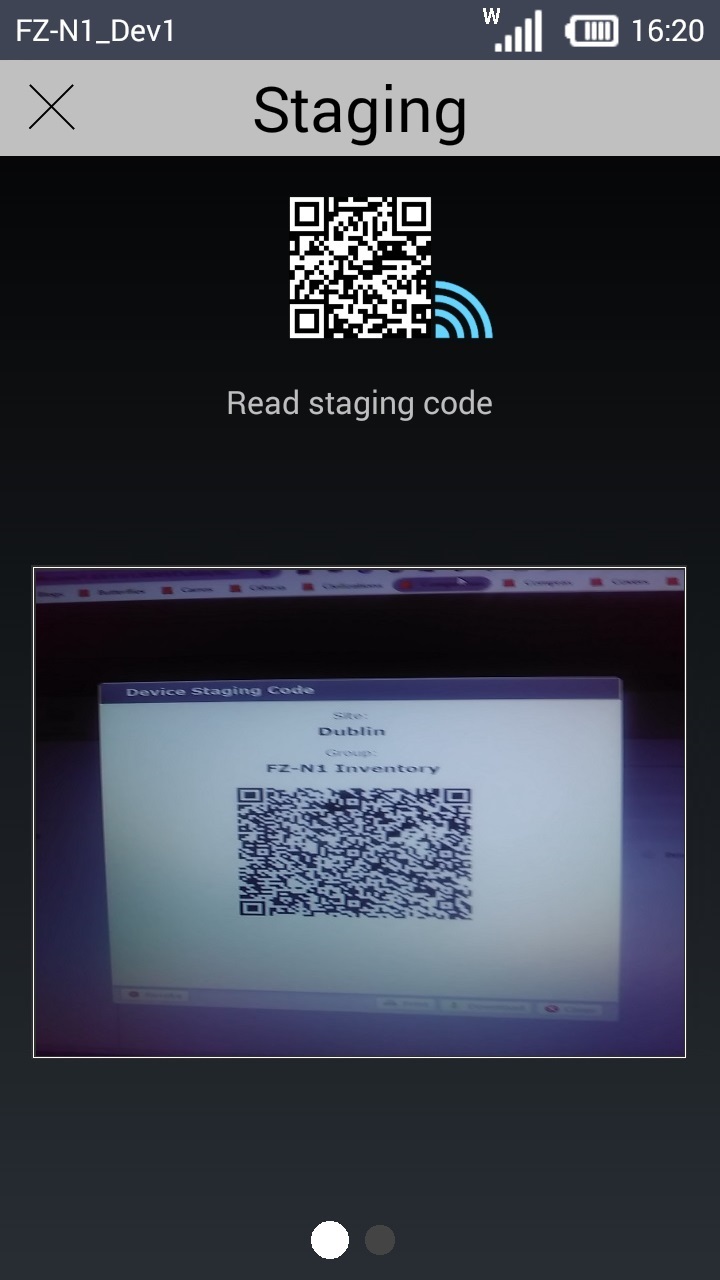
b. Launch MCL App Desktop in the device and select "Staging" in the MCL App Desktop menu.
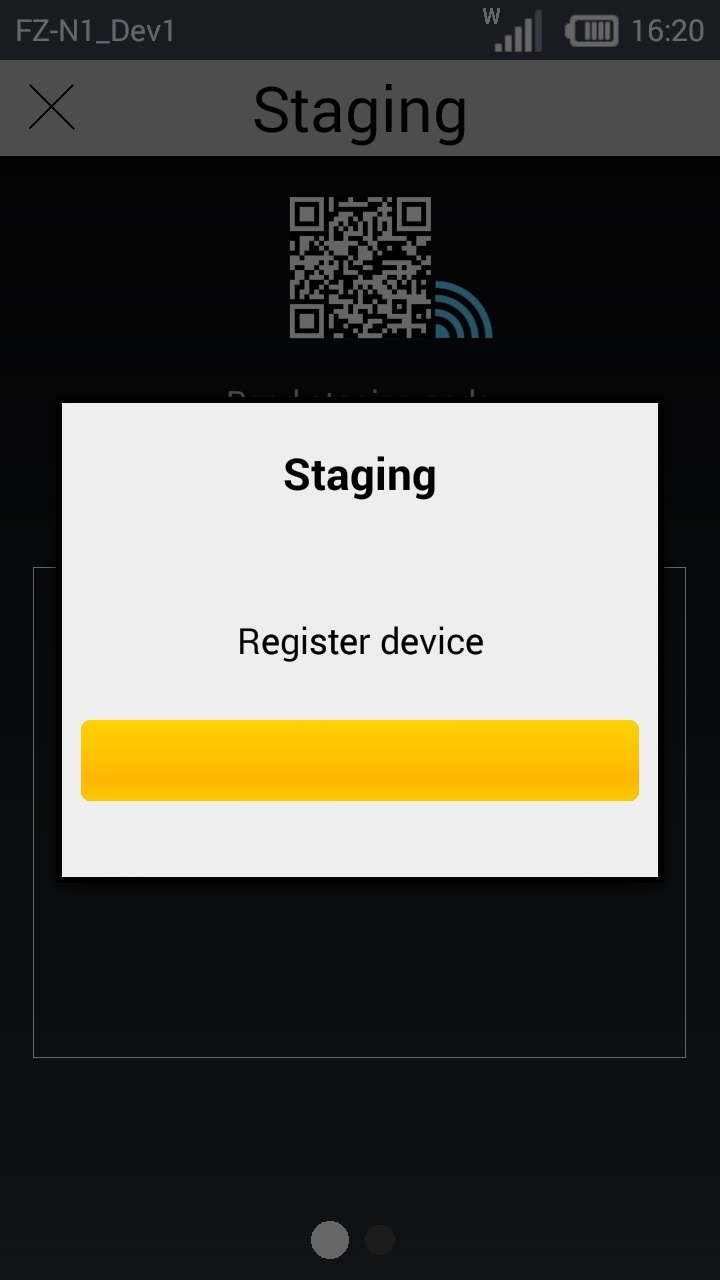
c. Scan the QR code and wait for the device to be configured accordingly.
d. Back in the MCL-Mobility Platform account, click
When the device communicates with the account, it will associate to the new device group - the related information will refresh.
|
a. Click
If the Select
b. Save the "*.mcfg" to your PC.
c. Close the pop-up window by clicking
d. Connect your device to your PC (if the intended device is a Windows Mobile/CE device, use Windows Mobile Device Center) and wait for it to be detected.
e. Copy/paste the downloaded "*.mcfg" file onto the "Install" folder of the "MCL"directory:
Path for Windows Mobile/CE: <MCL>\Install
Path for Android: Android\data\com.mcltechnologies.android.agent.<manufacturer code>\files\Install
The path for a folder in an Android environment requires the use of a manufacturer code. Below are examples of accepted manufacturer codes:
f. Reboot the device.
When the device communicates with the account, it will associate to the new device group - the related information will refresh.
|
To Move an Android Device Using another Paired Android Device
It is possible to copy the settings (in this case, the pairing information) of an Android device ("master" device) that is already paired into the destination device group onto another device ("secondary" device) so it is moved to the same device group. In this case, you access the "master" device's pairing settings in the form of a QR code which you scan with the use of the "secondary" device's camera OR ,if both devices have NFC and are running an MCL-Client version lower than 4.20P01, you can use that medium to copy that information. See Pairing/Staging between Devices.
To Move a Device into the Unassigned Device Group
The "Unassigned" is a "non-device group" provided by the account that includes devices that are not in use, regardless of manufacturer/model/OS. The number of devices in the "Unassigned" is limited to a percentage of the total device pool.
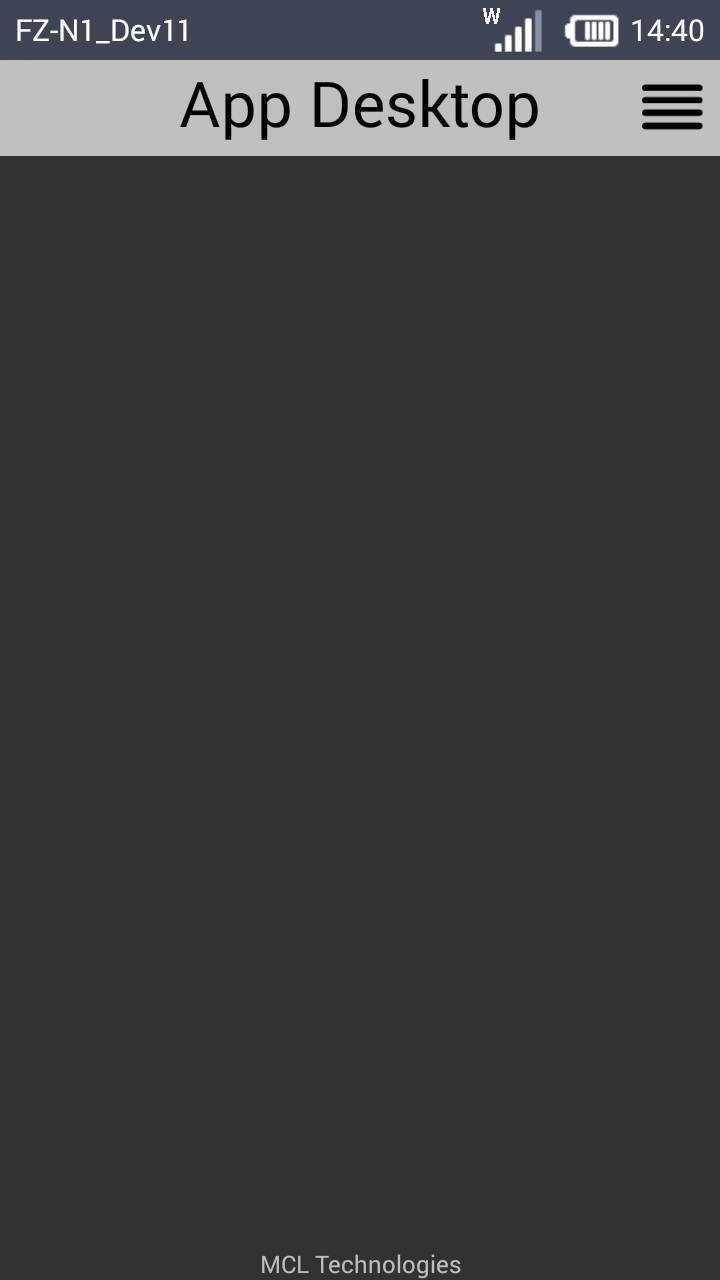
Any device that is moved into the "Unassigned" acquires a "spare" status. Operationally speaking, it will NOT be able to run MCL applications and its MCL-Client license unit will be freed (meaning, it can be associated to another device, if necessary). Its MCL App Desktop will look like this:
The device will keep on contacting MCL-Mobility Platform, from time to time, to check if it has been moved to another device group and if its status has changed.
To Move a Device from the Unassigned Device Group
Step-by-step
1. In the "Devices" page, select "Unassigned" in the "Device Group" drop-down (the "All Groups" option only displays the device groups you have created).
2. Select the device to be moved into a compatible device group. If you want to move more than one device, make sure that the selected devices are of the same manufacturer/model/OS.
3. Click ![]() .
.
4. Select a target site/compatible device group (device group for devices of the same manufacturer/model/OS as the one (s) being moved).
The site/device groups available in the respective drop-downs depend on your user profile/access rights. (ex: an account administrator performing this task will have access to a drop-down with all the existing sites/compatible device groups. A site user will only be able to move devices into compatible device groups included in his own site).
5. Click ![]() to conclude the operation.
to conclude the operation.
6. Change the device's status to the appropriate one. See the statuses description and follow the steps defined in Changing a Device's Status.
![]()
Occurrence: When clicking ![]() .
.
Cause: No device(s) selected.
Action: Select the device(s) to be moved before clicking ![]() .
.
![]()
Occurrence: After selecting the device group and clicking ![]() .
.
Cause: The selected device group is not compatible with the model and OS of the device being moved.
Action: Select a compatible device group and conclude by clicking ![]() .
.
![]()
Occurrence: When clicking ![]() .
.
Cause: A device(s) with the same name already exists in the destination Site/Device Group.
Action: Rename the device(s) to be moved before clicking ![]() .
.