|
Uploading Files to Filebox |
  
|
Uploading Files to Filebox
|
Uploading Files to Filebox |
|
Overview
If required, you can upload files into the Filebox area.
Step-by-Step
1. In the Site Dashboard's "Control Panel", click  to access
  . Click it and open the "Filebox" page.
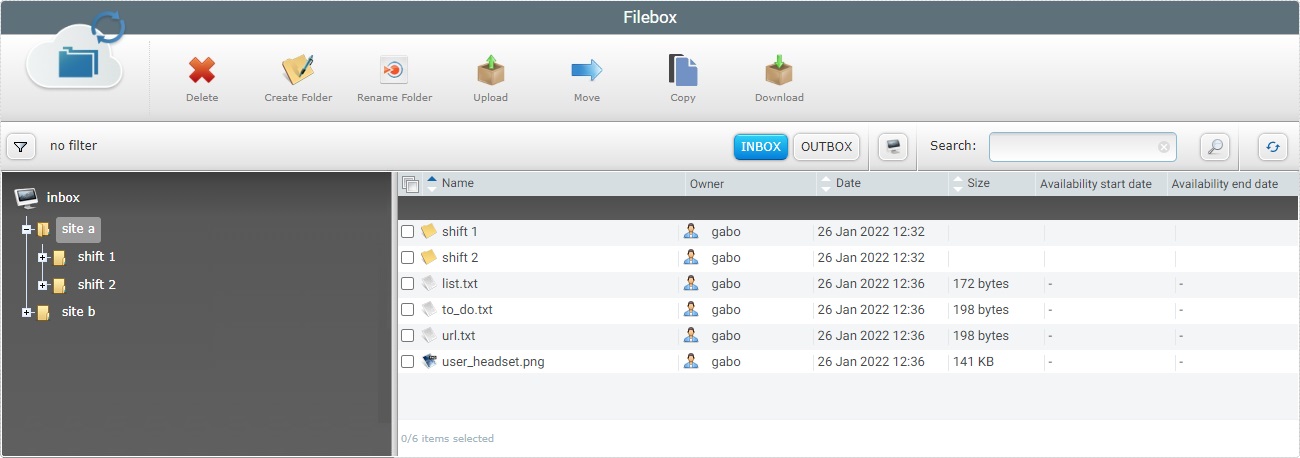
![]() Remember that Inbox is the Filebox area that is open by default. If you want to upload a file into Outbox, you must click
Remember that Inbox is the Filebox area that is open by default. If you want to upload a file into Outbox, you must click ![]() to open it.
to open it.
2. Depending on where you want to upload a file, go to the left section and select the target folder (the folder or sub-folder that will contain the uploaded file).
The content of the selected folder/sub-folder is viewed on the right section. If necessary, use the ![]() and
and ![]() buttons to navigate.
buttons to navigate.
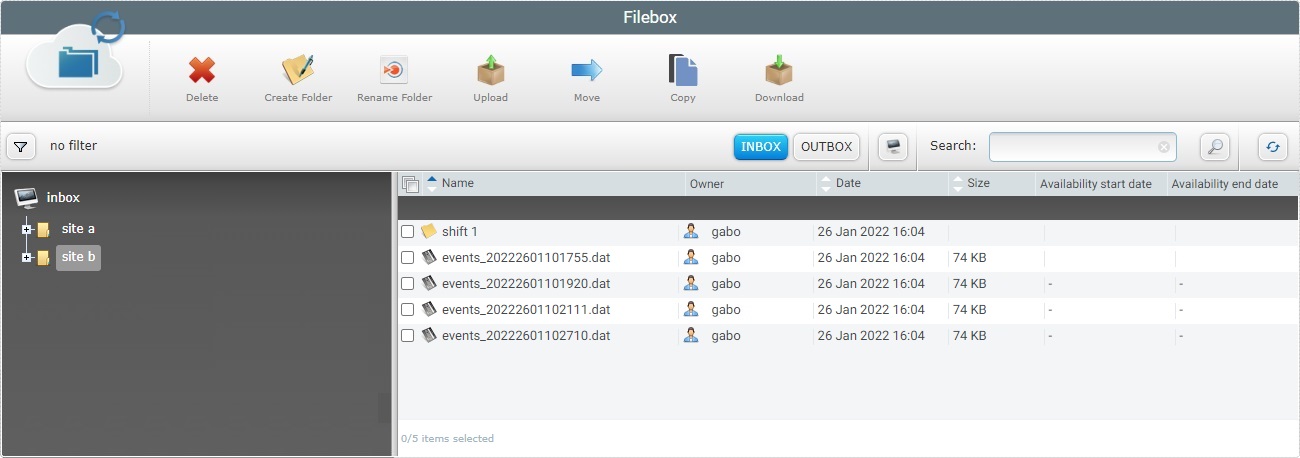
![]() If you want to distribute a file to all the devices, you can upload it to the Outbox's root. To do so, select "outbox" in the left section (step 2) and proceed to step 3.
If you want to distribute a file to all the devices, you can upload it to the Outbox's root. To do so, select "outbox" in the left section (step 2) and proceed to step 3.
3. Click ![]() . The OS browse window opens automatically.
. The OS browse window opens automatically.
![]() If, for some reason, you close the OS browse window, you can reopen it with the use of the "Upload" window (it opens at the same time as the OS browse window, in the background):
If, for some reason, you close the OS browse window, you can reopen it with the use of the "Upload" window (it opens at the same time as the OS browse window, in the background):
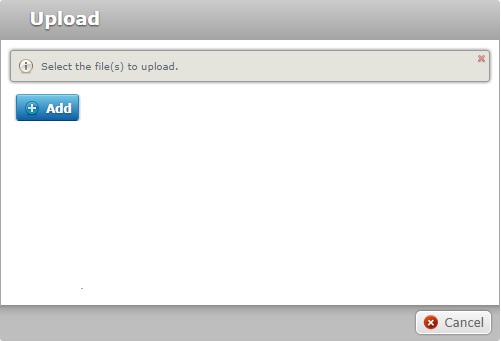
a. Click ![]() to open the OS browse window again.
to open the OS browse window again.
b. Proceed to step 4.
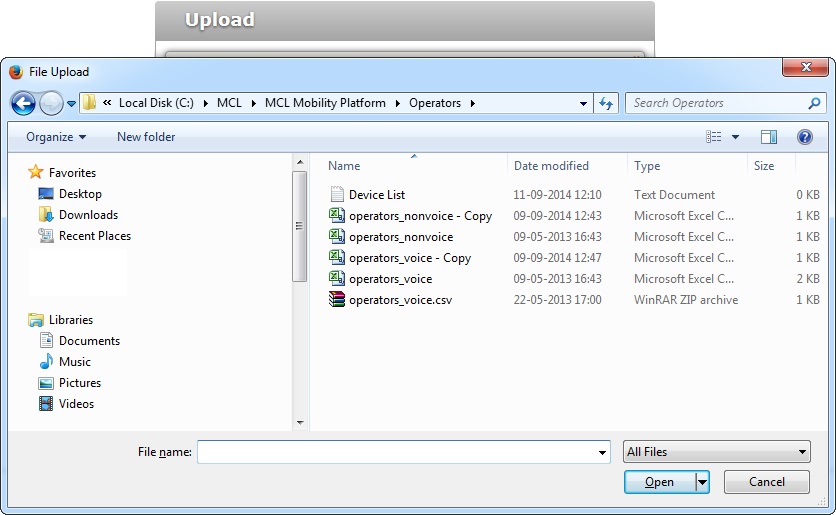
4. Browse for the desired file to upload and select it.
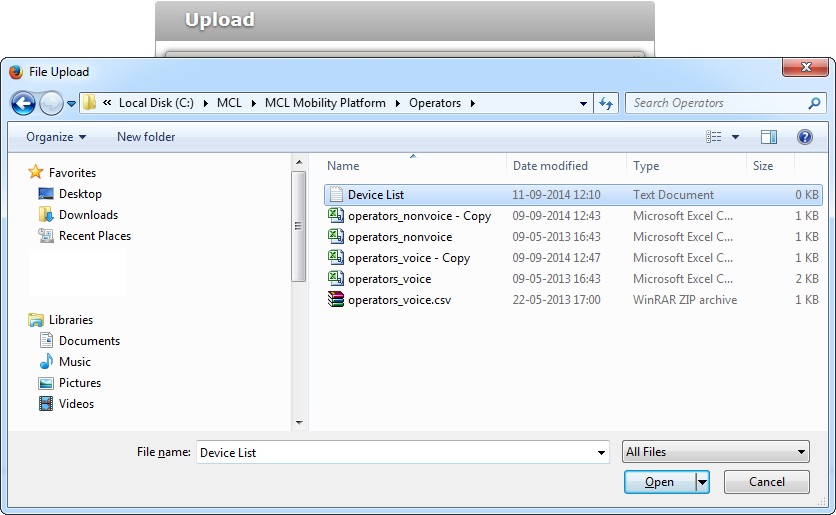
5. Click ![]() .
.
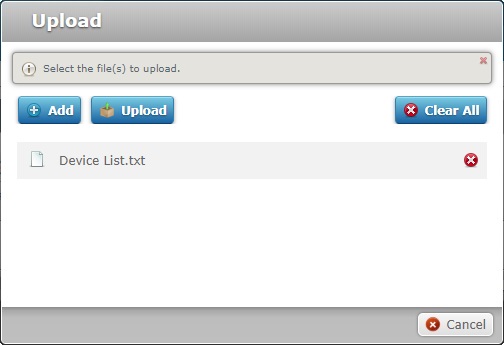
If required, you can add more files to the "Upload" window. Repeat the following as many times as necessary:
a. Click ![]() to open the OS browse window again.
to open the OS browse window again.
b. Browse for the desired file to upload and select it.
c. Click ![]() .
.
If necessary, you can delete added files. To delete one file, click the corresponding ![]() . To delete all added files, at once, click
. To delete all added files, at once, click ![]() .
.
6. When you are done adding the necessary files, click ![]() .
.
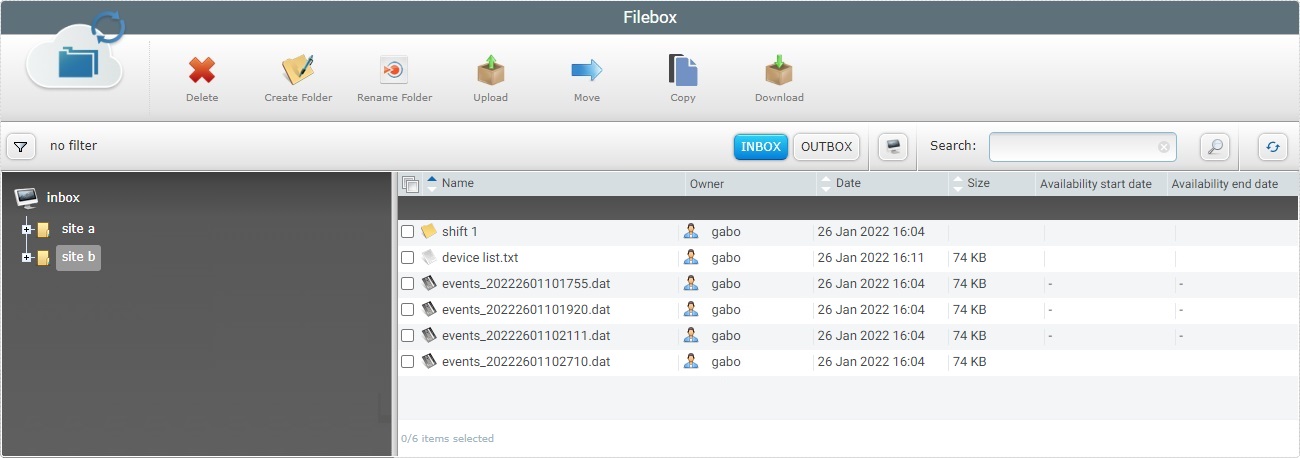
The added files are displayed on the right section.
![]() If you click
If you click ![]() without a selected folder/sub-folder, you will upload a file in the currently open Filebox area/root. For instance, if you click
without a selected folder/sub-folder, you will upload a file in the currently open Filebox area/root. For instance, if you click ![]() right after opening the "Filebox" sub-module, you will be uploading a file in Inbox because this area is open by default.
right after opening the "Filebox" sub-module, you will be uploading a file in Inbox because this area is open by default.
![]()
We recommend you consider the following best practices when dealing with folders and/or files:
•Use alphabetic lowercase and/or numeric characters (a-z; 0-9)
•Underscore, period and/or dash characters are allowed
•Always start the entity's name with an alphabetic character
•Make sure that the files you want to upload only have up to 50 MB in size and 128 characters in length