Editing Account Details |
  
|
Editing Account Details |
|
Overview
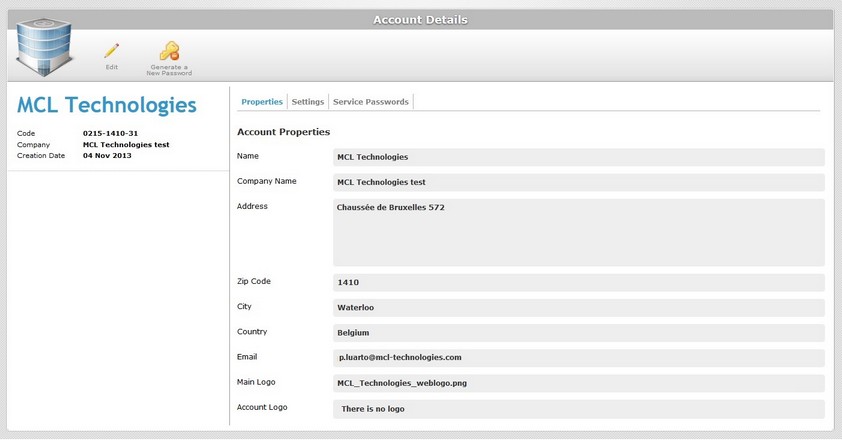
The "Account Details" page provides information on the account. Account details are editable.
Step-by-step
1. To access the Account Details page, click ![]() (in the Control Panel). This opens a 3 tabs page. The "Properties" tab is open, by default.
(in the Control Panel). This opens a 3 tabs page. The "Properties" tab is open, by default.
2. To edit the page, click ![]() OR double-click the field you want to edit. The page is, now, in "edit mode".
OR double-click the field you want to edit. The page is, now, in "edit mode".
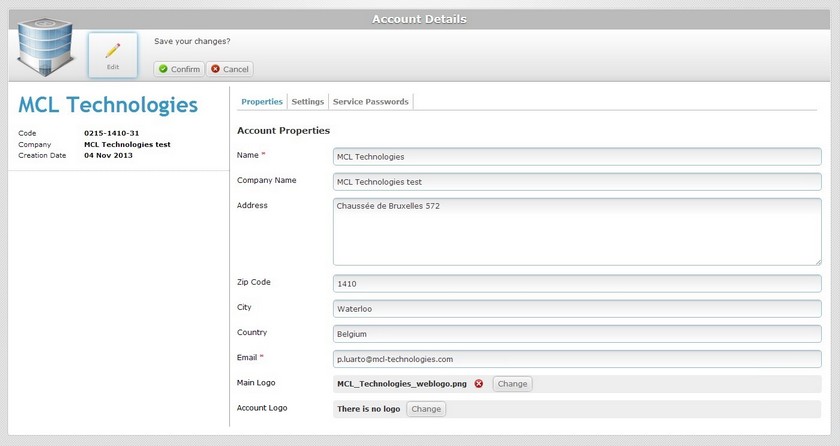
3. Edit the active fields in the "Properties" and Settings" tabs, as required. The options marked with an asterisk are mandatory, meaning, they must always contain information.
To edit the Filebox password in the "Service Passwords" tab, use the ![]() icon. For more information, see Generating a new Filebox Password.
icon. For more information, see Generating a new Filebox Password.
Properties tab
Name |
Maintain or edit the account name. |
Company Name |
Maintain or edit the company name associated to the MCL-Mobility Platform's account. |
Address |
Maintain or edit the address elements: Address Zip code City Country |
Maintain or edit the account owner's email. |
|
Main Logo |
Maintain, change or remove the company's logo. See To Add a Logo below. |
Account Logo |
Maintain the default logo or substitute it. See To Add a Logo below. |
Step-by-step
To add a "Main/Account Logo", make sure that the page is set to "edit mode".
a. Click ![]() OR double-click the "Main Logo"/"Account Logo" field.
OR double-click the "Main Logo"/"Account Logo" field.
![]()
![]()
b. Click the corresponding ![]() button to search for an image file.
button to search for an image file.
c. In the resulting OS file explorer window, select the desired file image.
d. Click ![]() to upload the logo.
to upload the logo.
![]()
![]()
The added logos are, now, displayed in their corresponding location within every MCL-Mobility Platform page.
To remove an image file, click the corresponding ![]() .
.
To change a logo, click ![]() and repeat the image file selection (steps a, b, c and d).
and repeat the image file selection (steps a, b, c and d).
![]()
Before attempting to do any of these actions (adding, removing or changing a logo), do not forget to set the page to "edit mode" (step 1). It is the only way to access the necessary buttons.
Settings tab
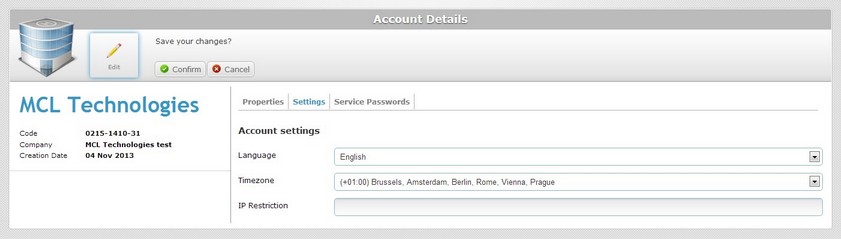
Language |
Maintain or select another language for the account. |
Timezone |
Maintain or select a different timezone for the account. |
IP Restriction |
Increase or decrease the authorized IP range to access the account. |
![]() When adding or removing IP addresses, remember that they must be separated by commas or CIDR notations (ex: 10.3.34.0/24).
When adding or removing IP addresses, remember that they must be separated by commas or CIDR notations (ex: 10.3.34.0/24).
4. Once you have edited the required fields, click ![]() to save those modifications. The page is, now, in "view mode".
to save those modifications. The page is, now, in "view mode".
Generating a new Filebox Password
If you want to change the Filebox password, proceed as follows:
Step-by-step
1. Click ![]() (on the Control Panel) to access the "Account Details" page.
(on the Control Panel) to access the "Account Details" page.
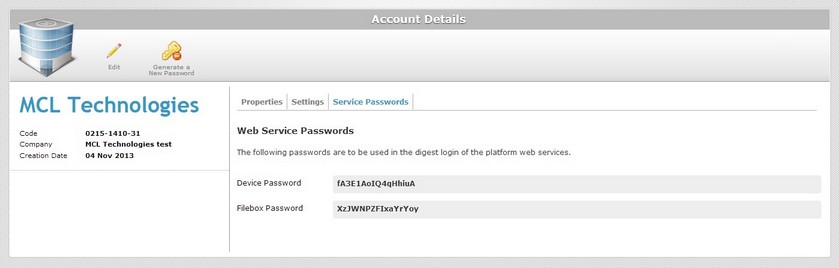
2. Click ![]() to enable options regarding the password change.
to enable options regarding the password change.
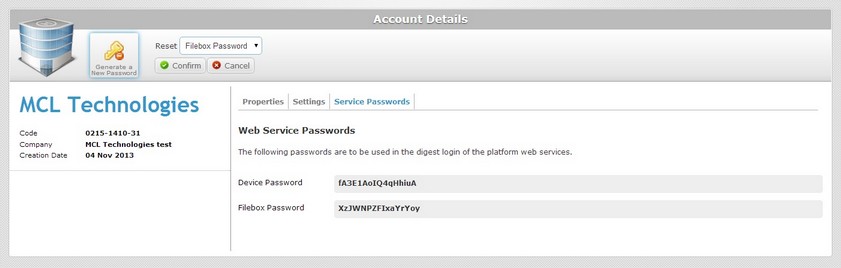
3. Click ![]() to generate a new password for the filebox.
to generate a new password for the filebox.
4. The new password is displayed in the "Service Passwords" tab, in the "Filebox password" field.