|
To Connect to an MCL-Mobility Platform 1.3 Account |
  
|
To Connect to an MCL-Mobility Platform 1.3 Account
|
To Connect to an MCL-Mobility Platform 1.3 Account |
|
Overview
Once you have acquired an MCL-Net v4 subscription, you must install it in a server/PC and connect/activate it in your MCL-Mobility Platform 1.3 account.
The corresponding MCL-Net v4 instance will be identified by MCL-Mobility Platform 1.3 as a "Server" in the "Servers" sub-module.
Refer to the MCL-Mobility Platform 1.3 User Guide for more details on servers.
In this case, a subscription type license implies the use of two specific tools:
MCL-Mobility Platform 1.3: Use this platform to manage your subscriptions. You must have an MCL-Mobility Platform 1.3 account so you can associate your subscription(s) to the site(s) included in that account.
MCL-License Renewal Service v4: Use this service to verify if your subscriptions are currently available for use. This service will be in periodical contact with MCL-Mobility Platform 1.3 to check your subscriptions' validity.
Depending on where you want to install this service, the installation can be included in the MCL-Net v4 Installation (MCL-License Renewal Service option) or dealt with separately.
See MCL-Net v4 License Renewal.
![]()
MCL-Net v4's installation and corresponding license activation is a simultaneous process. This means that you will be performing steps in the application itself and in your MCL-Mobility Platform's 1.3 account.
To create an account in MCL-Mobility Platform 1.3, refer to the MCL-Mobility Platform 1.3 User Guide.
Execute the following procedure to install MCL-Net v4 in a server/PC and activate it in an MCL-Mobility Platform 1.3 account.
![]() Make sure your PC is connected to the Internet so you can contact your MCL-Mobility Platform 1.3 account.
Make sure your PC is connected to the Internet so you can contact your MCL-Mobility Platform 1.3 account.
To Install/Activate MCL-Net v4 (Subscription)
Step-by-step
1. Download the installer file (ex.: MCL_Net_XXXXPXX.exe) from our website:
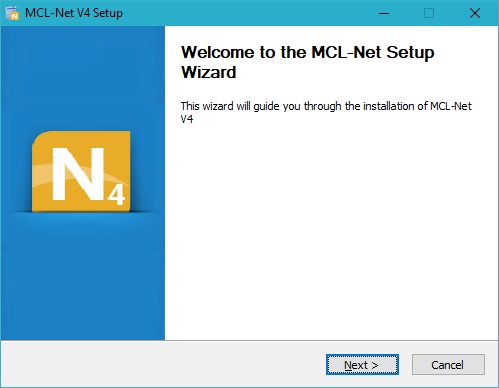
2. Run the installer file and follow the instructions in the MCL-Net v4 Setup wizard:
3. Click ![]() to proceed.
to proceed.
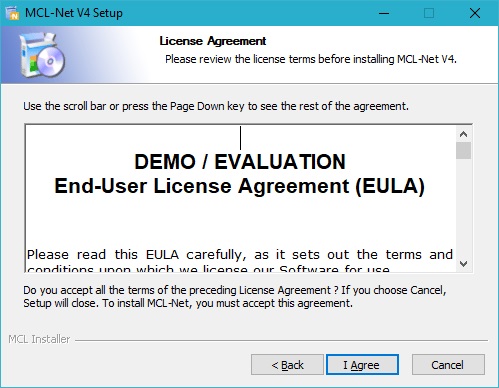
4. After reading the EULA, click ![]() to continue.
to continue.
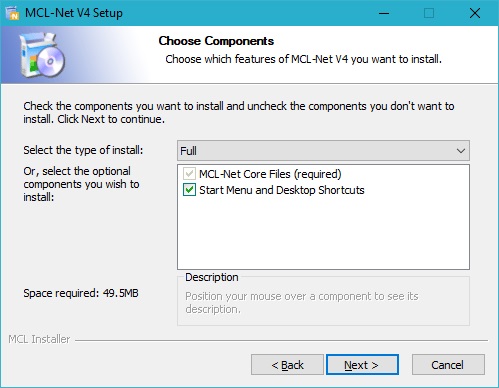
5. Select the type of installation you require ("Full" or "Minimal") from the drop-down.
• Each option implies the default checking of all or a single/specific component.
Ex: Select "Full" and all available components will be checked and, consequently, installed.
Select "Minimal" and the "Start Menu and Desktop Shortcuts" option will not be checked/its components installed.
•As an alternative, instead of selecting a type of installation, check the components you want to install.
MCL-Net v4 Components |
|
MCL-Net Core Files (required) |
Essential component to the installation. CANNOT be removed from the MCL-Net v4 installation, so the check box is inactive. |
Start Menu and Desktop Shortcuts |
Check this option to ensure a direct and simple way to start MCL-Net v4. Do NOT check this option, if you require MCL-Net v4 to be installed as a Windows service. |
6. Click ![]() to proceed.
to proceed.
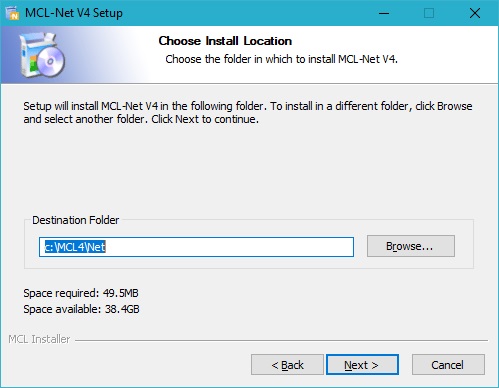
7. Maintain the default location OR select a different "Destination Folder":
a. Enter the path for the new destination folder.
OR
b. Click ![]() and browse for it.
and browse for it.
8. Click ![]() to proceed.
to proceed.
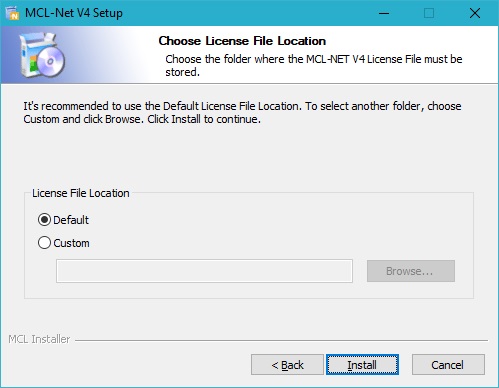
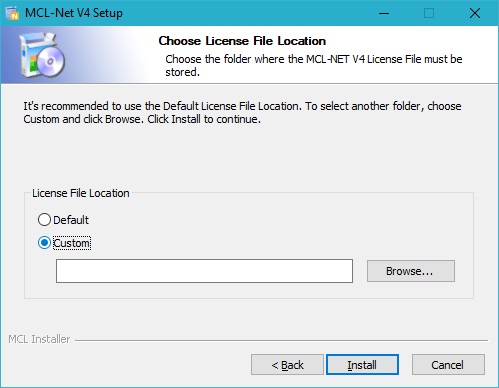
9. Check the desired option.
License File Location |
|||
|
|
||
Default |
To allow the MCL-License Renewal Service v4 to find the license files in the default location. The default license file location is: /<Mcl-Net installation directory> |
Custom |
To allow the MCL-License Renewal Service v4 to find the license files in another server: I. Click II. Select the required shared folder. The license file's folder is displayed in the box below. |
|
|||
10. Click ![]() .
.
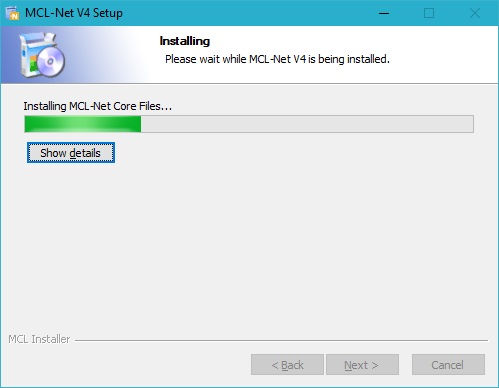
The MCL-Net v4 installation begins and, at the same time, you are asked to proceed with the MCL-Net v4 subscription activation:
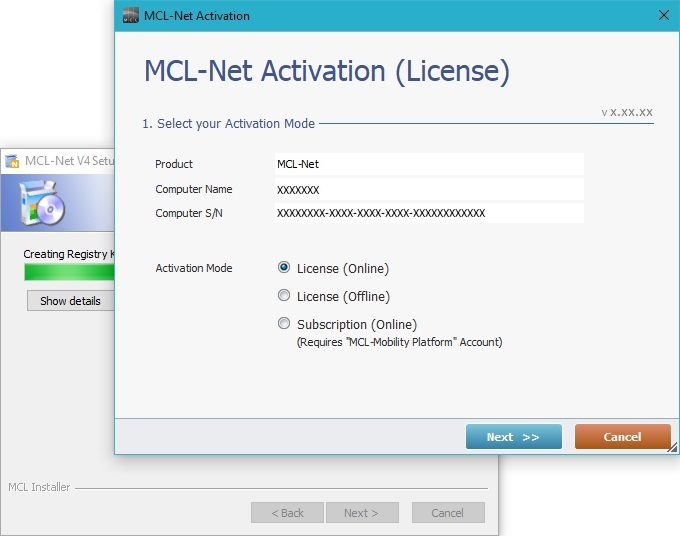
11. Check the "Subscription (Online)" option.
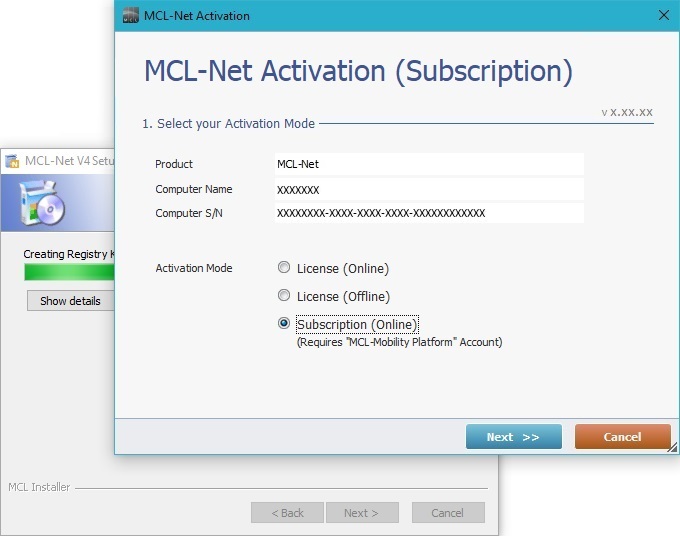
12. Click ![]() .
.
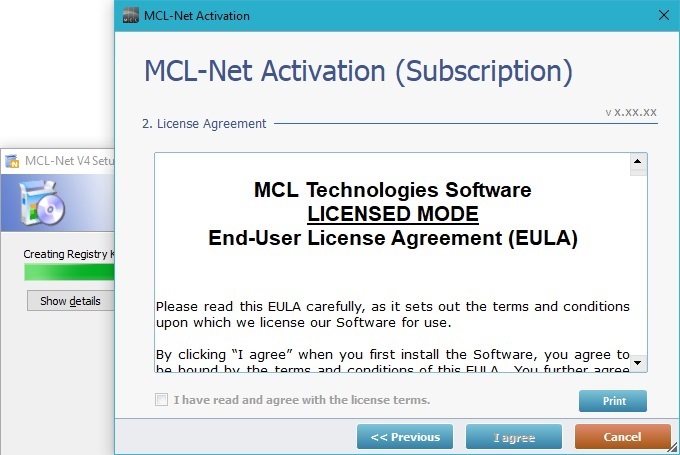
13. Read the License Agreement terms. Scroll down to activate the "I have read and agree with the license terms" option and check it.
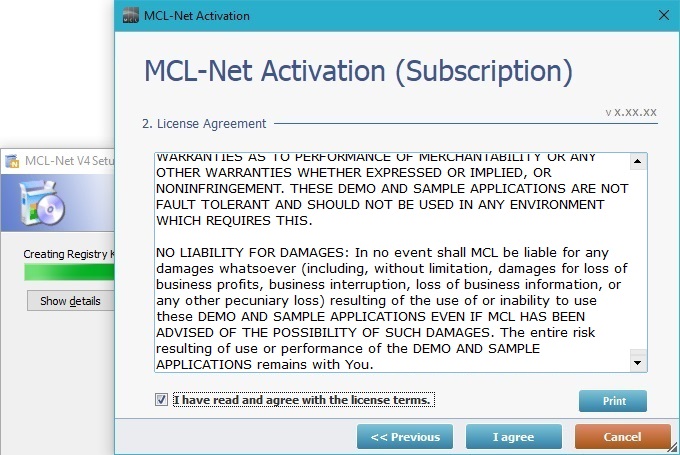
14. Click ![]() to continue.
to continue.
15. Maintain the MCL-Net Setup v4 wizard open and log in to your account in MCL-Mobility Platform 1.3.
16. Open the site that will include the server that you want to attach this subscription to.
17. In the site's "Control Panel", click ![]() and, then, in the resulting row below, select
and, then, in the resulting row below, select  which opens the "Servers" page.
![]()
You can use an existing server, as long as it is NOT already associated to a product/subscription OR create a new server.
Refer to the MCL-Mobility Platform 1.3 User Guide.
18. If you already have an available server (NOT connected to any product/license), click the required server's name (displayed in light blue) to open the corresponding "Server Details" page and proceed to step 20.
If you need to create a new server, continue to step 19.
19. In the "Servers" page, click ![]() to add a new server.
to add a new server.
![]()
When creating a server, make sure you have NOT exceeded the number of enabled servers included in the subscription.
If you have reached the server limit, you can use the "enable/disable status" feature. Disable an existing server and replace it with a new server.
Refer to the MCL-Mobility Platform 1.3 User Guide.
20. In the "New Server" page, fill in the following fields (mandatory fields are marked with an asterisk):
![]() If you are using an existing server, you have opened that server's "Server Details" page (step 18). The options are identical to the ones displayed in the "New Server" page.
If you are using an existing server, you have opened that server's "Server Details" page (step 18). The options are identical to the ones displayed in the "New Server" page.
Product |
Select the desired product from the drop-down. |
Installation Code |
Enter the Installation Code provided by MCL-Net Setup Wizard. |
Server Alias * |
Enter a name to be the server's alias. |
Address |
Enter the server's IP address. |
Port |
Enter the server's port. |
Subnet |
Enter the server's subnet mask. |
Gateway |
Enter the server's gateway. |
Max. Connection |
Define the maximum of connections that the server is allowed to establish. (0 = no connections limitation) |
Description |
If relevant, add information regarding the server. |
21. Click ![]() to save your new server/server details.
to save your new server/server details.
22. Click ![]() to download the generated license file (*.lic file) to a folder in your PC (Ex: "C:\MCL4\Net").
to download the generated license file (*.lic file) to a folder in your PC (Ex: "C:\MCL4\Net").
23. Click ![]() to save the server's license file in your PC.
to save the server's license file in your PC.
24. Go back to MCL-Net Setup Wizard.
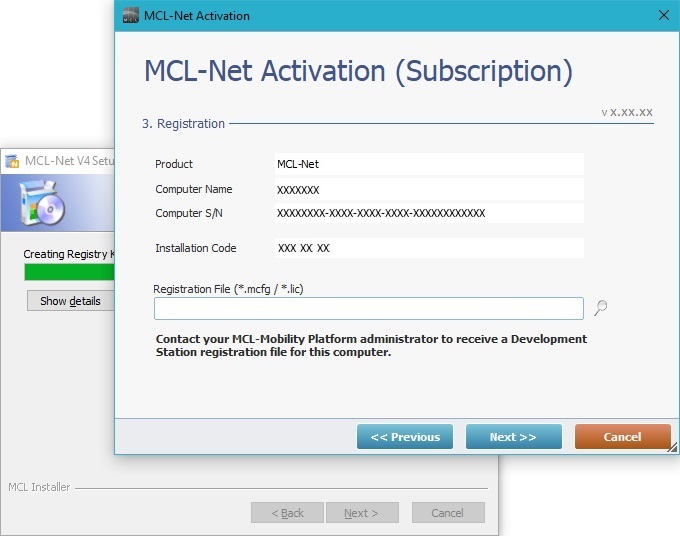
25. Click ![]() and, in the resulting OS browse window, locate the previously downloaded license file (*.lic) in steps 21 and 22.
and, in the resulting OS browse window, locate the previously downloaded license file (*.lic) in steps 21 and 22.
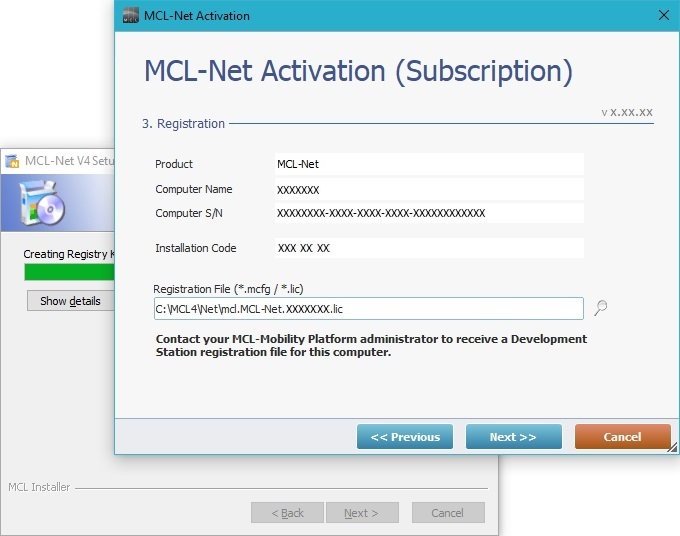
26. Click ![]() .
.
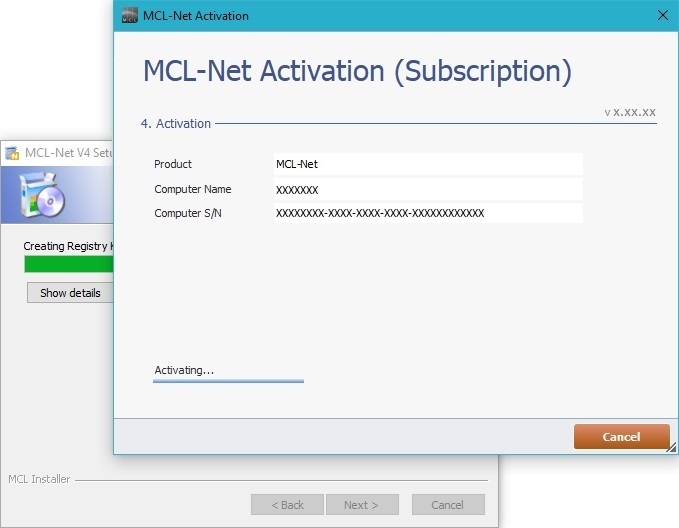
Wait for the activation process to proceed.
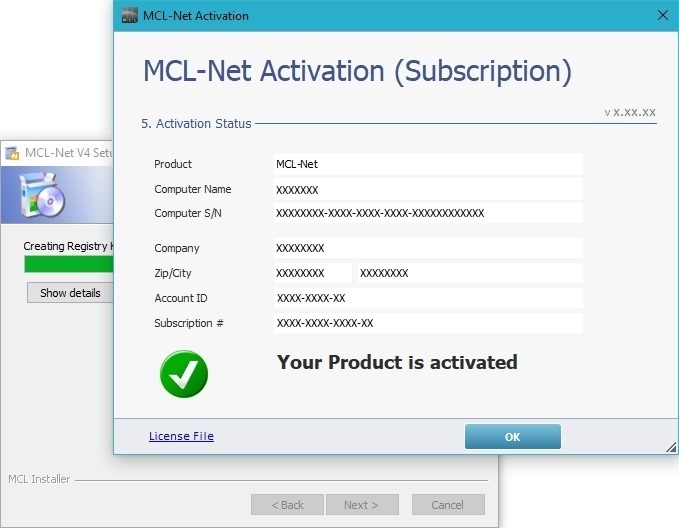
27. Once the "Your Product is activated" message is displayed, click ![]() .
.
A message regarding the firewall is displayed.
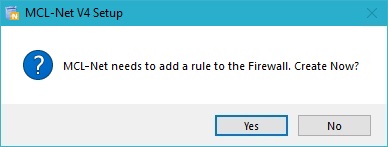
28. Click ![]() to continue.
to continue.
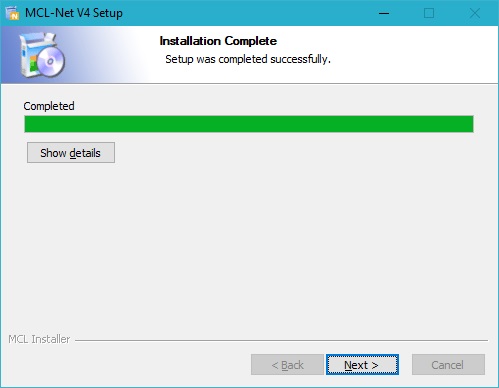
29. Wait until the "Installation Complete" information is displayed and, then, click ![]() .
.
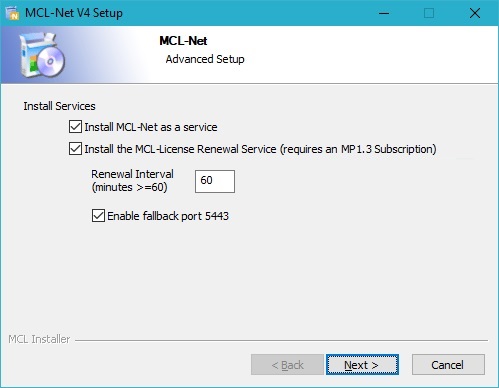
30. Select the desired services to install.
31. Click ![]() .
.
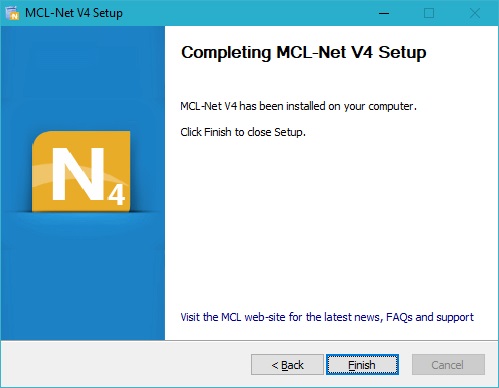
32. The MCL-Net v4 installation/activation process is complete. Click ![]() to conclude.
to conclude.