|
Standard Installation/Activation |
  
|
Standard Installation/Activation
|
Standard Installation/Activation |
|
Overview
Once you have acquired an MCL-Net v4 subscription, you must install it in a server/PC and connect/activate it in your MCL-Mobility Platform 1.4 account.
The corresponding MCL-Net v4 instance will be identified by MCL-Mobility Platform 1.4 as a "Server" in the "Servers" sub-module.
Refer to the MCL-Mobility Platform 1.4 User Guide for more details on servers.
In this case, a subscription type license implies the use of two specific tools:
MCL-Mobility Platform 1.4: Use this platform to manage your subscriptions. You must have an MCL-Mobility Platform 1.4 account so you can associate your subscription(s) to the site(s) included in that account.
MCL-Net Agent Service v4: This service is used to perform regular subscription validity checks on the MCL-Net v4 instance. This service is also responsible for the communication and data exchange between the MCL-Mobility Platform 1.4 and MCL-Net v4 (ex: Status Info).
To create an account in MCL-Mobility Platform 1.4, refer to the MCL-Mobility Platform 1.4 User Guide.
To Install/Activate MCL-Net v4 (Subscription)
![]() Make sure your PC is connected to the Internet so you can contact your MCL-Mobility Platform 1.4 account.
Make sure your PC is connected to the Internet so you can contact your MCL-Mobility Platform 1.4 account.
![]()
MCL-Net v4's installation and corresponding license activation is a simultaneous process. This means that you will be performing steps in the application itself and in your MCL-Mobility Platform's 1.4 account.
Execute the following procedure to install MCL-Net v4 in a server/PC and activate it in an MCL-Mobility Platform 1.4 account.
Step-by-step
1. Download the installer file (ex.: MCL_Net_XXXXPXX.exe) from our website:
2. Run the installer file and follow the instructions in the MCL-Net v4 Setup wizard:
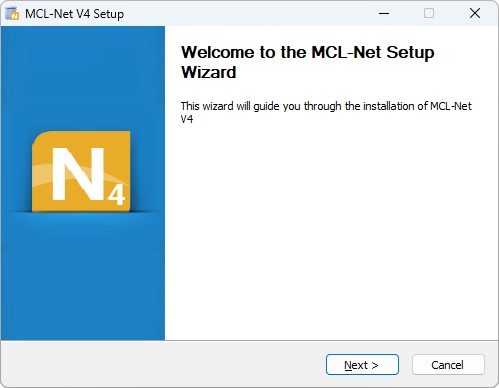
3. Click ![]() to proceed.
to proceed.
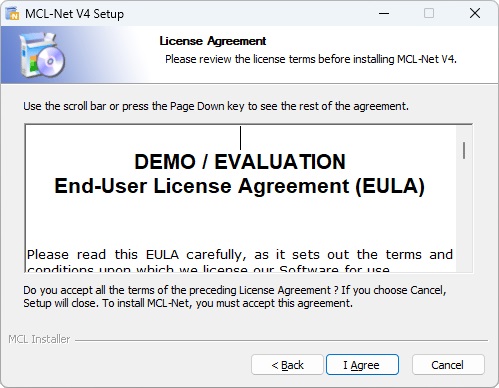
4. After reading the EULA, click ![]() to continue.
to continue.
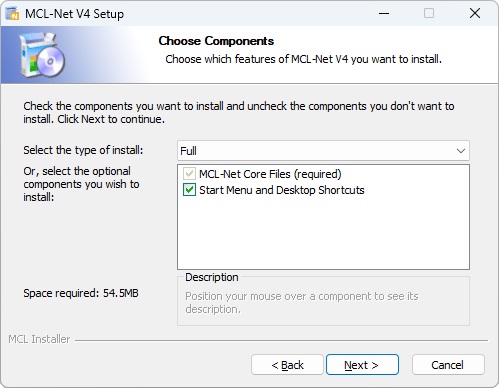
5. Select the type of installation you require ("Full", "Minimal" or "Custom") from the drop-down.
• Each option implies the default checking of all or a specific component.
Ex: Select "Full" and all available components will be checked and, consequently, installed.
Select a "Minimal" installation and the "Start Menu and Desktop Shortcuts" option will not be checked - consequently, the referred components will not be installed.
•As an alternative, check the components you want to install.
MCL-Net v4 Components |
|
MCL-Net Core Files (required) |
Essential component to the installation. Cannot be removed from the MCL-Net v4 installation, so the checkbox is inactive. |
Start Menu and Desktop Shortcuts |
Check this option to ensure a direct and simple way to start MCL-Net v4. Do NOT check this option, if you require MCL-Net v4 to be installed as a Windows service. |
6. Click ![]() to proceed.
to proceed.
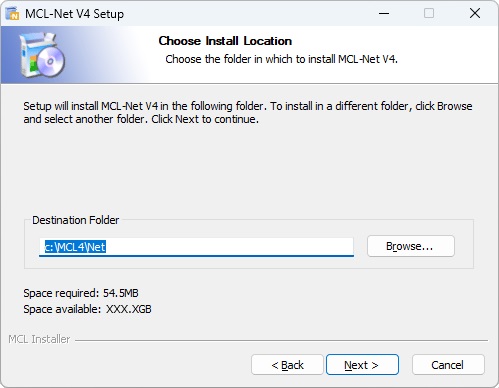
7. Maintain the default location OR select a different "Destination Folder":
a. Enter the path for the new destination folder.
OR
b. Click ![]() and browse for it.
and browse for it.
8. Click ![]() to proceed.
to proceed.
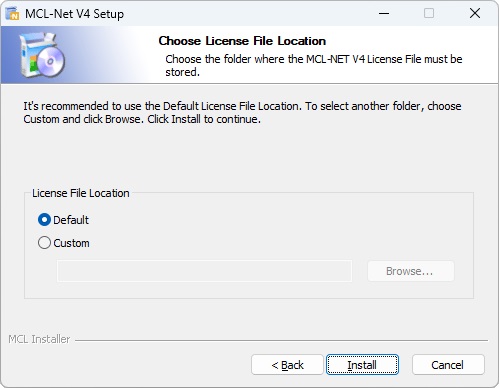
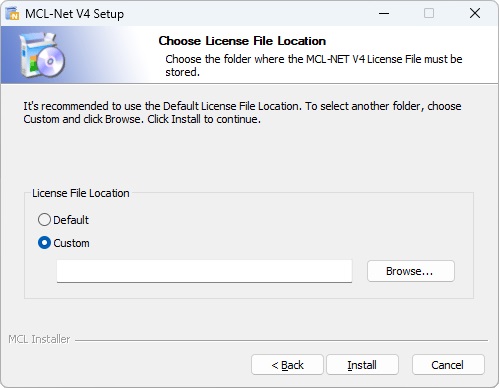
9. Check the desired option.
License File Location |
|||
|
|
||
Default |
To allow the MCL-Net Agent Service to find the license files in the default location. The default license file location is: /<MCL-Net installation directory> |
Custom |
To allow the MCL-Net Agent Service to find the license files in another server: I. Click II. Select the required shared folder. The license file's folder is displayed in the box below. |
|
|||
10. Click ![]() .
.
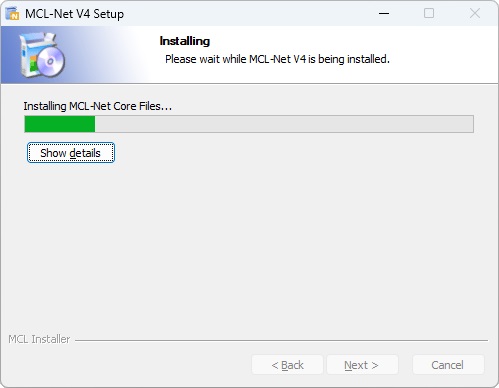
The MCL-Net v4 installation begins and, at the same time, you are asked to proceed with the MCL-Net v4 subscription activation:

11. Check the "Subscription (Online)" option.
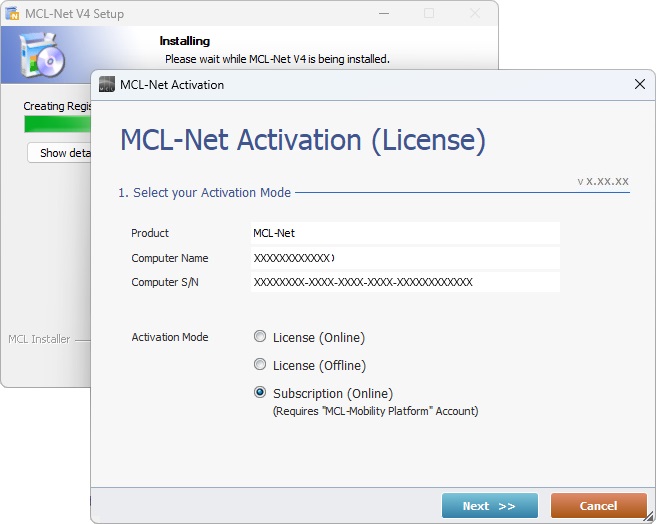
12. Click ![]() .
.
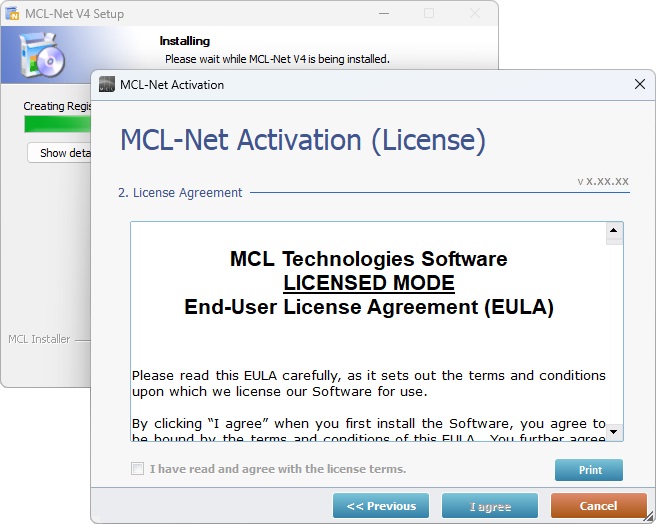
13. Read the License Agreement terms. Scroll down to activate the "I have read and agree with the license terms" option and check it.
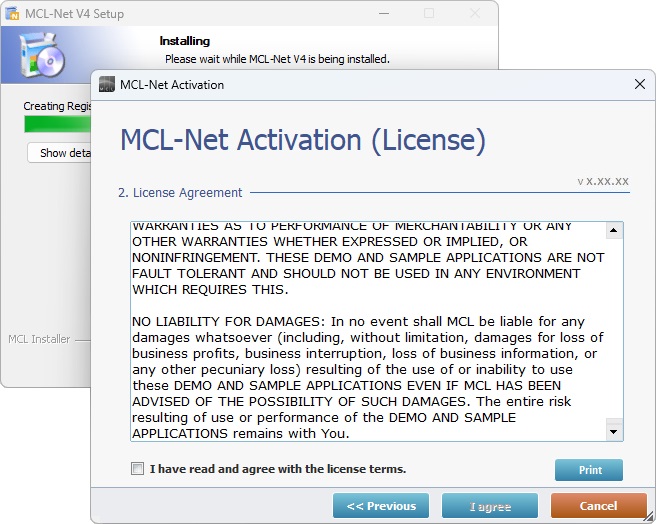
14. Click ![]() to continue.
to continue.
15. Maintain the MCL-Net Setup v4 wizard open and log in to your account in MCL-Mobility Platform 1.4.
16. In the account's "Control Panel", click  and, then, in the resulting row below, select
 ![]() which opens the "Server Management" page.
which opens the "Server Management" page.
17. In the "Server Management" page, click ![]() to download the generated license file (*.mcfg file) to a folder in your PC (Ex: "C:\MCL4\Net").
to download the generated license file (*.mcfg file) to a folder in your PC (Ex: "C:\MCL4\Net").
![]()
When pairing a server, make sure you have NOT exceeded the number of enabled servers included in the subscription.
If you have reached the server limit, you can use the "enable/disable status" feature. Disable an existing server and replace it with a new server.
Refer to the MCL-Mobility Platform 1.4 User Guide.
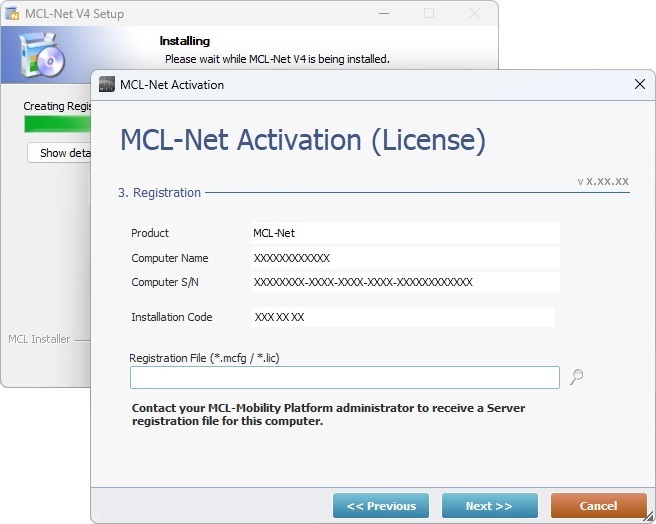
18. Go back to MCL-Net v4 Setup wizard.
19. Click ![]() and, in the resulting OS browse window, locate the previously downloaded license file (*.mcfg) in step 17.
and, in the resulting OS browse window, locate the previously downloaded license file (*.mcfg) in step 17.

20. Click ![]() .
.
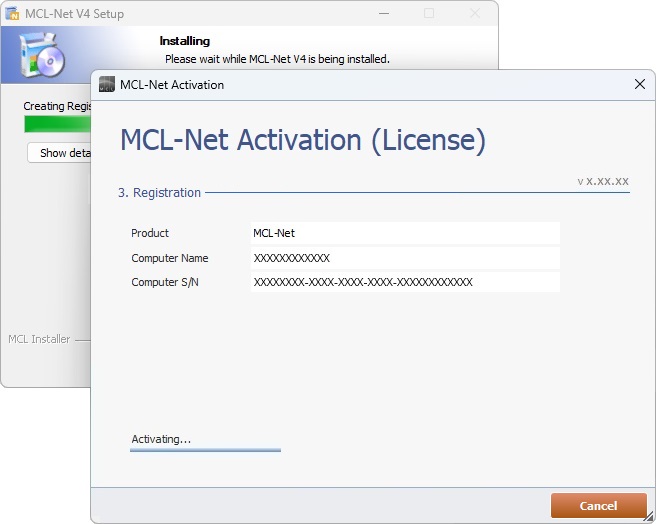
Wait for the activation process to proceed.
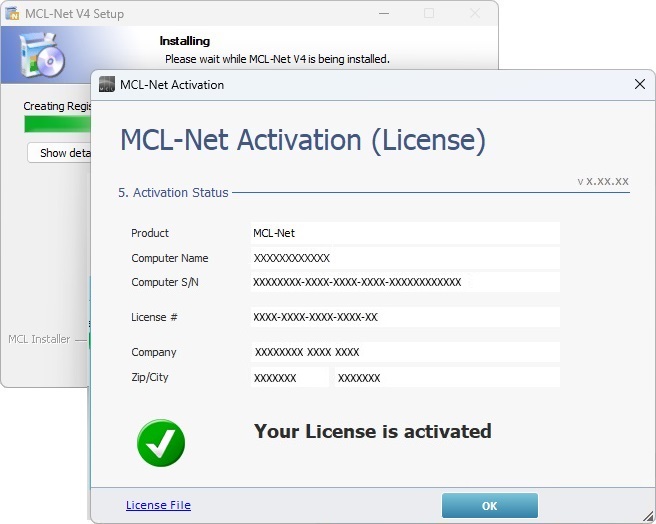
21. Once the "Your Product is activated" message is displayed, click ![]() .
.
A message regarding the firewall is displayed.
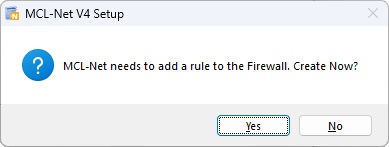
22. Click ![]() to proceed.
to proceed.
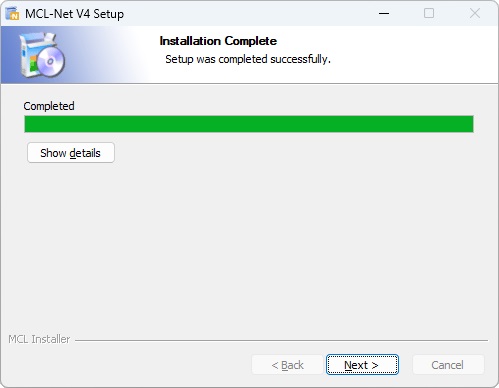
23. Wait until the "Installation Complete" information is displayed and, then, click ![]() .
.

24. Select the desired services to install.
25. Click ![]() .
.
26. The MCL-Net v4 installation/activation process is complete. Click ![]() to conclude.
to conclude.