|
Upgrading MCL-Net v4 |
  
|
Upgrading MCL-Net v4
|
Upgrading MCL-Net v4 |
|
Overview
Follow the step-by-step below and our recommendations for a successful upgrade of MCL-Net v4.
![]() If you are running in perpetual License mode:
If you are running in perpetual License mode:
•Make sure your PC is connected to the Internet so you can contact MCL-License Manager.
•You MUST have an active Support & Service service. If you have any doubts about this, please, contact MCL Support.
![]() If you are running in Subscription mode:
If you are running in Subscription mode:
•Make sure your PC is connected to the Internet so you can contact your MCL-Mobility Platform account.
Step-by-step
1. Access MCL Technologies' site and download/save the latest MCL-Net version into your PC.
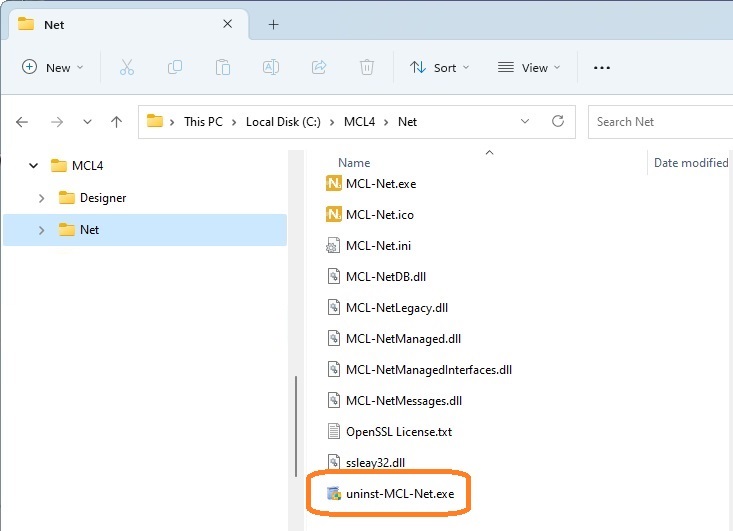
2. Uninstall your current MCL-Net v4 version:
a. Access MCL-Net's installation folder and click the corresponding uninstall.exe file.
![]()
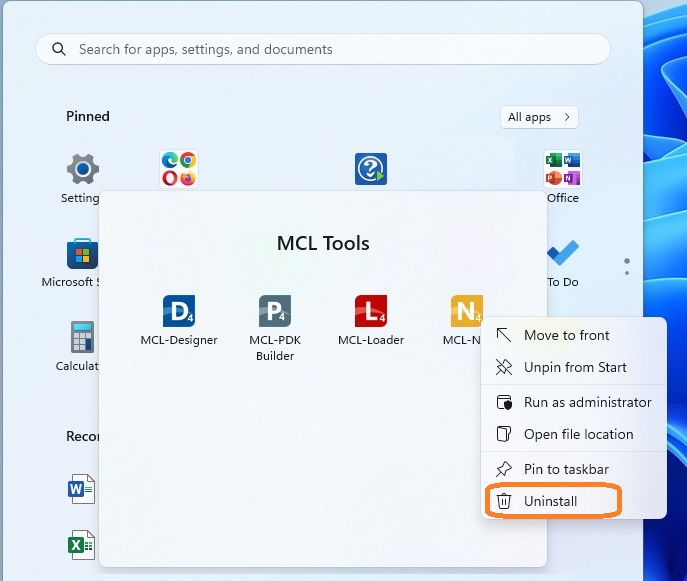
If available, you can use the Windows "Uninstall" shortcut option instead.
Windows 11 example:
3. Restart your PC.
![]()
Do NOT skip this step - the reboot is necessary to clean the Operating System and prepare it for the new installation.
4. Open the location you have saved the downloaded MCL-Net installer into and run the installer.
5. Follow the wizard's instructions. See MCL-Net v4 Installation/Activation (Subscription) OR MCL-Net v4 Installation/Activation (License).
6. Wait for the installation to conclude.