|
MCL-Net v4 Installation/Activation (License) |
  
|
MCL-Net v4 Installation/Activation (License)
|
MCL-Net v4 Installation/Activation (License) |
|
Overview
A license is a perpetual license, meaning, it only requires a one time activation and does not have a renewal/expiration date. You will register/manage your MCL-Net v4 license(s) in an MCL-License Manager account.
MCL-License Manager: a cloud-based platform that allows you to manage your MCL product (perpetual) license(s).
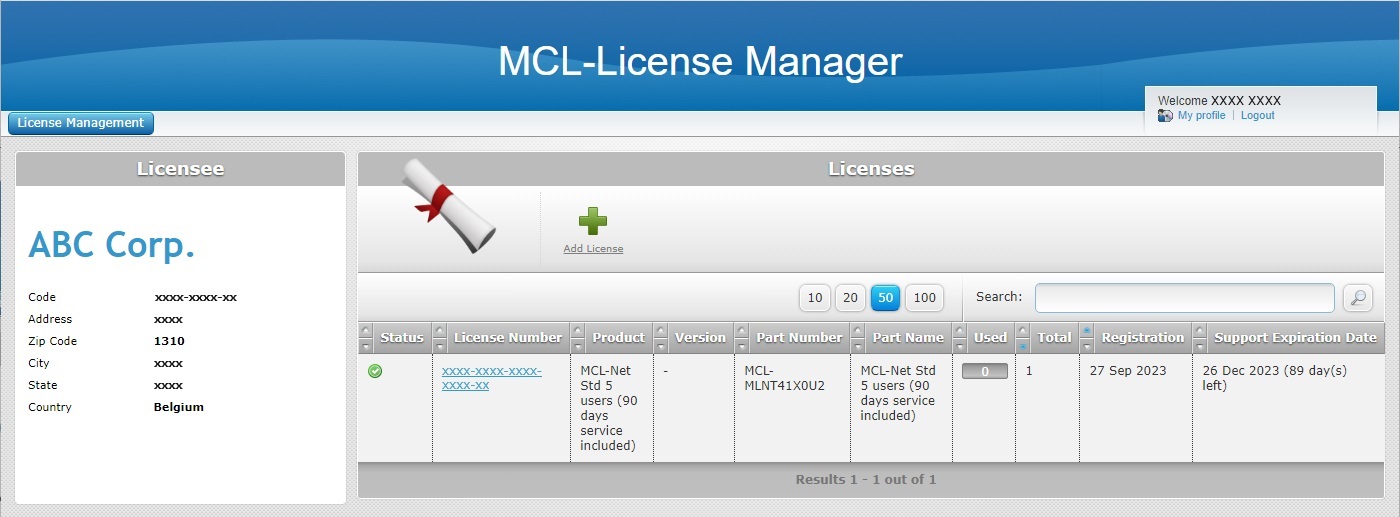
It provides information regarding your registered licenses. In the case of MCL-Net licenses, you will be able to view information concerning the PC that contains the MCL-Net v4 application (ex: serial number, model, etc.) and MCL-Net license details (ex: product part number, registration date, current license status, etc.).
This platform requires the creation of an account where you will register your MCL-Net license(s).
Each time an MCL-Net license is acquired, you will receive an email (subject: "License Delivery Notification") with license details and a link to the MCL-License Manager so you can register that license ("Registration Link").
If you already have an MCL-License Manager account, you can use it to register your MCL-Net license(s). See Register your MCL-Net License(s) in an Existing MCL-License Manager Account.
![]()
If you are already logged in to an MCL-License Manager account when you click the email's "Registration Link", you will immediately be redirected to that MCL-License Manager account. Before proceeding with license registration, verify if you are in the right MCL-License Manager account.
If you need to create an MCL-License Manager account, see To Create an Account in MCL-License Manager below.
![]()
When you register a license in MCL-License Manager, you are registering a company as the owner of the license.
Each end-user company should have its own MCL-License Manager account.
Once the license is registered to an account, it CANNOT be moved into another account.
![]() Once you have registered your MCL-Net license in your MCL-License Manager account, you will be ready to install MCL-Net in a PC and activate the corresponding license.
Once you have registered your MCL-Net license in your MCL-License Manager account, you will be ready to install MCL-Net in a PC and activate the corresponding license.
![]() The MCL-Net v4's installation and corresponding license activation is a simultaneous process.
The MCL-Net v4's installation and corresponding license activation is a simultaneous process.
To Create an Account in MCL-License Manager
![]() Make sure your PC is connected to the Internet so you can contact MCL-License Manager.
Make sure your PC is connected to the Internet so you can contact MCL-License Manager.
Step-by step
1. Open the MCL-License Manager's login page by clicking the link ("Registration Link") provided by the email you received when you acquired an MCL product (subject: "License Delivery Notification").
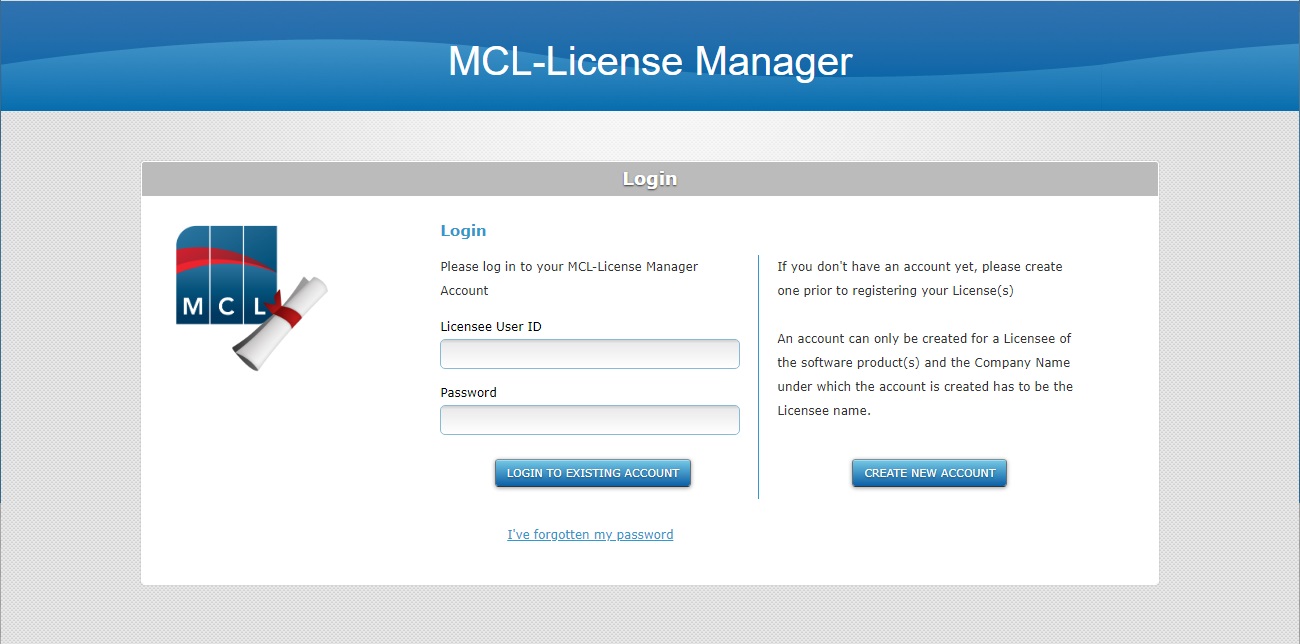
2. Click ![]() .
.
![]()
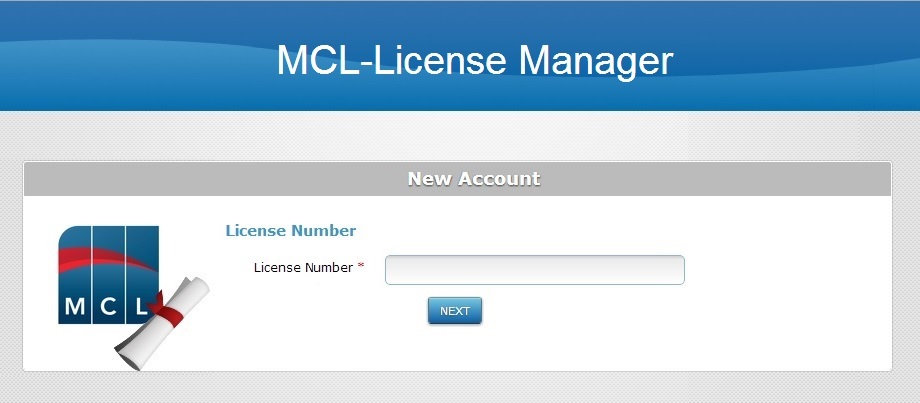
If you choose to access MCL-License Manager with a direct URL (https://license.mcl4e.com/mclls/licensing/login.html), instead of using the email link, you will also have to define the MCL license number you want to register. Enter the number of your recently purchased license (it is provided in the "License Delivery Notification" email), in the window below, and click ![]() to continue to the "Licensee Name and Contact Information" page.
to continue to the "Licensee Name and Contact Information" page.
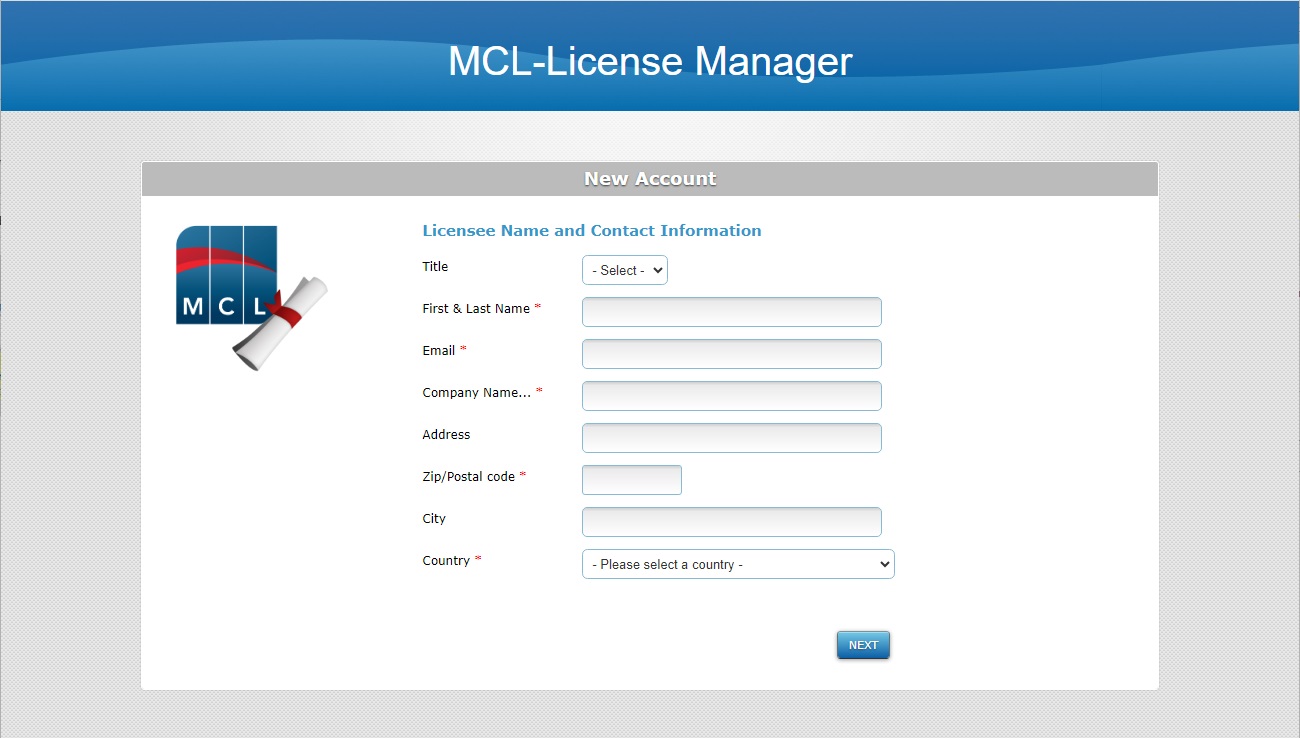
3. Fill in the requested licensee and contact information (options marked with an asterisk are mandatory).
![]()
The email address defined here will be used by MCL-License Manager to provide you with information. For instance, this email address will receive the validation email for the MCL-License Manager account you are creating as well as the new account's login information.
4. Click ![]() .
.
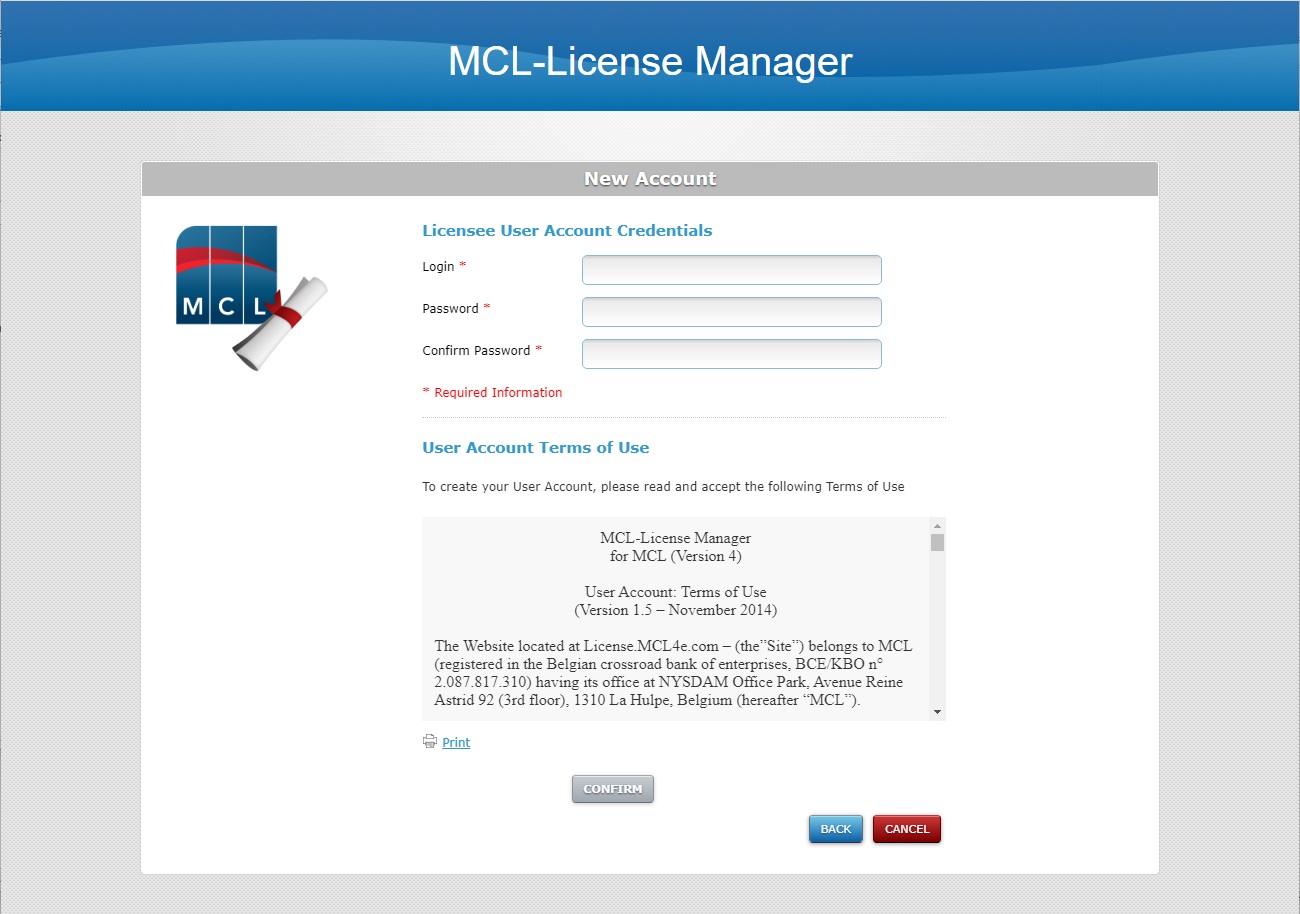
5. Define the account's user credentials (options marked with an asterisk are mandatory).
![]()
The defined password must have a minimum of 8 characters and it must include, at least, 1 numeric and 1 alphabetic character.
It CANNOT be the same as the "Login" credential.
6. Read the "Terms of Use" regarding the new MCL-License Manager account (scroll down to access the text and activate the ![]() button) and click
button) and click ![]() .
.
At this point, you will receive an email (subject: "MCL License Server"), sent to the email address you entered in step 3, which will validate the new account creation and provide the necessary information so you can log in to your new account (ex: the account's user name and a link to the MCL-License Manager's login page).
Whenever you want to access MCL-License Manager, use the email link or enter https://license.mcl4e.com/mclls/licensing/login.html in your browser and log in to your account.
The next page displays information regarding your MCL-Net license and the option to proceed with the MCL-Net license registration. See To Register your MCL-Net License in your Newly Created MCL-License Manager Account below.
To Register your MCL-Net License in your Newly Created MCL-License Manager Account
Step-by-step
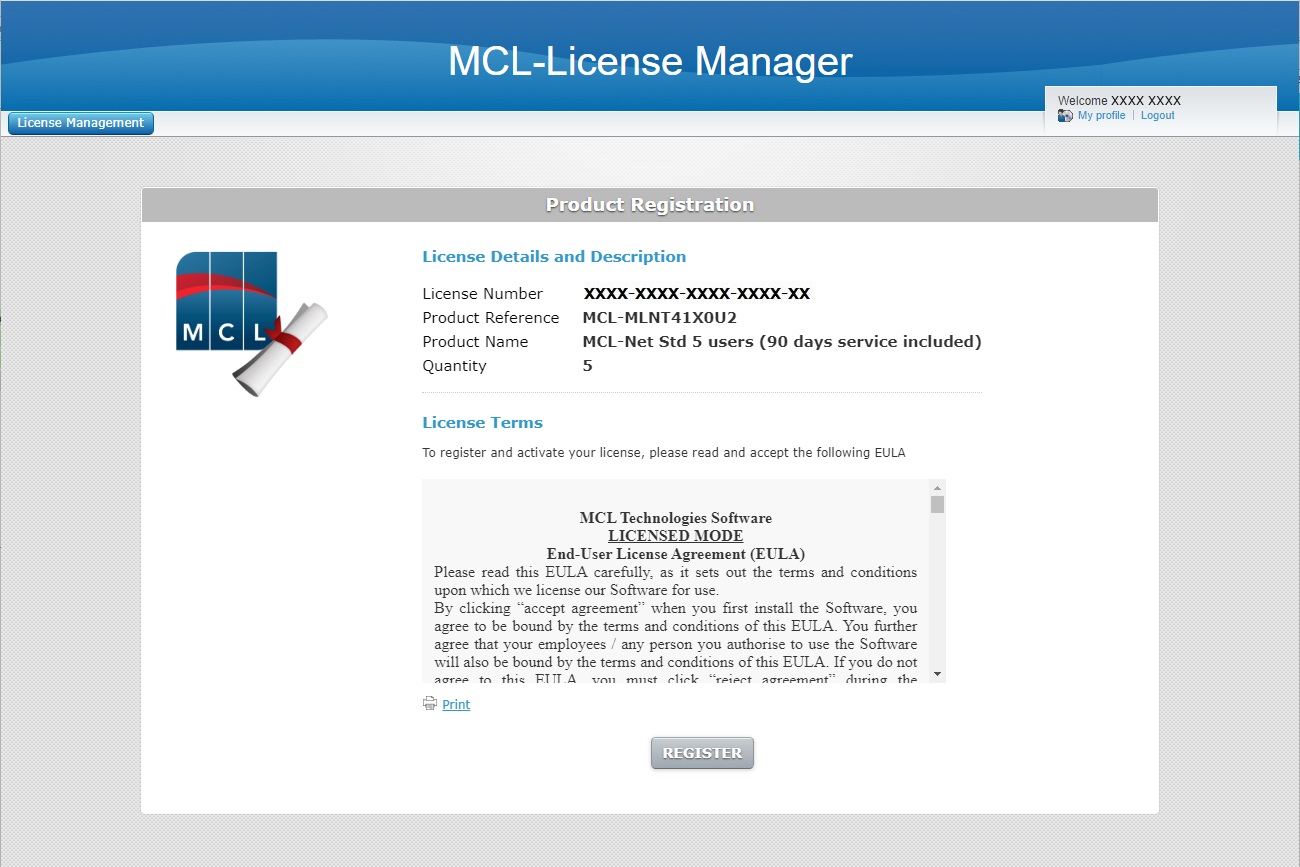
The page below opens after you have concluded the creation of a new MCL-License Manager account. See To Create an Account in MCL-License Manager.
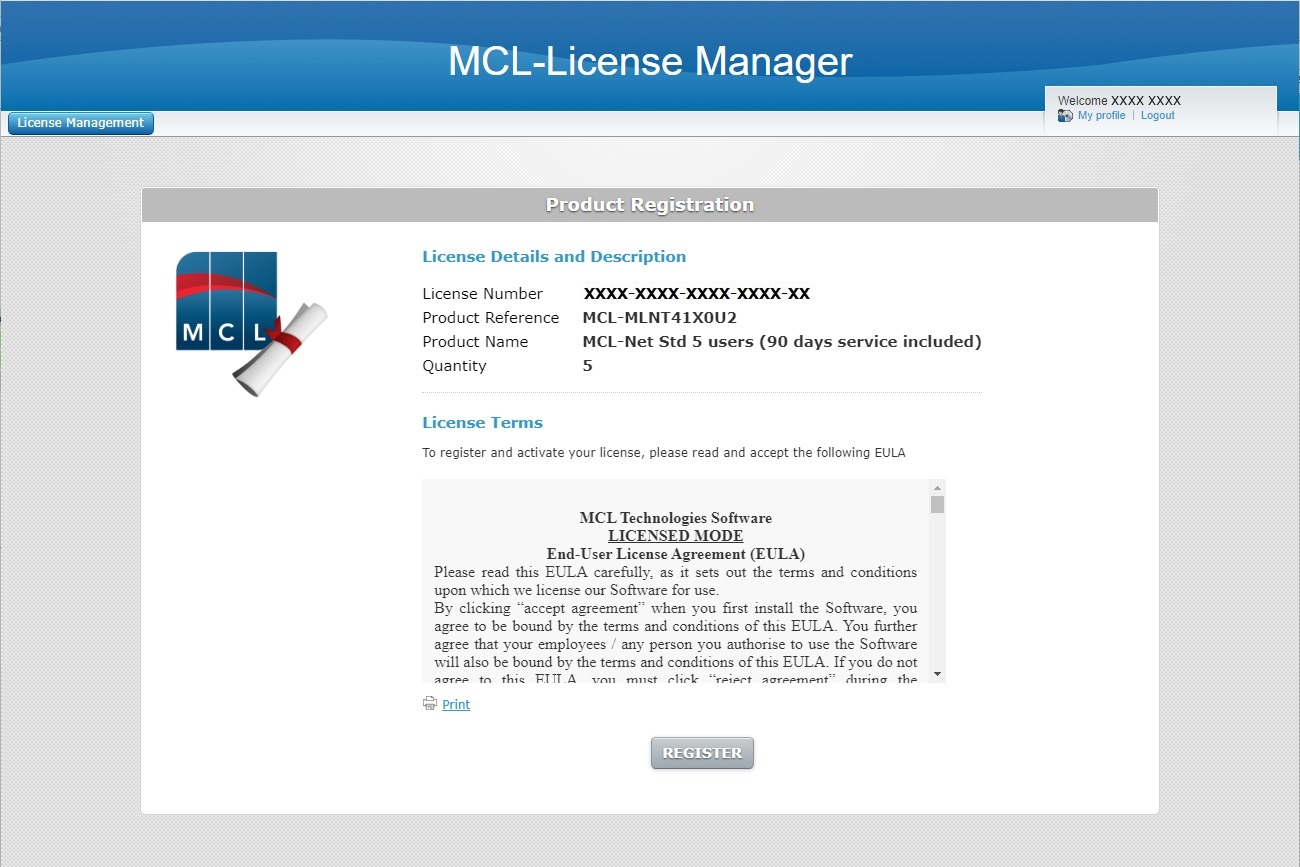
1. Read the "EULA" document (scroll down to access the text and activate the ![]() button) and click
button) and click ![]() .
.
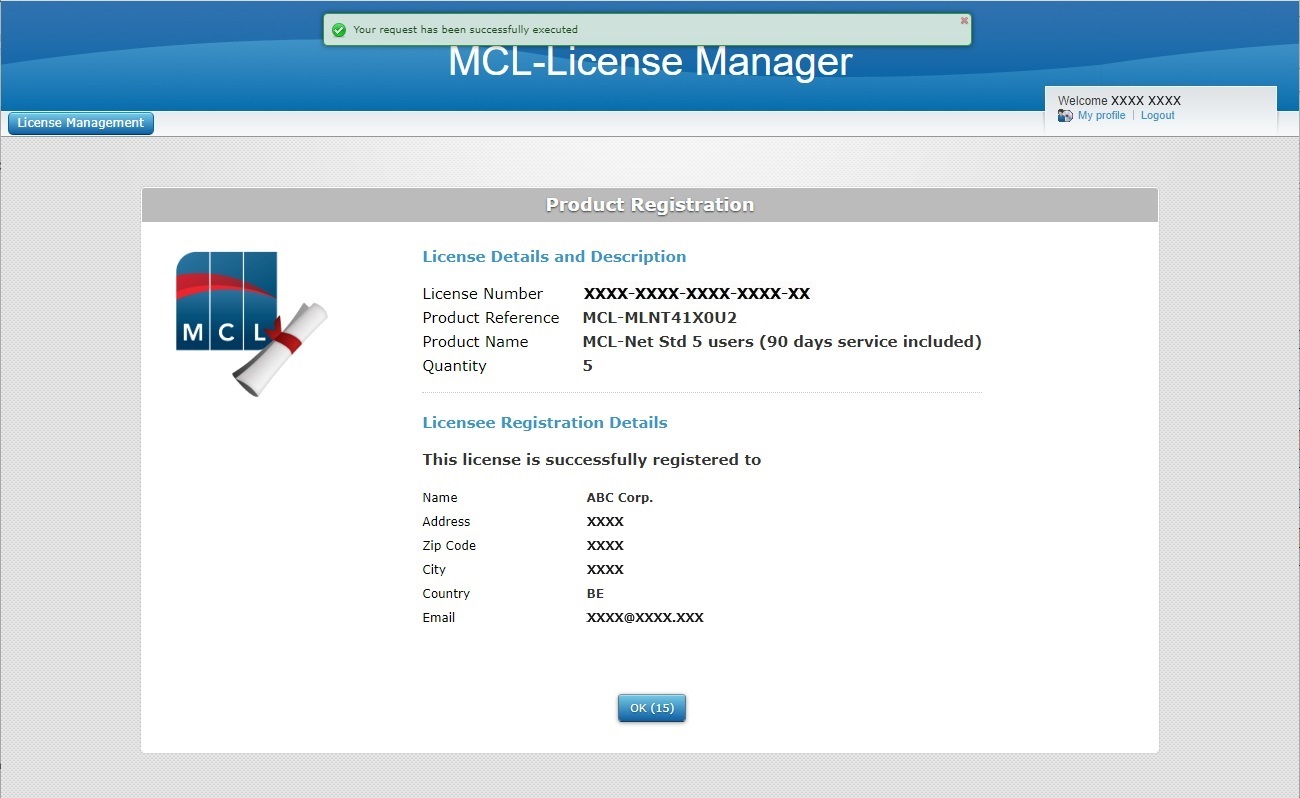
The resulting page displays information about the license and your new account.
2. Click ![]() or wait for the countdown to end - this opens your MCL-License Manager account, in the "Licenses" page.
or wait for the countdown to end - this opens your MCL-License Manager account, in the "Licenses" page.
You will receive an email sent to the email address you entered in the contact information, with the subject "License Registration Notification" validating the recent registration. The email also provides license information (product name, product reference, license number) and a link (License Administration) to MCL-License Manager.
You are, now, ready to install MCL-Net v4 and, simultaneously, activate your MCL-Net v4 license. See To Install/Activate MCL-Net v4 (License).
To Install/Activate MCL-Net v4 (License)
![]() Prior to running the MCL-Net v4 installer, make sure the license has been registered in your MCL-License Manager account.
Prior to running the MCL-Net v4 installer, make sure the license has been registered in your MCL-License Manager account.
Step-by-step
1. Download the installer file (ex.: MCL_Net_XXXXPXX.exe) from our website.
2. Run the installer file and follow the instructions in the MCL-Net Setup wizard:
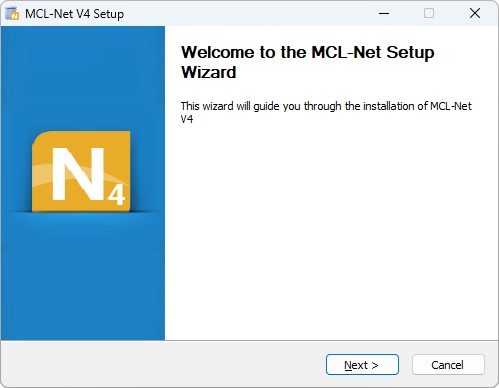
3. Click ![]() to proceed.
to proceed.
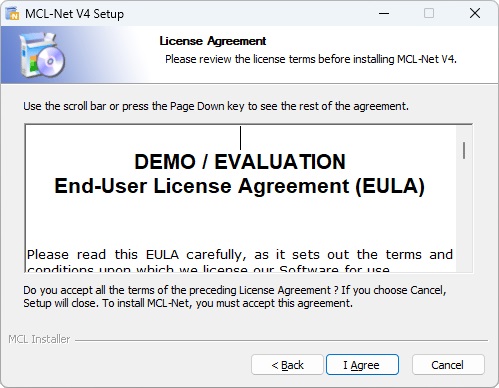
4. After reading the EULA, click ![]() to continue.
to continue.
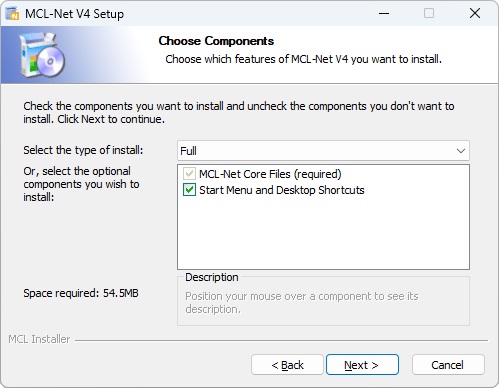
5. Select the type of installation you require ("Full", "Minimal" or "Custom") from the drop-down.
•Each option implies the default checking of all or a specific component.
Ex: Select "Full" and all available components will be checked and, consequently, installed.
If you select a "Minimal" installation, the "Start Menu and Desktop Shortcuts" will NOT be checked/installed.
•As an alternative, check the components you want to install.
MCL-Net v4 Components |
|
MCL-Net Core Files (required) |
Essential component to the installation. Cannot be removed from the MCL-Net v4 installation, so the check box is inactive. |
Start Menu and Desktop Shortcuts |
Check this option to ensure a direct and simple way to start MCL-Net v4. Do NOT check this option if you require MCL-Net v4 to be installed as a Windows service. |
6. Click ![]() to proceed.
to proceed.
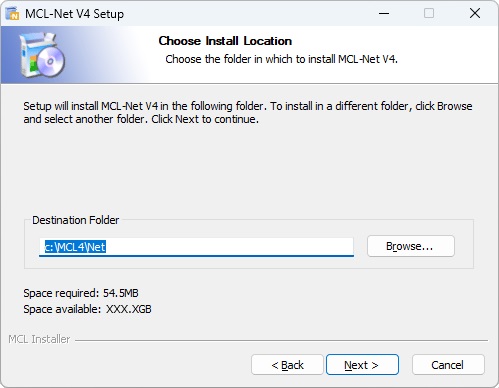
7. Maintain the default location OR select a different "Destination Folder":
a. Enter the path for the new destination folder.
OR
b. Click ![]() and browse for it.
and browse for it.
8. Click ![]() to proceed.
to proceed.
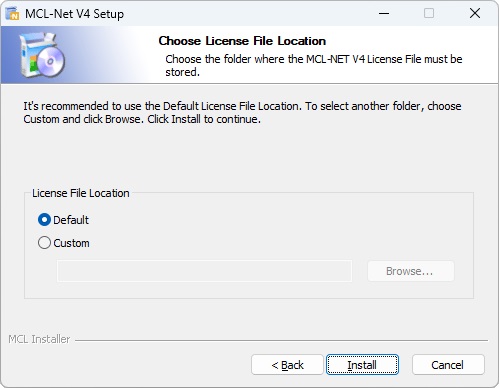
9. Maintain the location OR select a different "License File Location":
a. Enter the path for the new destination folder.
OR
b. Click ![]() and browse for it.
and browse for it.
10. Click ![]() .
.
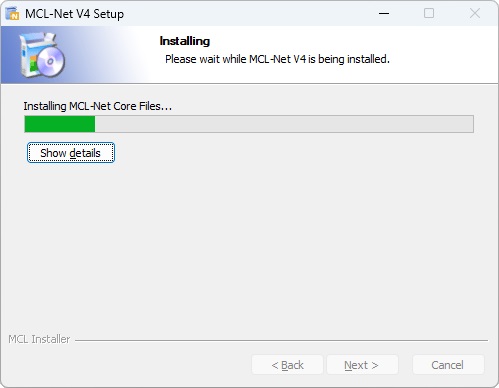
The MCL-Net v4 installation begins and, at the same time, you are asked to proceed with the MCL-Net v4 license activation:
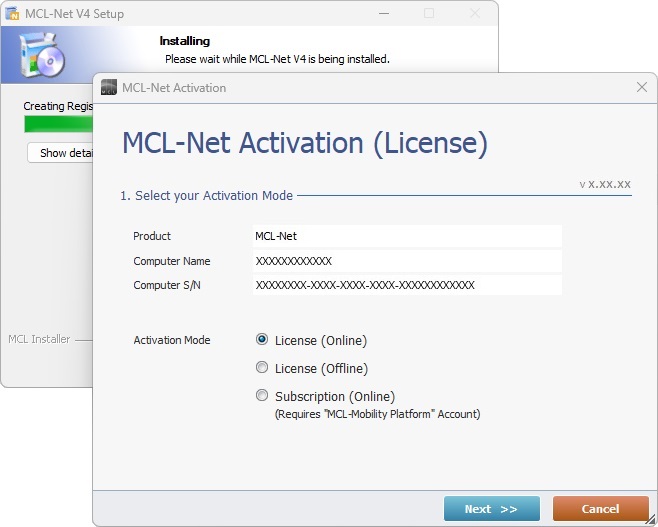
11. Check the "License (Online)" option.
12. Click ![]() .
.
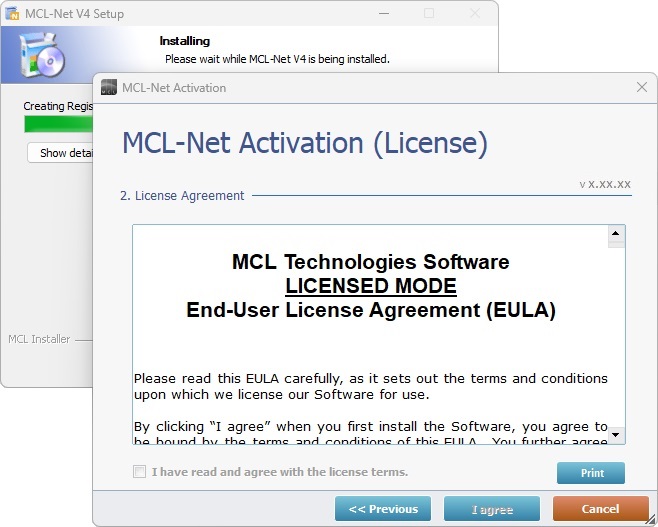
13. Read the "License Agreement" terms. Scroll down to activate the "I have read and agree with the license terms" option and check it.
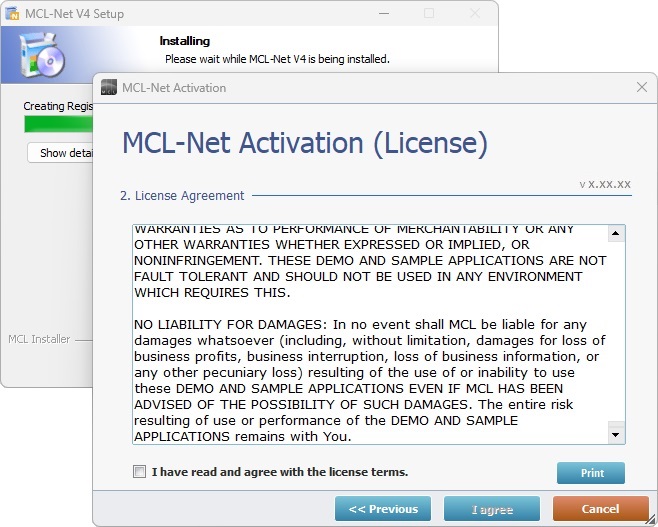
14. Click ![]() to continue.
to continue.
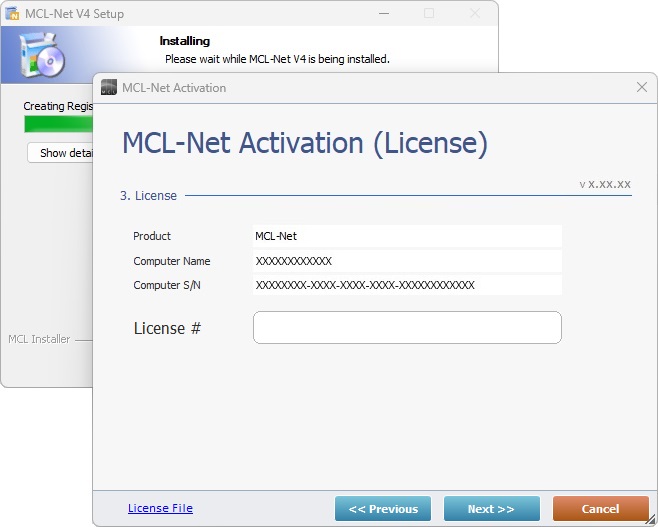
15. Enter the MCL-Net license number. (Information in the email you receive after the MCL-Net license purchase.)
16. Click ![]() .
.
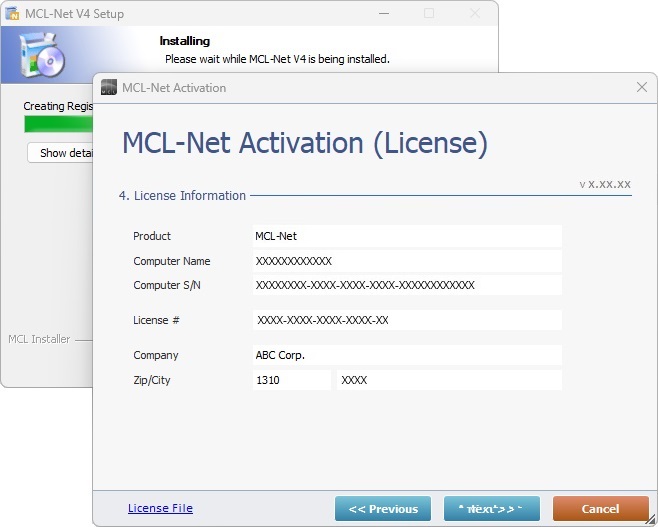
17. Check the displayed information.
If you need to correct it, click ![]() .
.
To continue the activation, click ![]() .
.
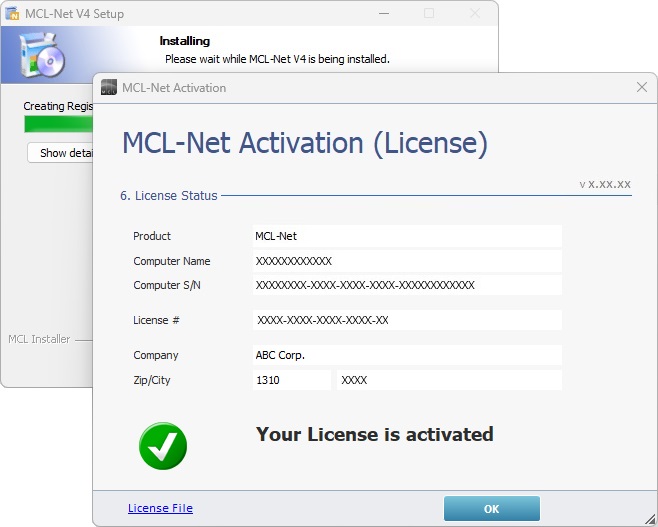
18. Once the "Your License is activated" message is displayed, click ![]() .
.
19. Click ![]() to continue.
to continue.
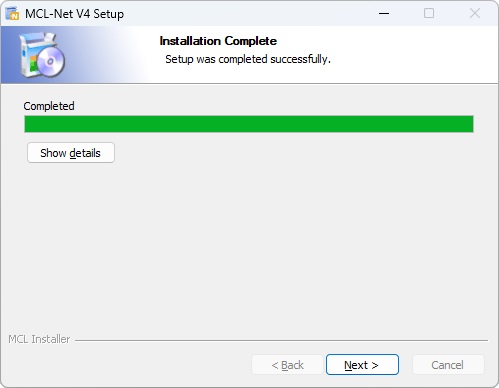
20. Wait until the "Installation Complete" information is displayed and, then, click ![]() .
.
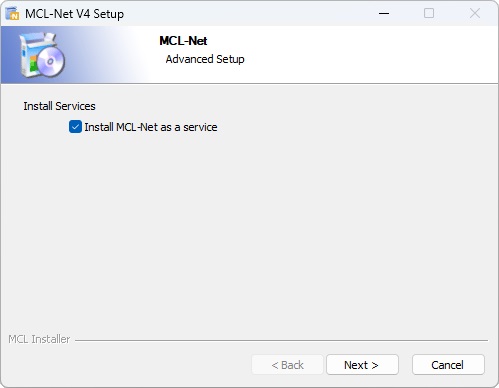
21. If you want MCL-Net v4 to run in the background, as a service, check the available option. This means that the checking of the "Start Menu and Desktop Shortcuts" option, in step 5, becomes unnecessary.
If, on the other hand, you do NOT require MCL-Net v4 to be installed as a service, the "Start Menu and Desktop Shortcuts" option MUST be checked so you can easily access the application whenever necessary.
22. Click ![]() to proceed.
to proceed.
23. The MCL-Net v4 installation/activation process is complete:
a. Click ![]() until you return the "Advanced Setup" window where you can choose to install MCL-Net v4 as a service or not (step 21).
until you return the "Advanced Setup" window where you can choose to install MCL-Net v4 as a service or not (step 21).
b. Click ![]() to conclude.
to conclude.
Register your MCL-Net License(s) in an Existing MCL-License Manager Account
There are two procedures you can follow to register your MCL-Net license(s) in an existing MCL-License Manager account:
•Option A - Follow the link ("Registration Link") included in the "License Delivery Notification" email.
Step-by-step
1. Click the link ("Registration Link") provided by the email you receive when purchasing an MCL-Net license (subject: "License Delivery Notification"). If your MCL-License Manager account is already open, you will be redirected to the page below. If not, you are required to log in to your account first.
2. Read the "EULA" terms (scroll down to access the text and activate the
3. The page displays license and company/licensee details. Click
Ex: The "Licenses" page displays two (2) registered MCL-Net licenses (1 that already existed and the new one). None of the licenses is active/in use.
At this point, you receive an email (subject: "License Registration Notification") with the product name, product reference and license number as well as a link ("License administration") to access MCL-License Manager.
|
•Option B - Open your MCL-License Manager account and add a license in the "Licenses" page. This option is useful when you have multiple licenses to add/register in your account.
Step-by-step
1. Enter the URL https://license.mcl4e.com/mclls/licensing/login.html, log in and open the email you received after your MCL license purchase (subject: "License Delivery Notification").
2. Click
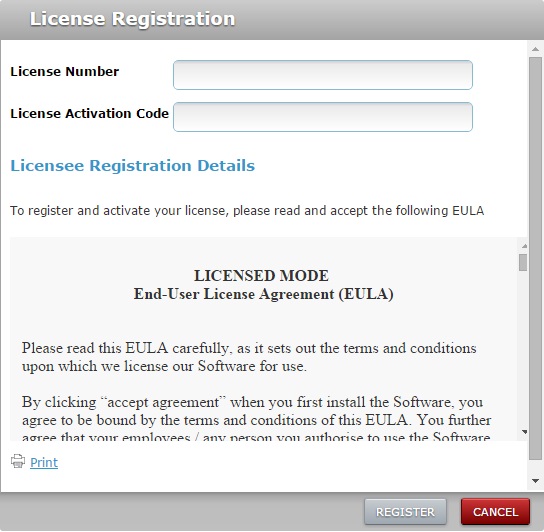
3. Enter the license's number and activation code (the information is in the "License Delivery Notification" email).
4. Read the "EULA" regarding the new MCL-Net license (scroll down to access the text and activate the
Ex: Both licenses (the old and the new one) are registered but not in use (associated to a device).
|
The "Licenses" page, displays the recently added MCL-Net license. The new license was successfully registered and is ready to be installed/activated. See To Install/Activate MCL-Net v4 (License).