|
Adding a Back-end |
  
|
Adding a Back-end
|
Adding a Back-end |
|
Overview
Create the back-end profile that represents the external system that will be authorized to exchange data with MCL-Mobility Platform via a back-end service.
Step-by-step
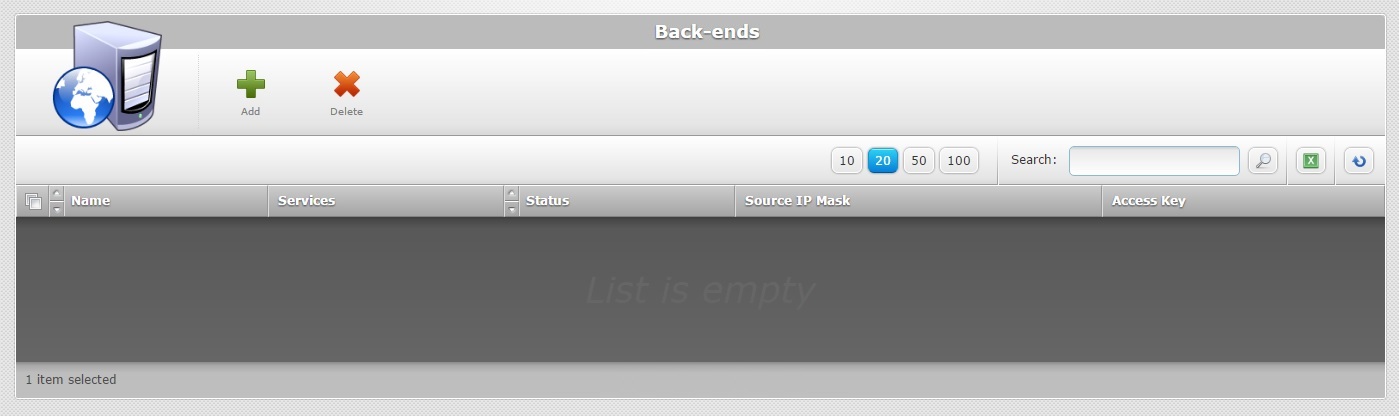
1. To access the "Back-ends" page, click  on the Admin Dashboard's "Control Panel".
2. Click ![]() and open the"New Back-End" page which is set to "edit mode".
and open the"New Back-End" page which is set to "edit mode".

3. Fill in the following fields. The fields marked with an asterisk are mandatory.
Name * |
Enter a name for the back-end profile you want to add.
•Use alphabetic/numeric characters (a-z; A-Z; 0-9) •Underscore and/or dash characters are allowed •Always start the entity's name with an alphabetic character |
Site |
Maintain the default option "All" so all sites can communicate with the back-end system or select a site from the drop-down.
|
Enabled |
This option is checked by default, meaning, any newly added back-end profiles are ready for use. If you want to disable the new back-end profile, uncheck this option. |
Notes |
Enter any notes you find relevant regarding the new back-end profile/back-end system. |
4. Proceed to the "Services" tab.
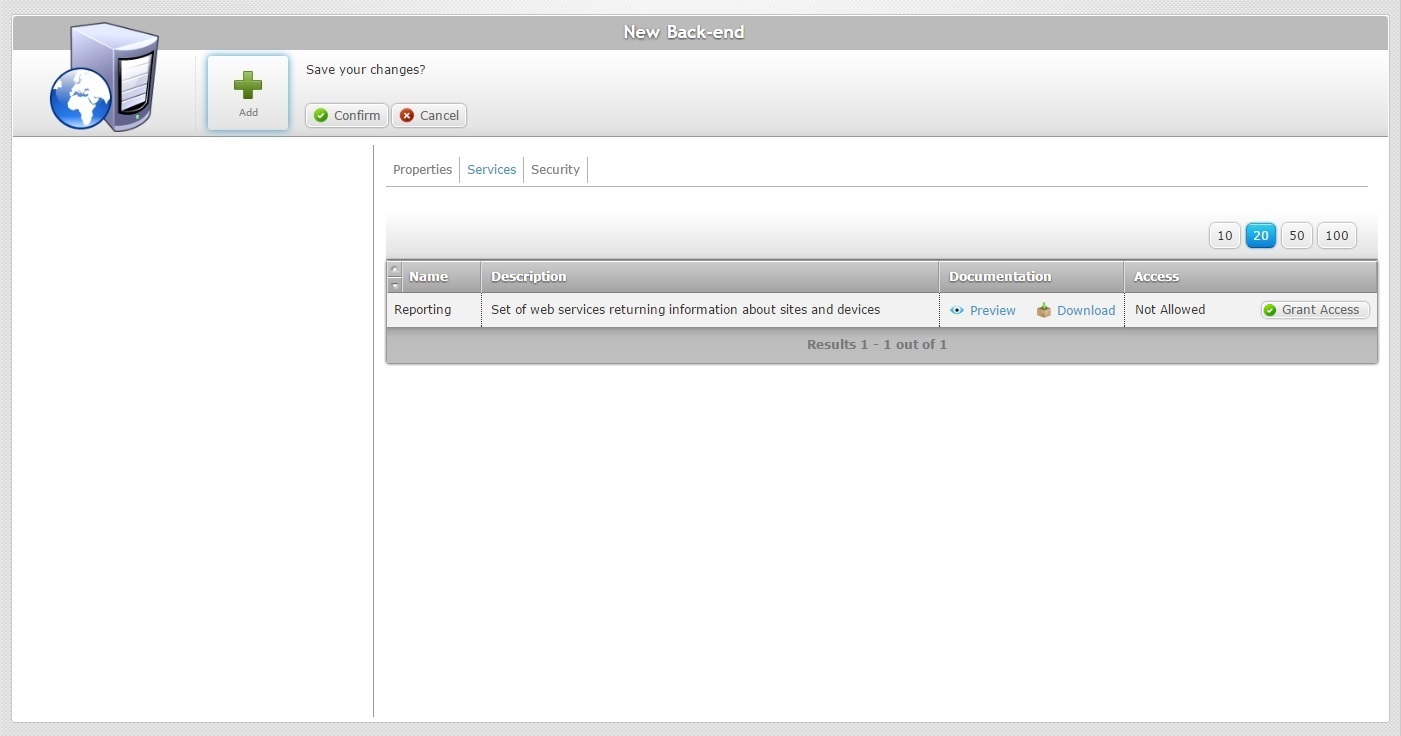
5. This tab displays the available back-end services for this subscription and provides the corresponding documentation.
You can view and/or download that information:
a. Click ![]() to open a window with the document and read it.
to open a window with the document and read it.
b. Click ![]() to download a *.txt file with the same information.
to download a *.txt file with the same information.
By default, the new back-end profile does NOT have the necessary access rights to use the available back-end service(s) (ex: the "Reporting" service). This is displayed in the "Access" column.
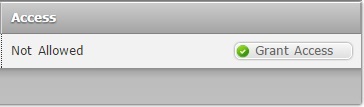
6. To provide the back-end profile with access to a back-end service, click the corresponding ![]() . The column's message will read "Access Granted" and the button will change to
. The column's message will read "Access Granted" and the button will change to ![]() .
.
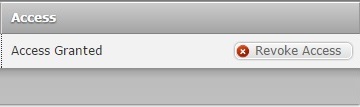
7. If you want the back-end profile to be denied access again, click ![]() .
.
8. Continue to the "Security" tab.
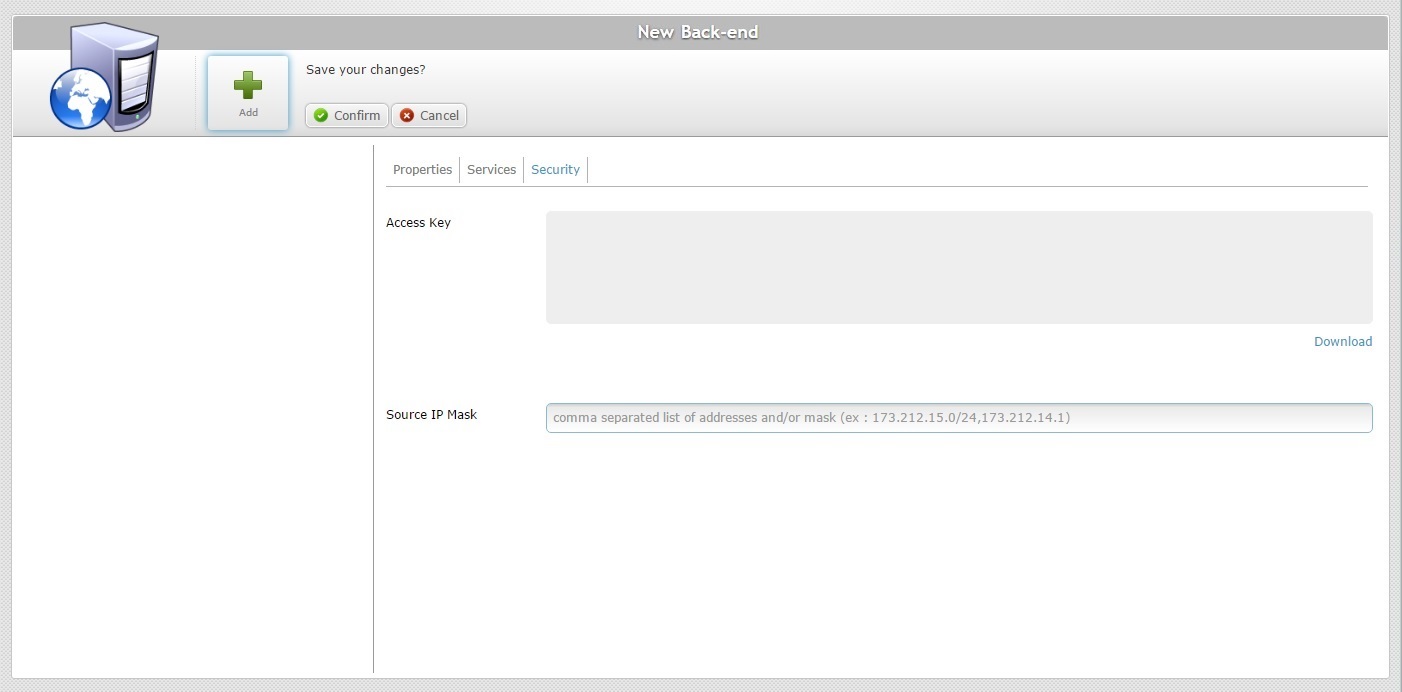
9. The "Access Key" box is NOT Editable. At the moment, it is empty but, once you save your changes (step 11), MCL-Mobility Platform will generate an access key for the new back-end profile. You can, then, return to this tab to view and/or download the access key by using the ![]() button.
button.
10. In the "Source IP Mask" option, enter the back-end's IP address(es) that will be authorized to exchange data with MCL-Mobility Platform.
If you intend to define multiple IP addresses, consider the option's hint - use commas and/or CIDR notations to separate the IPs/masks (ex: 173.212.15.0/24,173.212.14.1).
11. Click ![]() to conclude the operation.
to conclude the operation.
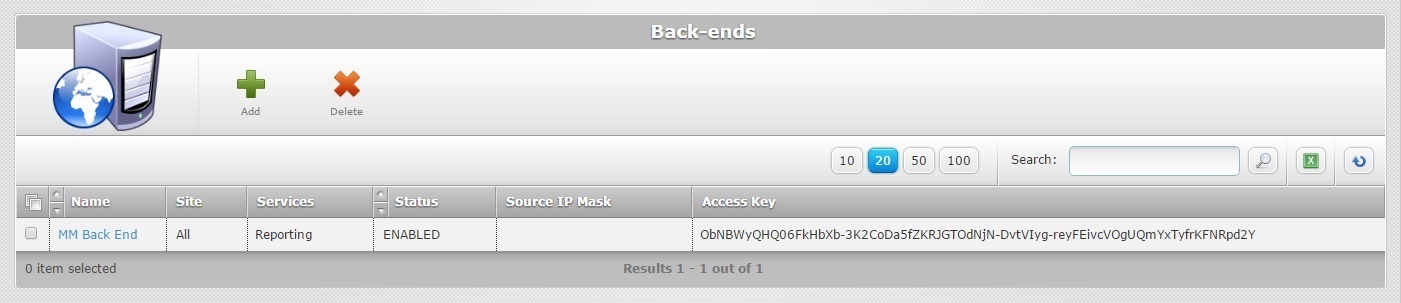
The newly added back-end profile is available in the "Back-ends" page.