|
Editing a Back-end |
  
|
Editing a Back-end
|
Editing a Back-end |
|
Overview
The details of a back-end profile are editable at any time.
If you do not want to use the access key that was automatically generated by MCL-Mobility Platform, you can generate a new access key (see To Generate a New Access Key).
It is also possible to generate a static token (see To Generate a Static Token), to generate a different static token (see To Generate a New Static Token), and/or to deactivate it (see To Revoke a Static Token).
Step-by-step
1. To access the "Back-ends" page, click  on the Admin Dashboard's "Control Panel".
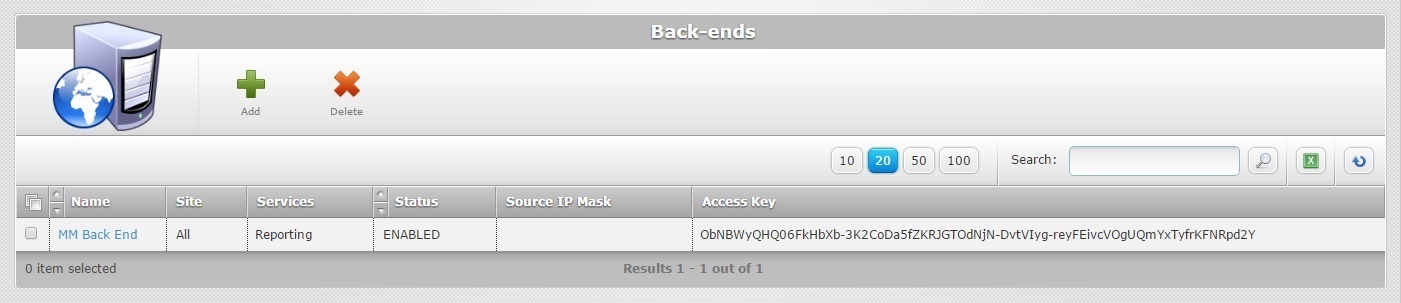
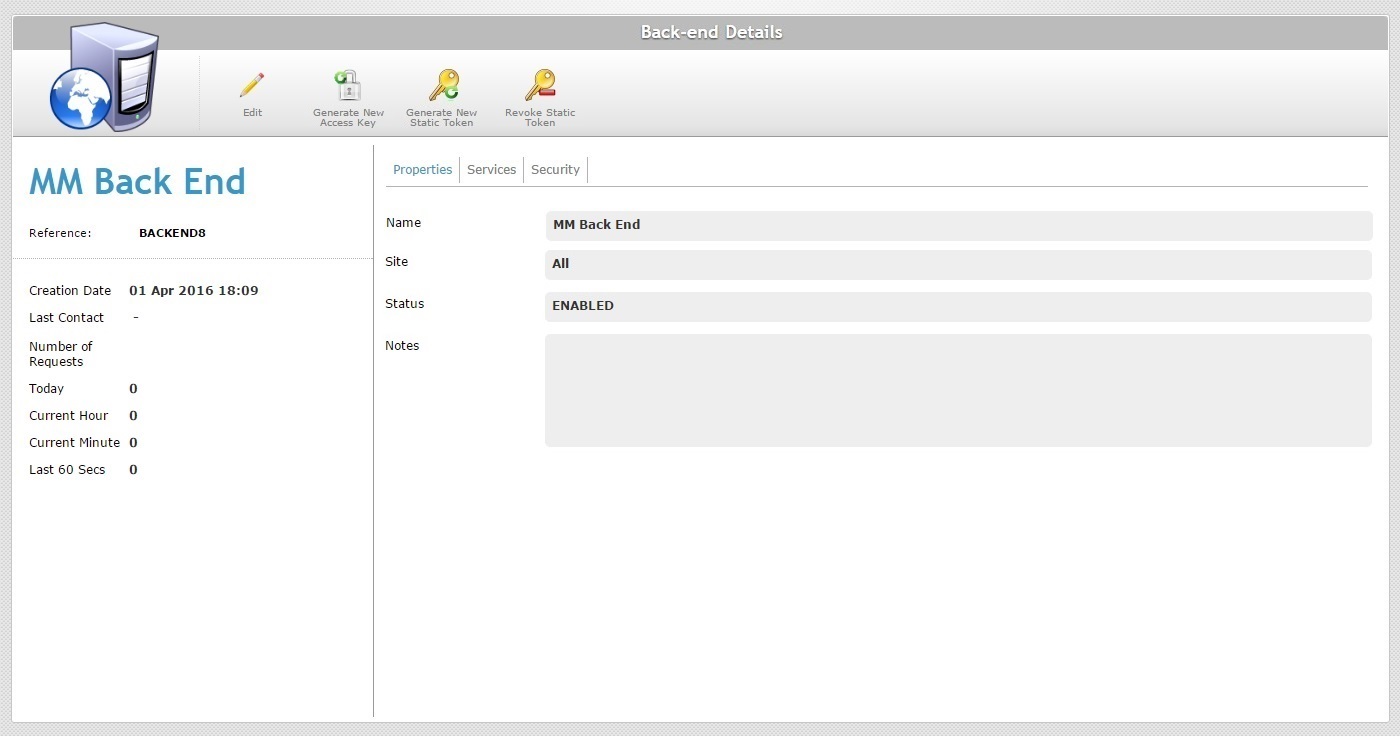
2. Select the back-end profile you want to edit by clicking its name (which is displayed in light blue). This opens the corresponding "Back-end Details" page.
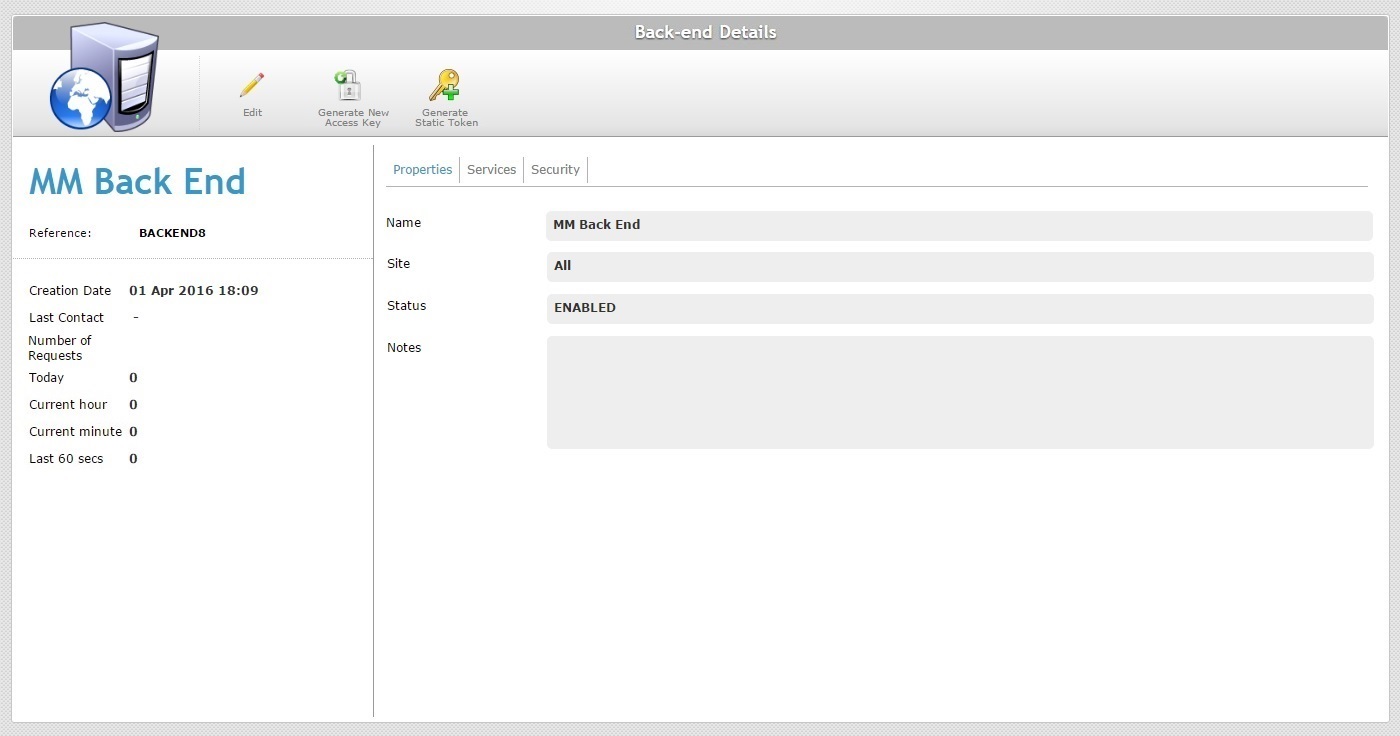
3. Click ![]() to set the page to "edit mode".
to set the page to "edit mode".
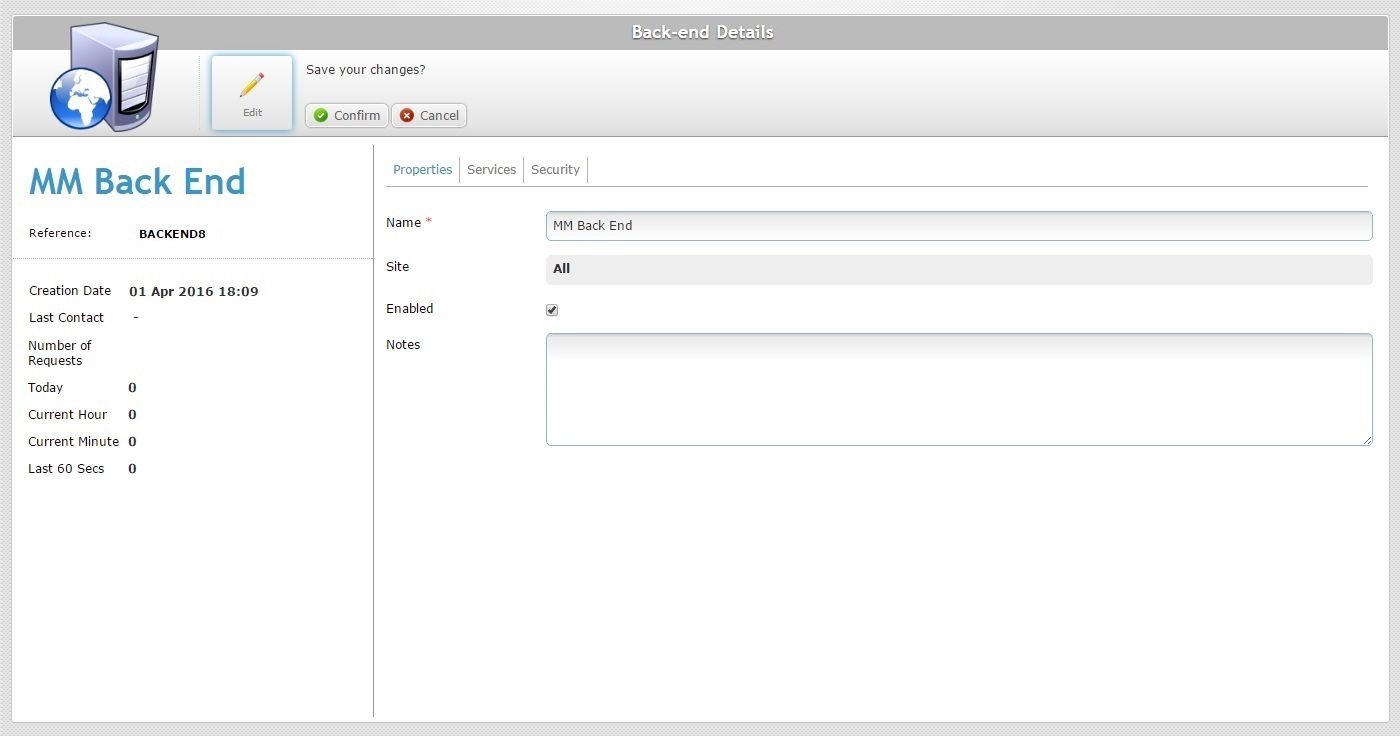
4. Edit the fields according to your requirements (fields marked with an asterisk must always contain information):
Name * |
Maintain or edit the back-end profile's name.
The underscore and/or dash characters are allowed. Start the back-end profile's name with an alphabetic character. |
Site |
Displays the site(s) that are available to the back-end for communication. NOT editable. |
Enabled |
Check/uncheck this option to enable/disable the back-end profile. |
Notes |
Maintain or edit the notes regarding the back-end profile. |
5. If required, go to the "Services" tab. If you are done with the editing, proceed to step 11.
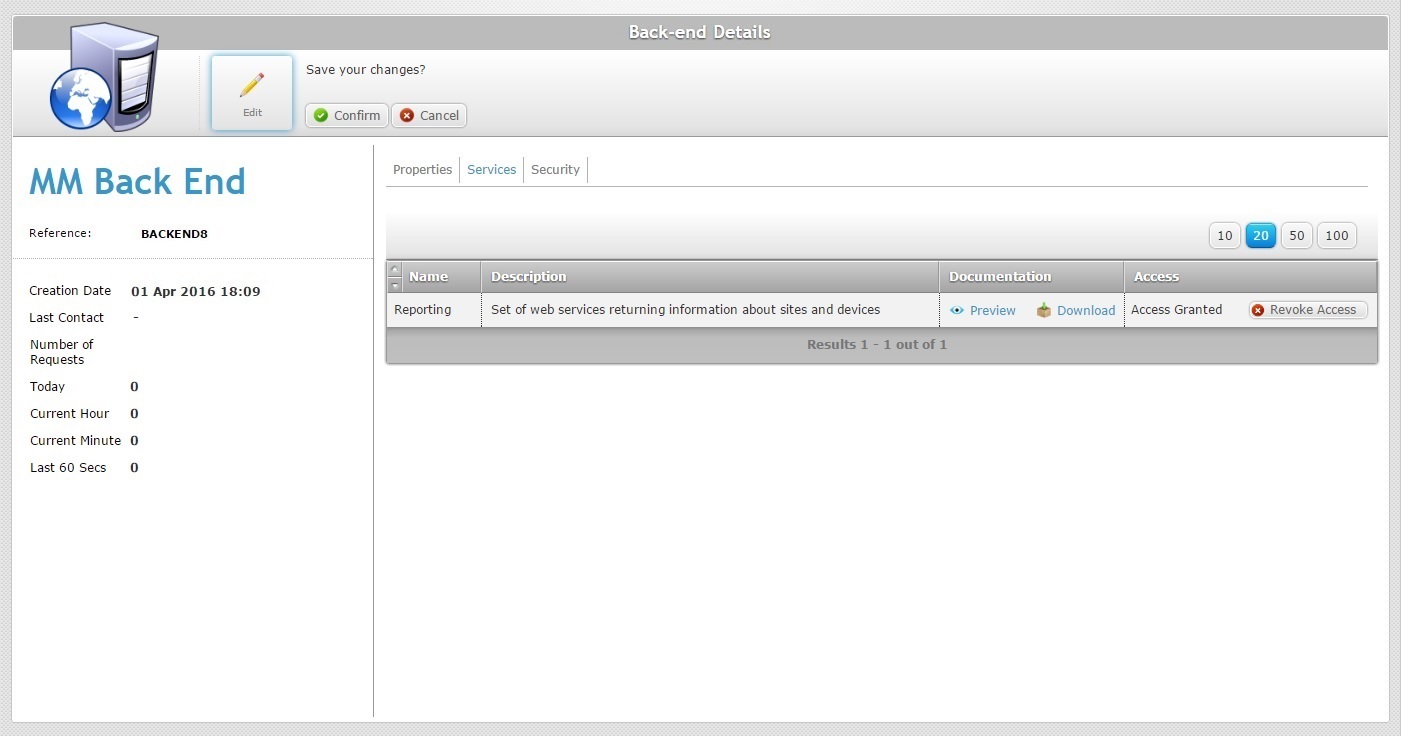
6. If required, view or download the documentation on the available back-end service(s).
7. Maintain the back-end profile's current access to a back-end service or change it:
a. If the back-end profile has an "Access Granted" information, click ![]() to deny the back-end profile access to the corresponding back-end service.
to deny the back-end profile access to the corresponding back-end service.
b. If the back-end profile has a "Not Allowed" information, click ![]() to grant the back-end profile access to the corresponding back-end service.
to grant the back-end profile access to the corresponding back-end service.
8. If required, go to the "Security" tab. If you are finished with the editing, proceed to step 11.
9. If required, download the access key - click the ![]() button (located on the bottom right corner of the "Access Key" box).
button (located on the bottom right corner of the "Access Key" box).
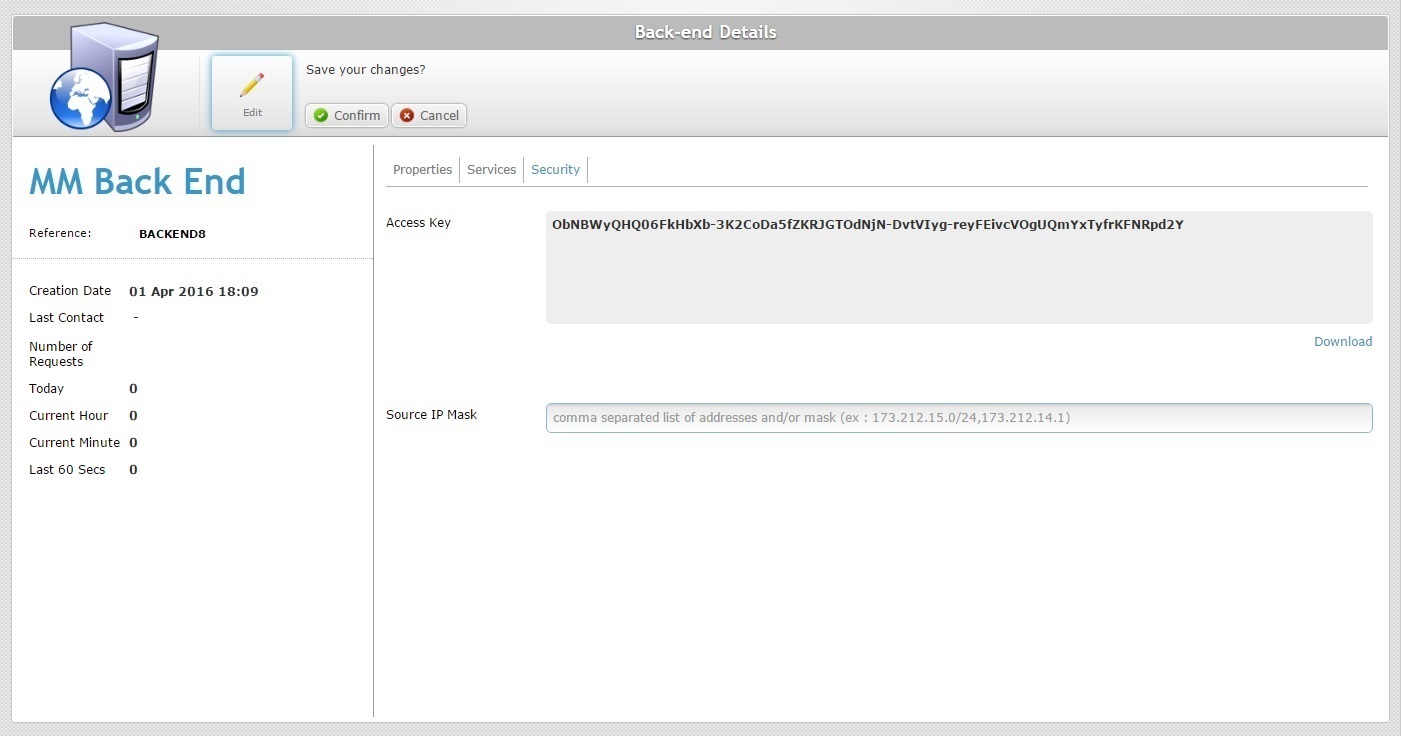
10. If required in the "Source IP Mask" option, add/remove the intended authorized IP addresses.
![]()
Remember that your edition must always consider the option's hint - "comma separated list of addresses and/or mask" (ex: 173.212.15.0/24,173.212.14.1).
11. Click ![]() to apply your modifications and return the page to "view mode".
to apply your modifications and return the page to "view mode".
If required, you can generate a new access key to replace the one that was automatically generated by MCL-Mobility Platform when the back-end profile was created.
The old access key will be deactivated (the deactivation can take up to 60 minutes to be effective).
Step-by-step
1. Click (on the Admin Dashboard's "Control Panel") to access the "Back-ends" page.
2. Select the back-end profile with the access key you want to replace by clicking its name (which is displayed in light blue). This opens the corresponding "Back-end Details" page.
3. Check out the current access key in the "Security" tab
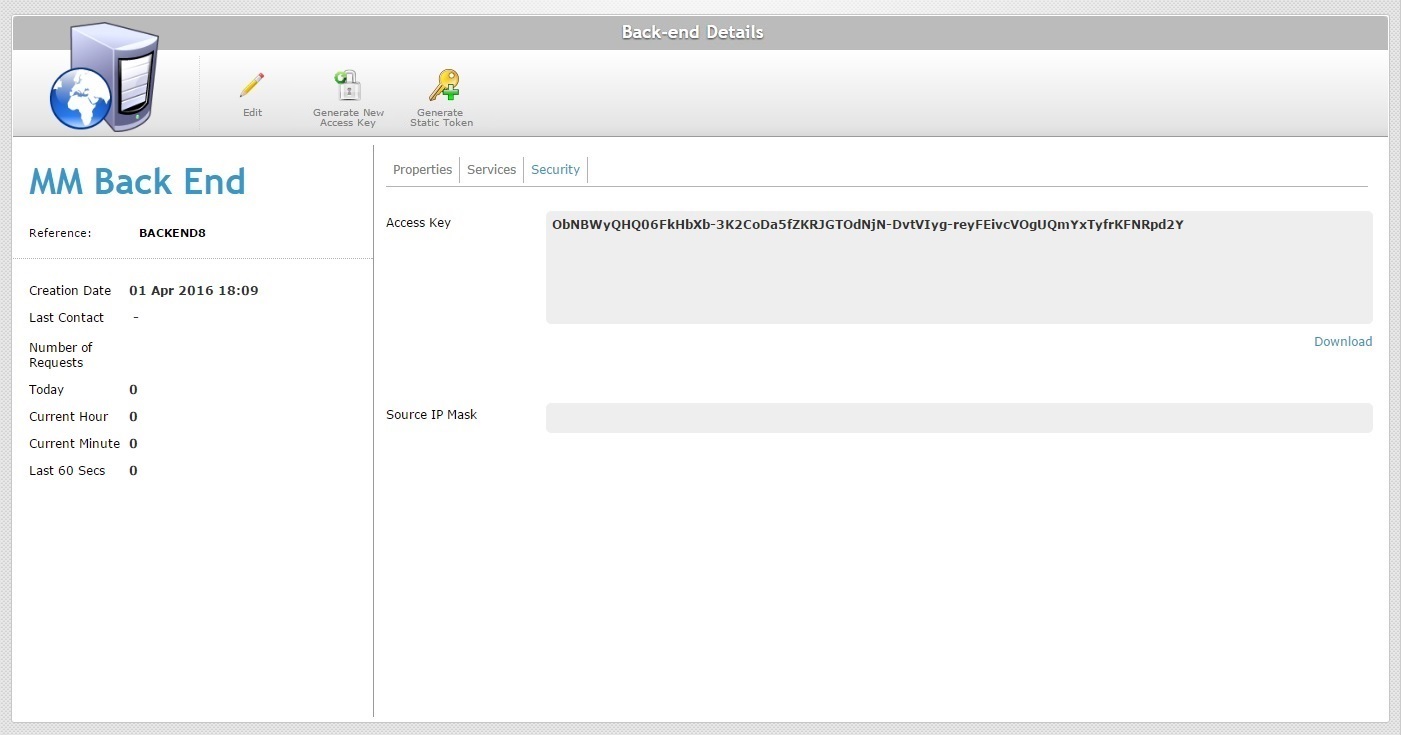
4. Click ![]() .
.

5. Click ![]() to generate the new access key.
to generate the new access key.

The previous access key is replaced with the new one in the "Security" tab.
If required, you can generate a static token within your MCL-Mobility Platform account to be used for back-end requests (see Static Token).
Proceed as follows to generate a static token:
Step-by-step
1. Click (on the Admin Dashboard's "Control Panel") to access the "Back-ends" page.
2. Select the back-end profile you want to associate the static token to by clicking its name (which is displayed in light blue). This opens the corresponding "Back-end Details" page.
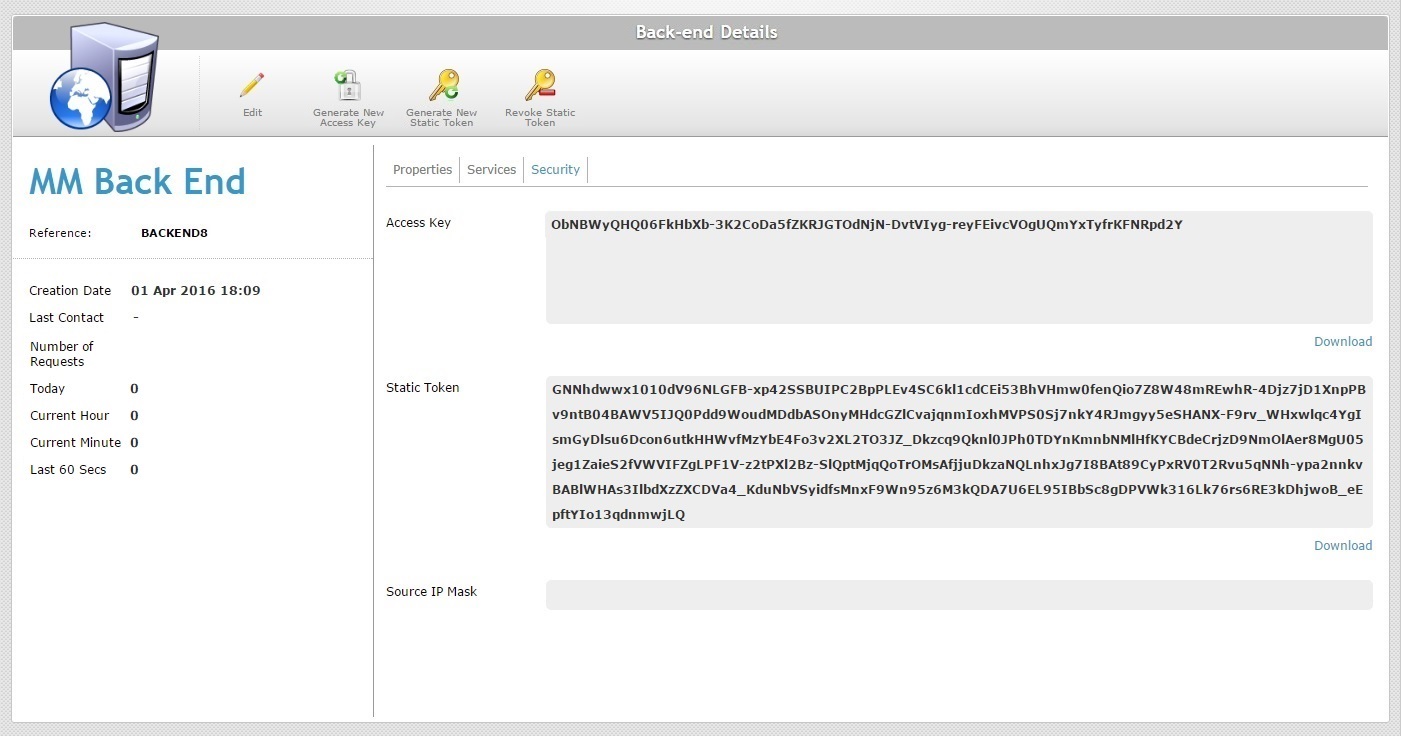
3. Open the "Security" tab.
4. Click ![]() .
.
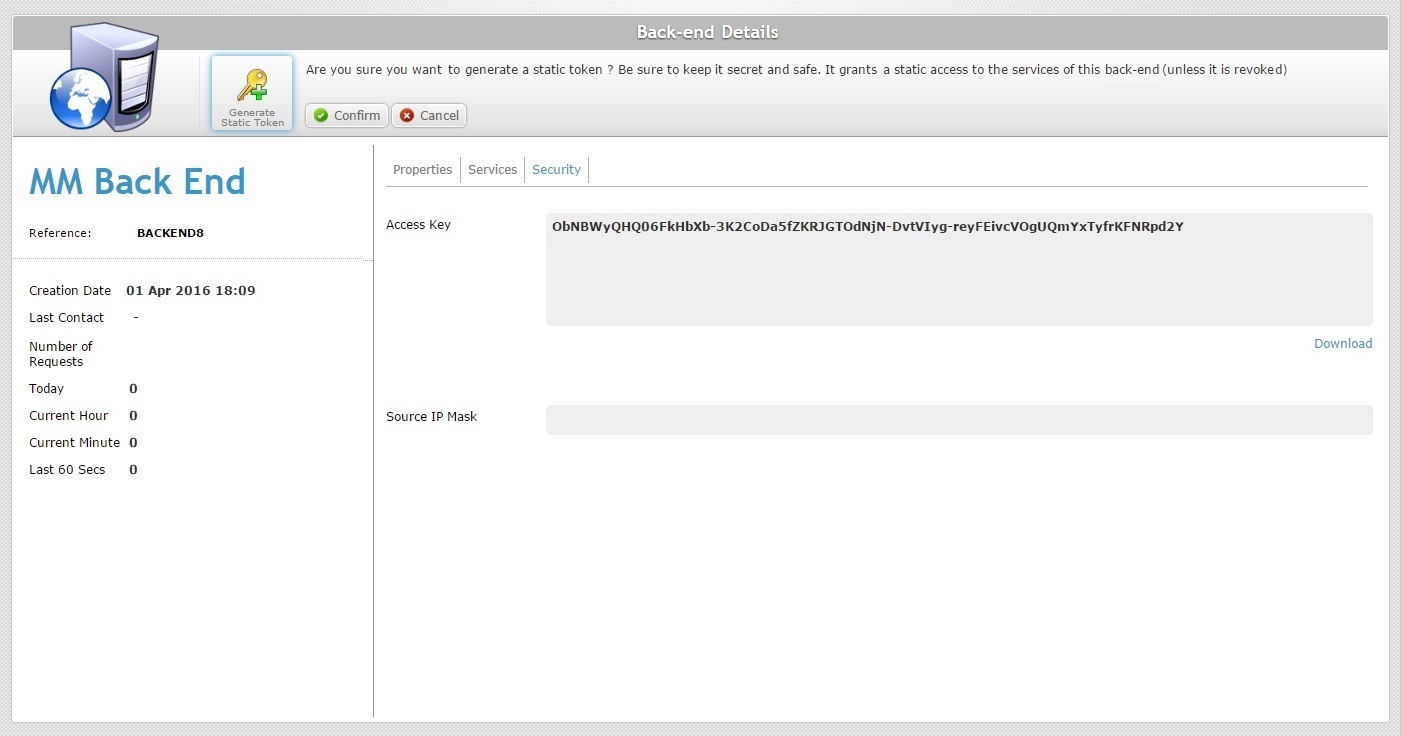
5. Click ![]() to generate a static token for the current back-end profile.
to generate a static token for the current back-end profile.
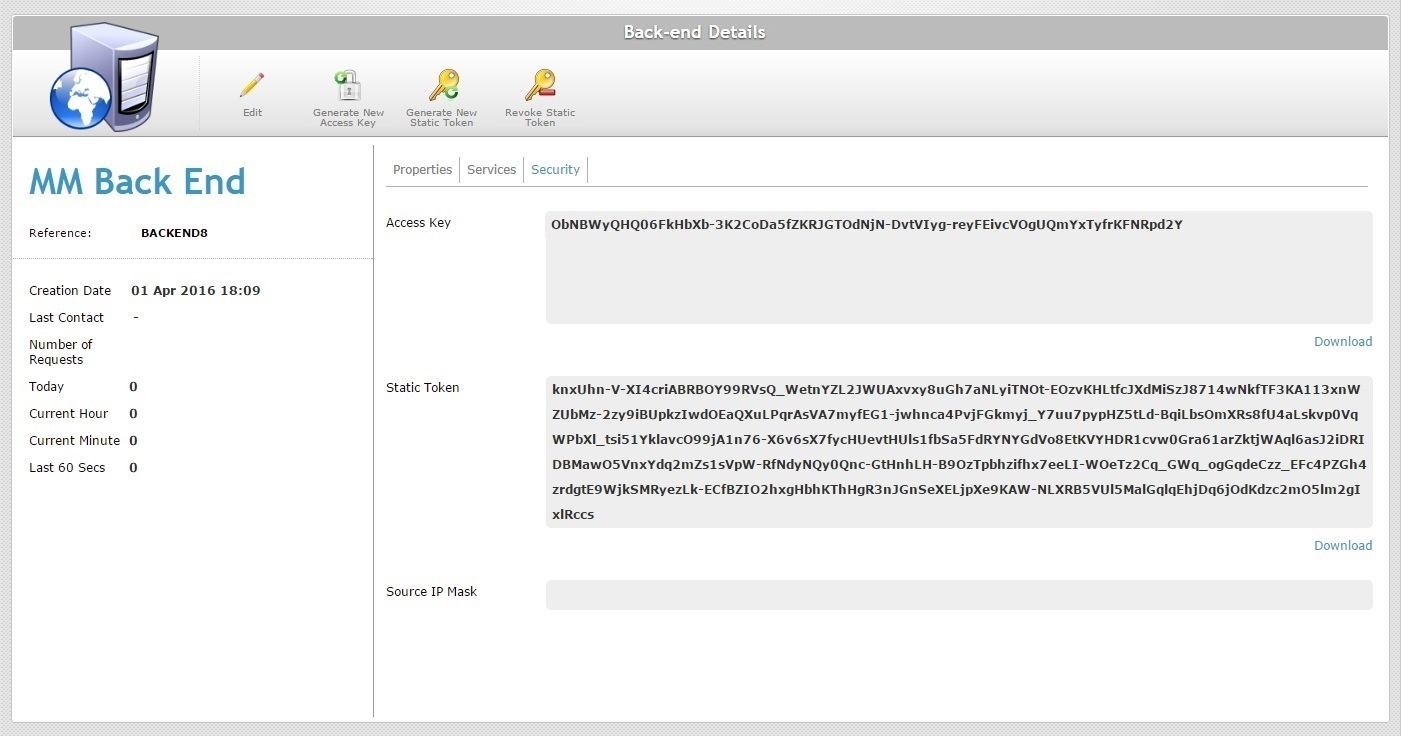
Now, the "Back-end Details" page displays more information:
•a "Static Token" box with the static token. Use the ![]() button (located on the bottom right corner of the "Static Token" box) to download it and use it for back-end requests.
button (located on the bottom right corner of the "Static Token" box) to download it and use it for back-end requests.
•the ![]() button, in case you want to generate a different static token (see To Generate a New Static Token).
button, in case you want to generate a different static token (see To Generate a New Static Token).
•the ![]() button to deactivate the static token currently in use (see To Revoke a Static Token).
button to deactivate the static token currently in use (see To Revoke a Static Token).
To Generate a New Static Token
If required, you can replace the static token with another one.
Proceed as follows to generate a new static token.
Step-by-step
1. Click (on the Admin Dashboard's "Control Panel") to access the "Back-ends" page.
2. Select the back-end profile with the static token you want changed by clicking its name (which is displayed in light blue). This opens the corresponding "Back-end Details" page.
3. Open the "Security" tab to check the current static token.
4. Click ![]() to generate a new static token that will replace the current one.
to generate a new static token that will replace the current one.
5. Click ![]() to apply.
to apply.
The previous static token is replaced with the new one in the "Security" tab.
If necessary, you can deactivate a static token. Keep in mind that the deactivation can take up to 60 minutes to be valid.
Step-by-step
1. Click (on the Admin Dashboard's "Control Panel") to access the "Back-ends" page.
2. Select the back-end profile with the static token you want revoked by clicking its name (which is displayed in light blue). This opens the corresponding "Back-end Details" page.
3. Open the "Security" tab to check the current static token.
4. Click ![]() to deactivate the current static token.
to deactivate the current static token.
5. Click ![]() to apply.
to apply.
The "Static Token" box disappears and the ![]() and
and ![]() buttons have been replaced with
buttons have been replaced with ![]() .
.
If necessary, click ![]() to create a static token again ( see To Generate a Static Token).
to create a static token again ( see To Generate a Static Token).