|
Adding a Site User |
  
|
Adding a Site User
|
Adding a Site User |
|
Overview
Only the account administrator or the site's site manager can create Site Users and attribute the necessary access rights.
Step-by-step
1. Click ![]() (in the Control Panel section) and, in the resulting row below, select
(in the Control Panel section) and, in the resulting row below, select ![]() to open the "Site Users" page.
to open the "Site Users" page.
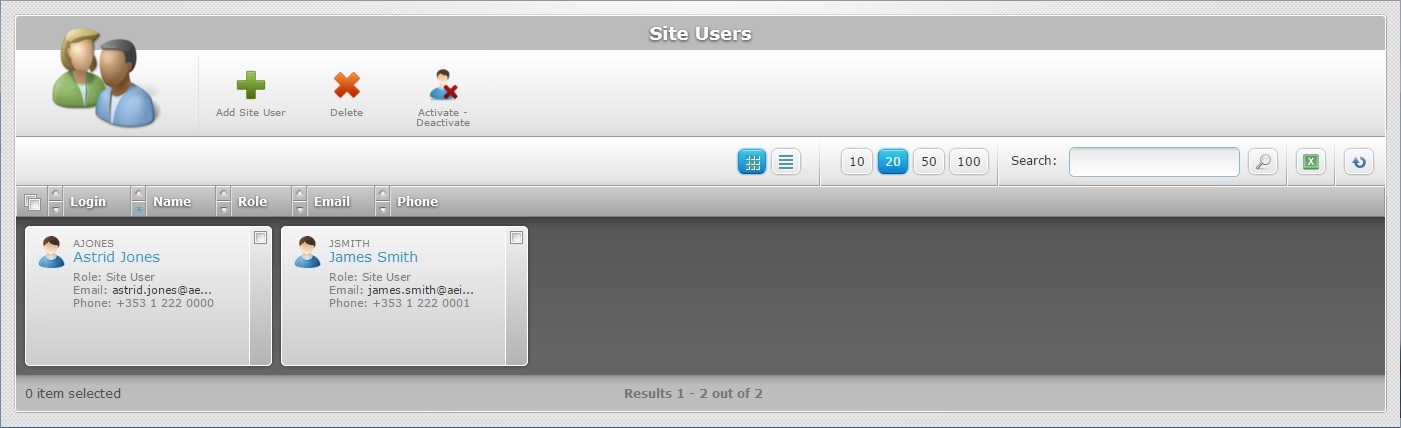
2. Click ![]() to open the "New Site User" page which is already set to "edit mode".
to open the "New Site User" page which is already set to "edit mode".
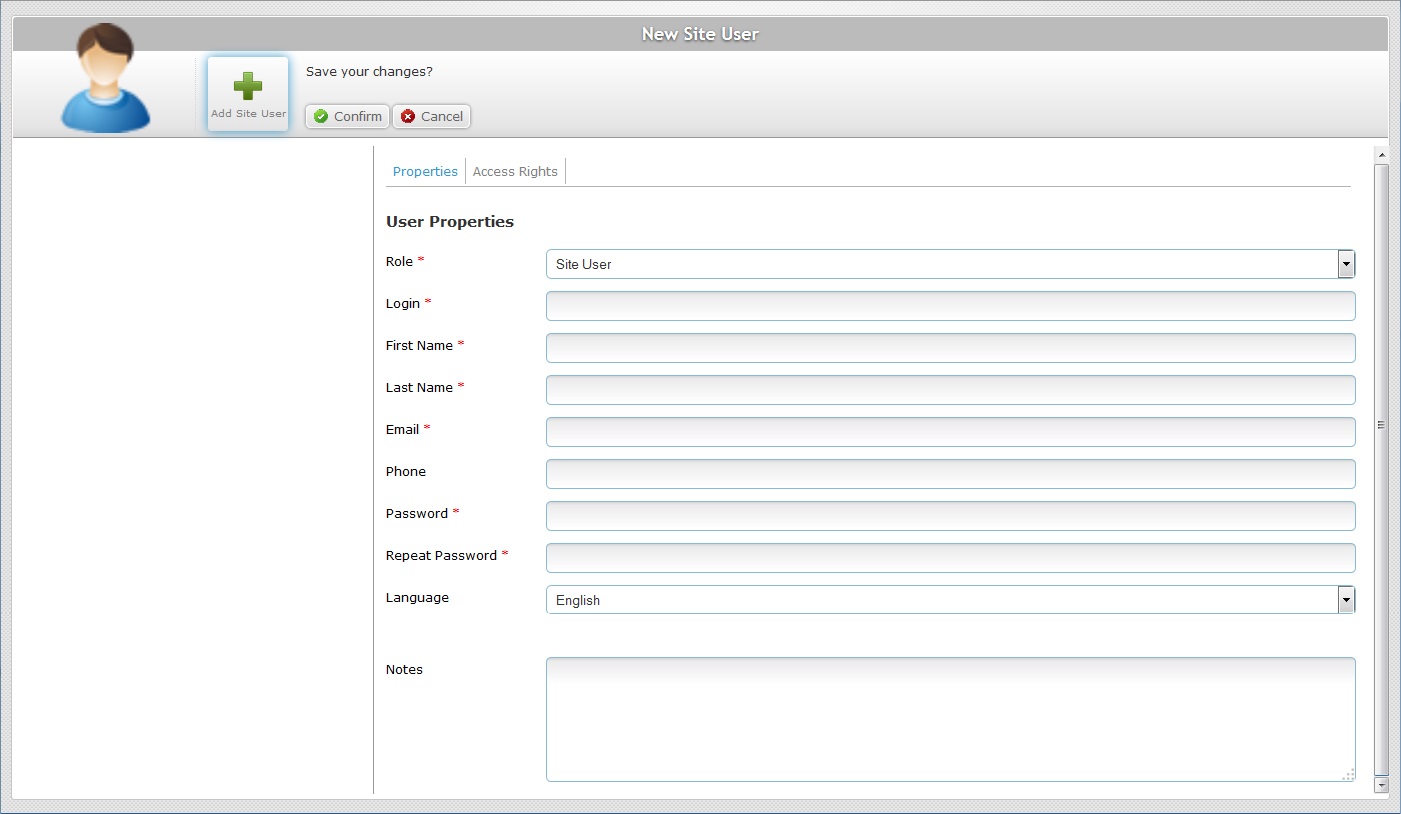
3. Define the site user's properties in the "Properties" tab by filling in the available options. Ensure that the mandatory fields (marked with an asterisk) have information.
Field |
Description |
|---|---|
Role * |
Select the new site user's role ("Site User" or "Filebox User") from the drop-down list. If you select the "Filebox User" option, proceed to step 10 because there will be no access rights available in the "Access Rights" tab. This role does NOT have access to the Site Dashboard, it is ,exclusively, for external systems to access the private Filebox space via web services. |
Login * |
Enter the new site user's login. Depending on the role you selected for the new site user, this login will provide access to the Site Dashboard (site user with a "Site User" role) or the private filebox (site user with a "Filebox User" role). |
First Name * |
Enter the new site user's first name. |
Last Name * |
Enter the new site user's last name. |
Email * |
Enter the new site user's email. |
Phone |
Enter the new site user's phone. |
Password * |
Define the new site user's password.
The password must have a minimum of 5 characters and can have up to 40 characters. The password CANNOT be the same as the login. |
Repeat Password * |
Repeat the new site user's password (security feature). |
Language |
Select the new site user's language from the drop-down list. The options made available are selected in the "Site Details" page. See Site Details - Languages tab. |
Notes |
If relevant, add notes about the newly created site user. |
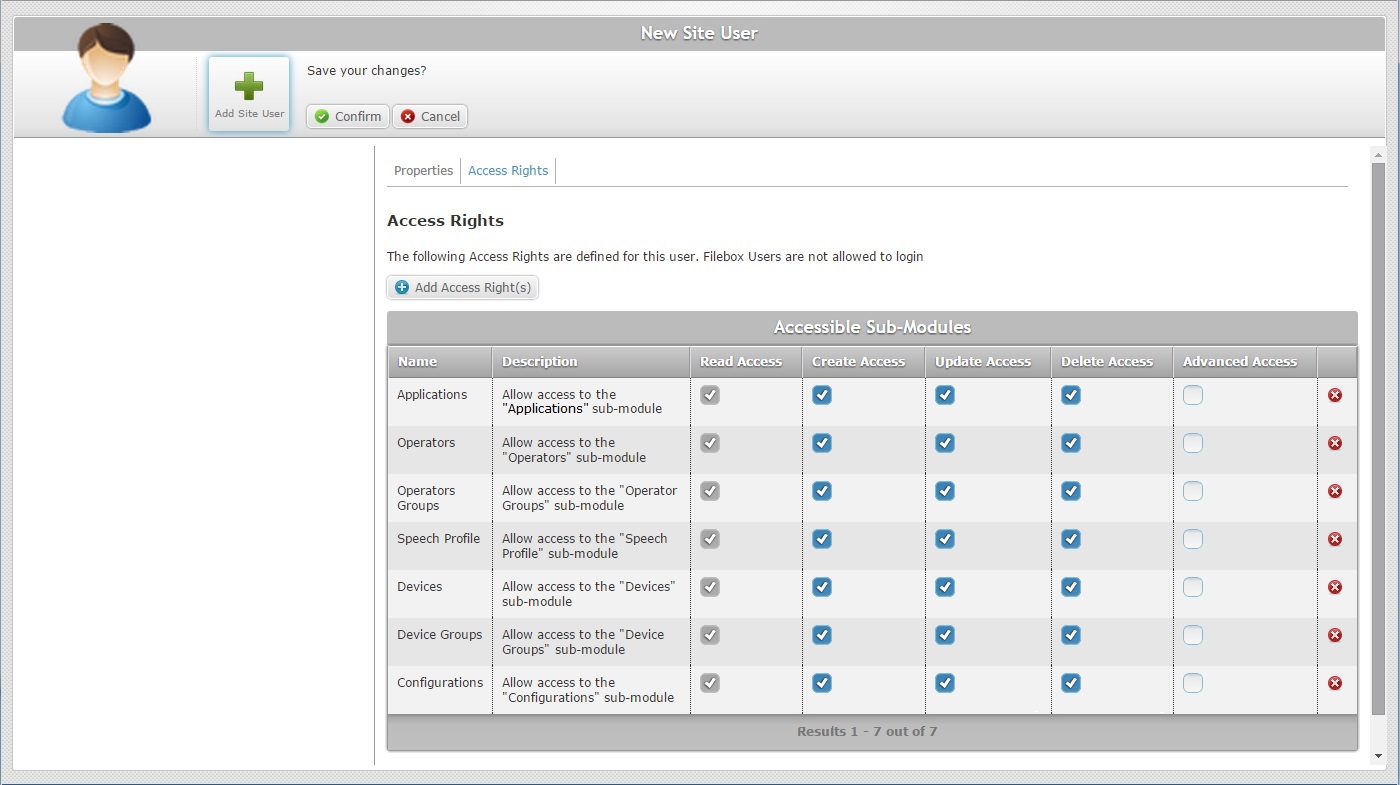
4. Go to the "Access Rights" tab.
![]() If you selected a "Filebox user" role, proceed to step 10 because there will be no access rights available in the "Access Rights" tab. This role does NOT have access to the Site Dashboard, it is, exclusively, for external systems to access the private Filebox space via web services.
If you selected a "Filebox user" role, proceed to step 10 because there will be no access rights available in the "Access Rights" tab. This role does NOT have access to the Site Dashboard, it is, exclusively, for external systems to access the private Filebox space via web services.
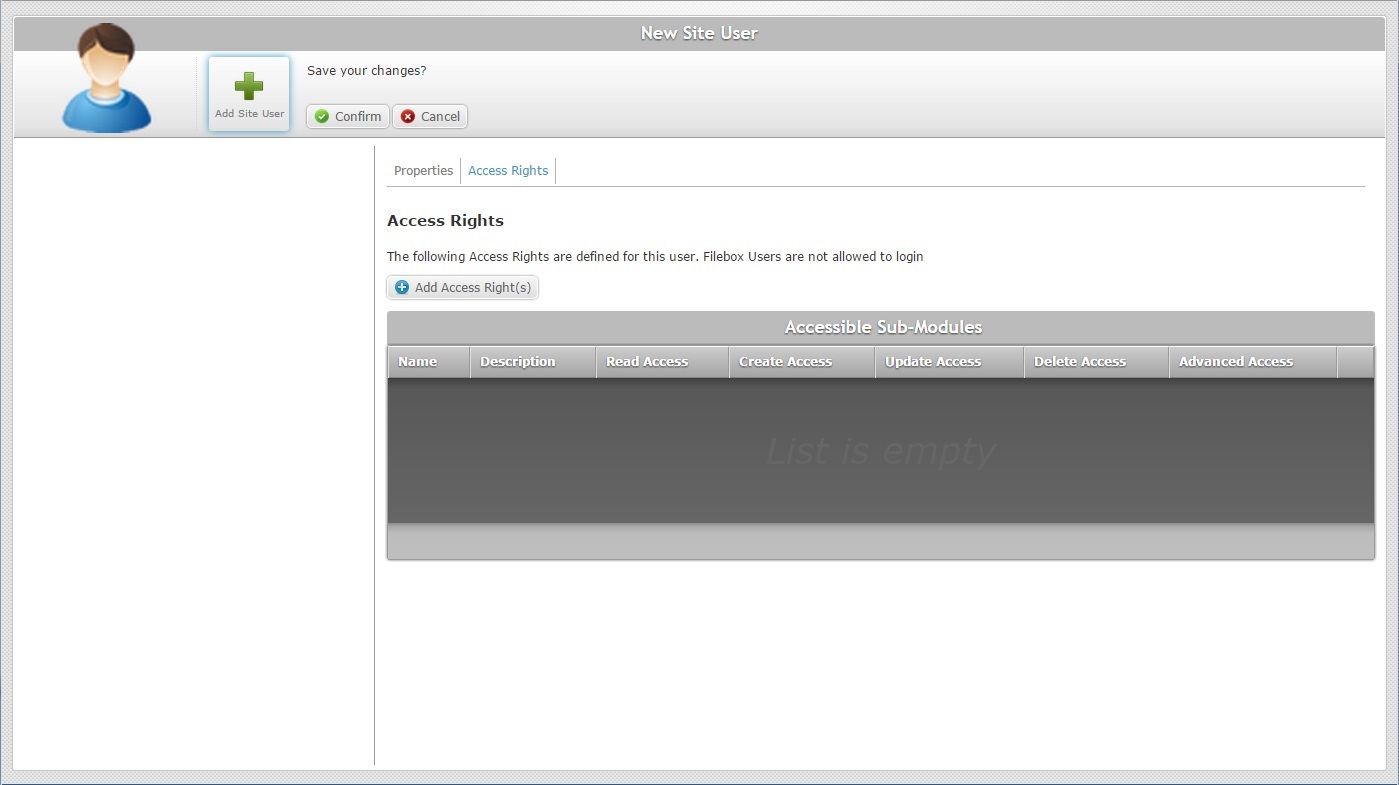
5. Click ![]() to define which sub-modules the site user will have access to.
to define which sub-modules the site user will have access to.
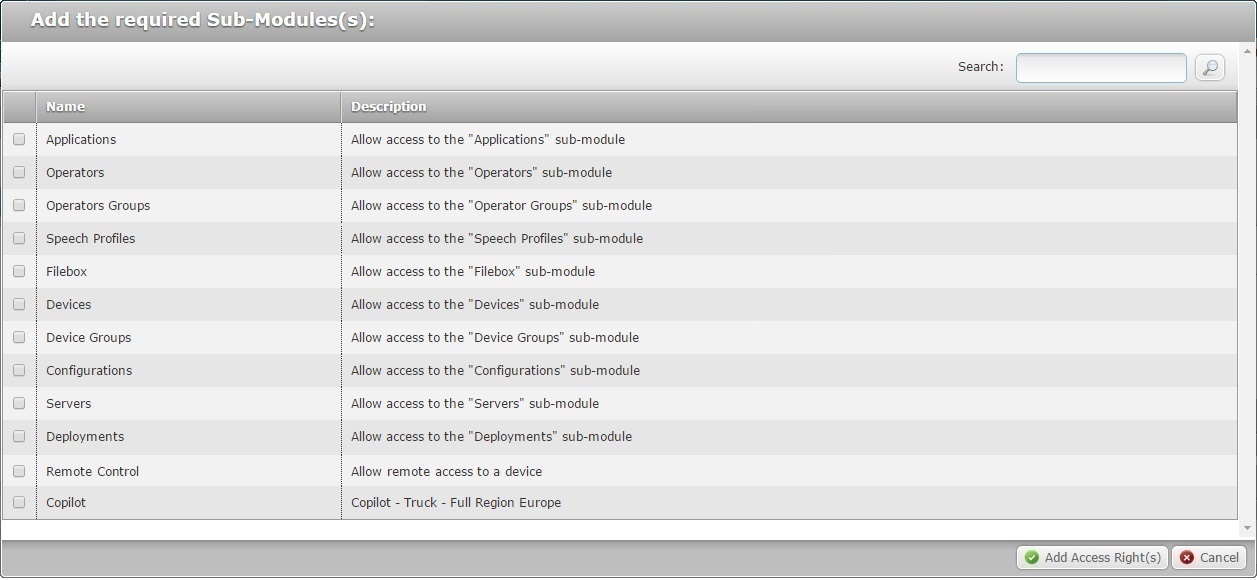
6. In the resulting window, select the required sub-module(s) by clicking the corresponding ![]() .
.
If necessary, use ![]() to filter the displayed information.
to filter the displayed information.
a. Enter what you want to search for.
b. Click ![]() or press <ENTER> in your PC keyboard to initiate the search.
or press <ENTER> in your PC keyboard to initiate the search.
c. To conclude the search operation, empty the search box and click ![]() or press <ENTER> in your PC keyboard.
or press <ENTER> in your PC keyboard.
7. Click ![]() to apply OR
to apply OR ![]() to abort.
to abort.
8. If you want to delete any of the added access rights, click the corresponding ![]() . If it is not required, proceed to step 9.
. If it is not required, proceed to step 9.
9. Depending on the tasks you want the site user to be able to perform in the available sub-modules, check/uncheck the necessary options in the active columns ("Create Access"; "Update Access"; "Delete Access" and "Advanced Access").
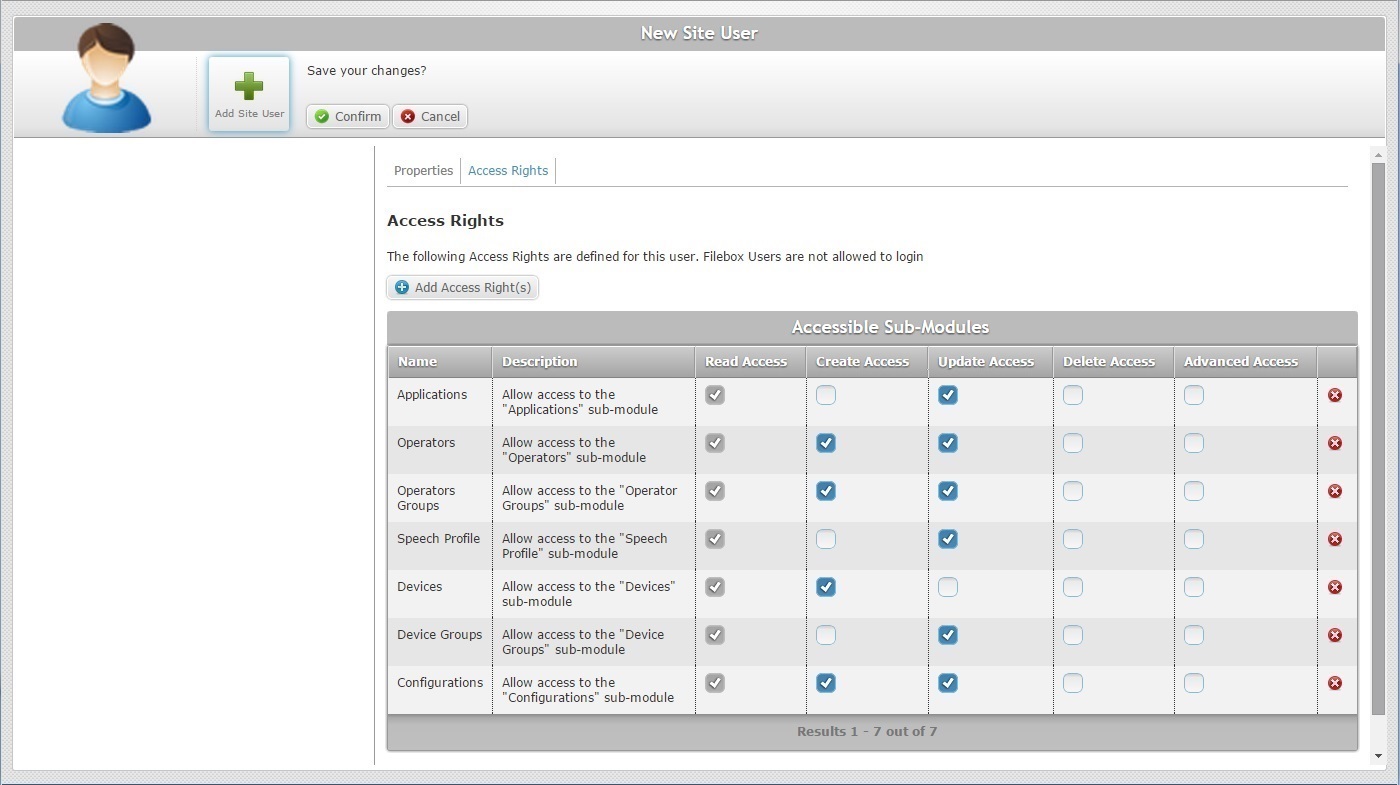
The following table displays the operational effects of checking/unchecking the available options:
Sub-module |
Available options/fields |
Read Access |
Create Access |
Update Access |
Delete Access |
Advanced Access |
Applications |
This sub-module becomes available in the Applications module of the Site Dashboard's "Control Panel". |
The Site User views the available module.
Default / Non editable option. |
The Site User can add applications. The "Add Applications" button is available in the "Applications" sub-module. |
The Site User can edit application details. The "Edit" button is displayed in the "Applications" sub-module. |
The Site User can delete existing applications. The "Delete" button becomes available in the "Applications" sub-module. |
N/A |
Operators |
This sub-module becomes available in the Operators module of the Site Dashboard's "Control Panel". |
The Site User views the available module.
Default / Non editable option. |
The Site User can create operators. The "Add Operators" button is available in the "Operators" sub-module. |
The Site User can edit operator details. Several buttons become available in the "Operators" sub-module: The "Edit" button The "Move Operator" button The "Copy Operator" button The "Change Status" button |
The Site User can delete existing operators. The "Delete" button becomes available in the "Operators" sub-module. |
The Site User can create a "custom speech profile" for an operator and reset an adaptation performed by an operator - adaptation reset is only available for operators running MCL Voice V3 applications.
|
Operator Groups |
This sub-module becomes available in the Operators module of the Site Dashboard's "Control Panel". |
The Site User views the available module.
Default / Non editable option. |
The Site User can create operator groups. The "Add Operator Group" button is available in the "Operator Groups" sub-module. |
The Site User can edit operator group details. The "Edit" button is displayed in the "Operator Groups" sub-module. |
The Site User can delete existing operator groups. The "Delete" button becomes available in the "Operator Groups" sub-module. |
N/A |
Speech Profile |
This sub-module becomes available in the Operators module of the Site Dashboard's "Control Panel". |
The Site User views the available module.
Default / Non editable option. |
The Site User can create speech profiles. The "Add" button is available in the "Speech Profile" sub-module. |
The Site User can edit speech profile details. Several buttons become available in the "Speech Profile" sub-module: The "Edit" button The "Set as Default" button The "Apply Profile" button |
The Site User can delete existing speech profiles. The "Delete" button becomes available in the "Speech Profile" sub-module. |
N/A |
Filebox |
This sub-module becomes available in the System module of the Site Dashboard's "Control Panel". There will be an additional "Filebox" related field in the "Device Group Details" and "Operator Group Details" pages. |
The Site User views the available module. Default/Non editable option. |
The Site User can create folders. The "Create Folders" button is available in the "Filebox" sub-module. |
The Site User can edit filebox details. Several buttons become available in the "Filebox" sub-module: The "Edit Properties" button The "Move" button |
The Site User can delete existing filebox folders/files. The "Delete" button becomes available in the "Filebox" sub-module. |
N/A |
Devices |
This sub-module becomes available in the Devices module of the Site Dashboard's "Control Panel". |
The Site User views the available module.
Default / Non editable option. |
The Site User can add devices. The "Add Devices" button is available in the "Devices" sub-module. |
The Site User can edit device details. Several buttons become available in the "Devices" sub-module: The "Edit" button The "Move" button The "Change Status" button The "Repair" button The "Wipe" button |
The Site User can delete device entries. The "Delete" button becomes available in the "Device" sub-module. |
N/A |
Device Groups |
This sub-module becomes available in the Devices module of the Site Dashboard's "Control Panel". |
The Site User views the available module.
Default / Non editable option. |
The Site User can add device groups. The "Add Device Group" button is available in the "Device Groups" sub-module. |
The Site User can edit device group details. The "Edit" button is displayed in the "Device Groups" sub-module. |
The Site User can delete device groups. The "Delete" button becomes available in the "Device Groups" sub-module. |
N/A |
Configurations |
This sub-module becomes available in the Applications module of the Site Dashboard's "Control Panel". |
The Site User views the available module.
Default / Non editable option. |
The Site User can create configurations. The "Add Configuration" button is available in the "Applications" sub-module. |
The Site User can edit configuration details. The "Edit" button is displayed in the "Configurations" sub-module. |
The Site User can delete configurations. The "Delete" button becomes available in the "Configurations" sub-module. |
N/A |
Servers |
This sub-module becomes available in the Operators module of the Site Dashboard's "Control Panel". |
The Site User views the available module. Default/Non editable option. |
The Site User can add servers. The "Add Servers" button is available in the "Devices" sub-module. |
The Site User can edit server details. Several buttons become available in the "Servers" sub-module: The "Edit" button The "Change Status" button The "Download License" button |
The Site User can delete existing servers. The "Delete" button becomes available in the "Servers" sub-module. |
N/A |
Deployments |
This sub-module becomes available in the Applications module of the Site Dashboard's "Control Panel". There will be additional deployment related buttons in the "Configurations" page ("Assign to Group" button) and in the "Device Groups" page ("Change Config" button. |
The Site User views the available module.
Default / Non editable option. |
The Site User can create deployments. The "Add Plan" button is available in the "Deployments" sub-module. |
N/A
Deployments are not editable |
The Site User can delete deployment plans. The "Delete" button becomes available in the "Deployments" sub-module. |
N/A |
Remote Control |
This tool becomes available as a button in the Device Details page. |
The Site User views the tool button in the Device Details page.
Default / Non editable option |
N/A |
N/A |
N/A |
N/A |
CoPilot |
N/A |
N/A |
N/A |
N/A |
N/A |
N/A |
10. Click ![]() to conclude.
to conclude.