|
Adding a Site |
  
|
Adding a Site
|
Adding a Site |
|
Overview
Adding a Site to an account is a task that can only be performed by the account administrator in the Admin Dashboard.
Step-by-step
1. To add a new site to the account, go to the Control Panel, click ![]() and, in the resulting row, select
and, in the resulting row, select  to access the "Site Management" page.
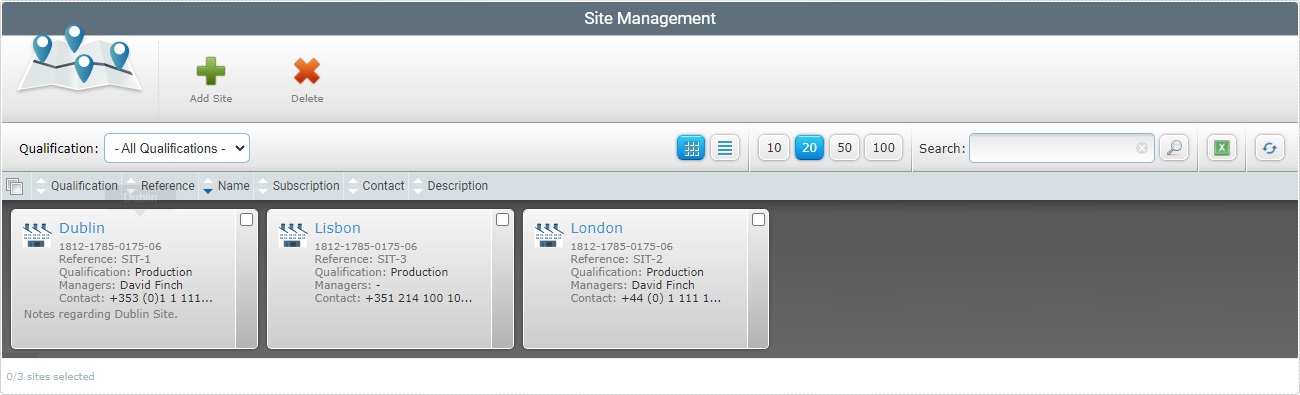
The "Site Management" page displays the sites contained in an account.
2. Click ![]() .
.
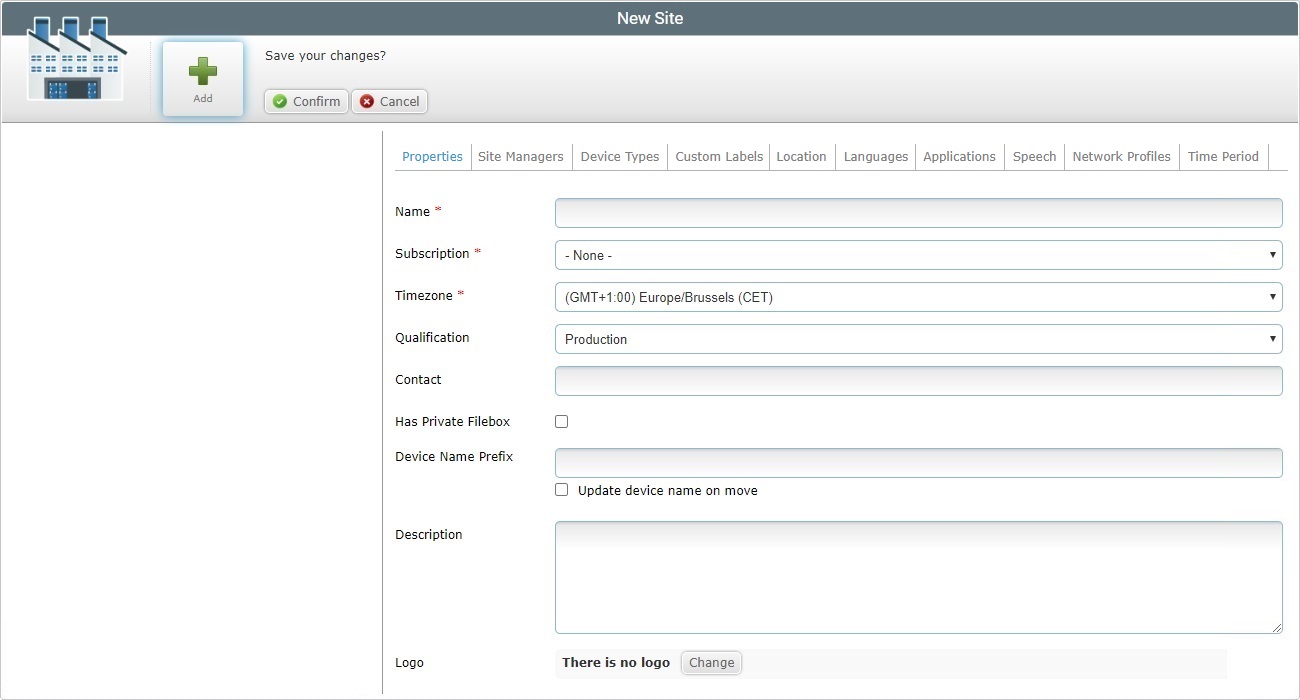
The resulting "New Site" page opens in edit mode and includes several tabs that need to be filled in (the "Speech" tab is only available if the subscription includes Speech applications). The "Properties" tab is open, by default.
3. Fill in the mandatory fields (marked with an asterisk) and, if required, the remaining fields.
Name * |
Fill in the name of the new site.
•Use alphabetic/numeric characters (a-z; A-Z; 0-9) •Underscore and/or dash characters are allowed •Always start the entity's name with an alphabetic character
|
Subscription * |
Select an available subscription from the drop-down. |
Timezone * |
Select the site's timezone from the drop-down.
|
Qualification |
Select the qualification for the site that best suits your purposes from the drop-down (see Qualification): • "Production" - this qualification is used to represent a physical facility/working environment - this site is being used in day-to-day tasks. •"Acceptance" - a qualification for a site that mimics a physical facility/working environment and is used for specific testing. If the tests prove successful, the site can be given the qualification "Production" and become a representation of a physical facility and its human resources.
•"Test" - this qualification is appropriate for a virtual site meant for general testing. •"Development" - this qualification is reserved for sites that will be used for MCL application development. MCL-Designer is used to develop MCL applications and its subscription must be linked to the MCL-Mobility Platform subscription via its Development Station. See Development Stations.
|
Contact |
Enter a contact number for the site. |
Has Private Filebox |
Check this option if you want the site to have a private filebox. |
Device Name Prefix |
If required, define a specific prefix to be applied to the name of the devices that wil be paired to the new site. The paired device's original name will be replaced with the defined prefix plus an incremental number.
If you do not set a prefix here but there is a defined device name prefix for the account (in the account's "Account Details" page), that prefix will be adopted by any devices being paired with this new site. |
Update device name on move |
If required, check this box to ensure that any devices that are moved onto this site have their names replaced with the defined device name prefix plus an incremental number.
If a prefix is not set here but there is already a defined device name prefix for the account (in the account's "Account Details" page), that prefix will be adopted by any devices being moved onto this new site. |
Description |
Add any notes you may find useful. |
Logo |
Add a logo to a site: 1. Click 2. In the resulting OS File Explorer window, select the appropriate image file. 3. Click
The logo is displayed in the corresponding site's Site Dashboard. To edit the logo, see To Add a Logo to a Site. |
4. Advance to the "Site Managers" tab.

5. Add a site manager to the site. Use ![]() . See Adding a Site Manager to a Site.
. See Adding a Site Manager to a Site.
![]() The adding of a site manager to a site always implies the previous creation of site manager profiles. See Adding a User.
The adding of a site manager to a site always implies the previous creation of site manager profiles. See Adding a User.
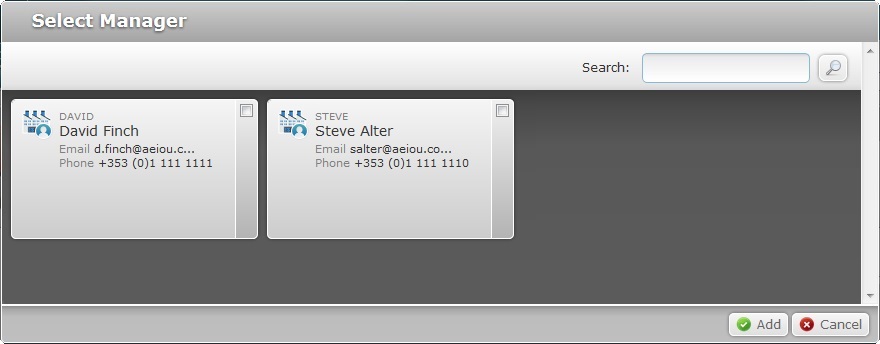
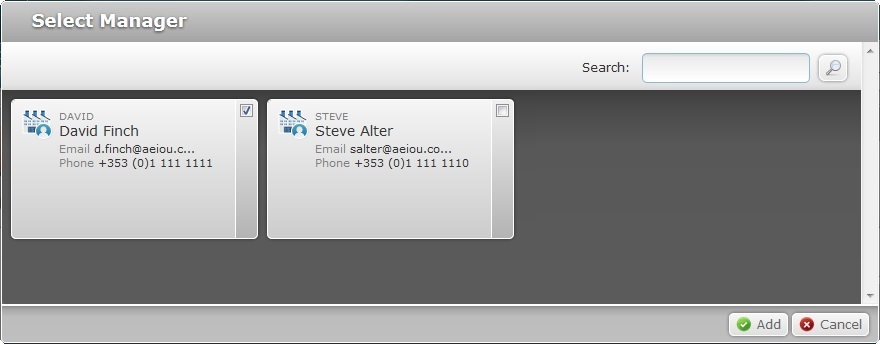
6. In the "Select Manager" window, select the desired site manager(s) by clicking the corresponding ![]() .
.
If required, use ![]() to filter the displayed information:
to filter the displayed information:
a. Enter what you want to search for - you can use the login, name, email or contact as a search parameter.
b. Click ![]() or press <ENTER> in your PC keyboard to initiate the search.
or press <ENTER> in your PC keyboard to initiate the search.
c. End the search operation by emptying the search box and clicking ![]() OR Emptying the search box and pressing <ENTER> in your PC keyboard OR clicking the
OR Emptying the search box and pressing <ENTER> in your PC keyboard OR clicking the ![]() icon.
icon.
7. Click ![]() to apply your choice(s).
to apply your choice(s).
8. Go to the "Device Types" tab.
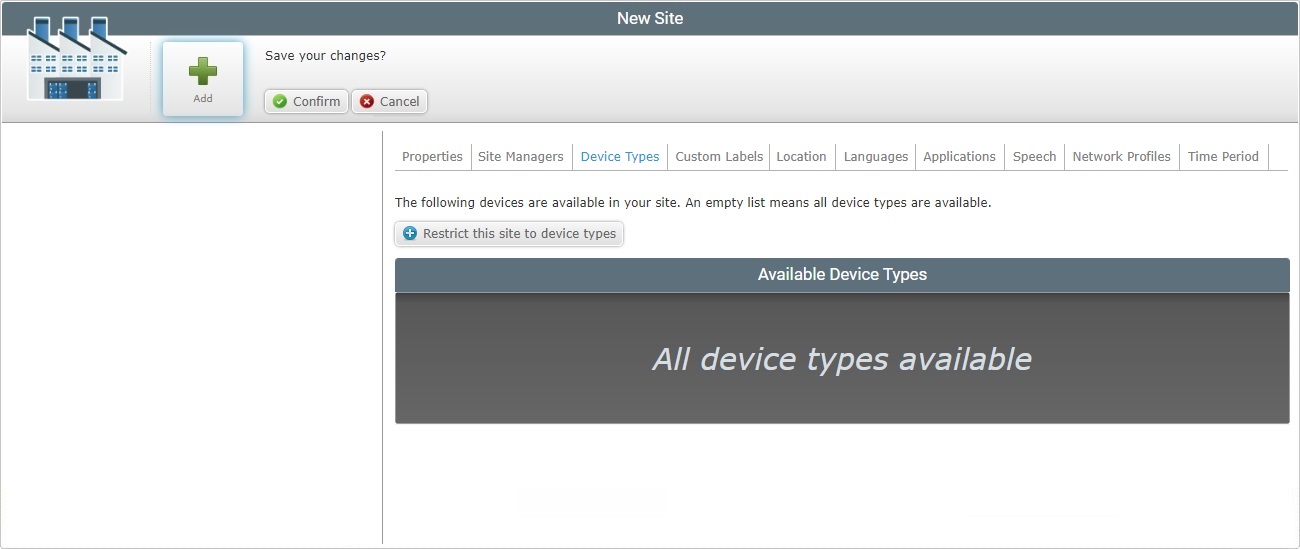
9. Click ![]() to open a window with a list of available devices.
to open a window with a list of available devices.
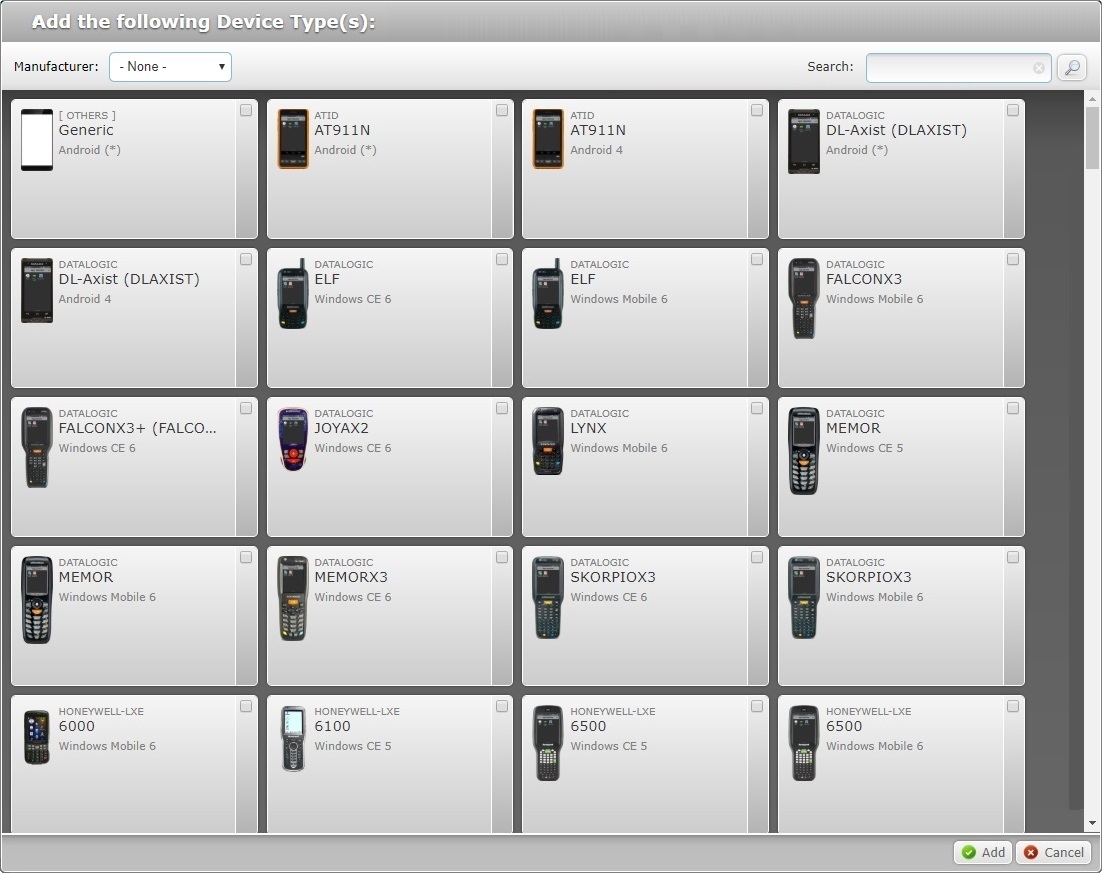
If required, use the ![]() or the drop-down with the available manufacturers
or the drop-down with the available manufacturers ![]() to filter the displayed information.
to filter the displayed information.
10. Select the required device model(s) by checking the corresponding ![]() . If no device types are specified, all are available for the current site.
. If no device types are specified, all are available for the current site.
11. Click ![]() to apply your choices.
to apply your choices.
12. Move on to the "Custom Labels" tab.
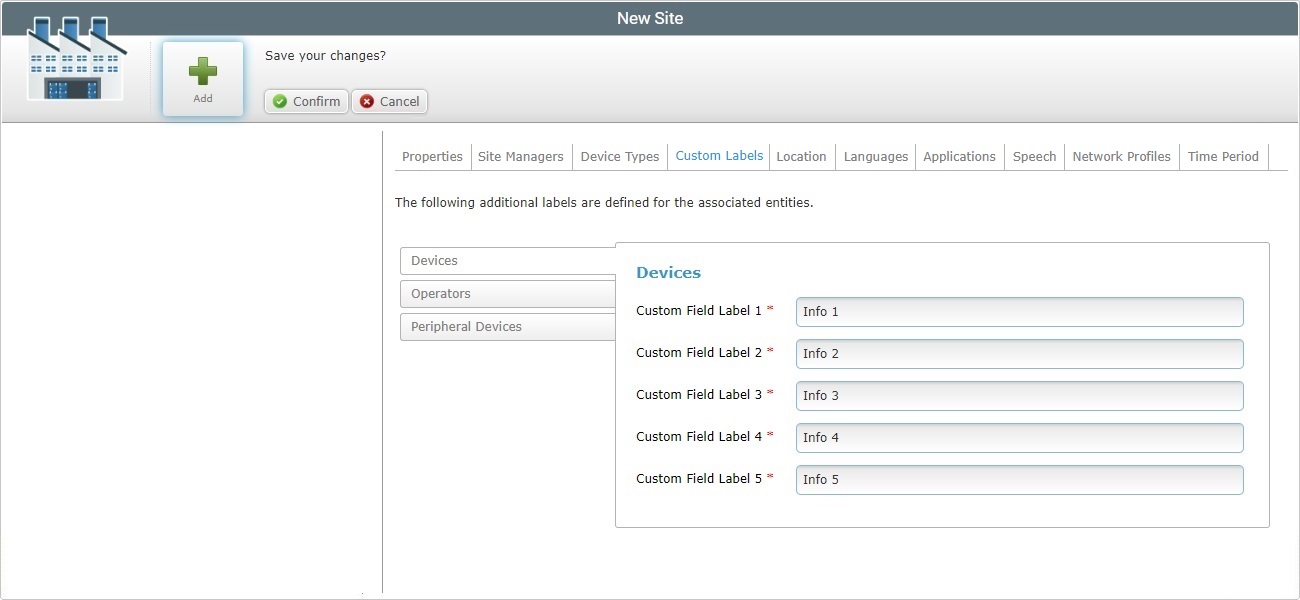
13. If required, replace the default labels of the fields displayed in the "Device Details" and/or the "Operator Details" page. These fields are mandatory, meaning, they have to be filled with either the default options or with your suggestions.
![]() This label customization is only necessary if you require more specific details about a device, an operator or peripheral devices.
This label customization is only necessary if you require more specific details about a device, an operator or peripheral devices.
Replace the default labels for labels that represent the information you want to retrieve.
Ex: If you want to use one of the fields to view when a device was acquired, replace "Info 1" for "Acquisition Date". All devices now have a field, in the "Device Details" page, to fill in with the required information, meaning, the date the terminal was acquired.
14. Go to the "Location" tab.
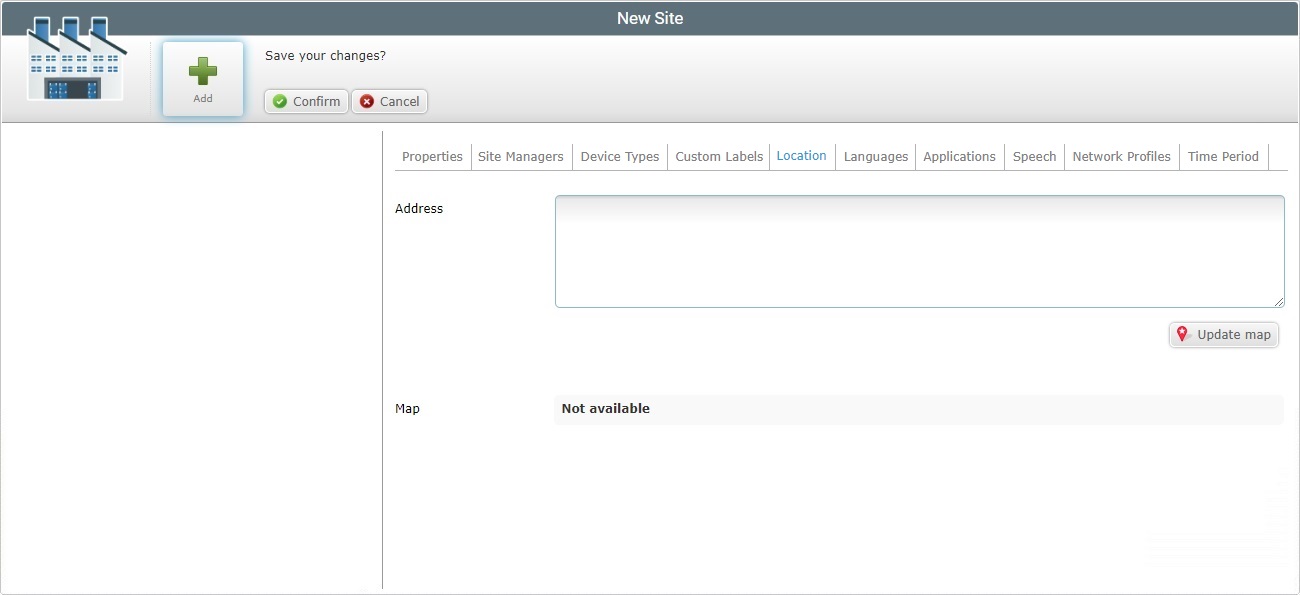
15. Enter the site's address in the "Address" box.
16. Click ![]() to view the site's location on the map.
to view the site's location on the map.
The map is automatically displayed as soon as you click ![]() but, at this point, continue to the next tab.
but, at this point, continue to the next tab.
17. Continue to the "Languages" tab.
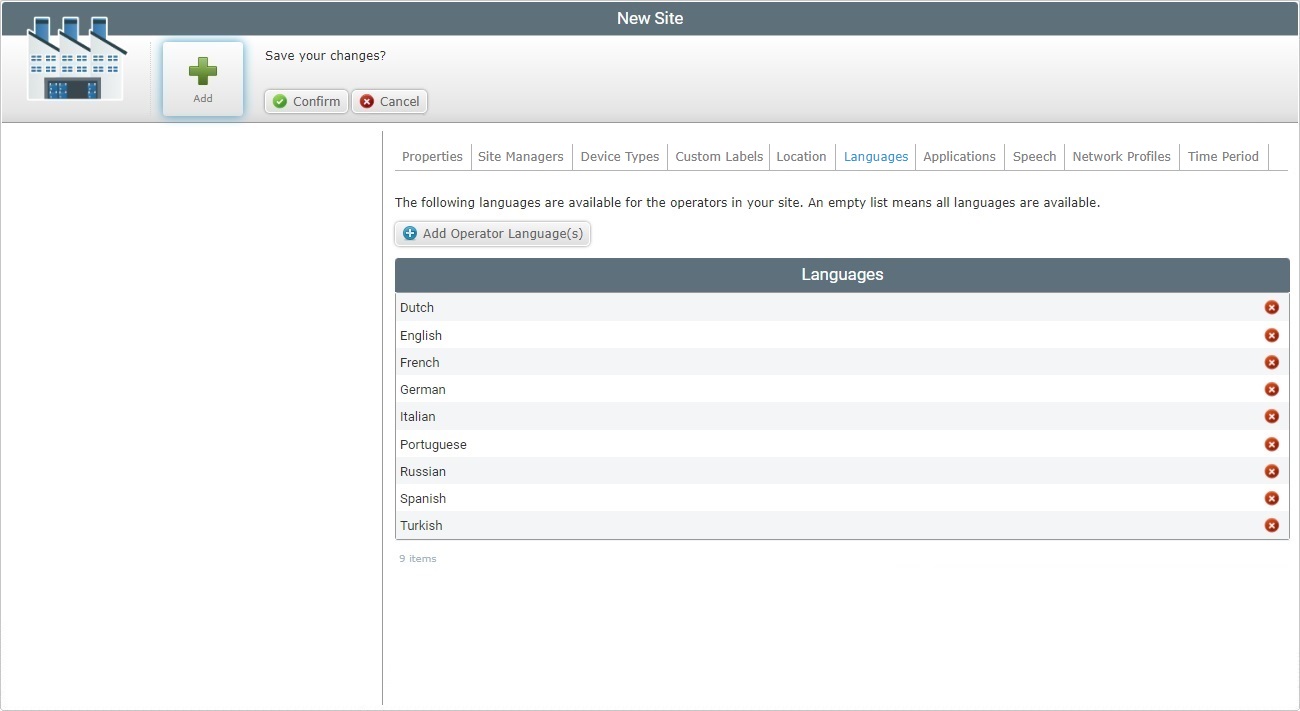
18. Click ![]() to open a window with the available languages.
to open a window with the available languages.
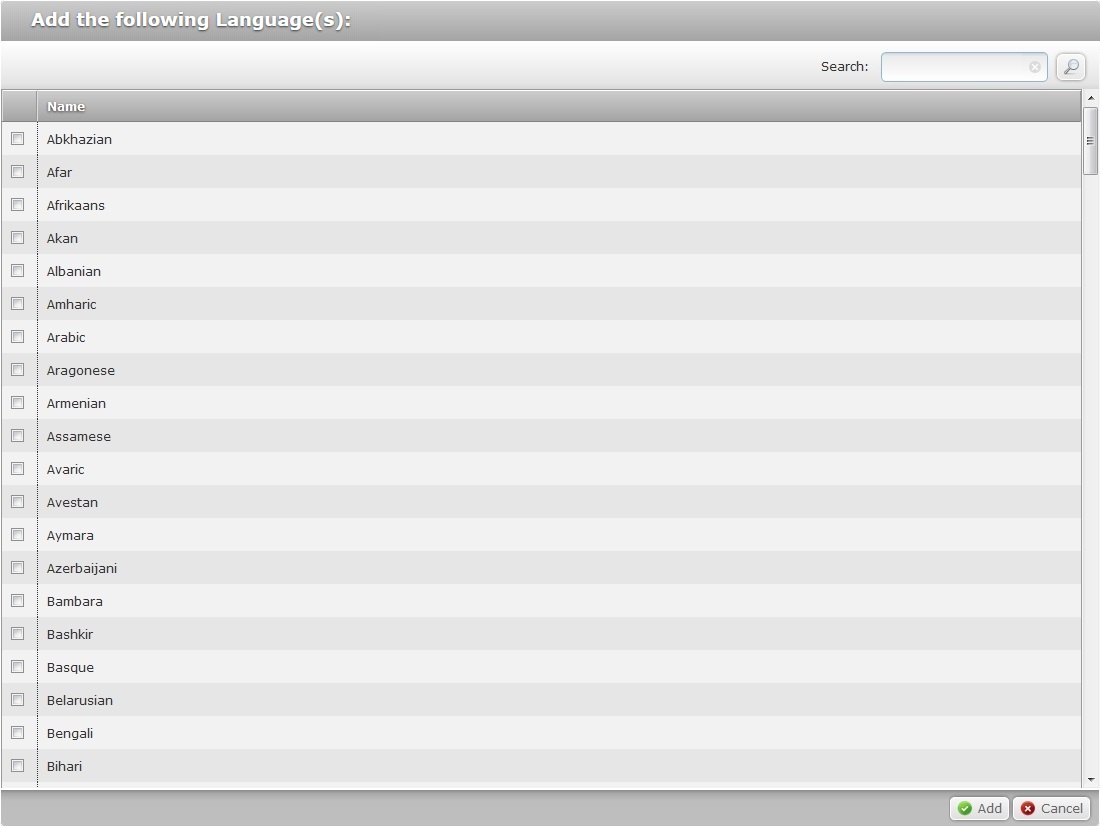
19. Select the required language(s) by checking the corresponding ![]() . If no languages are specified, all are available.
. If no languages are specified, all are available.
20. Click ![]() to apply your choices.
to apply your choices.
If required, use the ![]() to search for a specific language.
to search for a specific language.
a. Enter what you want to search for.
b. Click ![]() or press <ENTER> in your PC keyboard to initiate the search.
or press <ENTER> in your PC keyboard to initiate the search.
c. End the search operation by emptying the search box and clicking ![]() OR Emptying the search box and pressing <ENTER> in your PC keyboard OR clicking the
OR Emptying the search box and pressing <ENTER> in your PC keyboard OR clicking the ![]() icon.
icon.
21. Go to the "Applications" tab.
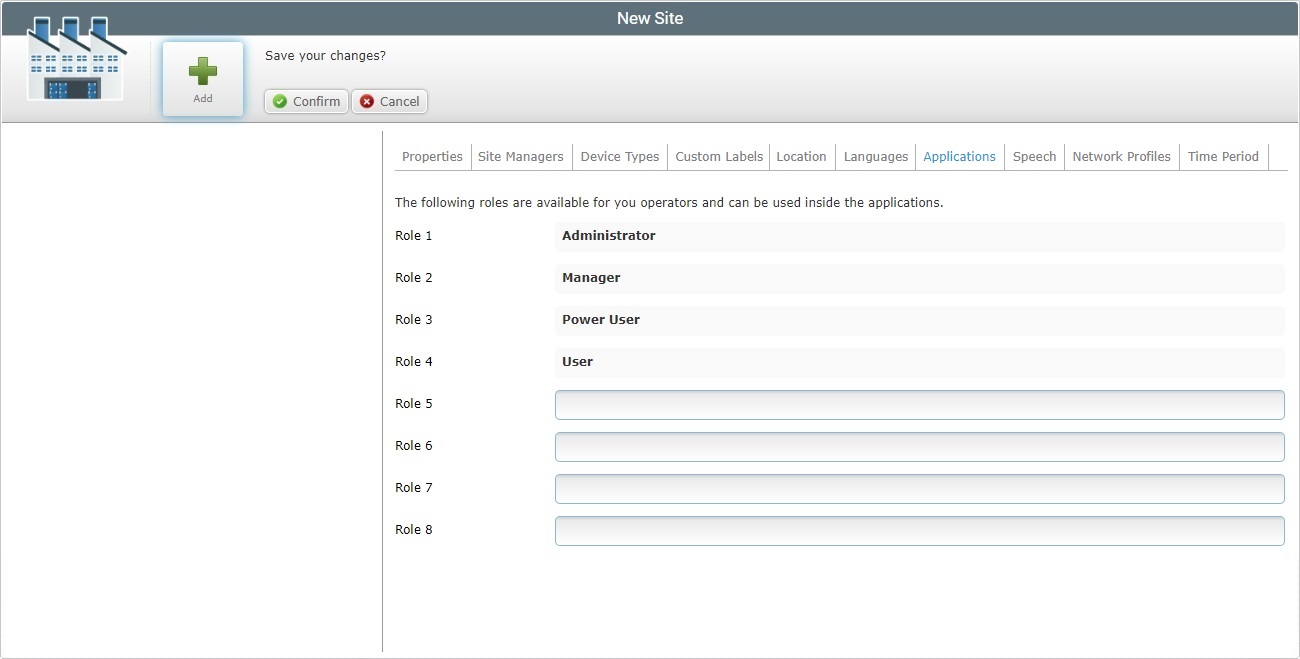
22. This tab provides you with the possibility to add roles to an operator. There are four default roles available, but you can add more, according to the internal organization of your company. All of these options are displayed in the "Role" drop-down list option of the "Operator Details". See Operator Details.
23. Proceed to the "Speech" tab. This tab is only available if the account's subscription includes speech services.
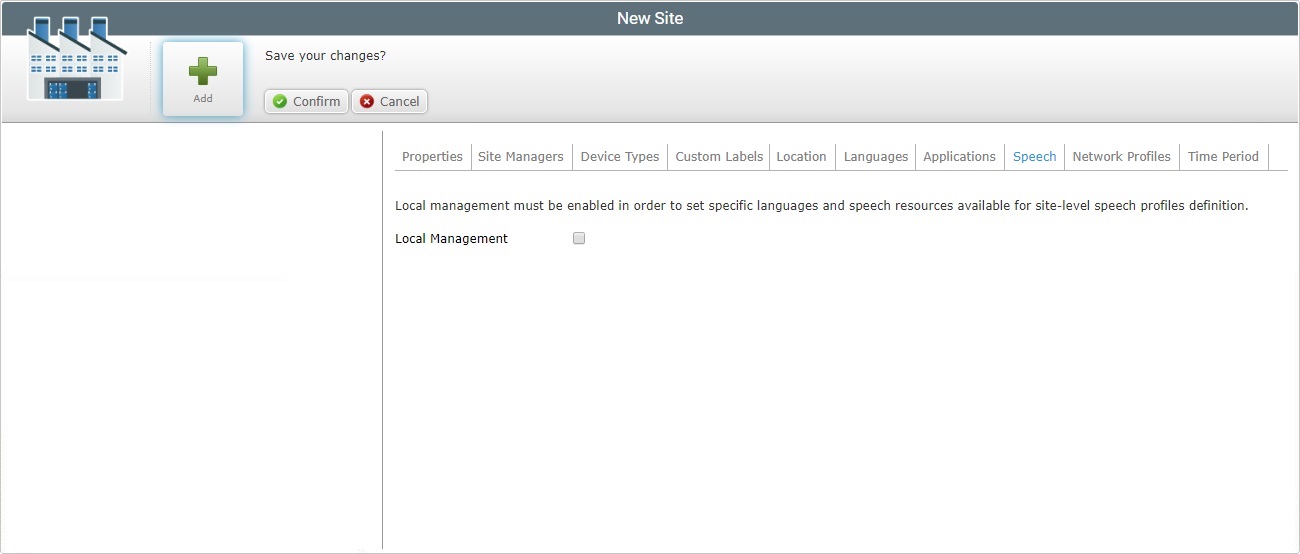
This tab allows you to decide on the type of speech profile management:
Global Speech Profile management - the speech profiles are created/edited within the Admin Dashboard and are available for all the existing sites. This means that the Site Dashboard of each site will not have the corresponding "Speech Profiles" sub-module available because all management decisions will occur in the Admin Dashboard's "Speech Profiles" module.
Local Speech Profile management - The speech profiles are created/edited within a site and only available for that site (to its operator groups/operators).
The profile management is done within the site's "Speech Profiles" sub-module (included in the "Operators" module") which is made available as soon as you check the "Enable Local Management" option in this tab.
24. If you want all speech profiles being used in the account's sites/operator groups/operators to be managed at account level, do NOT check the "Enable Local Management" option.
If you want to award the selected site with local speech profile management, check the "Local Management" option. This will activate other options regarding speech files and language selection.
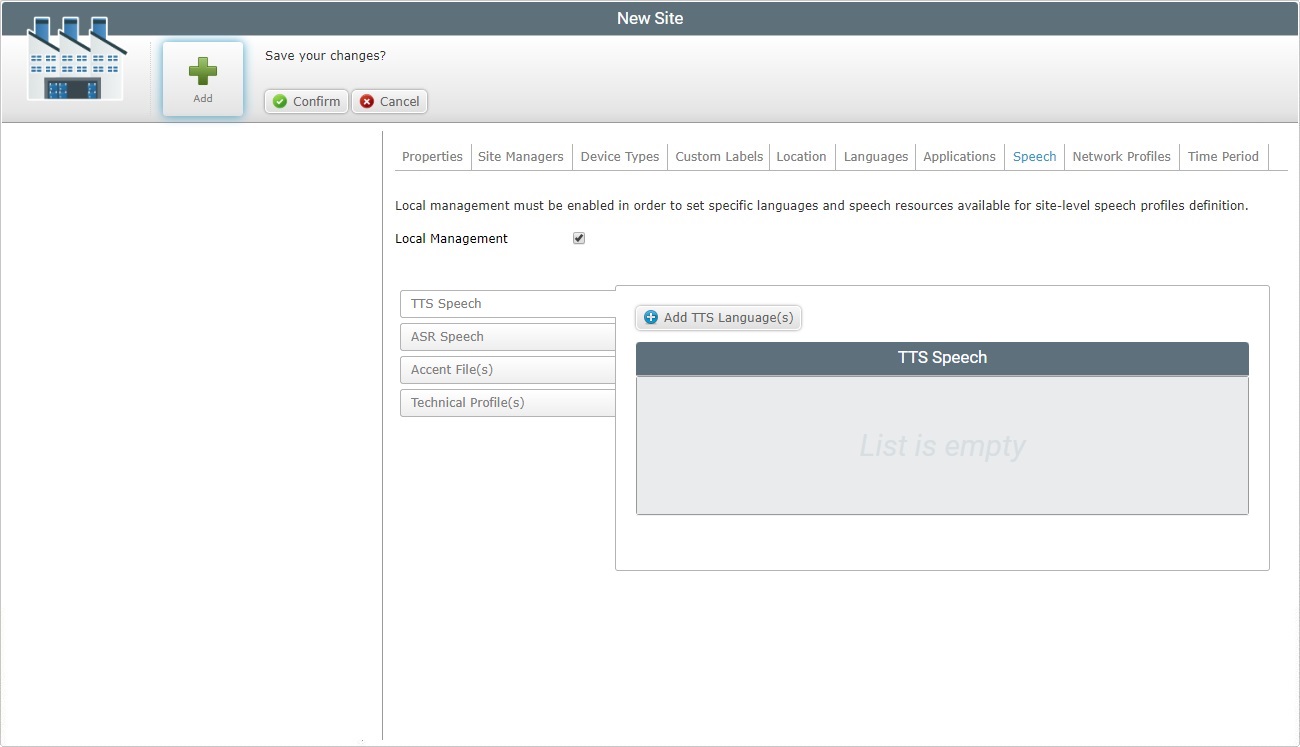
25. Select output/input languages and, if necessary, add technical profiles and/or language files (speech resources).
Open the side tab(s) you want to add files/information to.
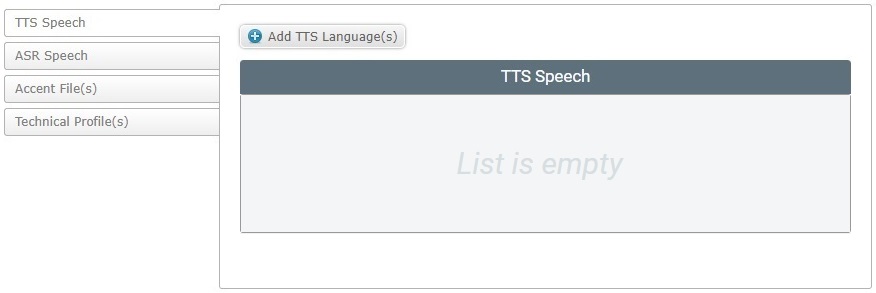
![]() Click Here to Add Resources to the "TTS Speech" Tab
Click Here to Add Resources to the "TTS Speech" Tab
(Open by default)
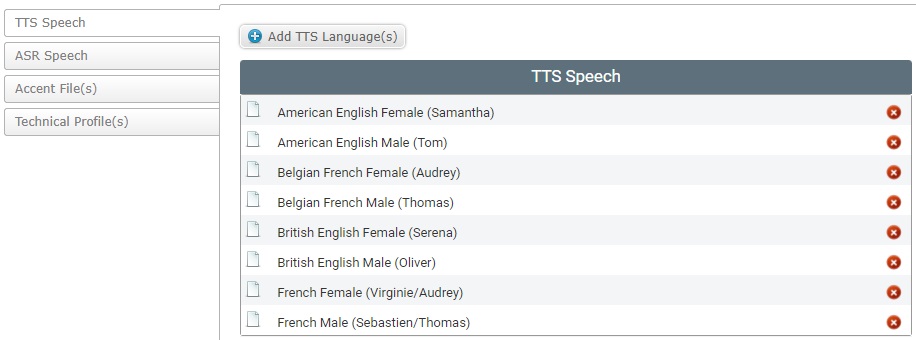
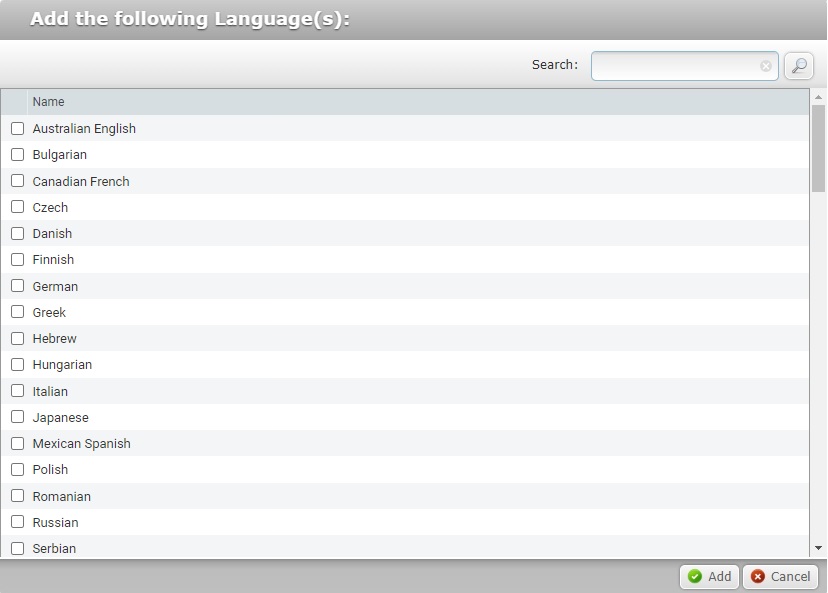
I. Click
II. Select the required language(s) by checking the corresponding
III. If required, use
IV. Click
The selected languages are displayed in the "TTS Speech" tab.
If you need to delete a selected output language, click the corresponding
V. Proceed to step 26.
|
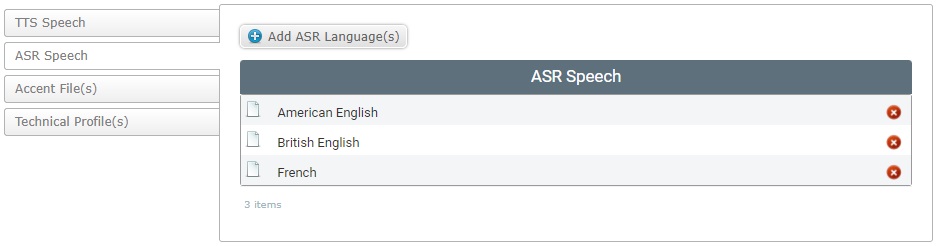
I. Click the "ASR Speech" tab to open it.
II. Click
III. Select the required language(s) by checking the corresponding
If required, use the
IV. Click
The selected languages are displayed in the "ASR Speech" tab.
If you need to delete a selected output language, click the corresponding
V. Proceed to step 26.
|
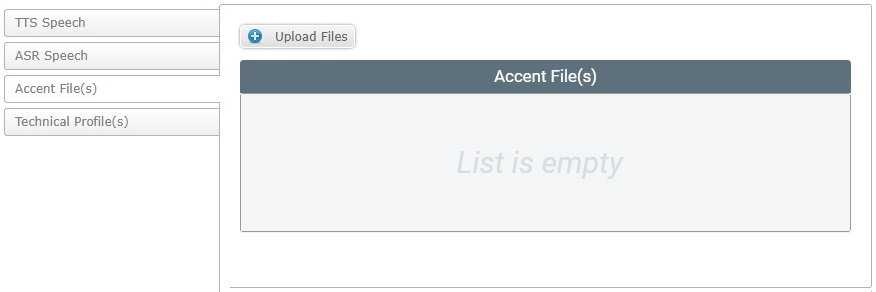
I. Click the "Accent File(s)" side tab to open it.
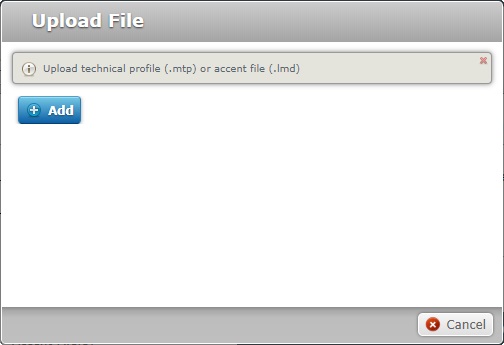
II. Click
III. Click
If, for some reason, you close the OS File Explorer window, you can reopen it with the use of the "Upload File" window (it opens at the same time as the OS File Explorer window, in the background). Click that window's
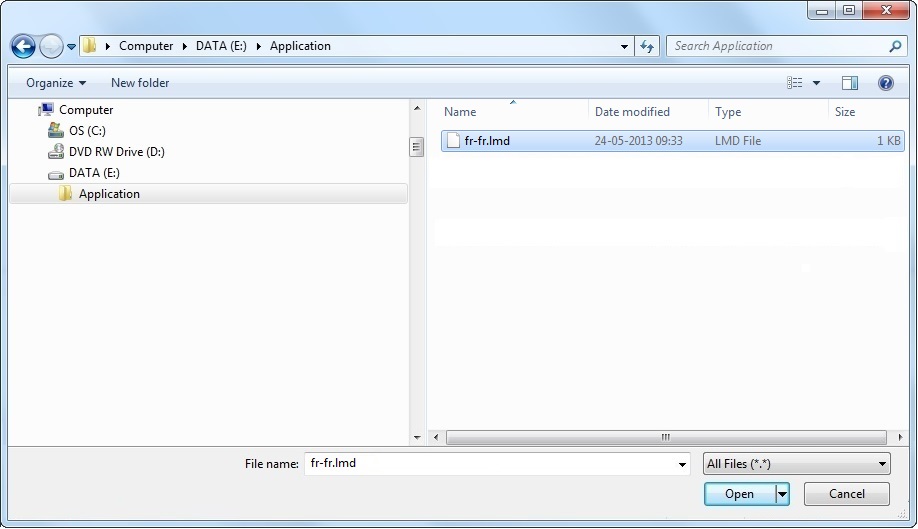
IV. Select the appropriate file (with an .lmd extension) and click
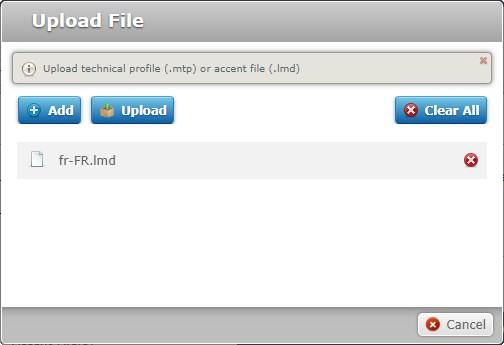
V. If you want to upload more ".lmd" files (accent files), click
If necessary, delete the added files by clicking
VI. Once you are done adding accent files for upload, click
The selected files are displayed in the "Accent File(s)" tab.
VII.You can, at any moment, delete uploaded accent files. To do so, click the corresponding If required, you can download uploaded accent files. To do so, click the corresponding
VIII. Proceed to step 26.
|
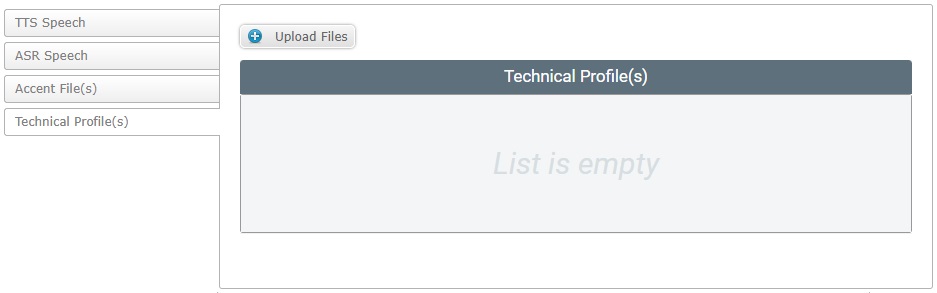
I. Click the "Technical Profiles(s)" side tab to open it.
II. Click
III. Click
If, for some reason, you close the OS File Explorer window, you can reopen it with the use of the "Upload File" window (it opens at the same time as the OS File Explorer window, in the background). Click that window's
IV. Select the appropriate file (with an ".mtp" extension) and click
V. If you want to upload more .mtp files (technical profiles), click
If necessary, click
VI. Once you are done adding technical profiles for upload, click
The selected files are displayed in the "Technical Profile(s)" tab.
VII. You can, at any moment, delete uploaded technical profiles. To do so, click the corresponding If required, you can download uploaded technical profiles. To do so, click the corresponding
VIII. Proceed to step 26.
|
26. Go to the "Network Profiles" tab.
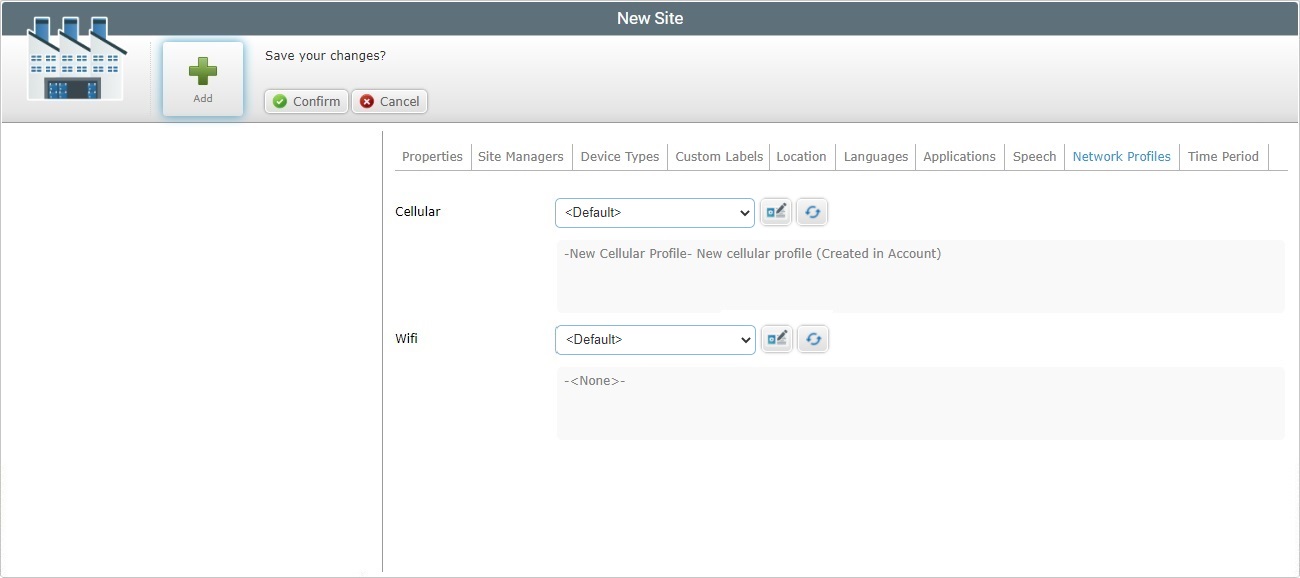
27. Define the required network profiles from the respective drop-down.
Cellular |
Select the desired cellular profile from the drop-down (see Profiles). •"<None>" - there is no cellular network profile defined for the current site. •"<Default>" - the account's default cellular network profile (NOT editable - it is defined in the corresponding tab of the "Account Details" page). •a cellular network profile created in the site's "Profiles" sub-module (included in the "System" module of the "Control Panel"). •a cellular network profile created in the account's "Profiles" sub-module (contained in the "System" module of the "Control Panel").
If required, click If you have selected "<None>" or "<Default>", this button will lead to the general "Profile Management" page.
Use the |
Description box |
Relevant information about the cellular profile (notes added in the profile's details page). |
WiFi |
Select the intended Wifi network profile from the drop-down. •"<None>" - there is no Wifi network profile defined for the current site. •"<Default>" - the account's default Wifi network profile (NOT editable - it is defined in the corresponding tab of the "Account Details" page). •a Wifi network profile created in the site's "Profiles" sub-module (included in the "System" module of the "Control Panel"). •a Wifi network profile created in the account's "Profiles" sub-module (contained in the "System" module of the "Control Panel").
If profile edition is required, click If you have selected "<None>" or "<Default>", this button will lead to the general "Profile Management" page.
Use the |
Description |
Relevant information about the Wifi profile (notes added in the profile's details page). |
![]()
The site will have access to cellular and/or wifi network profiles that were created in the account's "Profiles" module as well as the ones created in its own "Profiles" sub-module. Each network profile created, at account level, can have one of 4 qualifications (Production; Acceptance; Test or Development). The site will only have access to the network profiles that are compatible with its own qualification. (Qualifications are set in the "Properties" tab).
Qualification hierarchy is as follows:
A Production qualified Site can ONLY access/use Production qualified Profiles.
An Acceptance qualified Site can access/use Production and Acceptance qualified Profiles.
A Test qualified Site can use Test, Production and Acceptance qualified Profiles.
A Development qualified Site can use Profiles with all qualifications.
28. Go to the "Time Period" tab.
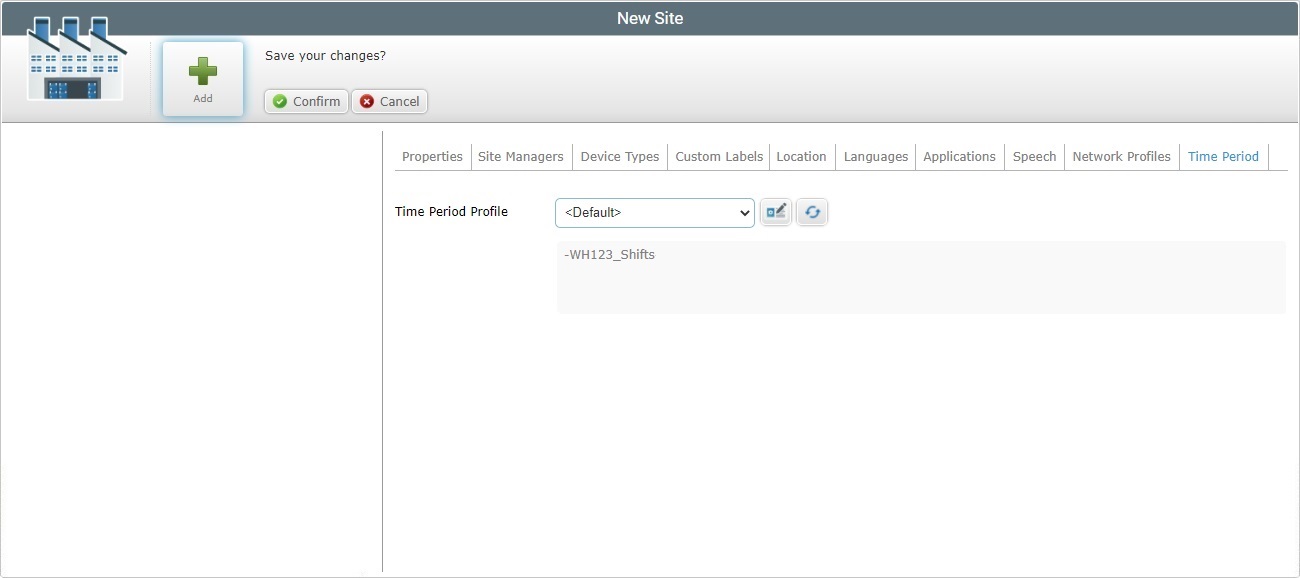
29. Define the required time period profile.
Time Period Profile |
Select the desired time period profile from the drop-down (see Profiles). •"<None>" - there is no time period profile defined for the current site. •"<Default>" - the account's default time period profile (NOT editable - it is defined in the corresponding tab of the "Account Details" page). •a time period profile created in the site's "Profiles" sub-module (included in the "System" module of the "Control Panel"). •a time period profile created in the account's "Profiles" sub-module (contained in the "System" module of the "Control Panel").
If required, click If you have selected "<None>" or "<Default>", this button will lead to the general "Profile Management" page.
Use the |
Description box |
Relevant information about the time period profile (notes added in the profile's details page). |
30. Save your changes (in all tabs) by clicking ![]() .
.
The page is set to view mode and the new site is, now, displayed in the Admin Dashboard's "Site Shortcuts" section.