|
Appending Files to an Application |
  
|
Appending Files to an Application
|
Appending Files to an Application |
|
Overview
At account level, files can be appended to shared applications (available to all sites in the account) as well as applications that are restricted to a site.
An example of an additional file is a user guide, explaining the application's functionality.
Step-by-step
1. To open the "Application Details" page, click the  module, in the Admin Dashboard's "Control Panel" and, then, click the
  sub-module.
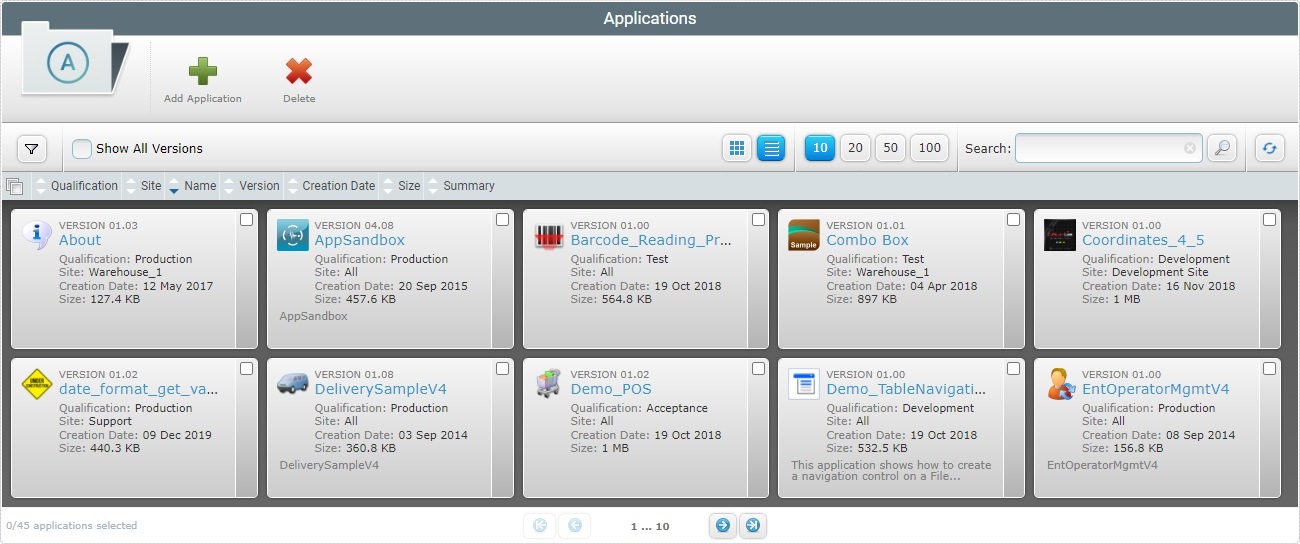
![]() If required, check the
If required, check the ![]() option to ensure the viewing of all application versions. If left unchecked, you only view the latest application version.
option to ensure the viewing of all application versions. If left unchecked, you only view the latest application version.
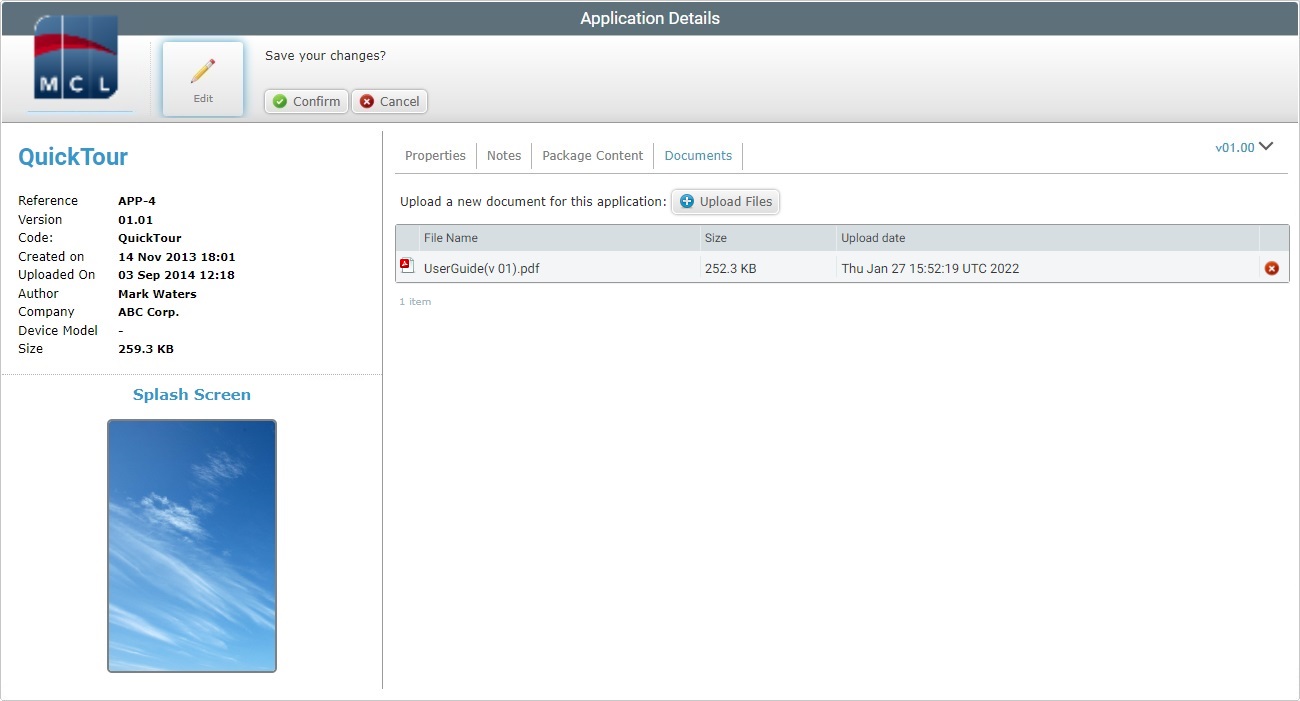
2. Click the name of the application/application version you want to attach files to (displayed in light blue). This opens the corresponding "Application Details" page.
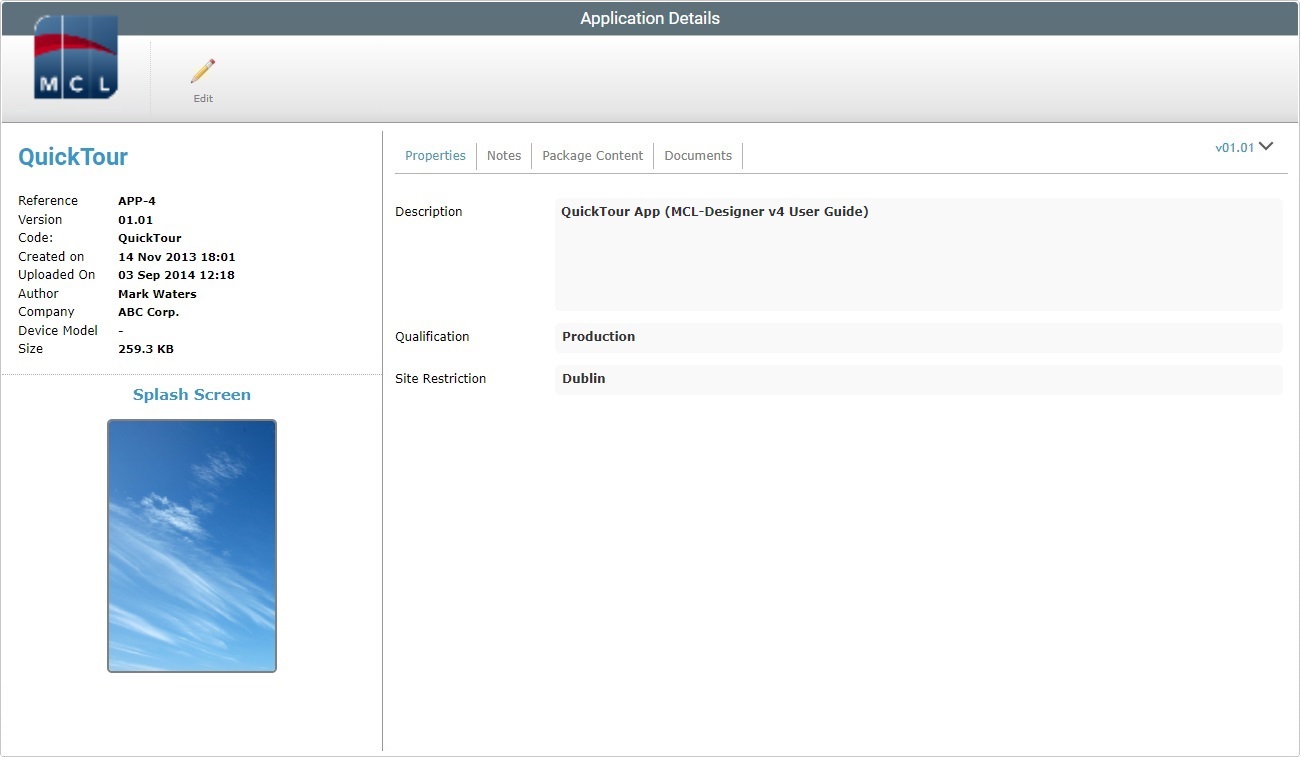
3. Open the "Documents" tab and click ![]() to set the page to edit mode.
to set the page to edit mode.
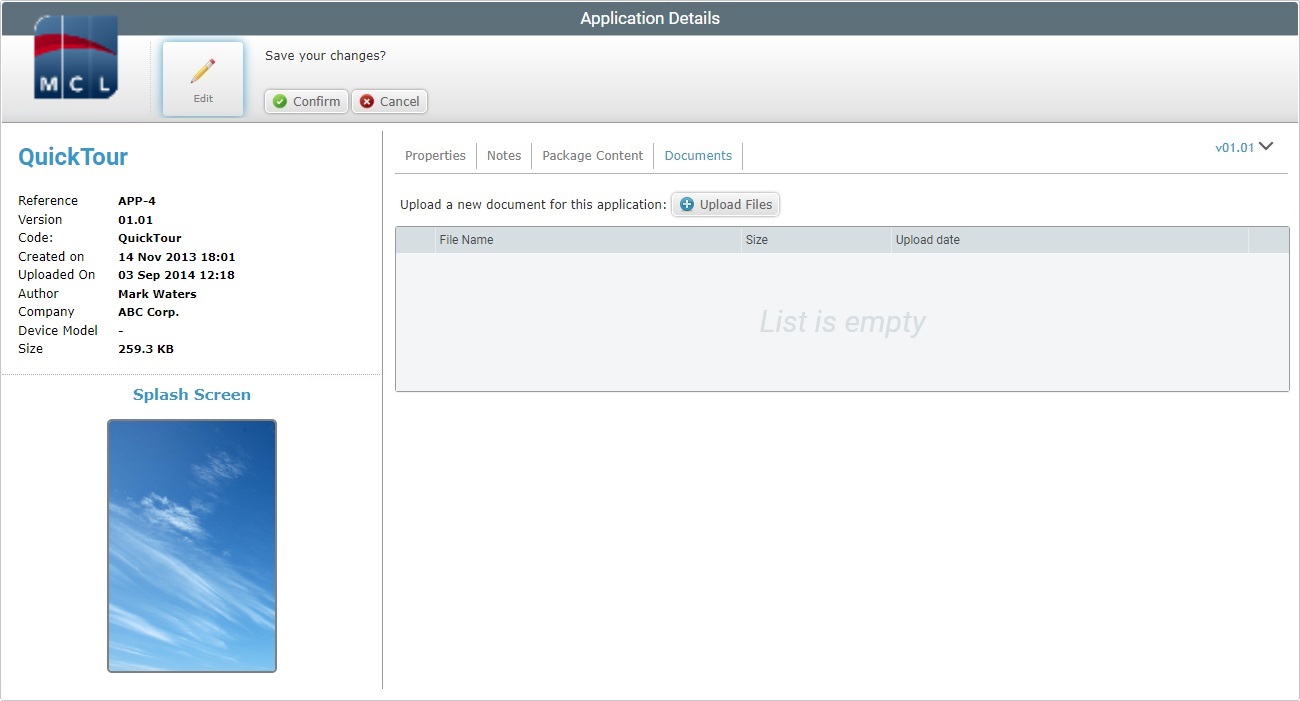
4. Click ![]() and open an OS File Explorer window.
and open an OS File Explorer window.
![]()
If, for some reason, you close the OS File Explorer window, you can reopen it with the use of the "Upload file" window (it opens at the same time as the OS File Explorer window, in the background):
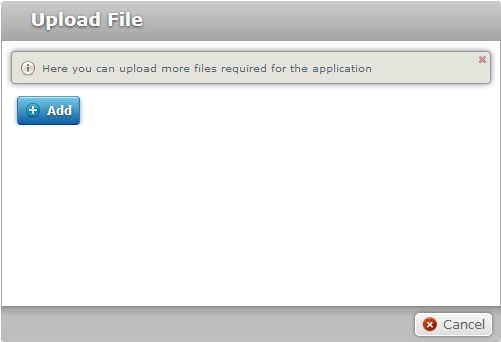
a. Click ![]() to open the OS File Explorer again.
to open the OS File Explorer again.
b. Proceed to step 5.
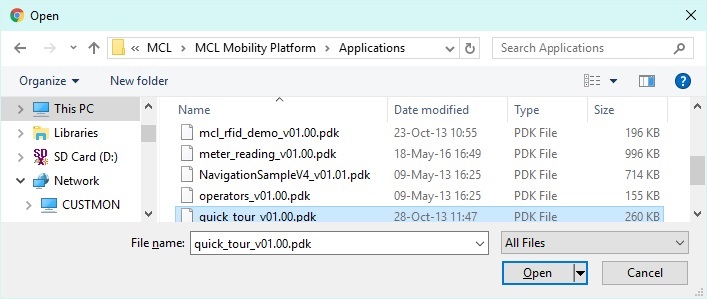
5. Use one of the following to define the file(s) you want to upload:
a. Select the required file and click ![]() .
.
OR
b. Double-click the intended file.
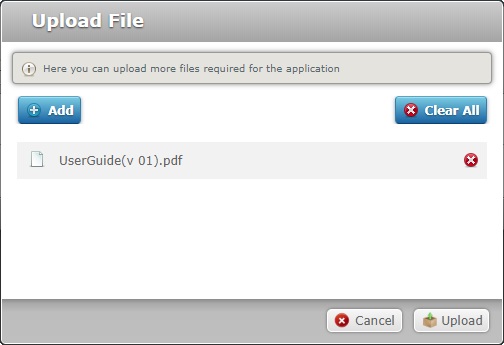
You have to add files, one by one. If you want to add more files, click ![]() and repeat step 5.
and repeat step 5.
If necessary, you can delete added files. To delete one file, click the corresponding ![]() . To delete all added files, click
. To delete all added files, click ![]() .
.
6. Once you have all the required files displayed in the "Upload File" window, click ![]() .
.
7. Conclude the "Upload Files" operation by clicking ![]() .
.
![]() When the "Application Details"page is in edit mode, you can use the
When the "Application Details"page is in edit mode, you can use the ![]() option of the file you want to delete to remove it from the application.
option of the file you want to delete to remove it from the application.