|
Editing an Application |
  
|
Editing an Application
|
Editing an Application |
|
Overview
The features of an application are NOT editable but it is possible to edit some details concerning an application and to append files to it (see Appending Files to an Application).
Even though an application is a shared element by all sites (meaning, all the sites that have a compatible qualification with the application's own qualification), it is possible to restrict access to the application and only make it available to one site.
![]() Changing an application's qualification can remove the restriction and make the application available to all qualification compatible sites again.
Changing an application's qualification can remove the restriction and make the application available to all qualification compatible sites again.
Ex: If Application A (qualified as "Test") is restricted to "Test" Site Alpha and the account administrator changes its qualification to "Production", Application A will no longer be restricted to Site Alpha because the qualification of both entities is not compatible. The application will be available to the sites qualified as "Production". See Qualification.
Step-by-step
1. To open the "Application Details" page, click the  module (in the Admin Dashboard's "Control Panel") and, then, select the
  sub-module.
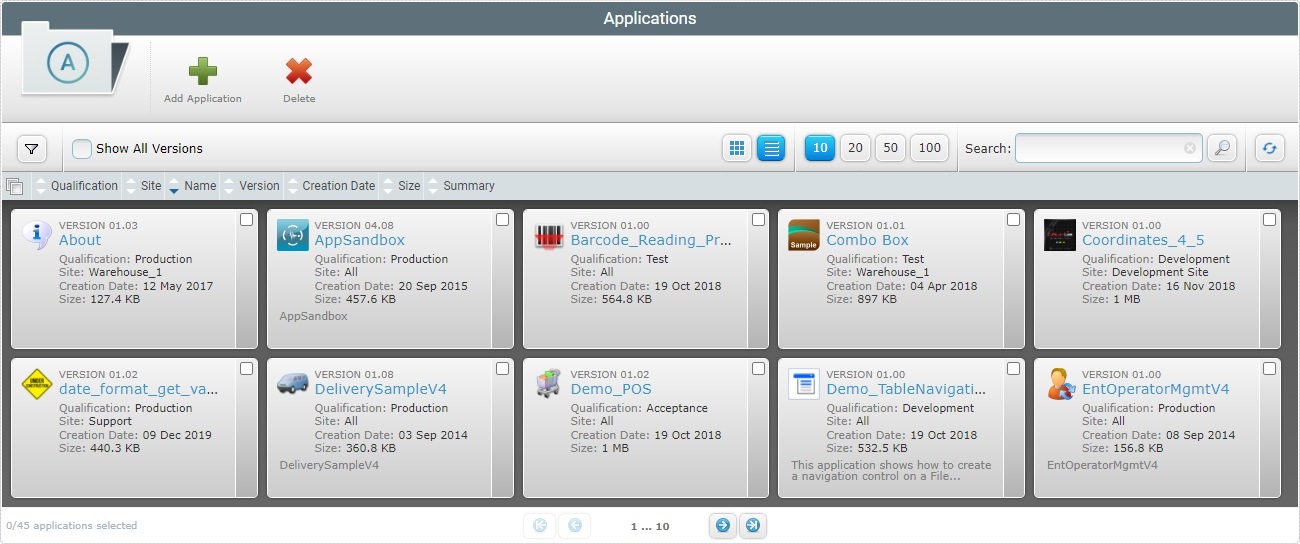
2. Click the name (displayed in light blue) of the application version you want to edit.
![]() If required, check the
If required, check the ![]() option to ensure the viewing of all application versions. If left unchecked, you only view the latest application version.
option to ensure the viewing of all application versions. If left unchecked, you only view the latest application version.
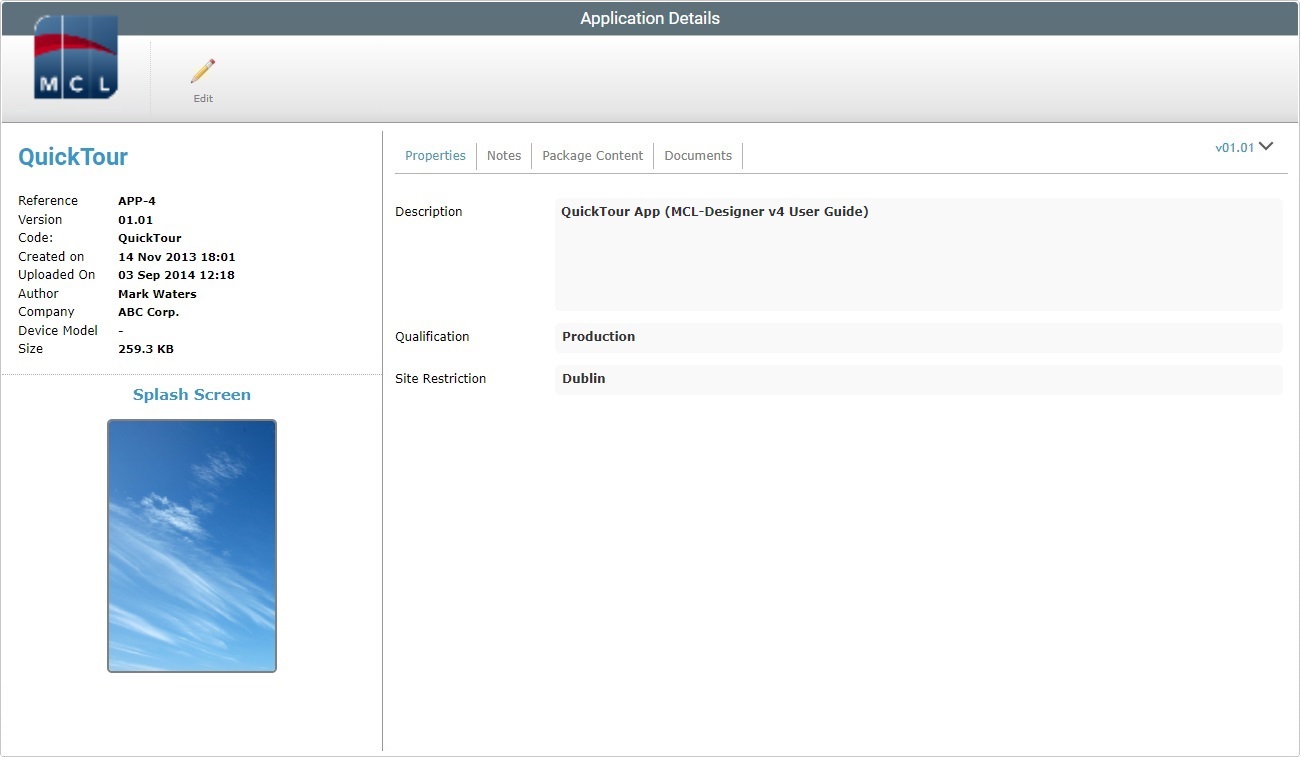
3. Click ![]() to set the page to edit mode.
to set the page to edit mode.
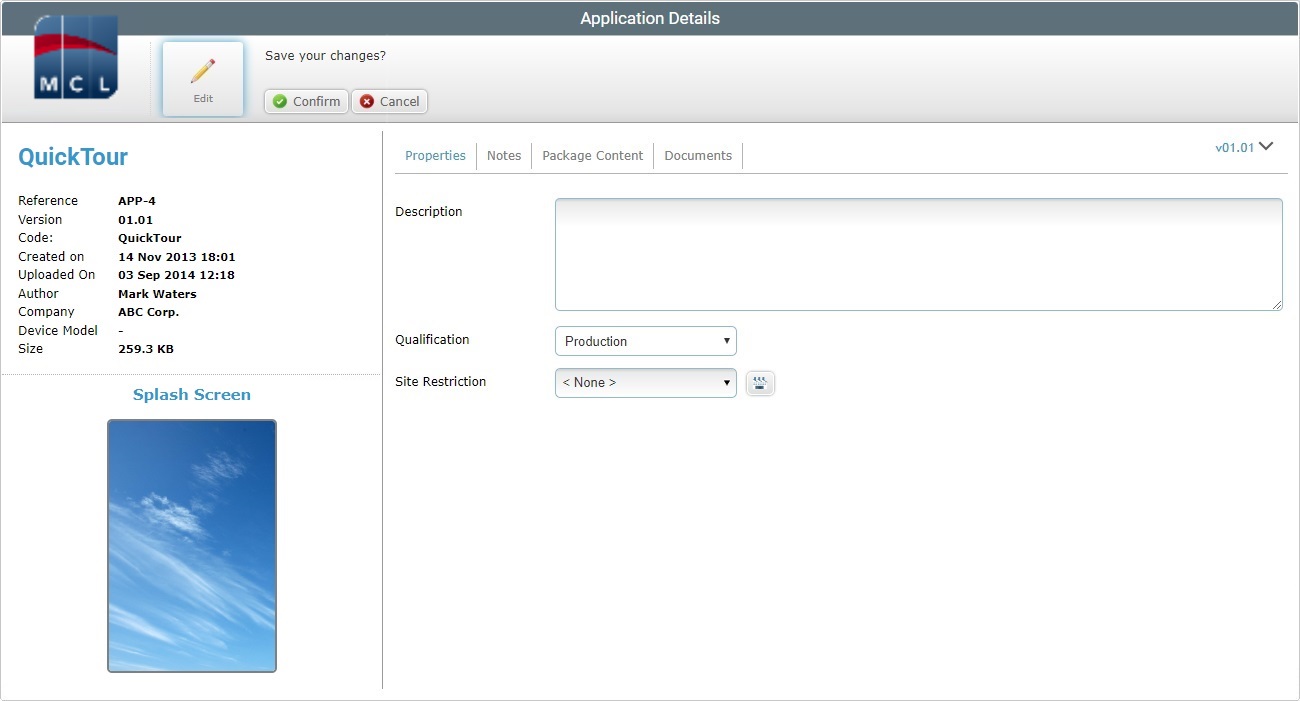
4. The "Properties" tab (open by default) allows you to edit the following fields:
Description |
Maintain or edit the application's information. |
Qualification |
If required, change the application's qualification from the drop-down list.
•A "Production" application can be used in all configurations regardless of their qualification. •An "Acceptance" application can be used in "Acceptance", Test" and "Development" qualified configurations. •A "Test" qualified application can be included in "Test" and "Development" configurations. •Applications with a "Development" qualification can be ONLY be used in "Development" configurations.
If the new qualification is NOT compatible with the site's qualification, the site will NO longer have access to it. If the edited application is a restricted one, the restriction is automatically annulled. |
Site Restriction |
If required, change the site restriction: a. Select "<None>" from the drop-down, if the application is to be available to all the qualification compatible sites OR select one of the available sites in the list.
b. Click For more details, see Details on the "Single Site Selection" window. |
5. Go to the "Notes" tab.

6. Maintain, add or edit the information about the application.
7. There is no editable information in the "Package Content" tab, so proceed to the "Documents" tab.
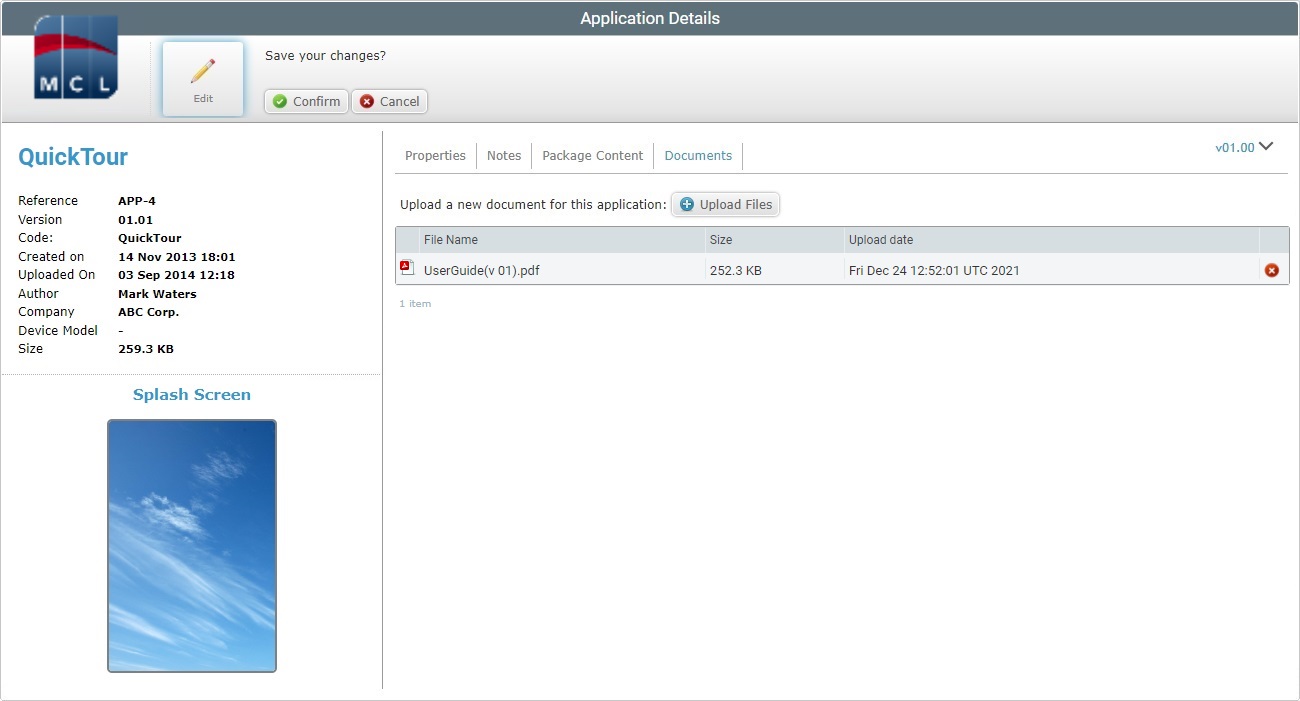
8. Use the ![]() option to append the necessary files to the application. For more detailed information, see Appending Files to an Application.
option to append the necessary files to the application. For more detailed information, see Appending Files to an Application.
9. If required, remove the added file(s) from the application:
a. Click the corresponding ![]() of the file you want removed.
of the file you want removed.
b. Confirm the operation in the delete confirmation window.
c. Proceed to step 11.
10. Once you have edited the required fields, click ![]() to apply the modifications.
to apply the modifications.
11. If necessary, download the added file(s) (this is ONLY available, if the page is set to view mode):
a. Click the ![]() of the file you want to download.
of the file you want to download.
b. In the opened browser's page (if the file is a PDF file) or in the "Save as" OS window (for other file types), use the available Download/Save option to download and save the file.