|
Adding an Application |
  
|
Adding an Application
|
Adding an Application |
|
Overview
Applications are, by default, shared by the account, meaning, they are available to all sites included in the account.
However, if necessary, it is possible to restrict an application to a specific site - this is handled by the account administrator, at account level (Admin Dashboard > "Control Panel" > "Account" module > "Sites" sub-module > "Site Management" page > selected site's "Site Details" page on edit mode > "Properties" tab).
It is also possible to append files to an application.
These actions can be performed when you are adding an application to the account or later on (so long as the application has not already been included in a configuration or deployment).
See Editing an Application and Appending Files to an Application.
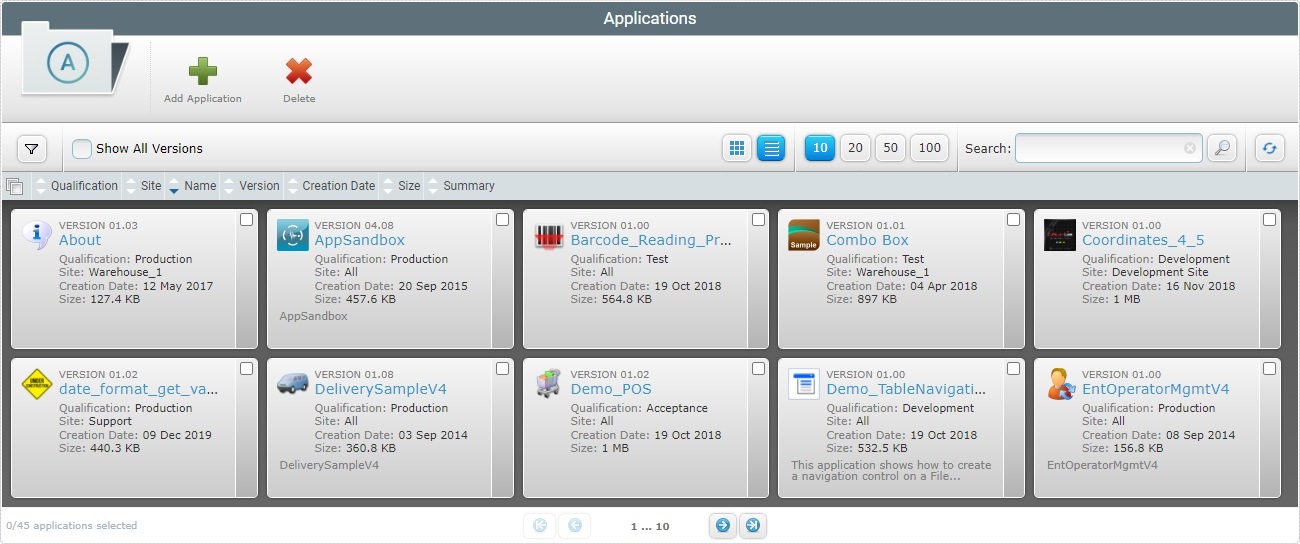
Applications are added to your MCL-Mobility Platform account, one at a time.
Step-by-step
1. In the Admin Dashboard's "Control Panel", click the  module and, then, the
  sub-module to open the "Applications" page.
2. Click ![]() to open an OS File Explorer window.
to open an OS File Explorer window.
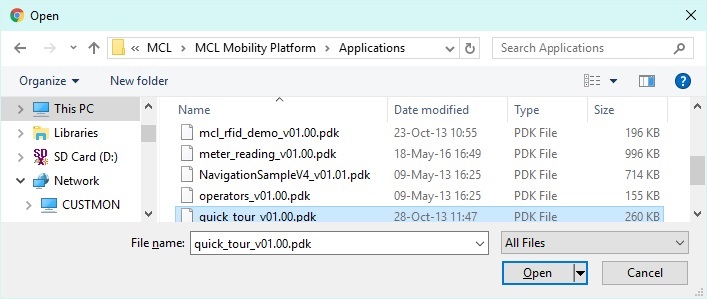
![]() If, for some reason, you close the OS File Explorer window, you can reopen it with the use of the "Add Application" window (it opens at the same time as the OS File Explorer window, in the background):
If, for some reason, you close the OS File Explorer window, you can reopen it with the use of the "Add Application" window (it opens at the same time as the OS File Explorer window, in the background):
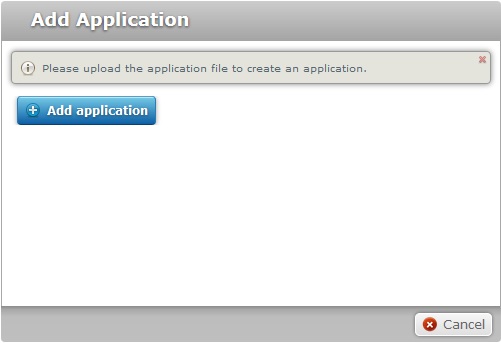
a. Click ![]() to open the OS File Explorer window again.
to open the OS File Explorer window again.
b. Proceed to step 3.
3. Use one of the following to define the application you want to upload:
a. Select the required application and click ![]() .
.
OR
b. Double-click the intended application.
![]()
The selected file must have a .pdk extension.
![]() Make sure you do not already have an application with the same name and version as the application you want to upload.
Make sure you do not already have an application with the same name and version as the application you want to upload.
4. The application is uploaded automatically and opens a "New Application" page in the "Properties" tab.
If you get an error message, check Possible Error Message(s).
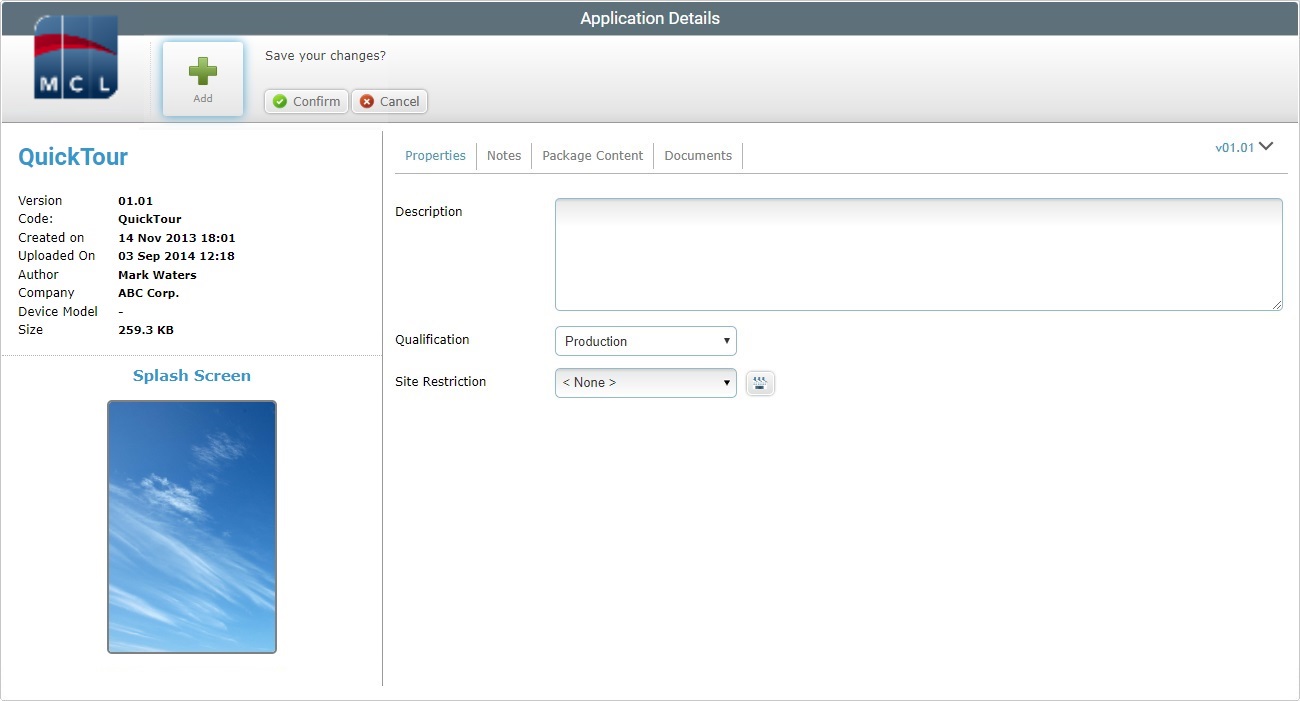
5. Edit the available fields. The only editable fields in this tab are the following:
Description |
The application's description. |
Qualification |
Select the application's qualification from the drop-down list (see Qualification): •"Production" - for tested/complete application versions that are used in the customer's working environment, for day-to-day tasks. •"Acceptance" - for application versions that mimic the customer's operational needs but are still used for specific testing. •"Test" - for application versions that are used in more general tests. •"Development" - for applications that are still being developed (with MCL-Designer).
•A "Production" application can be used in all configurations regardless of their qualification. •An "Acceptance" application can be used in "Acceptance", Test" and "Development" qualified configurations. •A "Test" qualified application can be included in "Test" and "Development" configurations. •Applications with a "Development" qualification can be ONLY be used in "Development" configurations. |
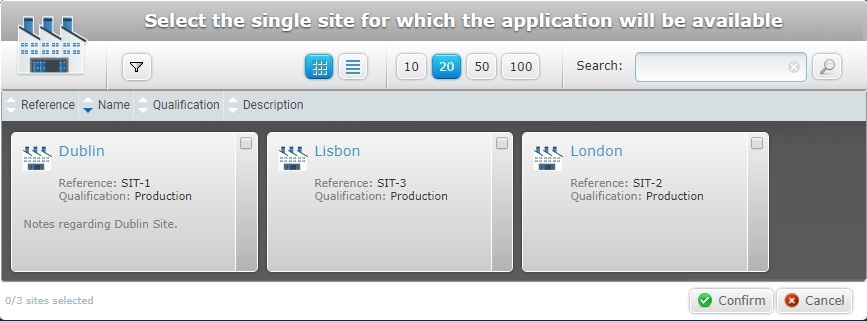
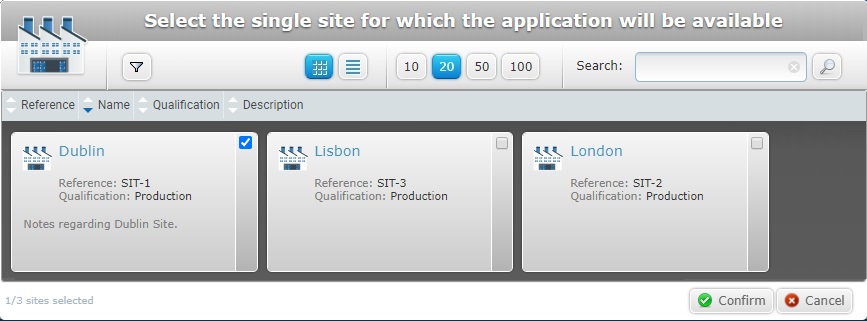
Site Restriction |
If you want the application's use to be restricted to a specific site, select the intended site from the drop-down list or click See Details on the "Single Site Selection" window below. |
![]() Click Here for Details on the "Single Site Selection" window
Click Here for Details on the "Single Site Selection" window
a. Click
b. If required, use the
d. Check the desired site.
e. Click
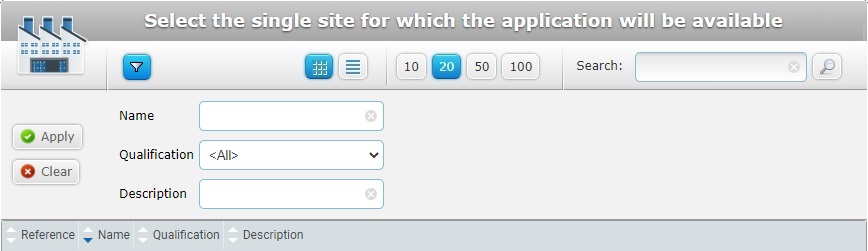
Use the following options to control the display of listed items: •Select the most appropriate view by either clicking
•Define how many items are displayed, at a time, by clicking one of the buttons
• Click it to access the "Name", "Qualification" and "Description" filters and select/enter the necessary data to restrict the available list. Use the Click
•
I. Enter the name or reference of the site you are searching for. II. Click III. End the search operation by emptying the search box and clicking
|
6. Proceed to the "Notes" tab.
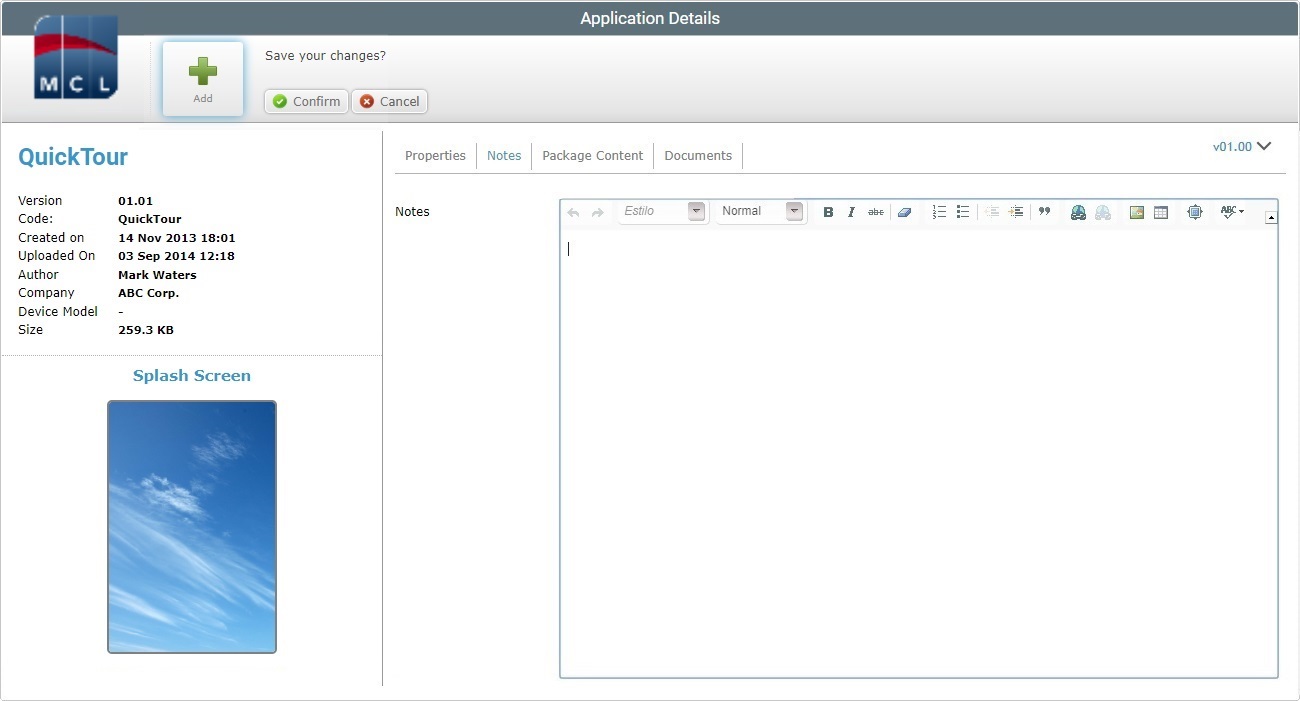
7. If required, write any notes regarding the application (ex: usage, etc).
8. Go to the "Package Content" tab to check the application's files.
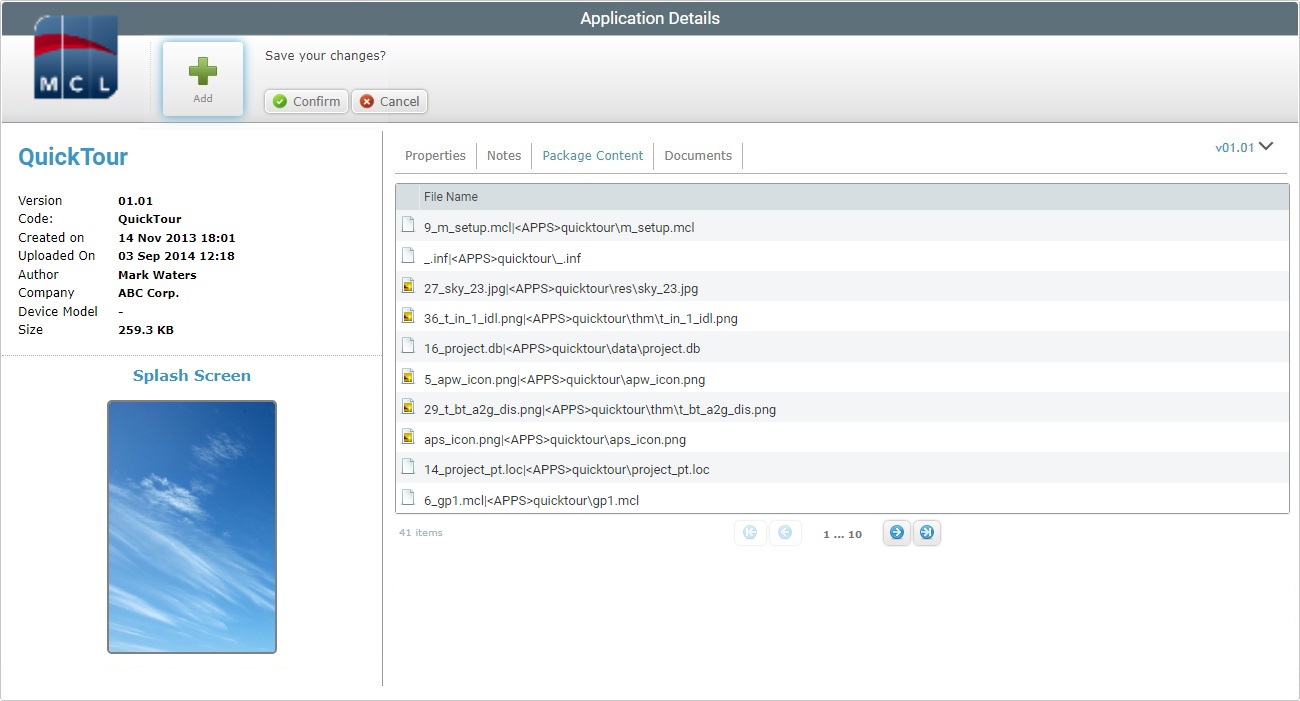
This tab is NOT editable.
9. Proceed to the "Documents" tab.
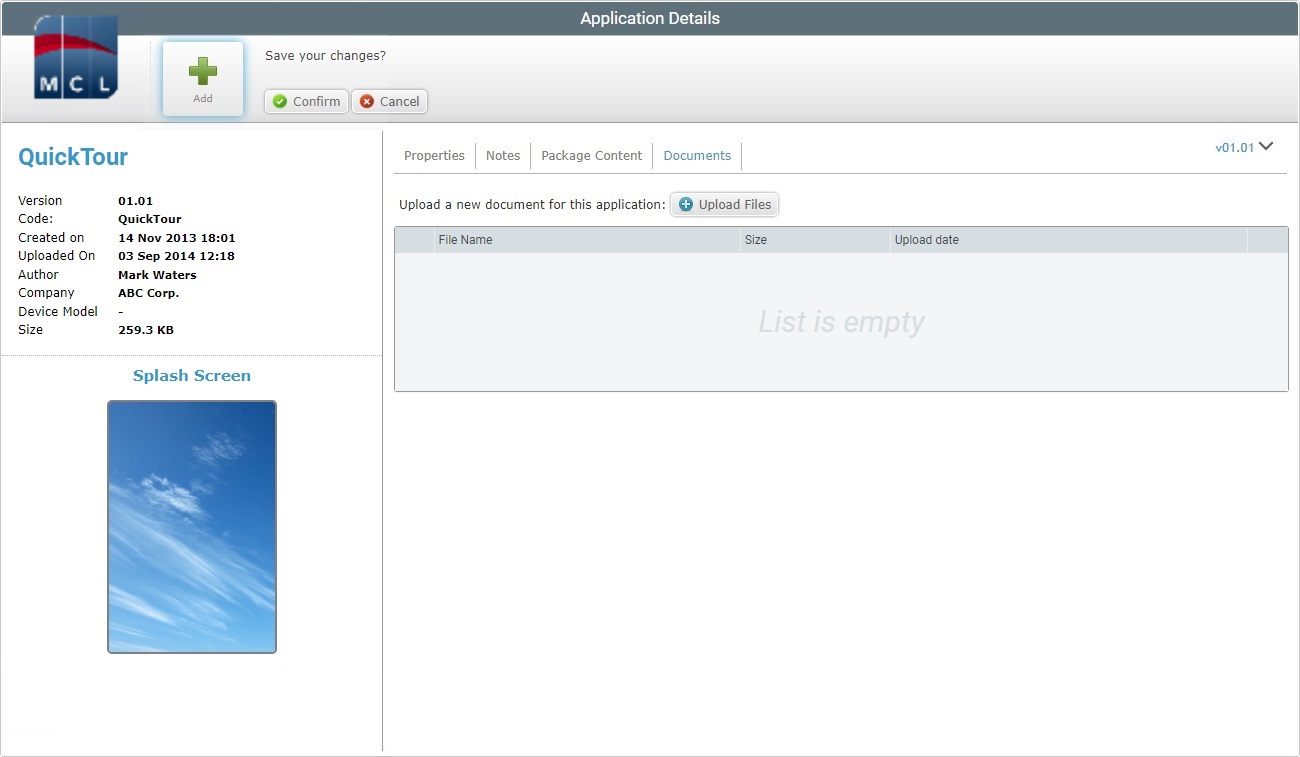
10. If required, attach files to the newly uploaded application (ex: user guide). Click ![]() to upload the appropriate additional files. See Appending Files to an Application.
to upload the appropriate additional files. See Appending Files to an Application.
11. Conclude the application upload by clicking ![]() .
.
![]()
![]()
Occurrence: When defining the application to be uploaded.
Cause: The account already includes an application with the same name and version as the application being uploaded.
Action: Change the name of the application being uploaded OR delete the application already in the account. Then, repeat the application selection and upload.
![]()
Occurrence: When defining the application to be uploaded.
Cause: All uploaded applications must have a .pdk extension and your selection has a a different extension.
Action: Select a file with a .pdk extension and repeat the upload.