|
Changing a Counter's Status |
  
|
Changing a Counter's Status
|
Changing a Counter's Status |
|
Overview
A counter either has an "Enabled" or a "Disabled" status.
If you disable a counter and that counter is being used as data source for a dashboard, the dashboard will not refresh its displayed data.
Alter a Counter's Status ("Counter Management" Page)
Step-by-step
1. Access the "Counter Management page" (Admin Dashboard > Control Panel > Business Analytics module > Counters sub-module > Counter Management page).
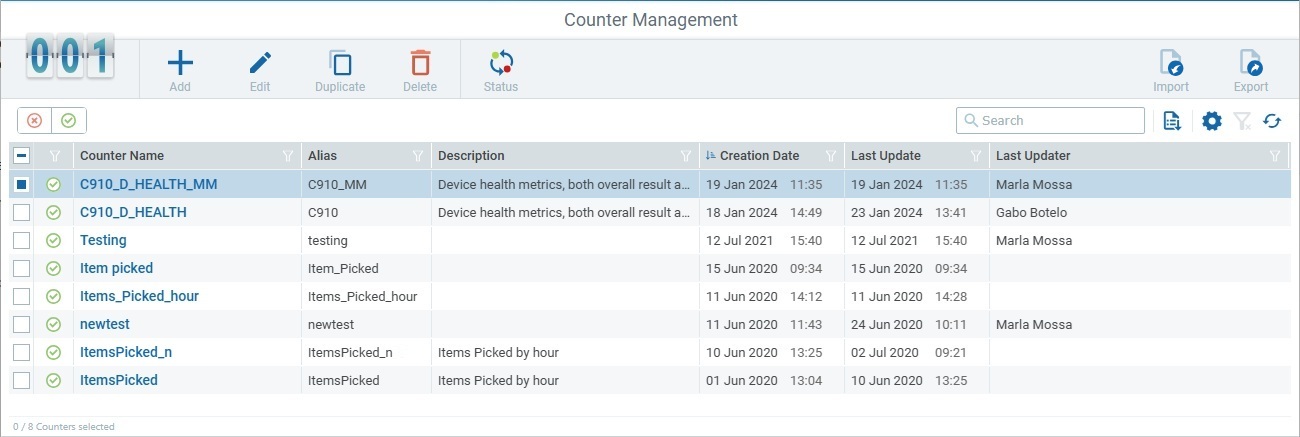
2. Select the counter(s) for the status change and click ![]() .
.
In case of multiple selection, make sure the selected development stations have the same status, otherwise the button will NOT be available.
3. Check the opposite status and confirm the operation in the resulting pop-up window to conclude.
Alter a Counter's Status ("Counter Details" Page)
Step-by-step
1. Access the intended counter's details page (Admin Dashboard > Control Panel > Business Analytics module > Counters sub-module > Counter Management page > < click counter > >Counter Details page).
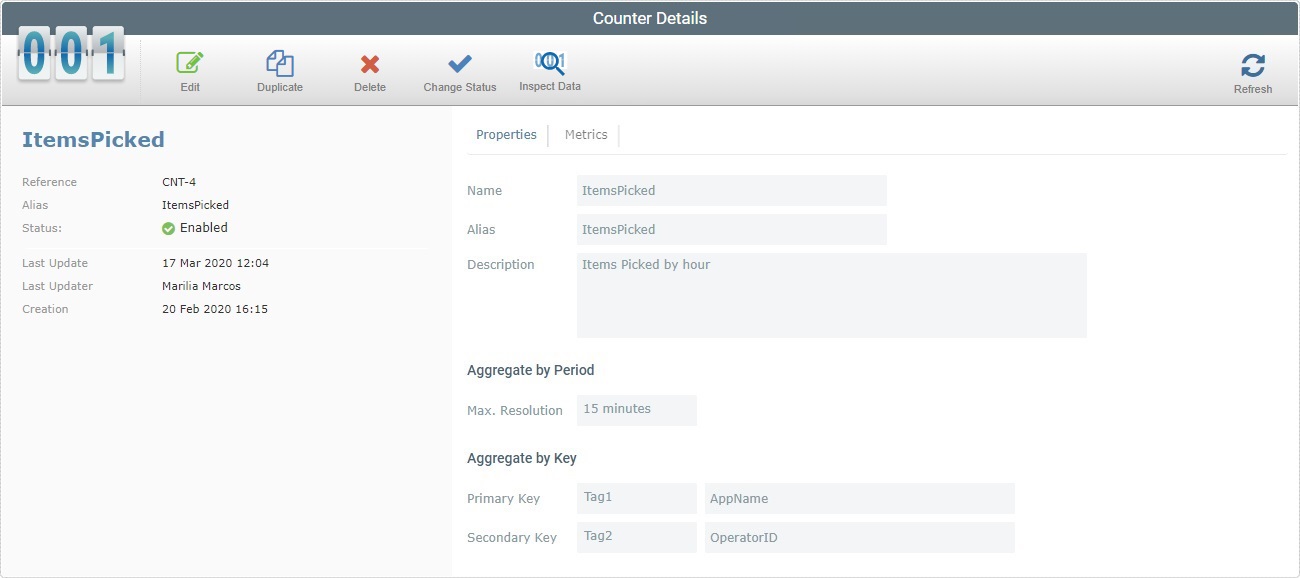
2. Click ![]() and, in the ensuing pop-up window, check the opposite status and confirm the operation to conclude.
and, in the ensuing pop-up window, check the opposite status and confirm the operation to conclude.