|
Changing a Server's Status |
  
|
Changing a Server's Status
|
Changing a Server's Status |
|
Overview
A server either has an "Enabled" or a "Disabled" status. When a server is disabled, its license is freed the next time the paired MCL-Net v4 tries to renew its license.
![]() If you apply a "disabled" status to a server, the communication flow between server and the devices, that are associated to that server, will be interrupted. Operationally speaking, even though a server is "disabled", it will still communicate with the account to check for status changes. It simply will not perform any tasks.
If you apply a "disabled" status to a server, the communication flow between server and the devices, that are associated to that server, will be interrupted. Operationally speaking, even though a server is "disabled", it will still communicate with the account to check for status changes. It simply will not perform any tasks.
Step-by-step
1. In the Admin Dashboard's "Control Panel", click  , and, in the resulting row, click
  to open a "Server Management" page with the existing servers in the account.
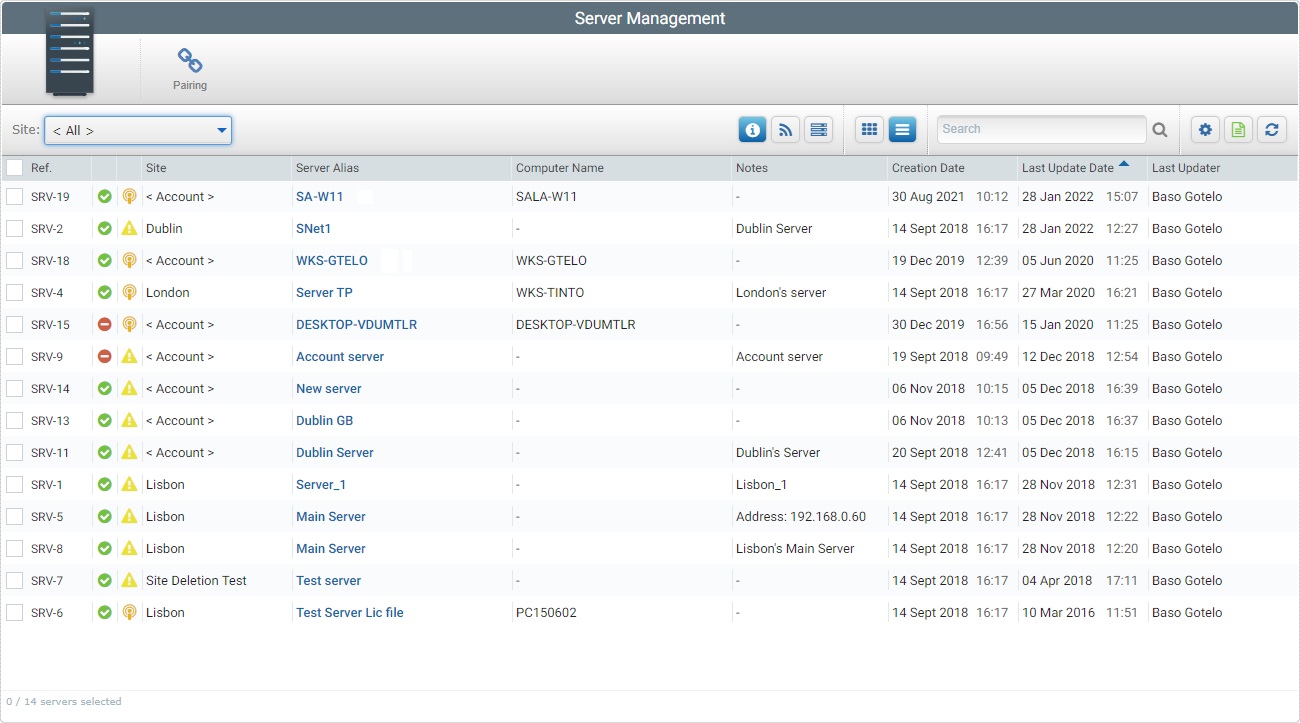
2. Select the server you want to view by clicking its alias (displayed in light blue). This opens the corresponding "Server Details" page.
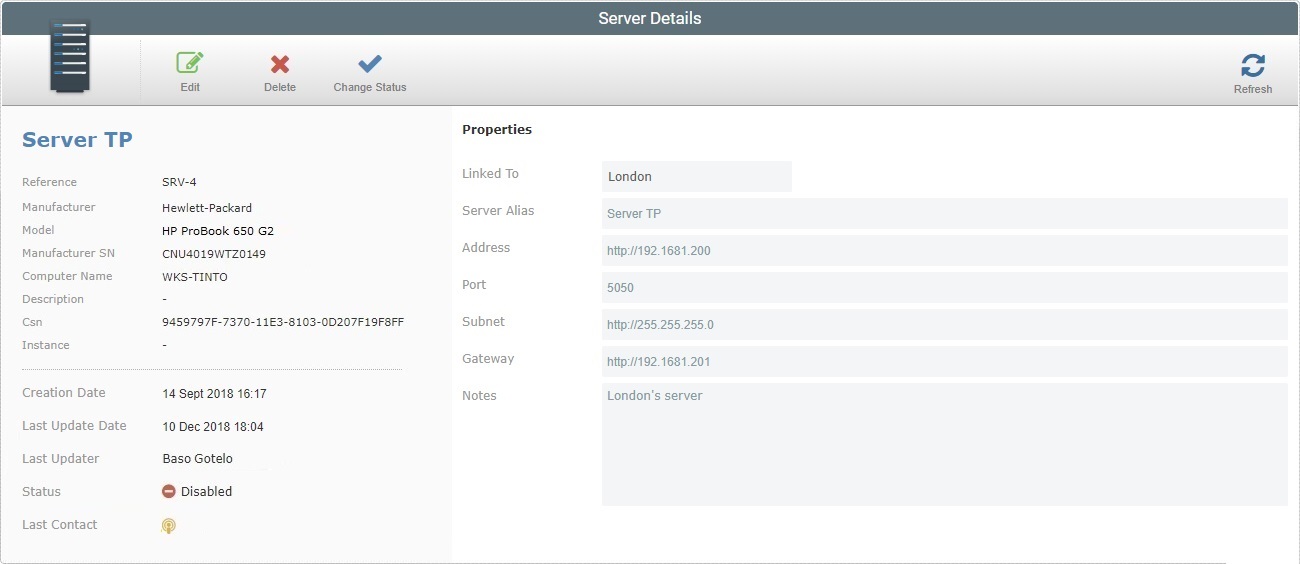
3. Click ![]() .
.
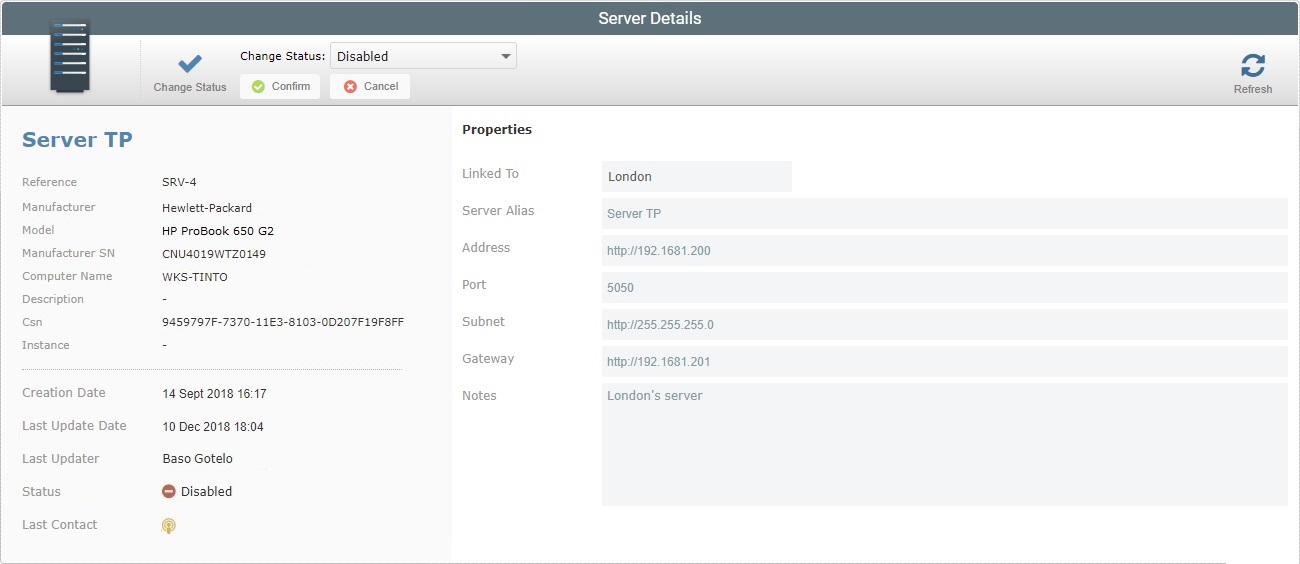
4. Select the required status from the ![]() drop-down list.
drop-down list.
5. Click ![]() to conclude the operation.
to conclude the operation.
The new status is displayed in the "Status" field to the left of the "Server Details" page.