|
Editing Server Details |
  
|
Editing Server Details
|
Editing Server Details |
|
Overview
The details displayed in the "Properties" tab of the "Server Details" page are editable. It is also possible to change the server's current status. A server either has an "Enabled" or a "Disabled" status.
Step-by-step
1. In the Admin Dashboard's "Control Panel", click  , and, in the resulting row, click
  . This opens a "Server Management" page with the existing servers in the account.
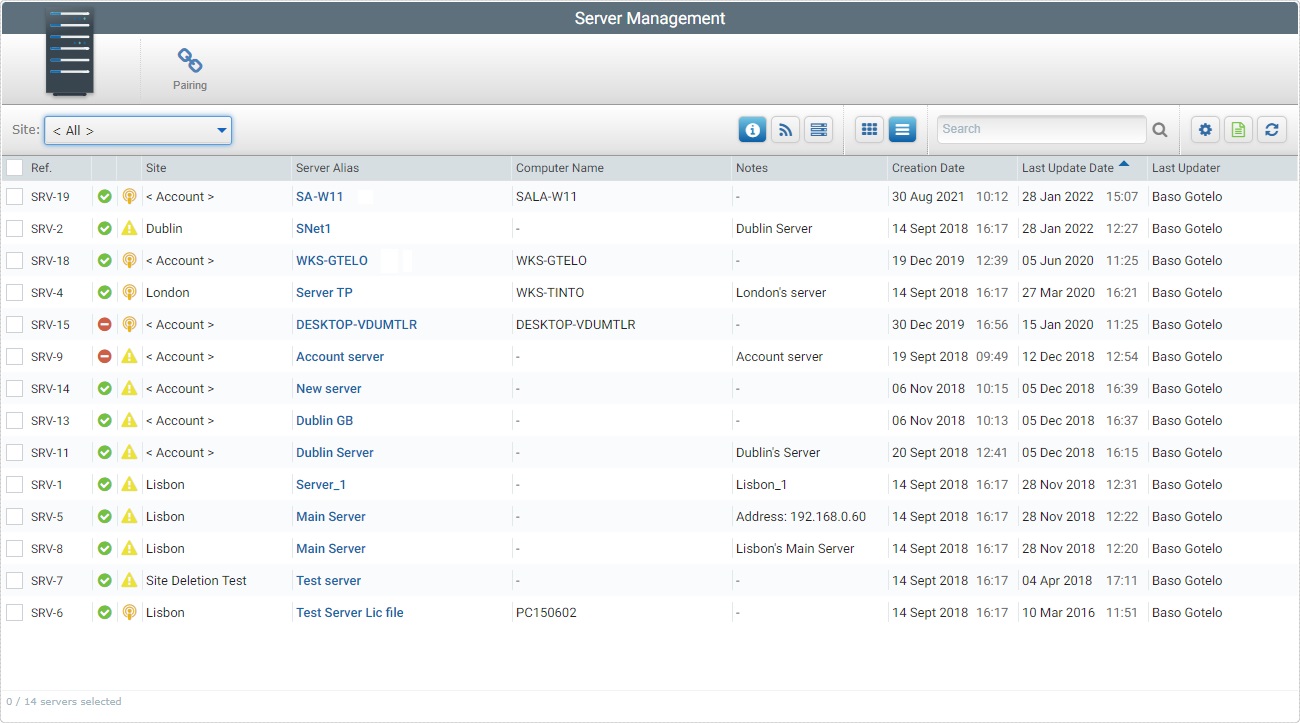
2. Select the server you want to view by clicking its alias (displayed in light blue). This opens the corresponding "Server Details" page.
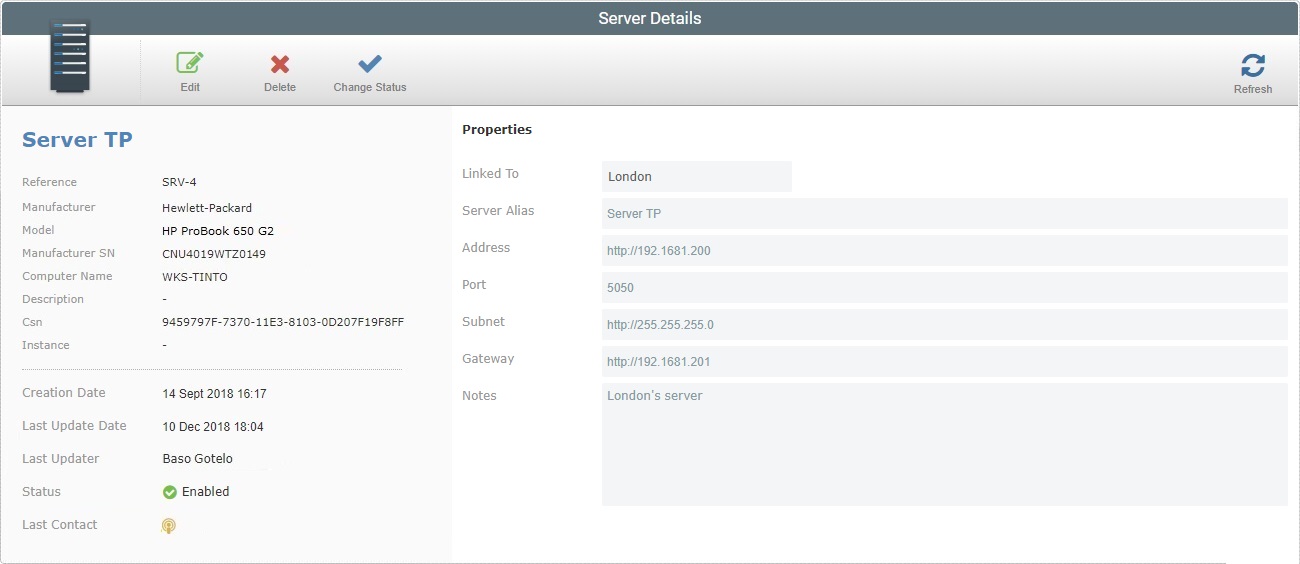
3. Click ![]() to set the page to edit mode.
to set the page to edit mode.
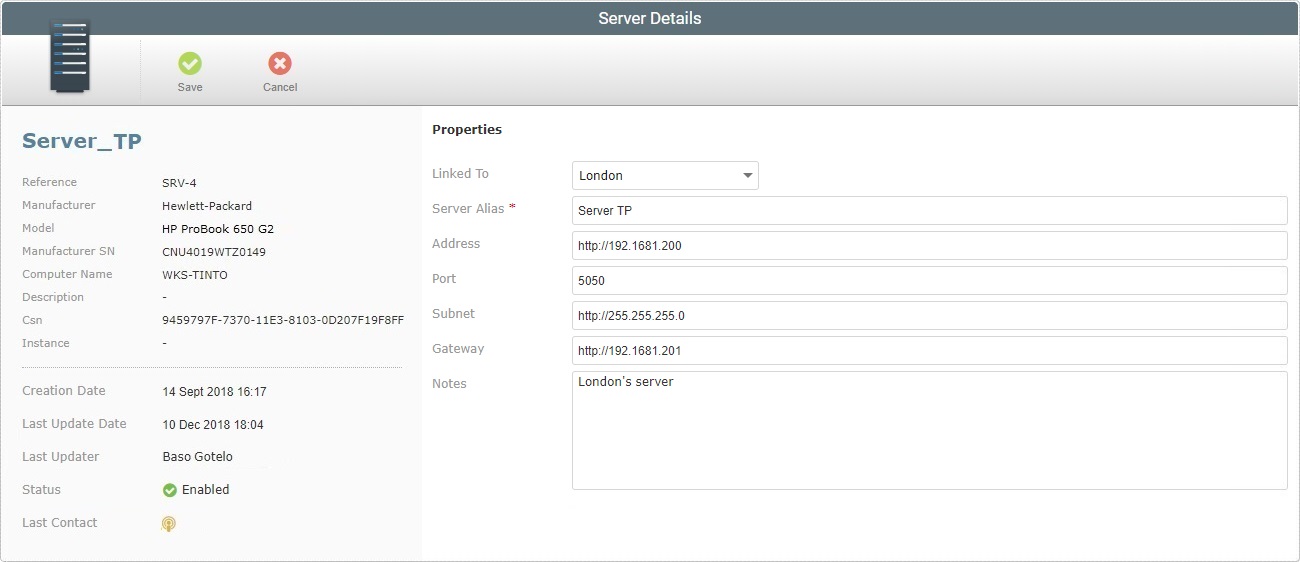
4. Make the necessary modifications in the following fields:
Linked to |
Maintain or enter a different site. |
Server Alias * |
Maintain or enter a different alias.
The underscore and/or dash characters are allowed. Start the server's alias with an alphabetic character. |
Address |
Maintain or enter a new server address (if it is an MCL-Net server, enter "http:// + IP number"). |
Port |
Maintain or enter a different port. |
Subnet |
Maintain or enter a different subnet mask. |
Gateway |
Maintain or enter a new gateway. |
Notes |
Maintain or edit the entered information. |
5. Once you have edited the required fields, click ![]() to apply the modifications or
to apply the modifications or ![]() to abort.
to abort.