|
Exporting/Importing Counters |
  
|
Exporting/Importing Counters
|
Exporting/Importing Counters |
|
Overview
A Counter can be exported from an MCL-Mobility Platform account and imported into another one.
When exporting/importing a counter, ONLY its structure is exported/imported.
Step-by-step
1. Access the "Counter Management page" (Admin Dashboard > Control Panel > Business Analytics module > Counters sub-module > Counter Management page).
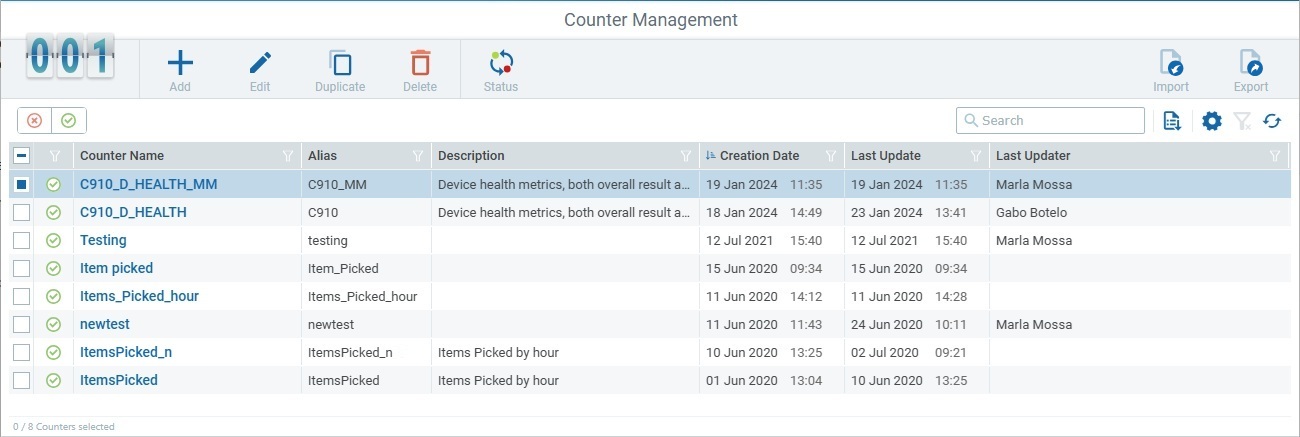
2. Select the counter to be exported and click ![]() .
.
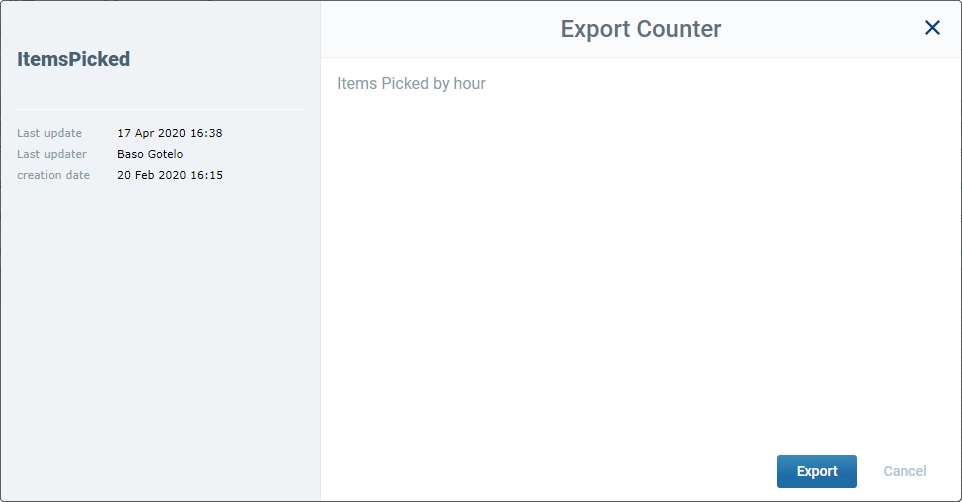
3. Confirm the export operation.
4. An "MP_<counter name>.counter" file is, automatically, generated (ex. "MP_C910_D_HEALTH_MM.counter"). Save it to your PC.
Step-by-step
1. Access the "Counter Management page" (Admin Dashboard > Control Panel > Business Analytics module > Counters sub-module > Counter Management page).
2. Click ![]() and, in the resulting pop-up window, add the counter file to be imported.
and, in the resulting pop-up window, add the counter file to be imported.
Browse for the file in your PC or drag it into the pop-up window.
File format: "MP_<counter name>.counter"
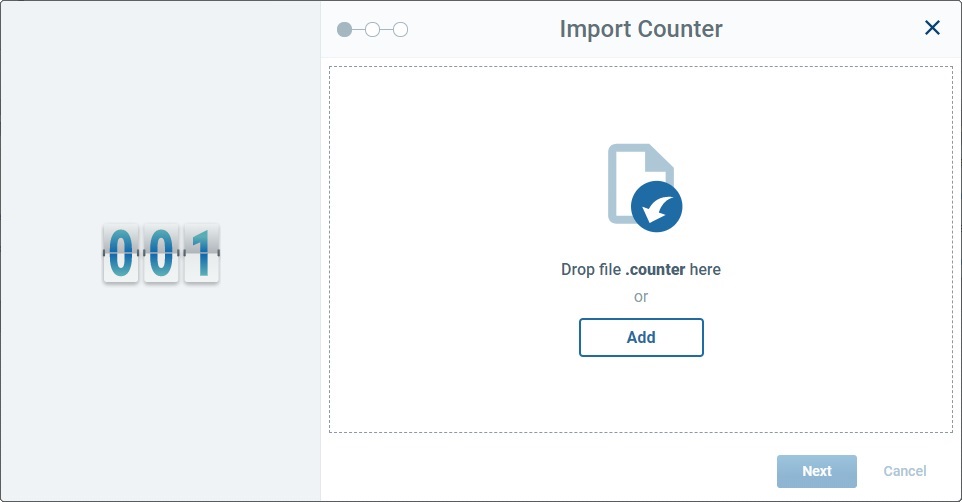
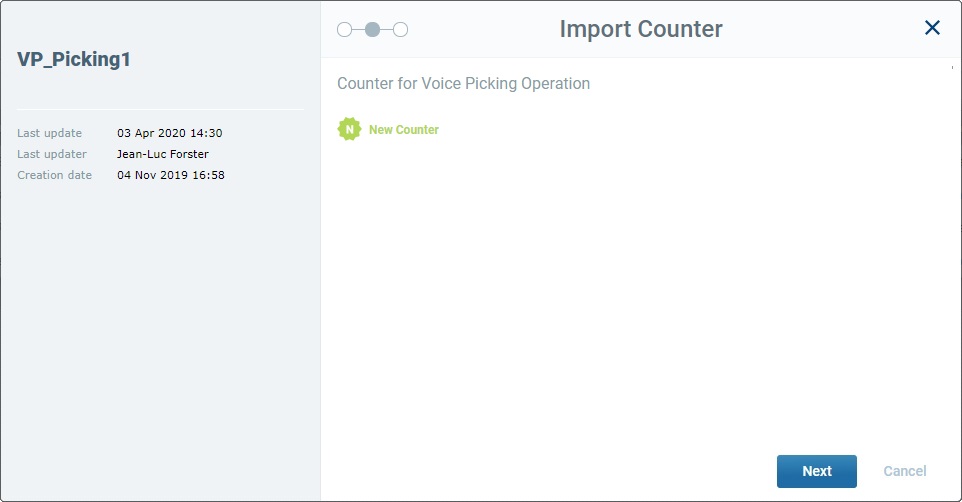
3. Wait for the file to upload and proceed.
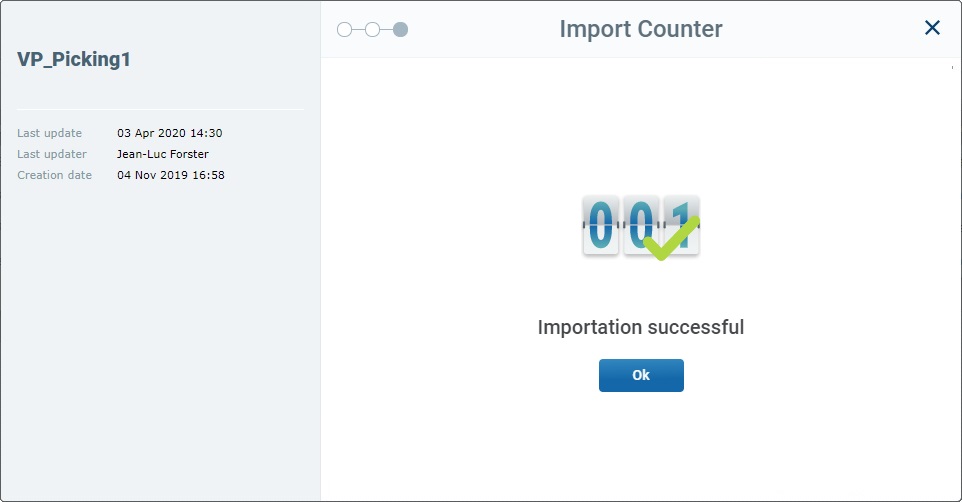
4. Conclude the Import operation.
![]() When importing a counter (internal or from another account), all the counter links must be checked, in case they need to be edited/created, to avoid broken links.
When importing a counter (internal or from another account), all the counter links must be checked, in case they need to be edited/created, to avoid broken links.