|
Transfering an MCL-Net v4 License |
  
|
Transfering an MCL-Net v4 License
|
Transfering an MCL-Net v4 License |
|
Overview
There are two MCL license products available - a "standard" MCL-Net license (MCL-Net Std) and a "professional" MCL-Net license (MCL-Net Pro), each with its own services.
An MCL-Net Pro license with a currently enabled MCL Support Service provides the additional service of license replacement.
For instance, if the PC/server you have installed/activated an MCL-Net Pro license (with an active MCL Support Service) malfunctions, you can transfer the license to another PC/server.
An MCL-Net Pro license replacement requires:
•the canceling of the MCL-Net Pro license in your MCL-License Manager account (to disassociate the license from the PC/server it was installed in).
•the reactivation of the MCL-Net Pro license (to install/activate the license in another PC/server).
![]()
License Transfer is NOT a perpetual service. It is ONLY available for MCL-Net Pro licenses with an active MCL Support Service and for a limited number of times.
![]() License Transfer is NOT included in the MCL Support Service for MCL-Net Std licenses but, if necessary, you can purchase/associate an MCL-Net Std - Instant Service add-on to your MCL-Net Std license and execute one (1) license transfer to another PC/server.
License Transfer is NOT included in the MCL Support Service for MCL-Net Std licenses but, if necessary, you can purchase/associate an MCL-Net Std - Instant Service add-on to your MCL-Net Std license and execute one (1) license transfer to another PC/server.
![]()
You have ten days to activate a canceled MCL-Net license in a new PC/server. The countdown starts as soon as the license is canceled in MCL-License Manager.
After this period, the license is permanently deactivated.
Step-by-step
1. Log in to your MCL-License Manager account ("Licenses" page).
![]() You can enter https://license.mcl4e.com/mclls/licensing/login.html in your Internet browser to open MCL-License Manager OR you can use the links provided by received MCL emails.
You can enter https://license.mcl4e.com/mclls/licensing/login.html in your Internet browser to open MCL-License Manager OR you can use the links provided by received MCL emails.
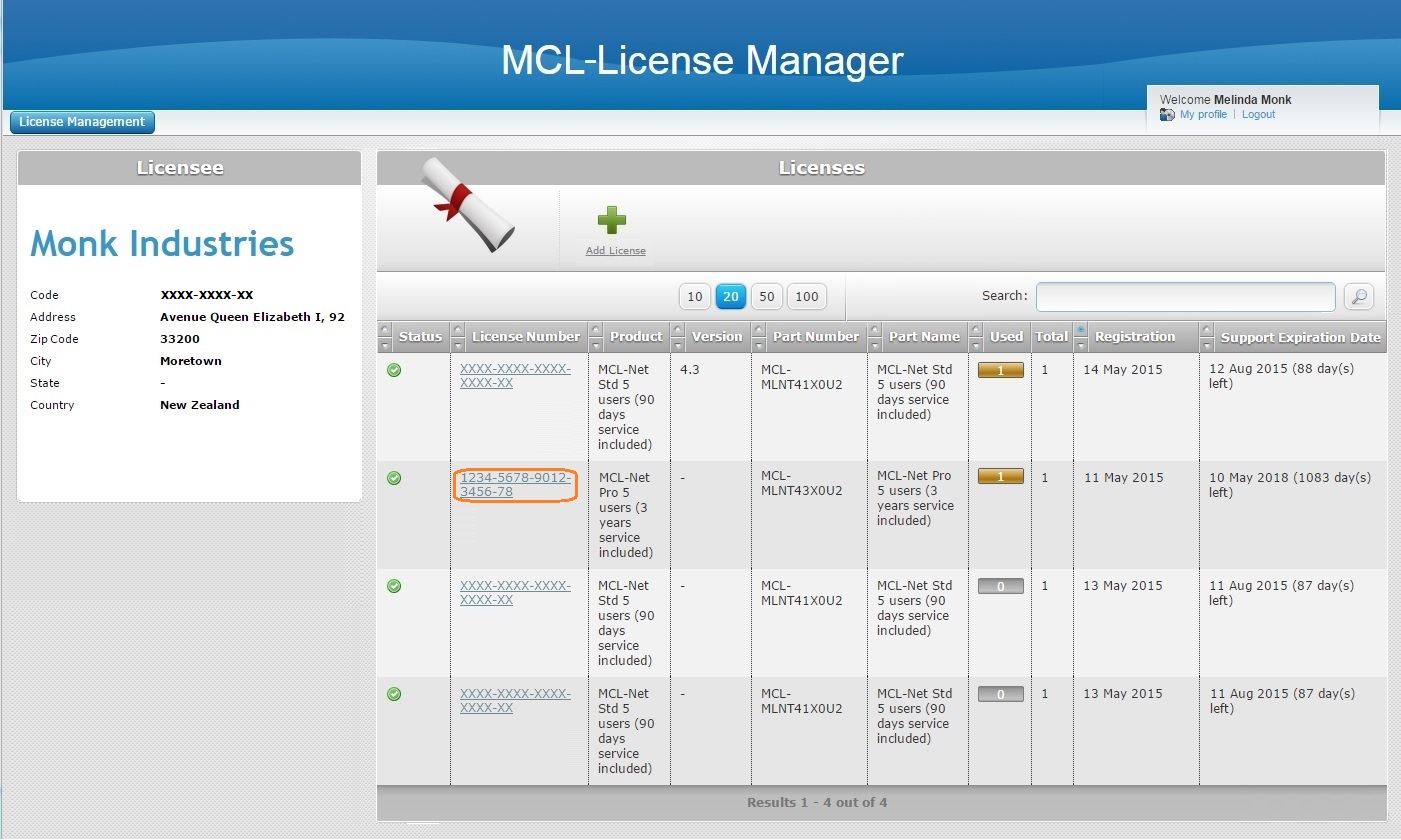
2. Click the number of the MCL-Net v4 license you want to transfer to another PC/server (displayed in light blue).
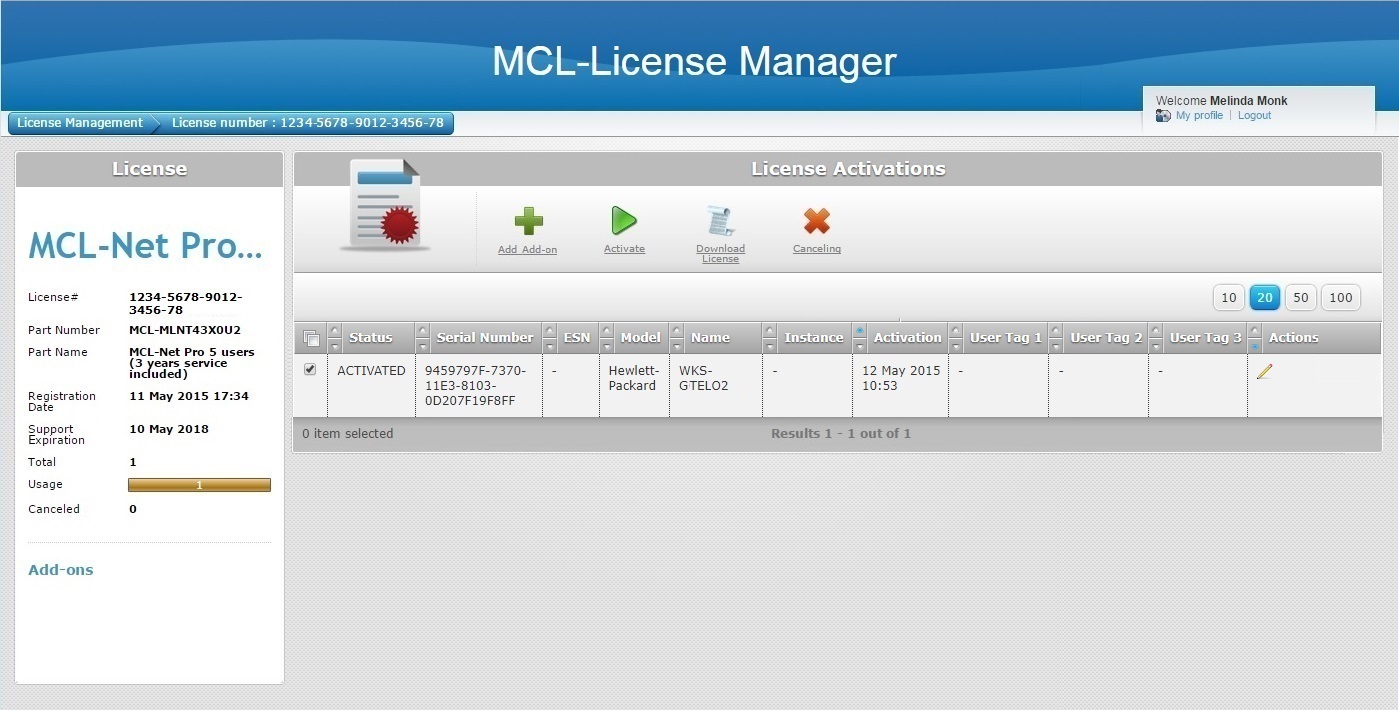
3. Check the ![]() of the PC/server that is associated to the MCL-Net license to be transferred and click
of the PC/server that is associated to the MCL-Net license to be transferred and click ![]() .
.
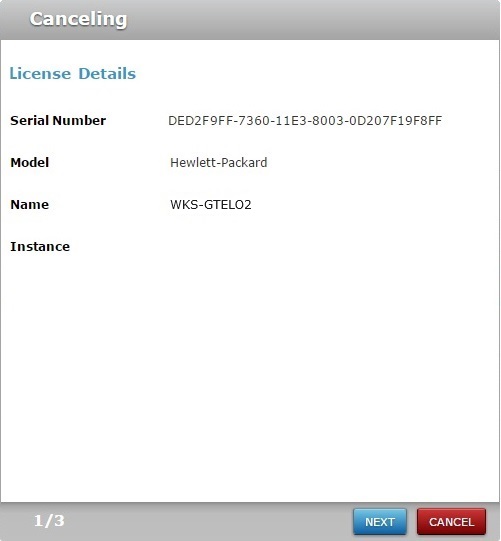
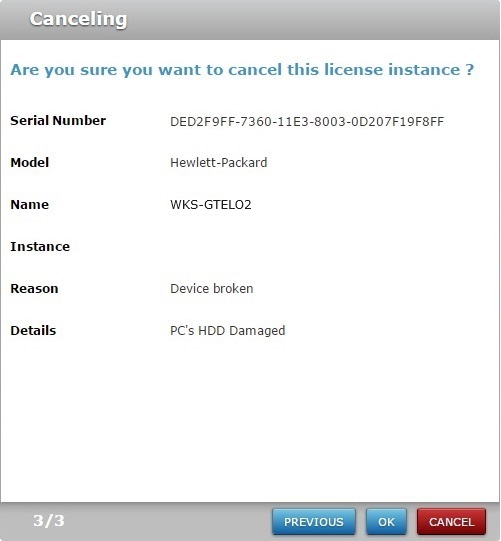
This window displays the following information:
•the selected license's serial number
•the name and model of the PC/server where the license is installed/activated
•the instance field refers to the number of times that the selected license has been canceled/reactivated
4. Check the provided details to confirm this is the actual license you want to transfer and click ![]() .
.
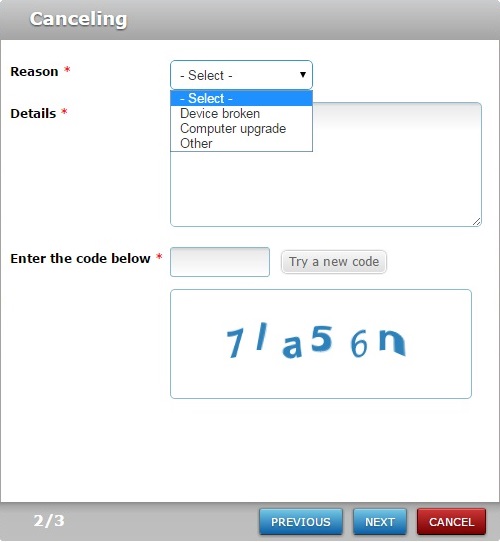
5. Fill in the following options (fields marked with an asterisk are mandatory):
Reason* |
Select the reason for the cancellation/transfer from the drop-down. |
Details * |
Describe the situation that led to the license cancellation/transfer. |
Enter the code below * |
Type the CAPTCHA code shown in the box below. |
Try a new code |
If required, click this option to get another CAPTCHA code and enter it in the corresponding field. |
6. Click ![]() .
.
7. Click ![]() to conclude.
to conclude.
At this point, the selected MCL-Net Pro license is canceled and you can install MCL-Net in another PC/server and activate the canceled license.
8. In the new PC/server, follow the steps described in To Install/Activate MCL-Net v4 (License):
a. When you reach step 14, enter the license number of the canceled MCL-Net Pro license.
b. When you reach this window, the MCL-Net v4 installation/activation process is complete. Click ![]() to conclude.
to conclude.
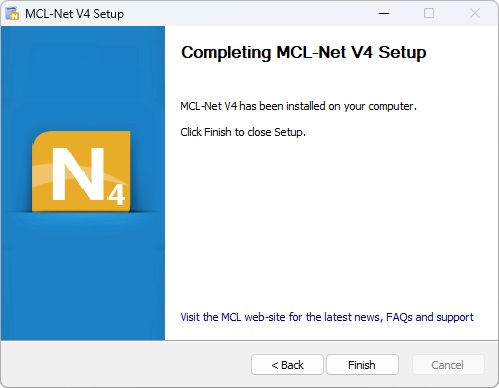
The license has been reactivated, meaning, it is associated to another PC/server and ready for use.
In your MCL-License Manager account, the reactivated license's "License Activations" page displays the transfer.
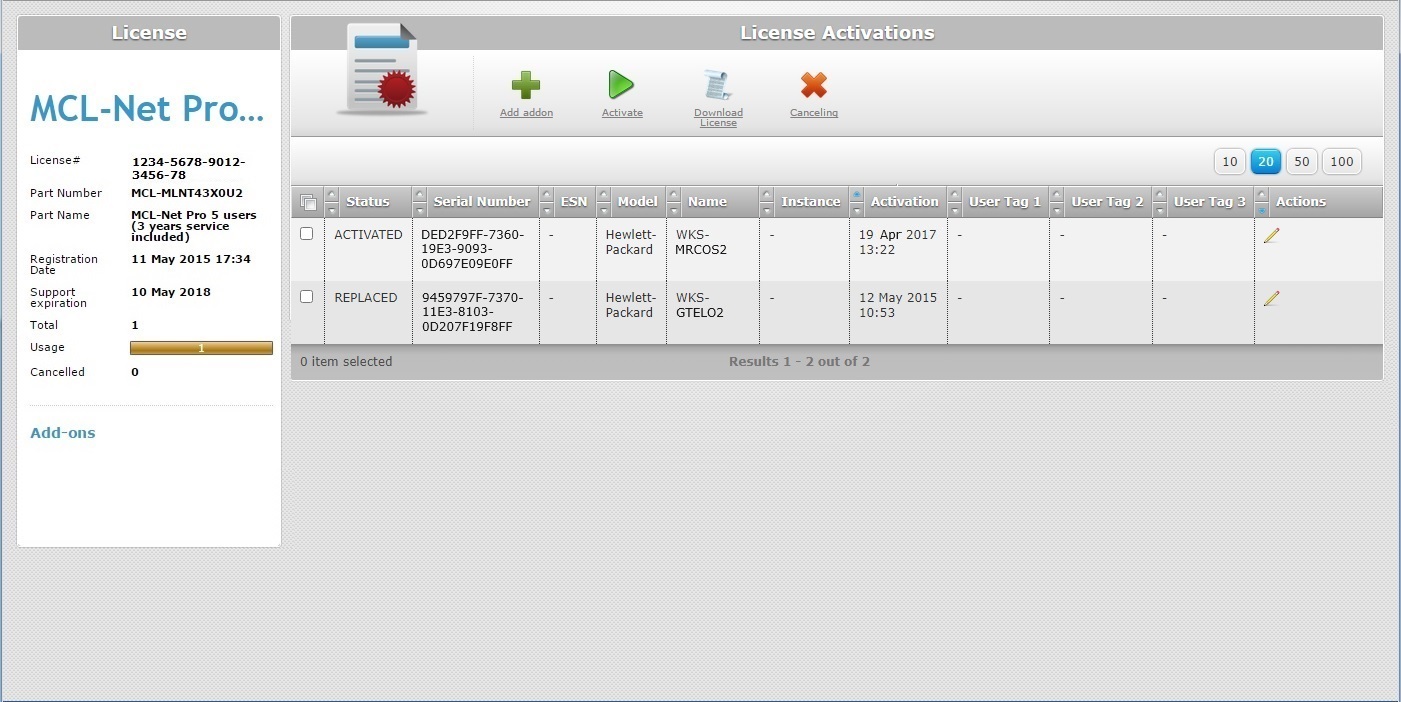
It is possible to view information on:
•the PC/server that was previously associated to the MCL-Net Pro license.
•the PC/server that is currently using the MCL-Net Pro license.
•the replacement/activation dates.