|
Moving a Device |
  
|
Moving a Device
|
Moving a Device |
|
Overview
Devices can be moved from one device group to another no matter what their status. It is also possible to move more than one device at a time, as long as they have the same device type (same manufacturer/model and OS).
This mobility is possible within a site and/or between sites, depending on the access rights of the user performing the operation:
•site users move devices between device groups within the same site.
•Account administrators can transfer devices to any device group included in the account's sites.
•Site Managers can move devices among the device groups included in the sites they manage.
![]() Before moving a a device, make sure the destination device group exists. If it does not exist, create one according to the device's settings. See Creating a Device Group.
Before moving a a device, make sure the destination device group exists. If it does not exist, create one according to the device's settings. See Creating a Device Group.
![]() If you want to move the device to another site, make sure that its defined timezone is the same as the one set for the destination site.
If you want to move the device to another site, make sure that its defined timezone is the same as the one set for the destination site.
Step-by-step
1. To access the Devices sub-module, click ![]() , in the "Control Panel" and, in the resulting row below, click
, in the "Control Panel" and, in the resulting row below, click ![]() .
.
This opens a "Devices" page.
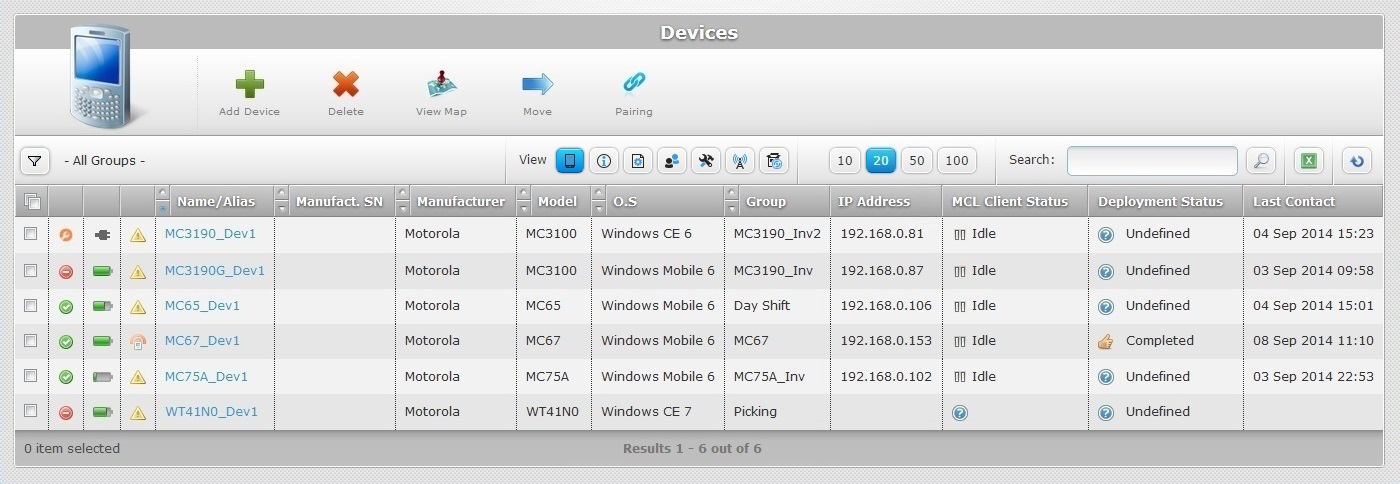
2. Select the device(s) you want to move by checking the corresponding ![]() .
.
![]()
If you intend to move more than one device at a time, they must be of the same manufacturer/model/OS.
![]()
Make sure you have the correct "device group" filter (click ![]() ,located below the device icon, and select the appropriate option from the drop-down list).
,located below the device icon, and select the appropriate option from the drop-down list).
If you select "All Groups", it will only display the device groups you create. To view the "Unassigned Devices", select that specific option.
3. Click ![]() .
.
If unable to continue, check Possible Error Message(s) to know how to proceed.
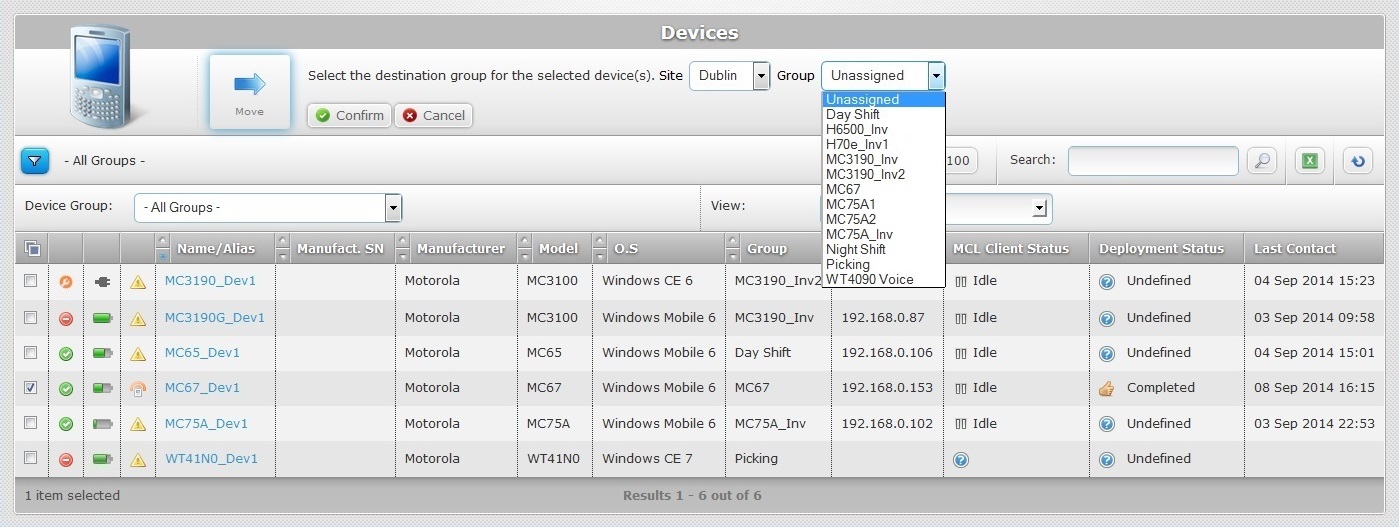
4. Select the site which includes the target device group (the current site is the default option).
![]() Depending on the user profile performing this task, the "Site" drop-down list can present different options (an account administrator can move a device into any existing device group, no matter what the site; a site manager moves devices between device groups included in the sites he manages, the site user can only move devices to device groups within his site.
Depending on the user profile performing this task, the "Site" drop-down list can present different options (an account administrator can move a device into any existing device group, no matter what the site; a site manager moves devices between device groups included in the sites he manages, the site user can only move devices to device groups within his site.
5. Select the device group in the corresponding drop-down list. The options available depend on the previously selected site.
The target device group must be compatible with the device(s), meaning, the same manufacturer/model and OS.
If an error message appears, check Possible Error Message(s) to know how to proceed.
6. Click ![]() to conclude the operation.
to conclude the operation.
The information in the "Devices" page is automatically filtered to only display the devices included in the selected target device group. To view all devices, click ![]() (below the device icon) and, in the "Device Group" drop-down box, select "All Groups".
(below the device icon) and, in the "Device Group" drop-down box, select "All Groups".
![]()
The "moving a device" operation is also available in a device's "Device Details" page. The transfer will only affect that particular device.
Click ![]() and follow steps 4, 5 and 6 of the step-by-step described above.
and follow steps 4, 5 and 6 of the step-by-step described above.
To Move a Device into the Unassigned Devices
The "Unassigned Devices" is a non-device group provided by the account that includes devices that are not in use, regardless of manufacturer/model/OS. The number of devices in the Unassigned Devices is limited to a percentage of the total device pool.
A device can be sent to the Unassigned Devices in two ways:
•automatically - If during a pairing or standard device addition procedure you do NOT select a target device group for the device, it is, automatically, sent to the "Unassigned Devices" and acquires a "spare" status.
•manually - When you move a device (with the use of the ![]() button - check the step-by-step above) into the Unassigned Devices where it is set to the "spare" status.
button - check the step-by-step above) into the Unassigned Devices where it is set to the "spare" status.
Operationally speaking, the device will NOT be able to run MCL applications and its MCL-Client license unit will be freed (meaning, it can be associated to another device, if necessary).
The device will keep on contacting MCL-Mobility Platform, from time to time, to check if its status has changed or if it has been moved to another device group.
To Move a Device from the Unassigned Devices
Step-by-step
1. In the "Devices" page, select "Unassigned Devices" in the "Device Group" drop-down (the "All Groups" option only displays the device groups you have created).
2. Select the device to be moved into a compatible device group. If you want to move more than one device, make sure that the selected devices are of the same manufacturer/model.
3. Click ![]() .
.
4. Select a target site/compatible device group (device group for devices of the same manufacturer/model/OS as the one (s) being moved).
The available site/device groups in the drop-downs depend on your user profile/access rights. (ex: an account administrator performing this task will have access to a drop-down with all the existing sites/device groups. A site user will only be able to move devices into device groups included in his own site).
5. Click ![]() to conclude the operation.
to conclude the operation.
6. Change the device's status to the appropriate one. See the statuses description and follow the steps defined in Changing a Device's Status.
![]()
Occurrence: When clicking ![]() .
.
Cause: No device(s) selected.
Action: Select the device(s) to be moved before clicking ![]() .
.
![]()
Occurrence: After selecting the device group and clicking ![]() .
.
Cause: The selected device group is not compatible with the model and OS of the device being moved.
Action: Select a compatible device group and conclude by clicking ![]() .
.
![]()
Occurrence: When clicking ![]() .
.
Cause: A device(s) with the same name already exists in the destination Site/Device Group.
Action: Rename the device(s) to be moved before clicking ![]() .
.