|
Creating a Device Group |
  
|
Creating a Device Group
|
Creating a Device Group |
|
Overview
From a device management point of view, it is important to start by ensuring the existence of appropriate Device Groups within the site, meaning, compatible with the devices to be used in the site. This is fundamental because most of the tasks involving devices are executed at Device Group level (creating a configuration, planning a deployment, etc.).
Step-by-step
1. In the Site Dashboard's "Control Panel", click ![]() and, in the resulting row below, click
and, in the resulting row below, click ![]() to access the "Device Groups" page.
to access the "Device Groups" page.
2. Click ![]() to open the "New Device Group" page.
to open the "New Device Group" page.
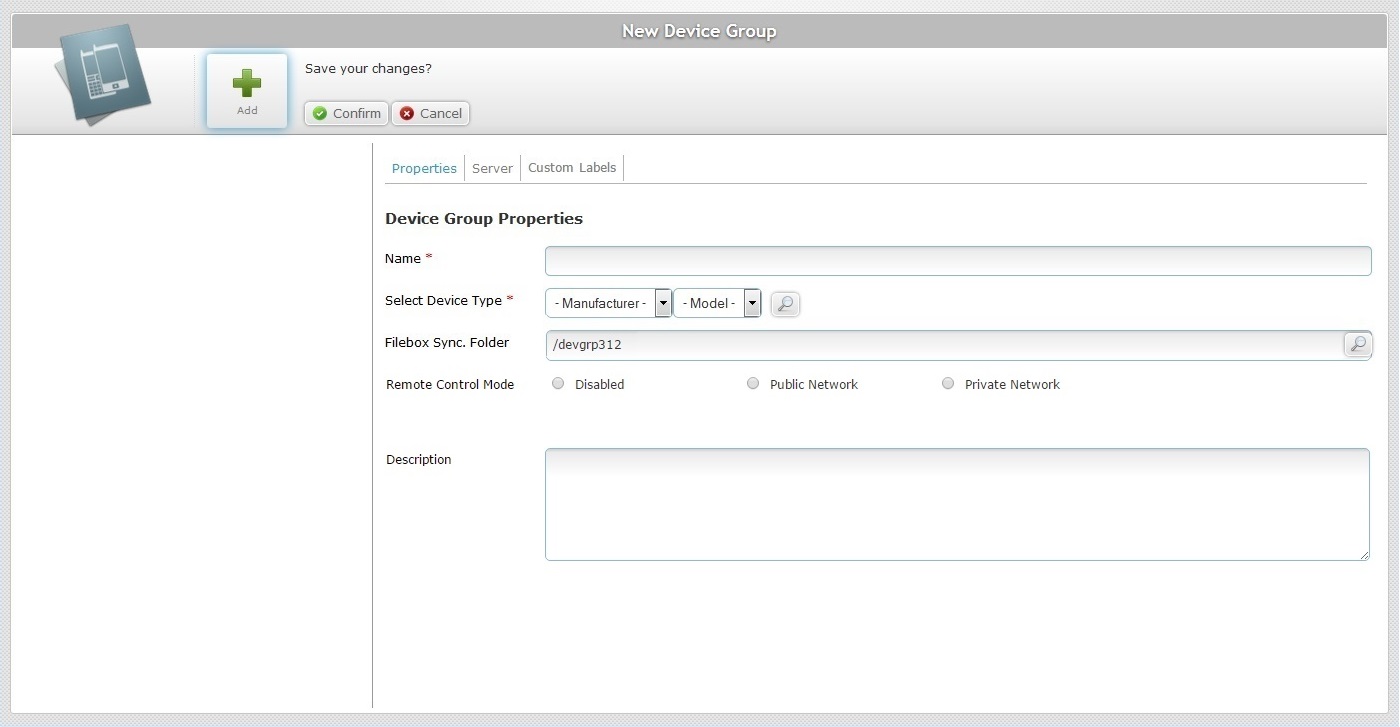
3. This page is set to "edit mode". Fill in the following options (the mandatory fields are marked with an asterisk) on the "Properties" tab:
Name * |
Define the name for the new device group.
•Use alphabetic/numeric characters (a-z; A-Z; 0-9) •Underscore and/or dash characters are allowed •Always start the entity's name with an alphabetic character |
Select Device Type * |
Select the device group's manufacturer and the model from the corresponding drop-down boxes. As an alternative, click
The Samsung manufacturer provides a "Generic Device Android" option - this "generic device model" is compatible with all Samsung Android devices. This means you can create a device group for "Generic Device Android" devices (it can contain different Samsung models). This is NOT available for other manufacturers.
The "Model" drop-down includes a few listed models with an "*" as a wild card. Selecting one of these models allows the device group to include the variations of the referenced model. Ex: A device group with "Panasonic / TOUGHPAD FZ-G1 (FZG1*) - Windows 10" defined as "Device Model" can accept Panasonic's "FZG1A", "FZF1B", "FZG1C", etc. devices. Available on selected device models ONLY. |
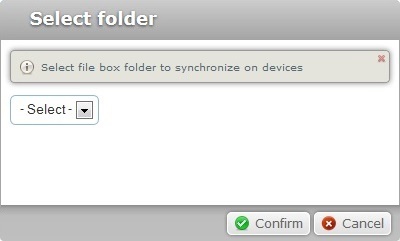
Filebox Sync. Folder |
Define a folder to synchronize files between the MCL-Mobility Platform's Filebox and the device group's private filebox (see Filebox). Any files sent to this folder will be redistributed to all the devices included in the device group. 1. Click
2. Select the required folder.
3. Click
Instead of selecting an existing folder in the "Filebox Sync. Folder" option, you can enter a name for the folder and it will be created/displayed in the platform's Outbox area. However, we recommend following all the steps described in Creating a New Folder to ensure the synchronization between platform and target device group. |
Remote Control Mode |
Considering your use of the "Remote Control" feature, select the most appropriate option: Disabled - Check this option if you do NOT intend to use this feature for the devices included in this device group. Public Network - Check this option if you want MCL-Mobility Platform's Remote Control Service to manage the device's remote connection, meaning, to have a device > MCL-Mobility Platform's Remote Control Service > PC/browser connection. Private Network - If you check this option, the required remote connection is managed by the PC/Browser - the connection is established within a local network and there is NO MCL Mobility Platform involvement. See Remote Control. |
Description |
If relevant, add notes regarding the new device group. |
Detail of a Select Device Type window
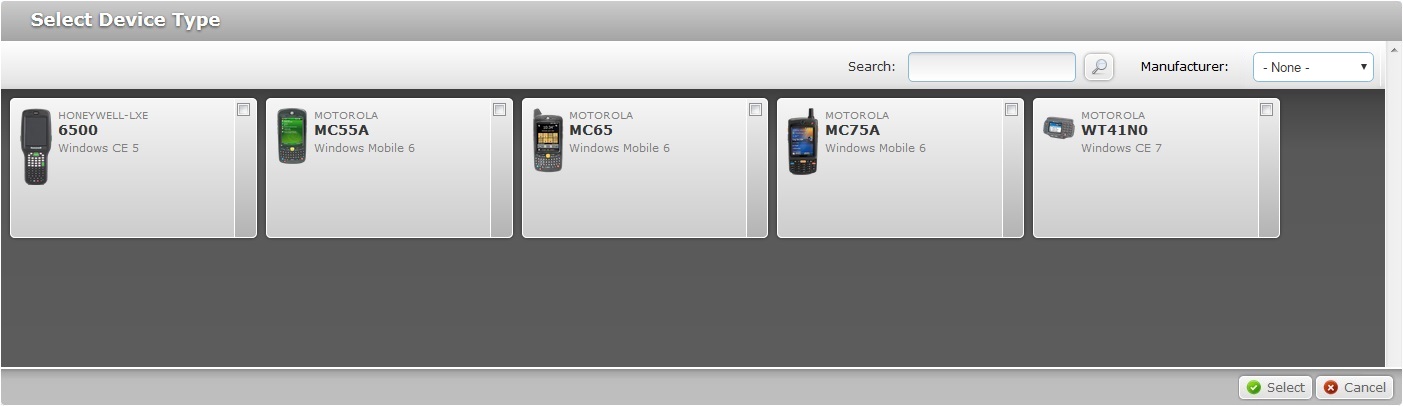
To select a device type, proceed as follows:
a. In the "New Device Group" page, click the ![]() button of the "Select Device Type" option. This opens a "Select Device Type" window with the available device types in a grid view.
button of the "Select Device Type" option. This opens a "Select Device Type" window with the available device types in a grid view.
![]() The “Device Type“ list only displays the devices selected when the current site was created. For more detailed information, see "Site Details" - Device Types tab.
The “Device Type“ list only displays the devices selected when the current site was created. For more detailed information, see "Site Details" - Device Types tab.
b. Select the appropriate device type by checking the corresponding ![]() .
.
c. Click ![]() to conclude and return to the "New Device Group" page OR
to conclude and return to the "New Device Group" page OR ![]() to abort the selection.
to abort the selection.
Use the following options to control the display of listed items:
•![]() Use the search box to filter the information:
Use the search box to filter the information:
a. Enter what you want to search for.
b. Click ![]() or press <ENTER> in your PC keyboard to initiate the search.
or press <ENTER> in your PC keyboard to initiate the search.
c. To conclude the search operation, empty the search box and click ![]() or press <ENTER> in your PC keyboard.
or press <ENTER> in your PC keyboard.
•![]() Filter the display by selecting a specific manufacturer from the drop-down list.
Filter the display by selecting a specific manufacturer from the drop-down list.
4. Go to the "Server" tab.

5. Select an available server from the "Server" drop-down list.
The fields below will automatically display information regarding the selected server (Address, Port, Subnet, Gateway) which is entered in the "Servers" sub-module.
For more information, see Server Details.
If you select "-Custom-", you will have to fill in the remaining fields.
Address |
Enter the custom server's address. |
Port |
Enter the custom server's port. |
Subnet |
Enter the custom server's subnet mask. |
Gateway |
Enter the custom server's gateway. |
6. Proceed to the "Custom Labels" tab.
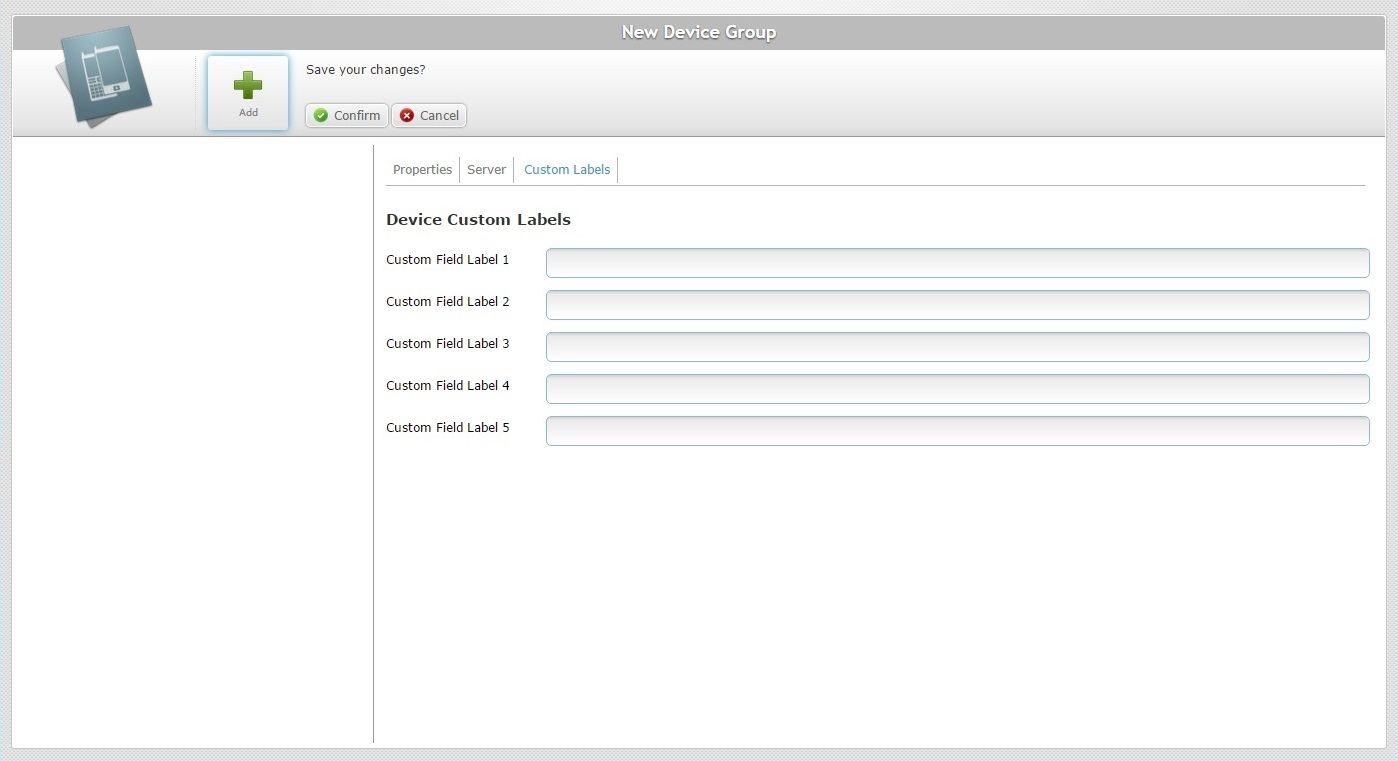
7. If required, enter new labels to substitute the default device field labels (Info 1, 2, 3, 4 and 5).
![]() Remember that customizing these device field labels will only affect the devices contained in this particular device group. To modify the device field labels of all the devices included in the site's device groups, you must edit them in the Site Details sub-module. For more information, see Site Details.
Remember that customizing these device field labels will only affect the devices contained in this particular device group. To modify the device field labels of all the devices included in the site's device groups, you must edit them in the Site Details sub-module. For more information, see Site Details.
8. Click ![]() to conclude the operation.
to conclude the operation.
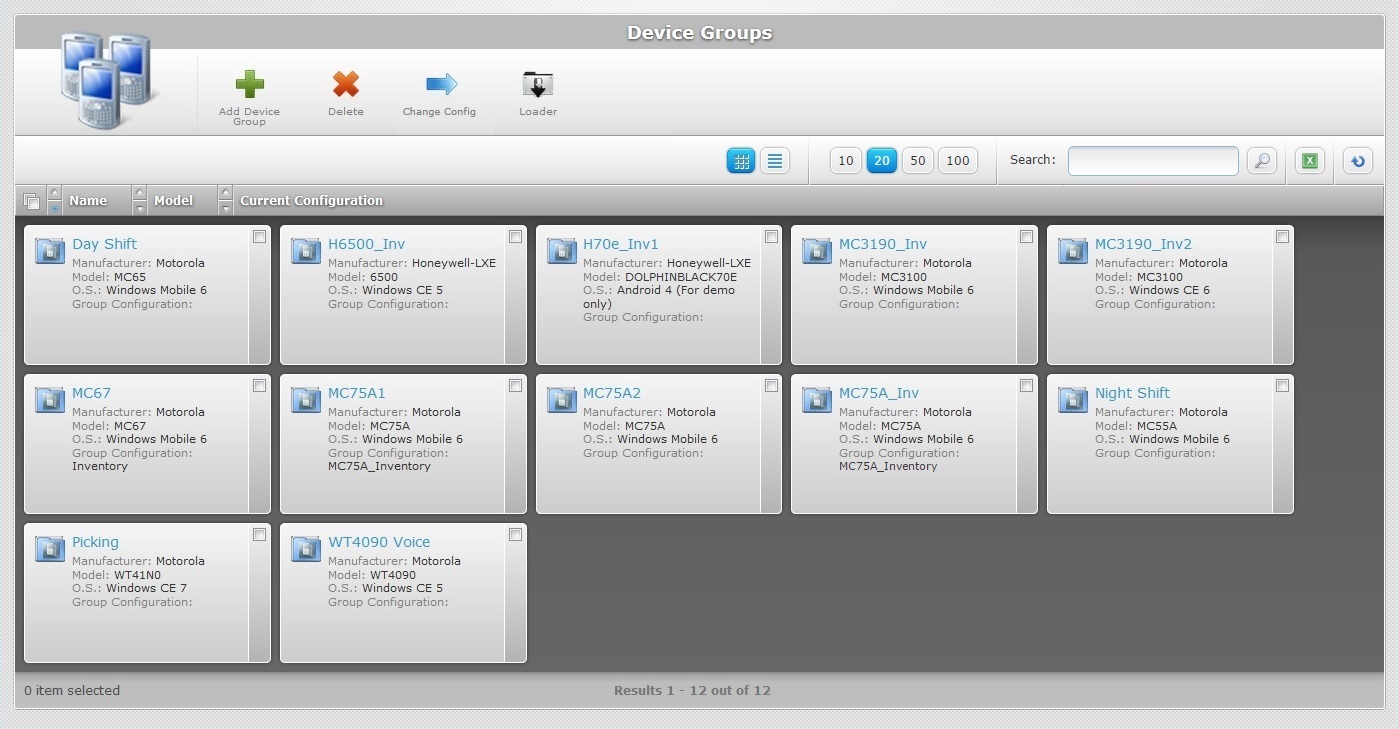
The new device group is displayed in the "Device Groups" page.