|
Creating a New Folder |
  
|
Creating a New Folder
|
Creating a New Folder |
|
Overview
It is possible to create new folders in both Inbox and Outbox. This feature, although available for both areas, has different purposes when used in Inbox or in Outbox:
Inbox
You can organize the files/folders of the Inbox area according to your own criteria.
Incoming files are organized into the same directory structure in Inbox as they were in the device. Ex: If a file is stored in the device's root directory, it will be sent to the Inbox's root. If the file being sent is included in the folder "Dev1", a corresponding "Dev1" folder will be created in Inbox to store the incoming file.
Outbox
The folders in the Outbox area are crucial to enable the synchronization between the MCL-Mobility Platform's Filebox and a device/operator group's sync folder.
If the file upload into Outbox is managed by a back-end via a web service, the necessary sync folders are automatically created (according to what is defined within the web service).
If you intend to manage the file upload manually and require the creation of folders, consider the following:
•Whenever you create a folder to synchronize with a specific device/operator group, you MUST make sure this new folder is correctly associated to the target group:
▪Create a folder and rename it according to the default reference folder that is suggested when you add a device or operator group to your account (this information is available in each device/operator group's "...Details" page - "Filebox Sync Folder" or "Filebox Name" option). This way there is no need to associate this new folder to the target element because they are already linked.
OR
▪Create a folder, name it according to your own criteria and, then, associate the new folder to the target element's profile, in its ".. Details" page (see To Associate an Outbox Folder to an Element's Profile). If you do not perform this last step, the synchronization will NOT work.
![]()
If you intend to send files to all the devices included in your account, there will be no need to create folders, you can simply add/move/copy the intended file(s) to the Outbox's root. When each device connects to the platform, it will synchronize and receive the files you uploaded to the Outbox's root. See Uploading Files to Filebox, Moving Files.and/or Copying Files in Filebox.
Step-by-Step
1. In the Site Dashboard's "Control Panel", click ![]() to access
to access ![]() . Click it and open the "Filebox" page.
. Click it and open the "Filebox" page.
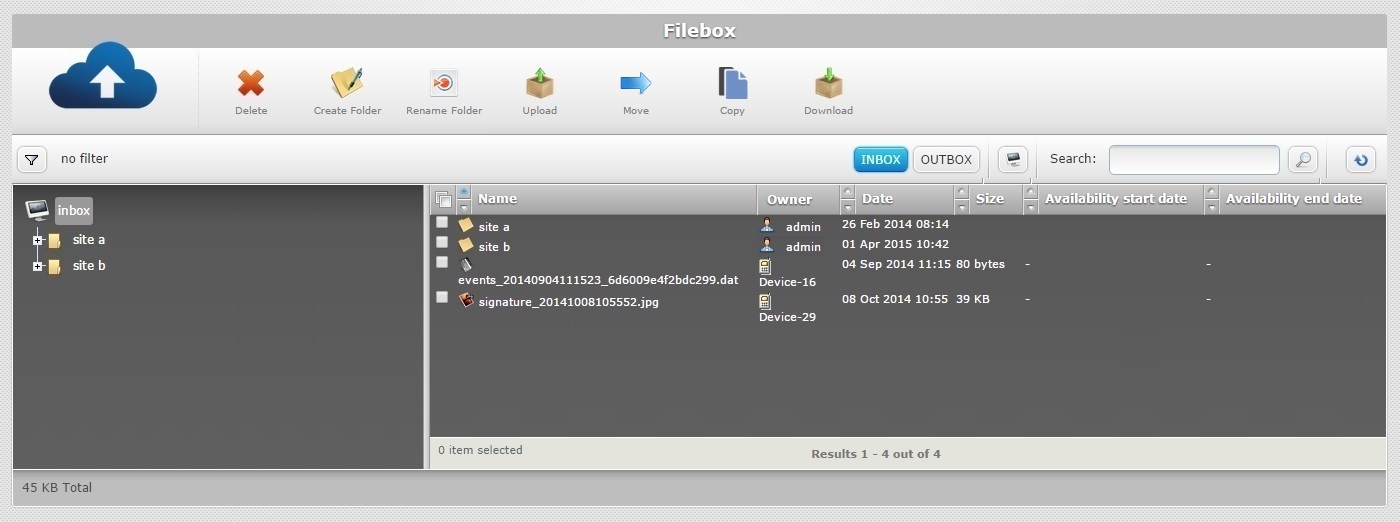
![]() Remember that Inbox is the default open Filebox area. If you want to create a folder in Outbox, you must click
Remember that Inbox is the default open Filebox area. If you want to create a folder in Outbox, you must click ![]() to open it.
to open it.
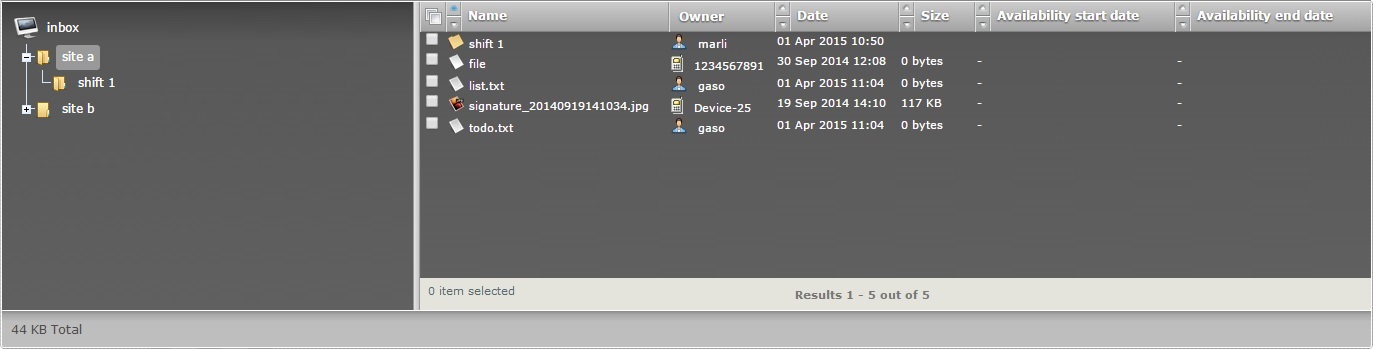
2. Depending on where you want to create a new folder, go to the left section and select the folder/sub-folder that will contain the new folder.
The content of the selected folder/sub-folder will be viewed on the right section. If necessary, use the ![]() and
and ![]() buttons to navigate.
buttons to navigate.
3. Click ![]() . The new folder is displayed on the right section.
. The new folder is displayed on the right section.
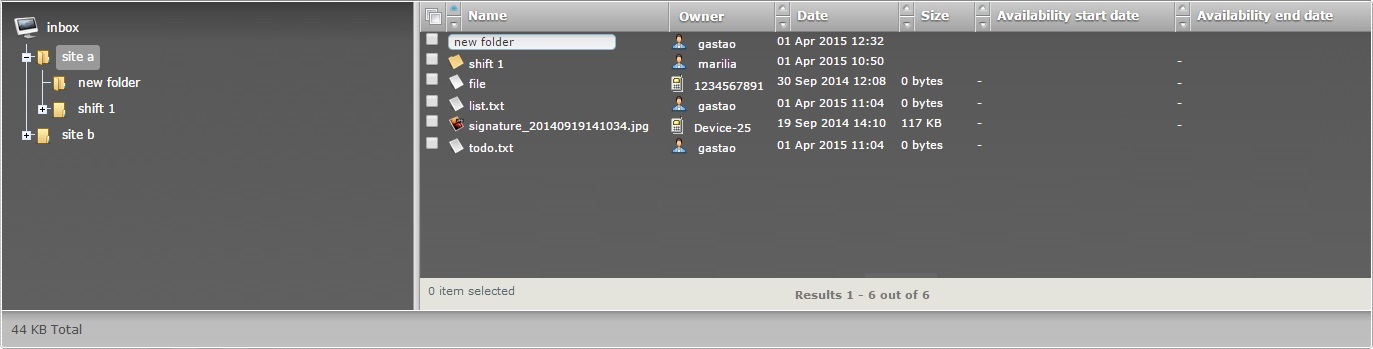
The newly created folder is displayed in the left section's tree view and in the right section in "edit mode".
![]() If you click
If you click ![]() without a selected folder/sub-folder, you will create a new folder in the currently open Filebox area/root. For instance, if you click
without a selected folder/sub-folder, you will create a new folder in the currently open Filebox area/root. For instance, if you click ![]() right after opening the Filebox sub-module, you will be creating a new folder in Inbox because this area is open by default.
right after opening the Filebox sub-module, you will be creating a new folder in Inbox because this area is open by default.
4. Change the new folder's name. In the right section, replace the folder's default name, "new folder", by entering a new name (in lowercase letters).
![]()
Enter a folder name that reflects its purpose.(Ex: If you create a new file in Inbox for storage purposes, rename the folder to reflect the files that will be inside it.)
![]() We recommend you avoid special characters and consider the related best practices when you define a folder's name:
We recommend you avoid special characters and consider the related best practices when you define a folder's name:
•Use alphabetic lowercase and/or numeric characters (a-z; 0-9)
•Underscore,period and/or dash characters are allowed
•Always start the entity's name with an alphabetic character
![]()
If you are creating a folder in Outbox, meaning, a sync folder for a specific device/operator group, either rename it according to the suggested reference folder for the target group OR enter a different name and associate it to the intended target group. See To Associate an Outbox Folder to an Element's Profile.
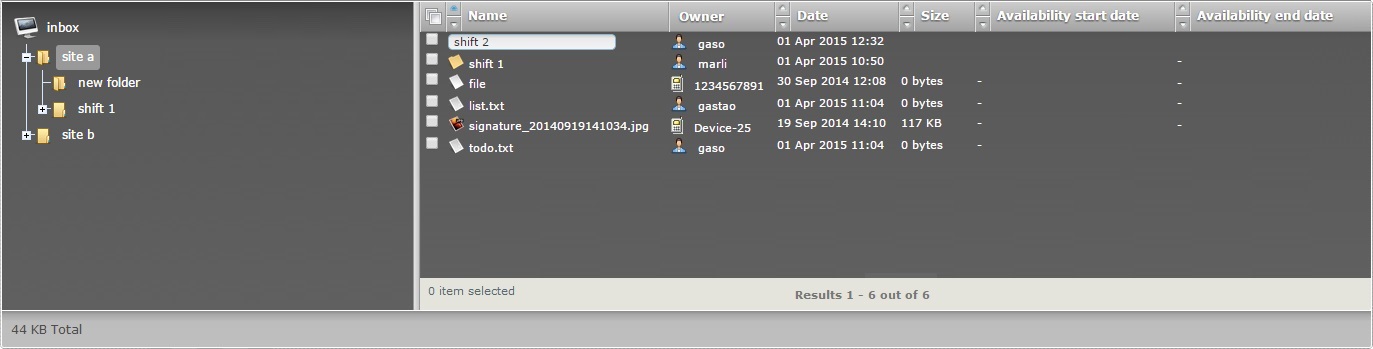
5. Press the "Enter" key in your PC keyboard to accept the name.

The newly created folder is displayed in the tree view (left section) and in the right section.
To Associate an Outbox Folder to an Element's Profile
If you have created a new folder in Outbox and did NOT choose to rename it according to the target group's suggested reference folder, that folder must be associated to the target element (device group or operator group) or its synchronizing purpose will not be enabled.
Step-by-step
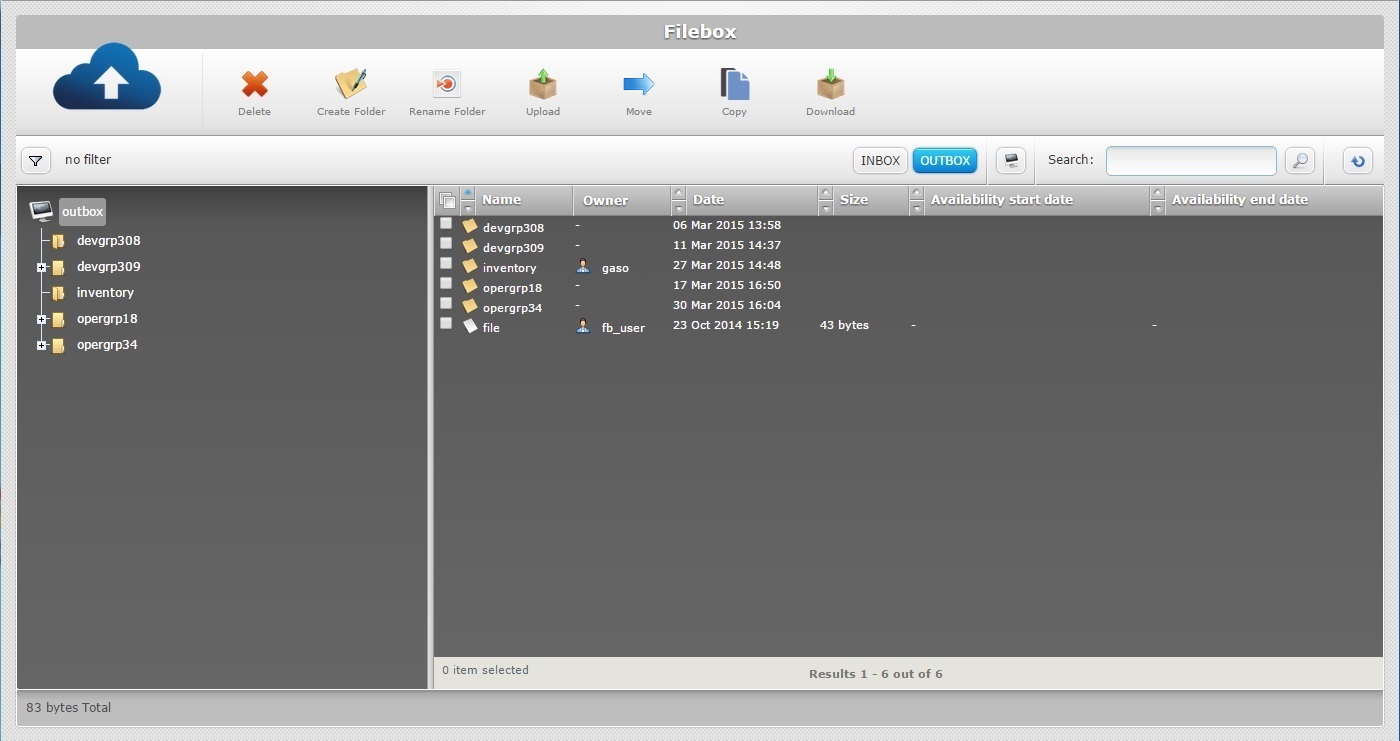
1. Create a folder in Outbox and rename it according to your own criteria (steps described above).
Ex: "inventory"
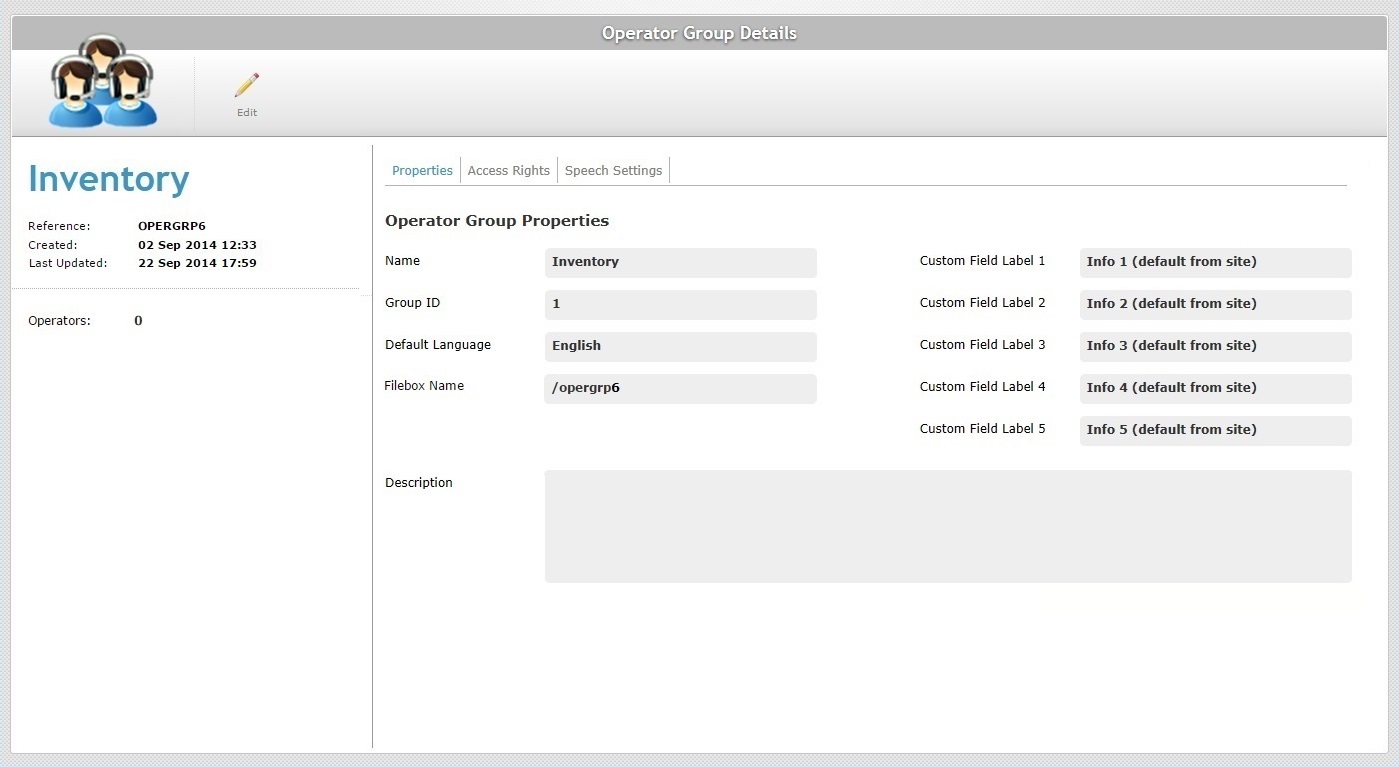
2. Open the "... Details" page of the target group.
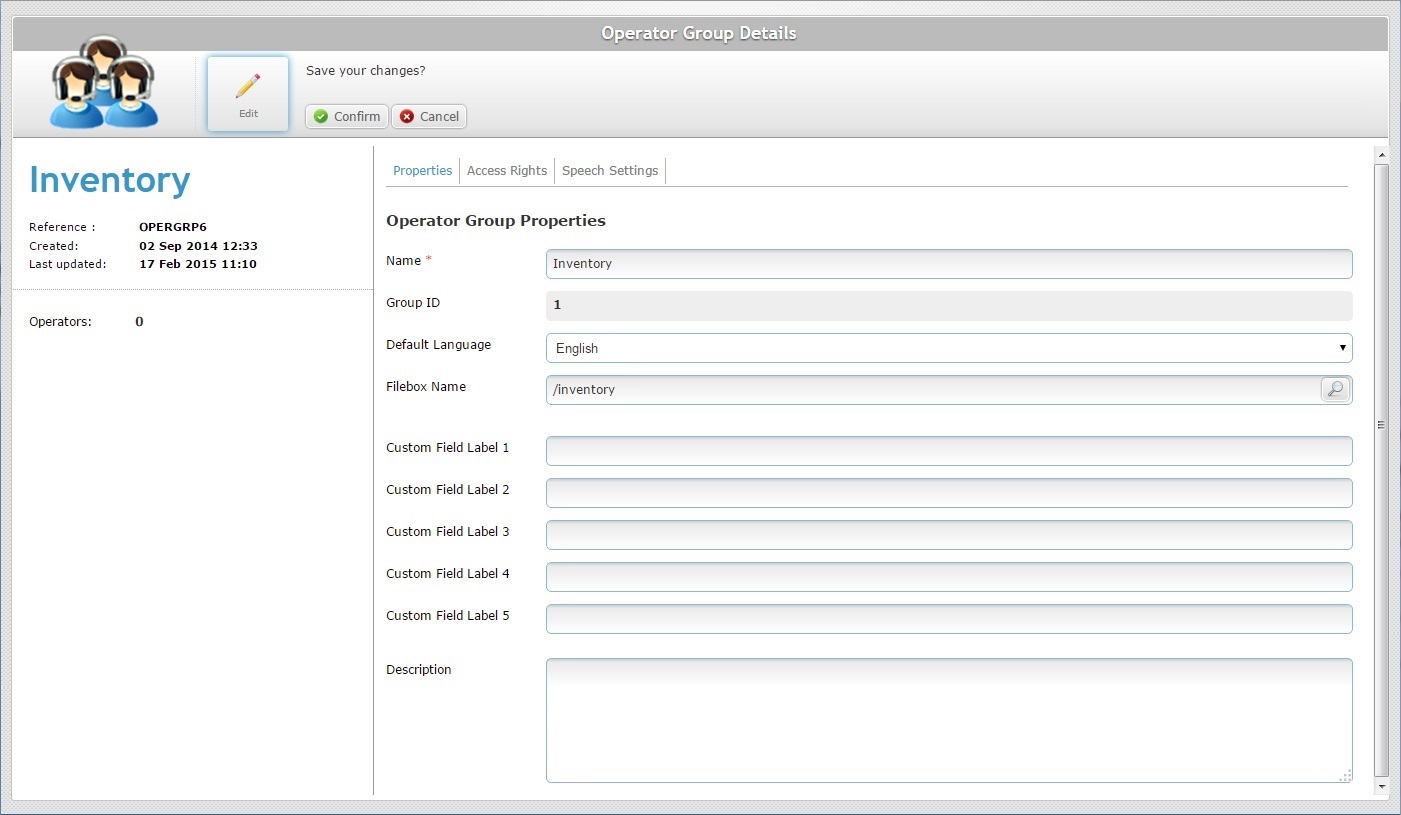
Ex: The target element is an operator group named "Inventory" - open the "Operator Group Details" page for the "Inventory" operator group.
3. Click ![]() to set the page to "edit mode".
to set the page to "edit mode".
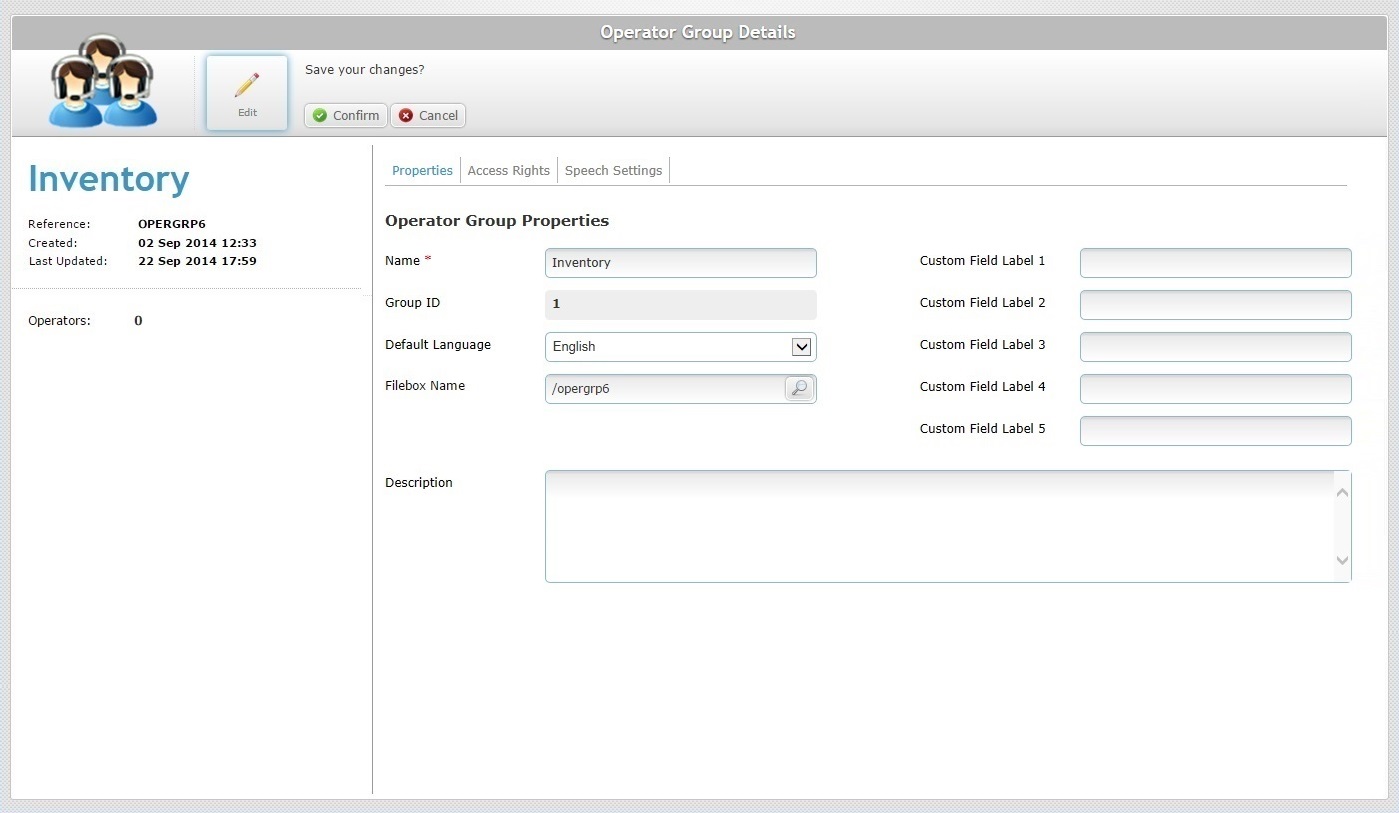
4. In the "Filebox Name" option, click ![]() to open a "Select Folder" window.
to open a "Select Folder" window.
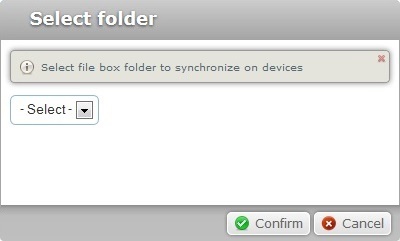
5. Use the drop-down to select the folder that will be associated to the target element, meaning, the folder you created earlier.
The drop-down list includes all of the Outbox folders.
Ex:Select "/inventory".
6. Click ![]() to apply.
to apply.
7. Click ![]() . This opens a "Confirm action" window.
. This opens a "Confirm action" window.
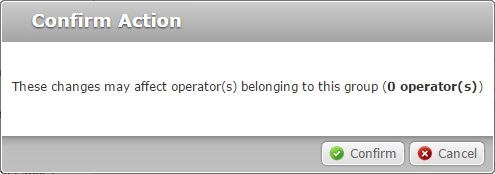
8. Click ![]() again. Back in the target element's "...Details" page, the change is applied and the page is set to "view" mode.
again. Back in the target element's "...Details" page, the change is applied and the page is set to "view" mode.
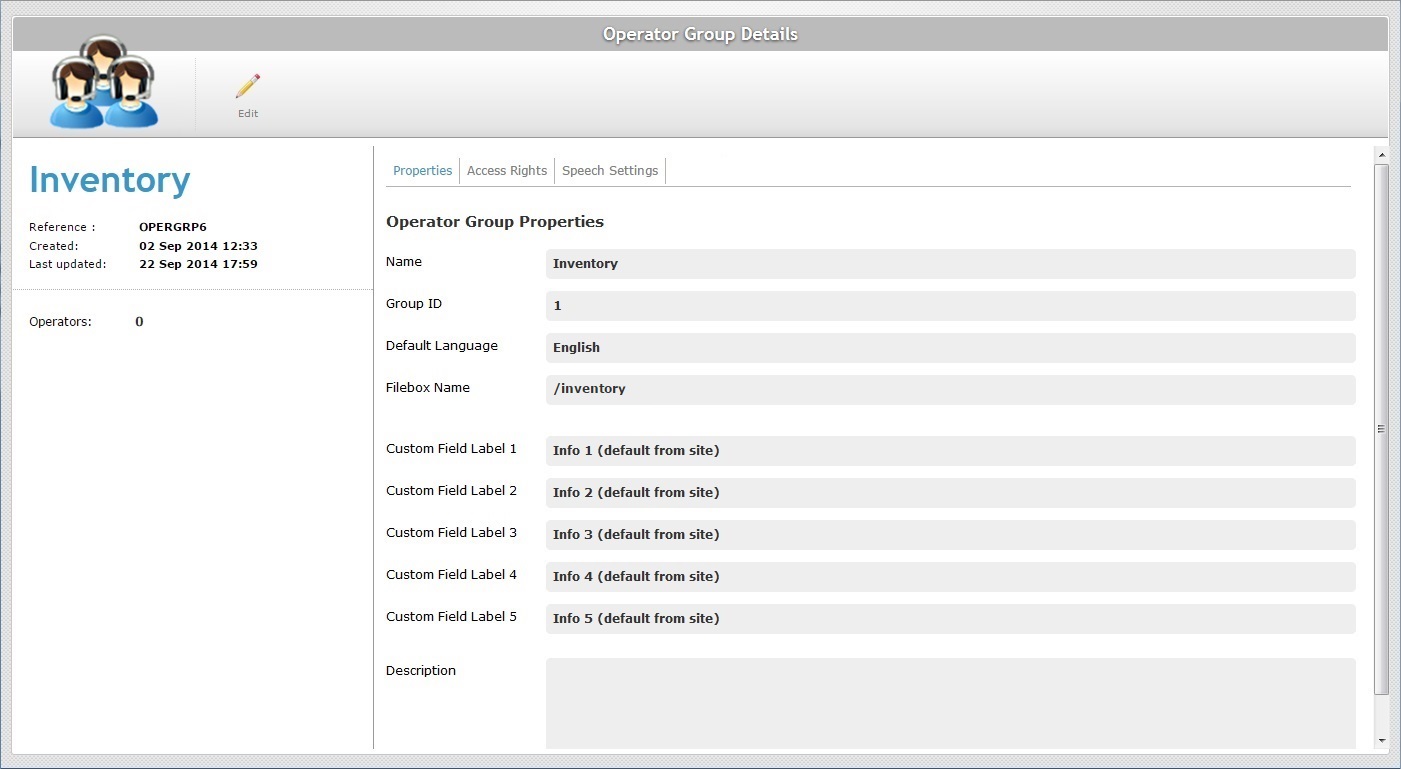
The folder you created in Outbox is now associated to the target element and can, now, synchronize files whenever necessary.
Ex: If you have files to be sent to the "Inventory" operator group, go to MCL-Mobility Platform's Outbox and place them in the "inventory" folder. When an operator included in the "Inventory"operator group logs in on a device and that device communicates with the platform, the synchronization is triggered and those files will be sent to that device's Inbox.
![]()
Instead of selecting an existing folder in the "Filebox Name" or "Filebox Sync Folder" drop-downs ("Operator Group Details" page/Device Group Details" page), you can enter another name for the sync folder and it will be created/displayed in the MCL-Mobility Platform's Outbox area.
However, we ONLY recommend following all the steps described above to ensure the synchronization between platform and target element.