|
Pairing a Device |
  
|
Pairing a Device
|
Pairing a Device |
|
Overview
There are three methods to add devices to a device group within a site. The standard "Add Device", the Pairing (one device at a time) and the Mass Pairing (several devices at a time).
The standard "Add Device" method only adds an entry to the device list (see Adding a Device). Adding a device through Pairing or Mass Pairing (see Mass Pairing Devices) represents an immediate link between device(s) and account.
Both Pairing and Mass Pairing imply actions being performed in the device and in the account.
![]()
The pairing/mass pairing operations require MCL-Agent to be installed into the device(s) being paired.
![]() The pairing operation will occur simultaneously in the device and in the MCL-Mobility Platform account because you are registering a device in your account with information provided by the device's MCL-Agent.
The pairing operation will occur simultaneously in the device and in the MCL-Mobility Platform account because you are registering a device in your account with information provided by the device's MCL-Agent.
![]() Connect your device to the Internet by Wifi or USB (for devices with a Windows Mobile / Windows CE use Windows Mobile Device Center).
Connect your device to the Internet by Wifi or USB (for devices with a Windows Mobile / Windows CE use Windows Mobile Device Center).
![]() The destination site for the pairing operation must include a compatible device group. If there is none, create it beforehand.
The destination site for the pairing operation must include a compatible device group. If there is none, create it beforehand.
For more information, see Creating a Device Group.
![]()
The mass pairing of a device can target a specific device group or simply a specific site - in that case, the mass paired device is included into the default "Unassigned Devices" device group and must afterward be moved into another device group and enabled to make it available for work.
![]() Before initiating a pairing/mass pairing operation, make sure the device’s system date is up-to-date and that its timezone is the same as the one defined in the destination site.
Before initiating a pairing/mass pairing operation, make sure the device’s system date is up-to-date and that its timezone is the same as the one defined in the destination site.
To Pair a Device
Step-by-step
1. Start by making sure that the device has a compatible MCL-Agent installed. If it does not, install it. Check one of the following:
For a Windows Mobile device, see Installing MCL-Agent into a Windows Mobile Device.
For an Android device, see Installing MCL-Agent into an Android Device.
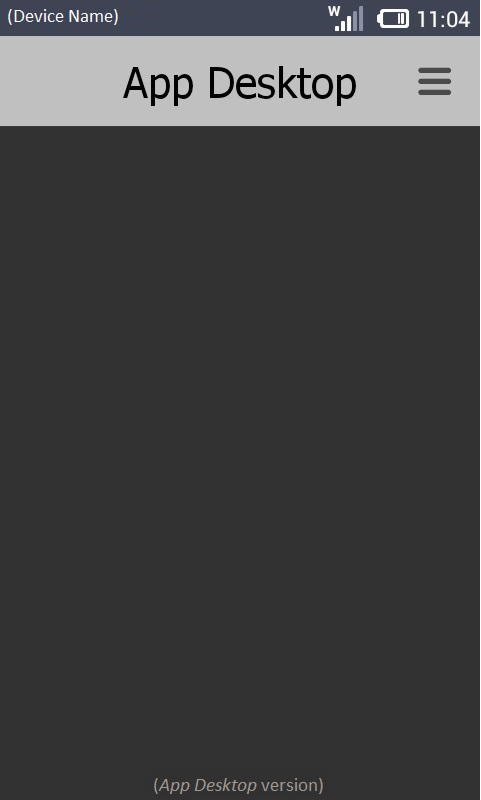
App Desktop should launch automatically, once the device has MCL-Agent installed and running, in which case, continue to step 3.
If it does NOT, proceed to step 2 to launch it manually:
2. Launch App Desktop by clicking ![]() .
.
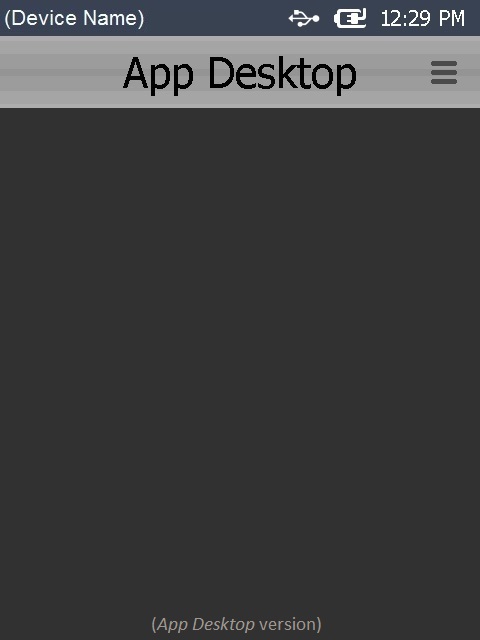
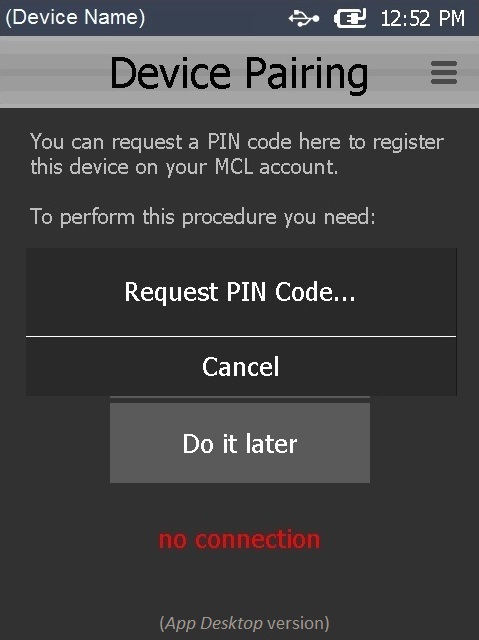
3. Click ![]() (located on the screen's upper right corner) to access the App Desktop Menu options.
(located on the screen's upper right corner) to access the App Desktop Menu options.
If you are pairing an Android device, you can also use the "Menu button" (![]() - a software or hardware key on the Android device).
- a software or hardware key on the Android device).
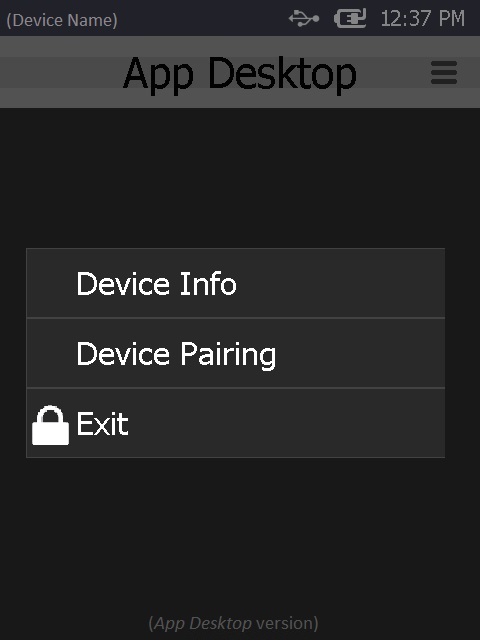
![]() The options available in the App Desktop Menu depend on the device's OS.
The options available in the App Desktop Menu depend on the device's OS.
This image refers to the App Desktop Menu displayed in a Windows Mobile device. The App Desktop Menu of an Android device may include more options (ex: "Settings").
4. Click ![]() .
.

5. Wait a few moments for the device's MCL-Agent to generate an 8 numbers sequence PIN.
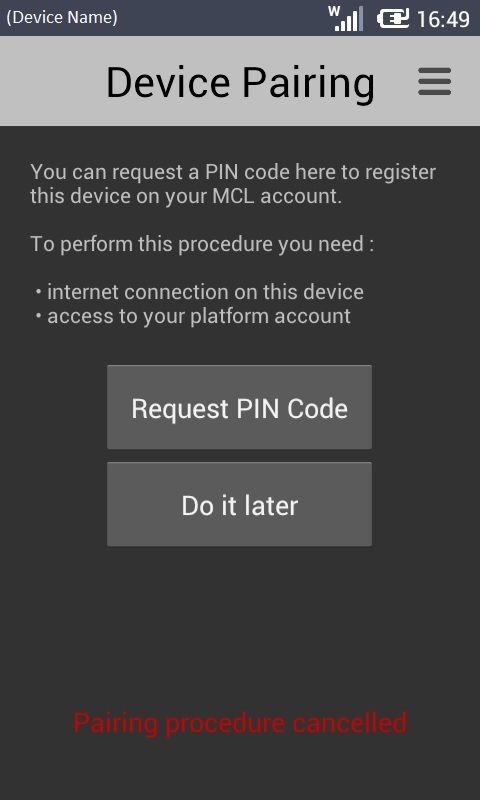
If you want to abort the pairing operation at this point:
a. Click ![]() in the pop-up menu, which will close.
in the pop-up menu, which will close.

b. Click ![]() and the device will return to the App Desktop.
and the device will return to the App Desktop.
If you want to resume the pairing operation, click ![]() and wait for the PIN code to be generated.
and wait for the PIN code to be generated.
The device displays the PIN code to be entered in your MCL-Mobility Platform account.

![]() Be aware of the 5 minutes countdown warning you to continue and conclude the pairing operation in those 5 minutes.
Be aware of the 5 minutes countdown warning you to continue and conclude the pairing operation in those 5 minutes.
6. Open the MCL-Mobility Platform site with the device group you want to include this device in.
7. Click ![]() (located in the "Control Panel").
(located in the "Control Panel").
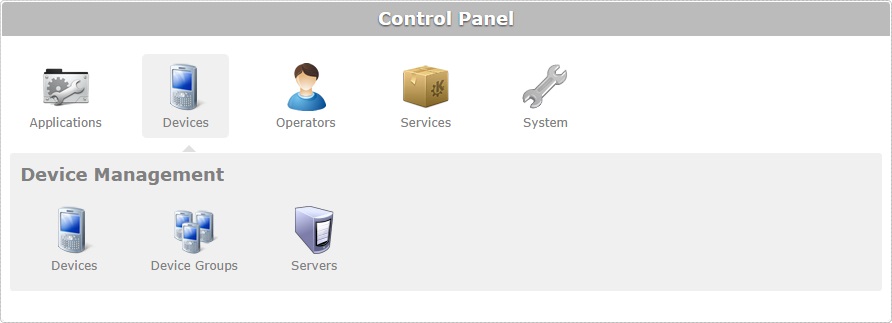
8. In the resulting row below, click ![]() to access the "Devices" page.
to access the "Devices" page.
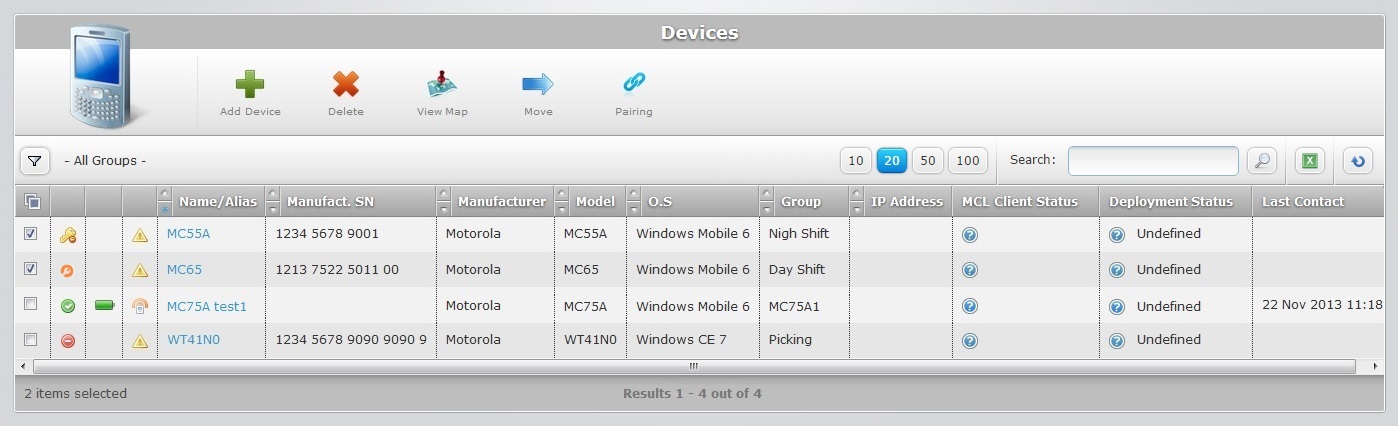
9. Click ![]() .
.
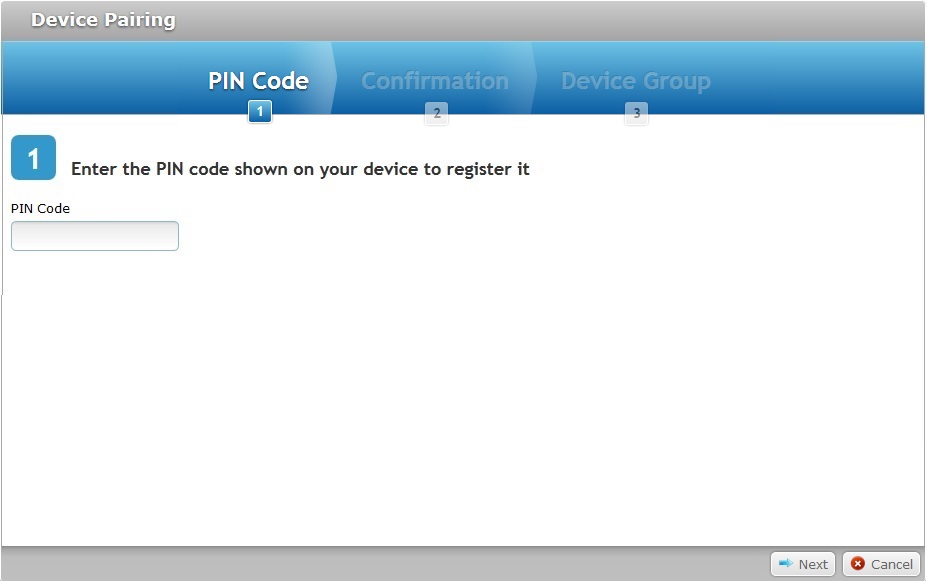
10. Enter the PIN code (8 numbers) provided by the device's MCL-Agent.

11. Click ![]() .
.
If an error message appears, check Possible Error Message(s) to know how to proceed.
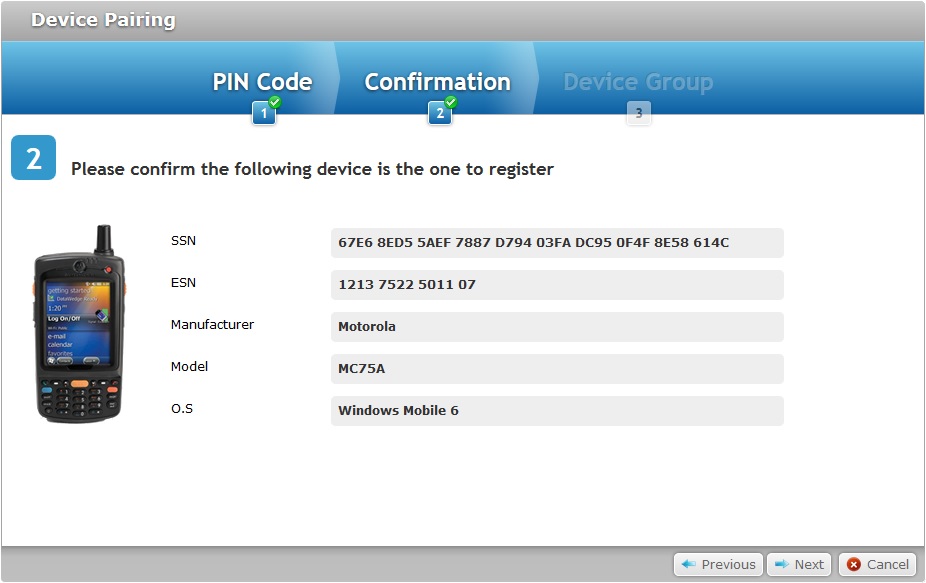
12. Check the information about the device.
SSN |
The device's software serial number. |
|---|---|
ESN |
The device's manufacturer serial number. |
Manufacturer |
The device's manufacturer. |
Model |
The device's model. |
O.S. |
The device's Operating System. |
13. Click ![]() to proceed.
to proceed.
If you want to return to the previous window and restart, click ![]() .
.
If you want to abort the operation, click ![]() .
.
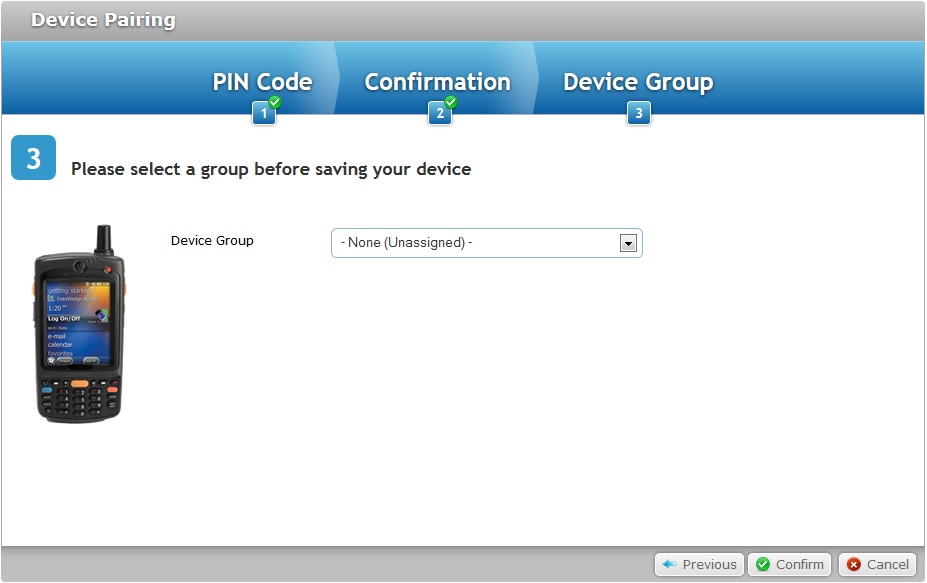
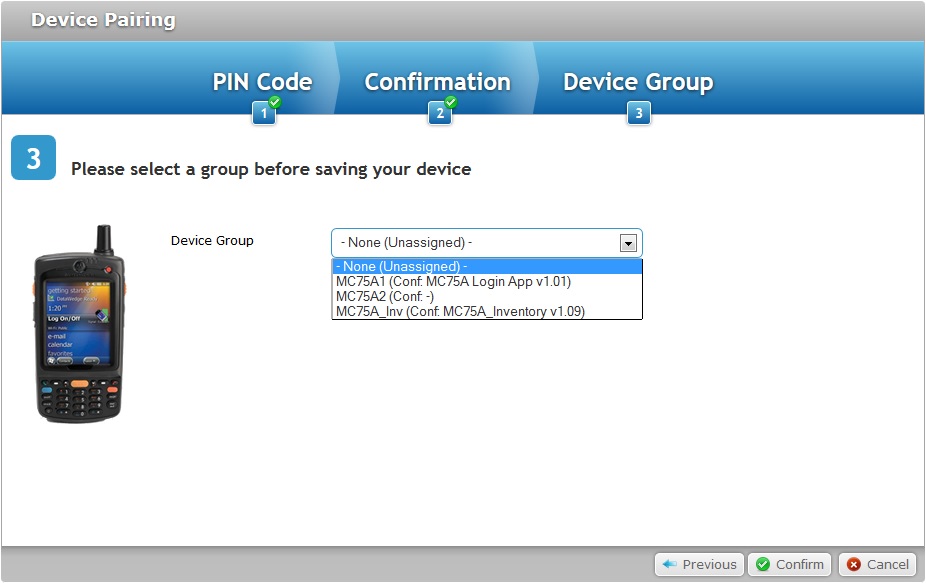
14. Select the appropriate device group. The drop-down list only displays device groups that are compatible with the device.
If you select "-None (Unassigned)", the device will have a "spare" status after it is paired. You will not be able to work with it.
To enable the device's status, see Changing a Device's Status.
![]()
In the case of a Samsung device, instead of adding it to a directly compatible device group (defined for the same specific model), you can add it to a device group that accepts all Samsung Android model types (the target for that device group is defined as "Generic Device Android"). This is NOT available for other manufacturers.
15. Click ![]() to conclude the pairing operation in MCL-Mobility Platform.
to conclude the pairing operation in MCL-Mobility Platform.
If you want to return to the previous window, click ![]() .
.
If you want to abort the operation, click ![]() .
.
Once you click ![]() , the corresponding "Device Details" page opens.
, the corresponding "Device Details" page opens.
16. Return to your device. The device's screen displays the following information:
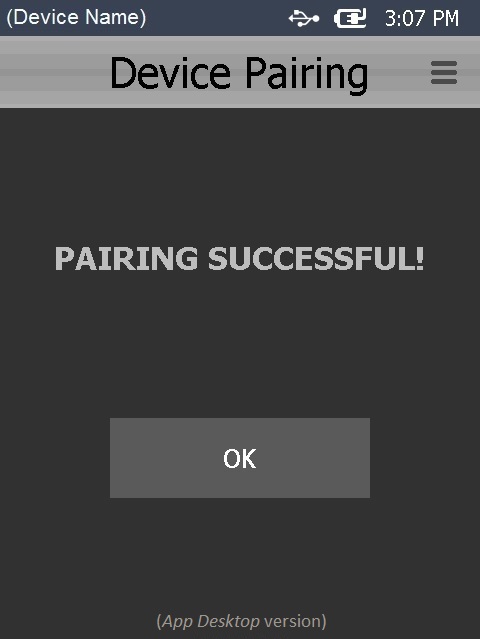
17. Click ![]() to conclude the operation on this end.
to conclude the operation on this end.
![]()
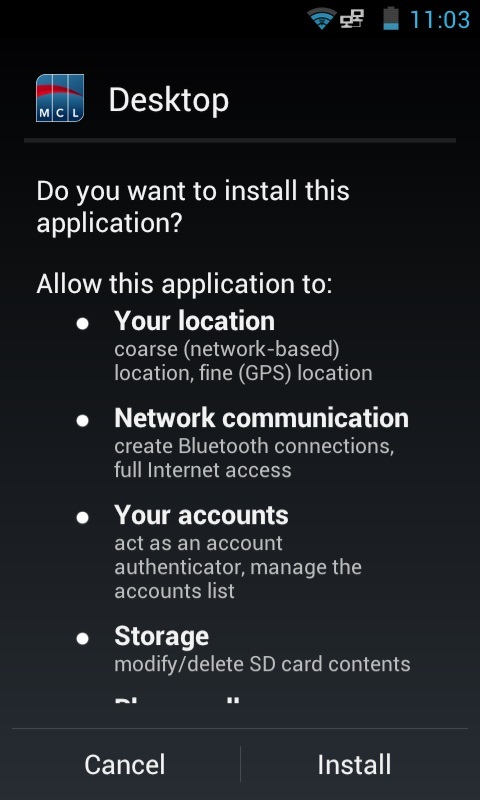
If you have paired an Android device, you will view the following screen:
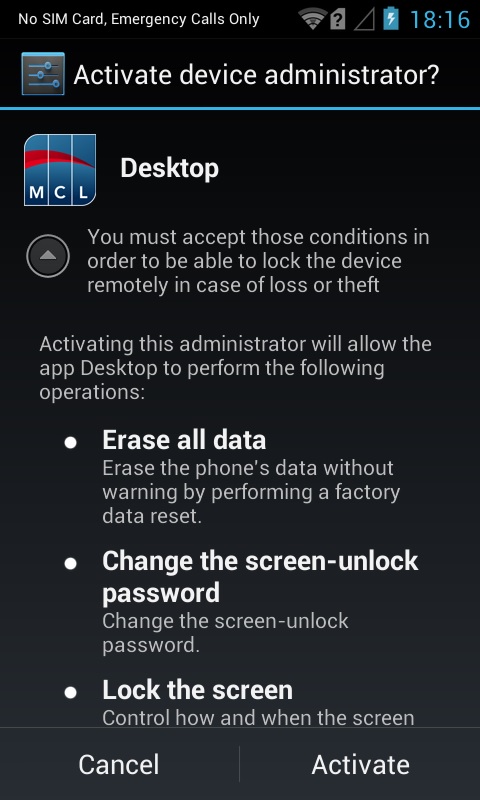
•Click ![]() to provide administrator rights to the MCL-Agent and enable your MCL-Mobility Platform account to manage some background device settings (scroll down the screen for a full list of required permissions).
to provide administrator rights to the MCL-Agent and enable your MCL-Mobility Platform account to manage some background device settings (scroll down the screen for a full list of required permissions).
•Clicking ![]() opens the following message:
opens the following message:

Confirm the granting of Administrator Rights to MCL-Agent and, then, click ![]() to conclude.
to conclude.
For more information, please contact MCL Support.
![]() Once the device is successfully added to the site, open the corresponding "Device Details" page and, in the "Properties" tab, rename the device according to your site's structure/organization.
Once the device is successfully added to the site, open the corresponding "Device Details" page and, in the "Properties" tab, rename the device according to your site's structure/organization.
By default, the account suggests a name based on the previously paired/added device’s name with an added increment.
For instance, if the name of the device that was paired/added last is “Dev-123”, the suggestion for the next device is “Dev-124” – the increment is based on the last character, which is numeric. If, however, the last character is an alpha character, the suggested device name will include a dash and an incremented number (ex: The name “Device_HH” in the previous pairing will have the account suggest “Device_HH-1” for the next device to be paired).
![]()
If you pair a device that has already been connected to the account and, then, disconnected without removing the corresponding entry (meaning, you "unpaired" a device and left its entry in the site's device list), the device is identified and automatically adopts its former name/alias. The device also adopts its previous status (ex: If the device had an "enabled" status before the unpairing, it will resume that "enabled" status once the "pairing" is concluded).
Installing MCL-Agent into a Windows Mobile/CE ![]() Device
Device
![]()
Depending on the device's manufacturer, download the most appropriate Windows Mobile or Windows CE MCL-Agent Package:
For more information, check our MCL-Technologies download website.
![]()
This package is to be used ONLY for initial installations (for devices without any MCL firmware installed). It CANNOT be used in any future deployments of a configuration (ex: for a downgrade).
Step-by-step
1. Turn on the device.
2. Connect the device to a computer, via USB.
3. In your PC, open Windows Mobile Device Center.

4. Select the "Connect without setting up your device" option.
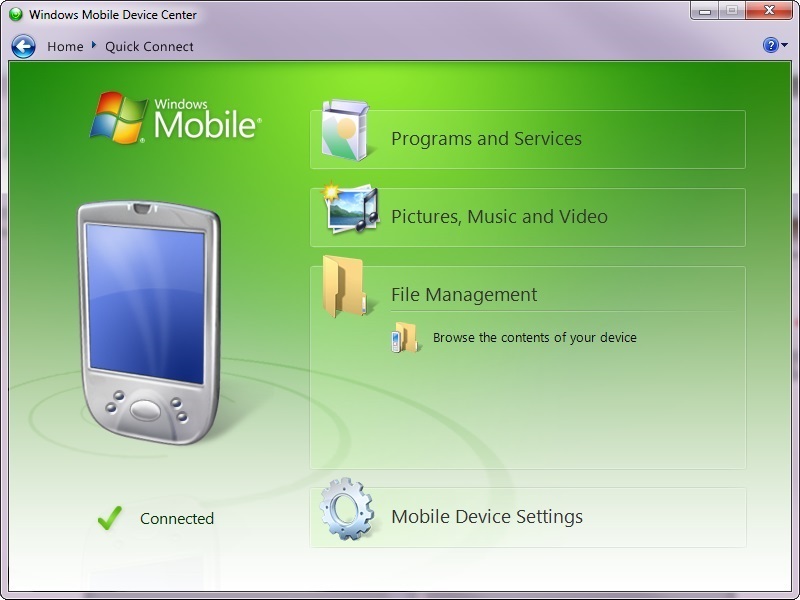
5. Click "File Management" and, then, "Browse the contents of your device" to browse, via your PC, for folders within your device.
6. Locate a folder, within the device, to copy the MCL-Agent files into.
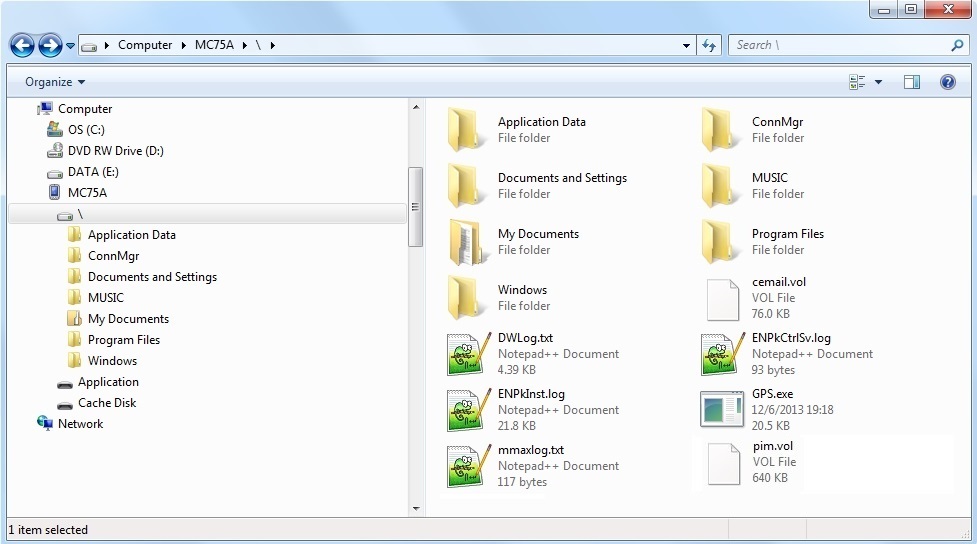
7. Drop the previously downloaded MCL-Agent Package into the folder within the device.
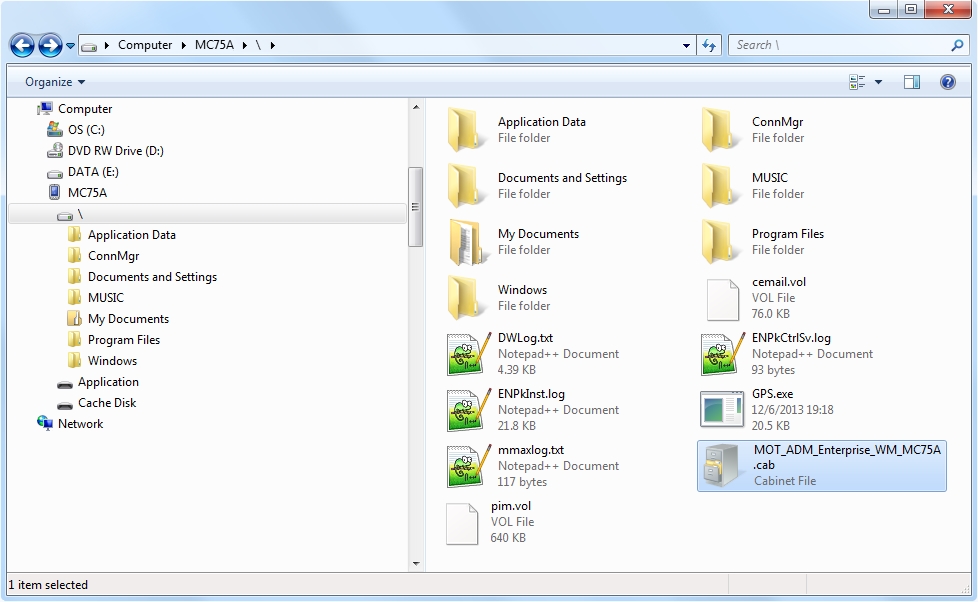
8. Back in your device's screen, locate the folder you have copied the MCL-Agent file into.

9. Click the "MOT_ADM_Ent..." package.
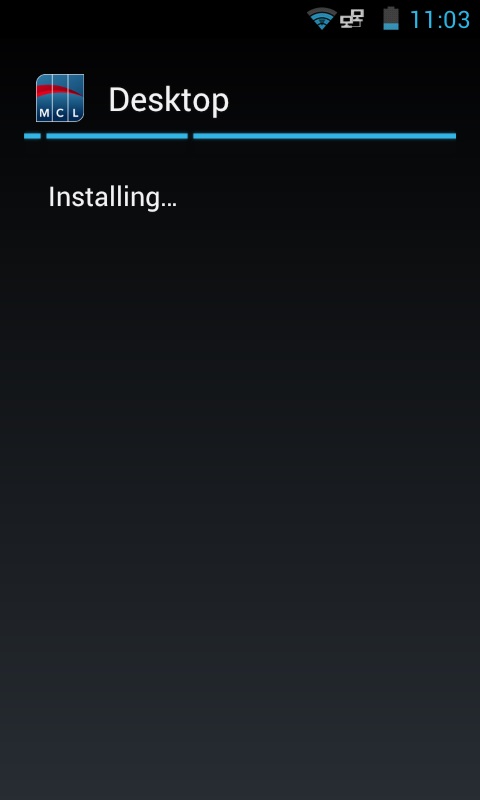
The selected package will automatically begin the installation.
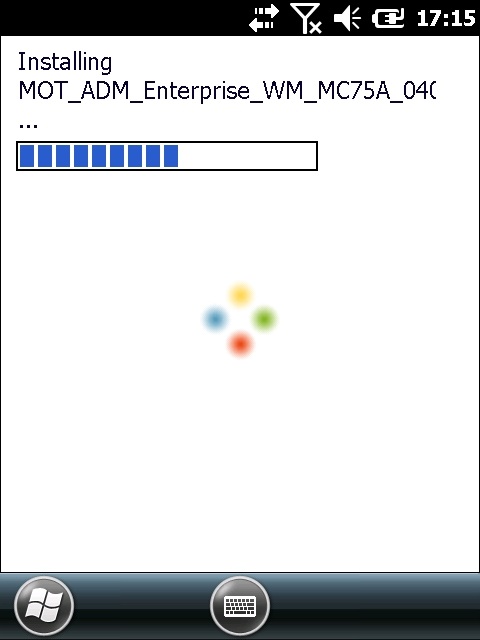
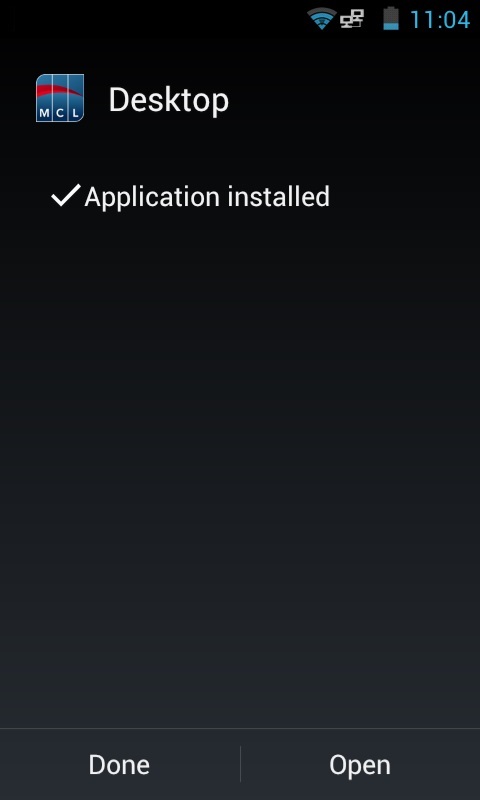
You can check the installation's progress. Once it is completed, you will view the following screen.
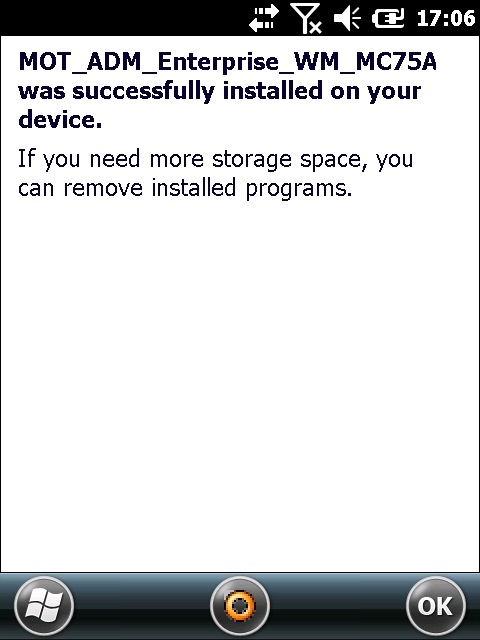
10. Click ![]() .
.
11. Perform a reboot to auto-start the MCL-Agent and App Desktop and proceed to register the device in the account (Pairing).
![]()
As an alternative, you can launch the App Desktop application from the device's program files.
Installing MCL-Agent into an Android ![]() Device
Device
![]() Depending on the device's manufacturer, download the most appropriate Android MCL-Agent Package:
Depending on the device's manufacturer, download the most appropriate Android MCL-Agent Package:
For more detailed information, check our MCL-Technologies download website.
![]()
This package is to be used ONLY for initial installations (for devices without any MCL firmware installed). It CANNOT be used in any future deployments of a configuration (ex: for a downgrade).
Step-by-step
1. Turn on the device and connect it to a computer, via USB.
The USB connection between your device and the computer is automatically detected/established.
![]()
Depending on the OS version, you may have to take additional steps in your device (ex: To "Turn on USB Storage" ).
Follow the instructions provided by your device and continue to step 2.
2. In your PC, a window opens warning you that the device is ready (if Autoplay options are set to do it).
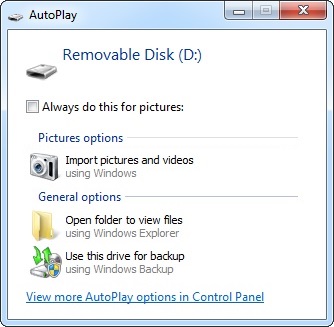
If Autoplay options are not set to open/execute, use an OS File Explorer window to check for the "Removable Disk" that represents the Android device.
3. Open an OS File Explorer window to go to the folder where you downloaded the Android MCL-Agent Package file into.
4. Select and copy the file.
5. Back in the Android device (referred has "Removable Disk"), paste the copied Android MCL-Agent Package file into a location of your choice.

6. If available, use the "Safely Remove Hardware and Eject Media" tool, on your PC, to safely disconnect the Android device from your PC.
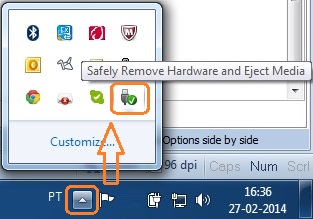
![]()
Depending on the OS version, you may have to take additional steps in your device to "unmount" it (ex: To "Turn off USB storage").
Follow the instructions provided by your device and continue to step 7.
7. Remove the USB cable from your Android device.

8. Click the "Apps" button (![]() ).
).
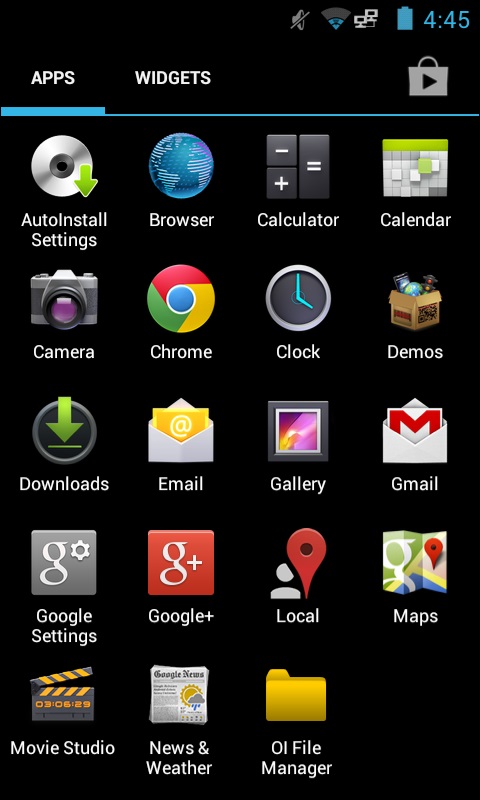
9. Click ![]() and open the Android File Manager to locate the Android MCL-Agent Package file you have copied.
and open the Android File Manager to locate the Android MCL-Agent Package file you have copied.
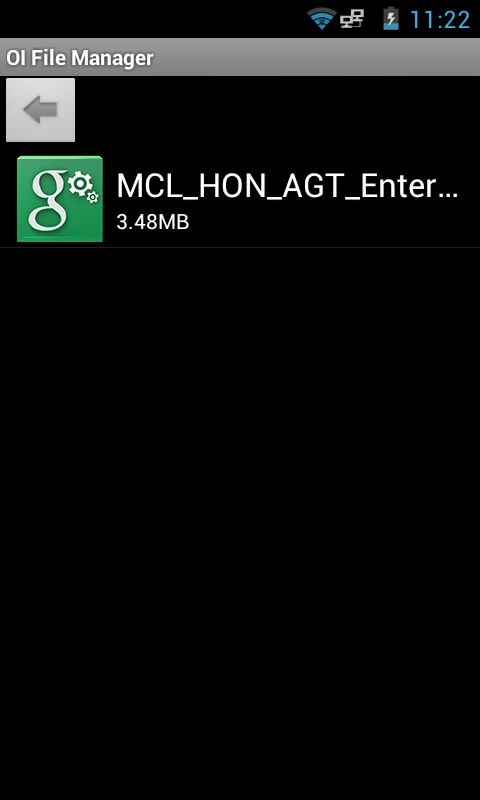
10 Execute the Android MCL-Agent Package file by pressing it.

11. Click the ![]() option.
option.
12. Click ![]() to continue.
to continue.
|
|
|
13. Click ![]() .
.
14. Proceed to register the device in the account (Pairing).
In MCL-Mobility Platform:
![]()
![]()
Occurrence: After entering the PIN code and clicking ![]() .
.
Cause: The entered PIN code is incorrect.
Action: Make sure the PIN code is correct, enter it in the appropriate field and click ![]() .
.
In the Windows Mobile/CE ![]() Device:
Device:
Occurrence: After clicking ![]() in the pop-up menu.
in the pop-up menu.
Cause: Aborted pairing operation.
Action: Click ![]() to return to the "App Desktop" OR click
to return to the "App Desktop" OR click ![]() to resume the pairing operation.
to resume the pairing operation.
Occurrence: After you have clicked ![]() and during PIN code generating.
and during PIN code generating.
Cause: No internet connection (no access to the MCL-Mobility Platform).
Action: Depends on the type of connection used by your device:
•If your device is connected via USB, make sure that:
a. Windows Mobile Device Center is connected to the device.
b. Windows Mobile Device Center is allowing the device to use your PC's internet connection.
•If your device is connected via WiFi, check:
a. the WiFi connection (network, profile, etc.).
In MCL-Mobility Platform:
![]()
![]()
Occurrence: After entering the PIN code and clicking ![]() .
.
Cause: The entered PIN code is incorrect.
Action: Make sure the PIN code is correct, enter it in the appropriate field and click ![]() .
.
In the Android ![]() Device
Device
Occurrence: After clicking ![]() in the screen that displays the generated PIN code (step 5).
in the screen that displays the generated PIN code (step 5).
Cause: Aborted pairing operation.
Action: Click ![]() to return to the "App Desktop" OR click
to return to the "App Desktop" OR click ![]() to resume the pairing operation.
to resume the pairing operation.