|
Users |
  
|
Users
|
Users |
|
Overview
The Users module of the "Control Panel" provides access to a list of users and their profile details. This is where user profiles (account administrators, site managers and device installers) are added to the account and their details edited.
In the Admin Dashboard's "Control Panel", click  to open the "User Management" page and view a list of users created within the account.
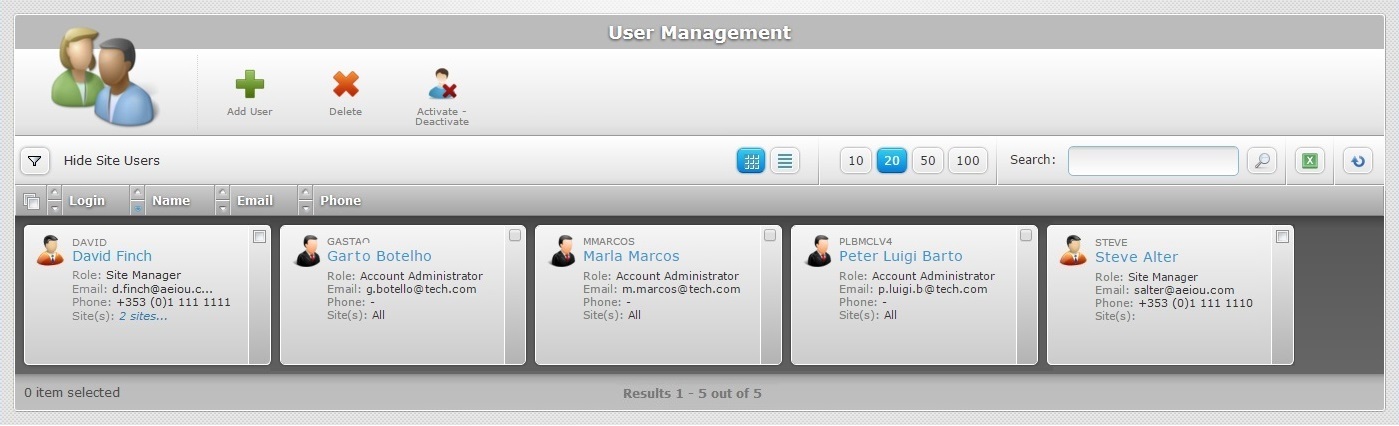
This information can be displayed in a grid or a list view. By default, the users are displayed in a grid view but it can be changed.
Click ![]() or
or ![]() to select the most appropriate view:
to select the most appropriate view:
•Click ![]() for a grid view.
for a grid view.
This view displays the following information:
Login |
The user's login. |
( in blue) |
The user's name. If you click it, you access that user's "Details" page (ex: David Finch). See User Details. |
Role |
The user's role within the account. See User Details. |
The user's email. |
|
Phone |
The user's phone number. |
Site(s) |
The number of sites that the user is associated to. If displayed in light blue, you can mouse hover it and view the name of the sites. |
•Click ![]() for a list view.
for a list view.
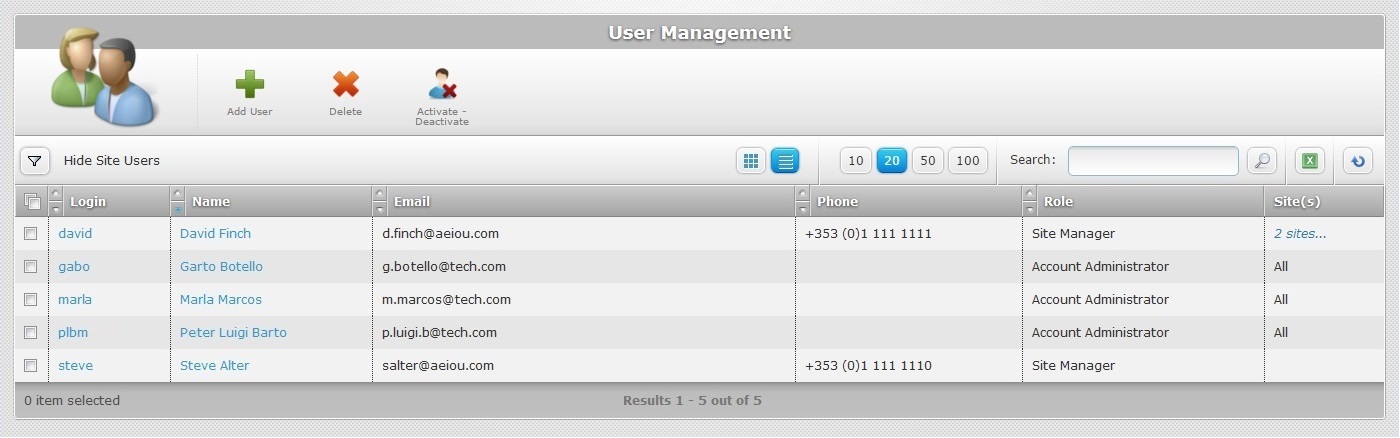
This view displays the following information:
Login (in light blue) |
The user's login. You can click it to access the corresponding "User Details" page. See User Details. |
Name (in light blue) |
The user's name. If you click it, you access the corresponding "User Details" page. See User Details. |
The user's email. |
|
Phone |
The user's phone number. |
Role |
The user's role within the account. See User Details. |
Site(s) (in blue) |
The number of sites that the user is associated to. If you mouse hover it, you are also provided with the name of the sites. |
![]() You can omit Site Users from this user's list. To do so, click
You can omit Site Users from this user's list. To do so, click ![]() to access the
to access the ![]() option and check it.
option and check it.
The "User Management" page also displays the following options:

![]() Use these buttons to control the number of displayed items per page. Click one of the options (10 items per page/20 items per page/50 items per page/100 items per page).
Use these buttons to control the number of displayed items per page. Click one of the options (10 items per page/20 items per page/50 items per page/100 items per page).
![]() Use the search box to look for specific list items:
Use the search box to look for specific list items:
a. Enter what you want to search for.
b. Click ![]() or press <ENTER> in your PC keyboard to initiate the search.
or press <ENTER> in your PC keyboard to initiate the search.
c. To conclude the search operation, empty the search box and click ![]() or press <ENTER> in your PC keyboard.
or press <ENTER> in your PC keyboard.
![]() Use this button to export a list with the users included in the account. Proceed as follows:
Use this button to export a list with the users included in the account. Proceed as follows:
a. Click ![]() .
.
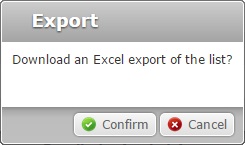
b. Click ![]() .
.
The users list is exported with an Excel file format.
The conclusion of the export operation depends on the web browser used. You should be able to save the Excel file in your PC or open it directly after the download.
![]()
The export only includes the displayed users. If you want to export all the users included in the account, make sure to uncheck the ![]() option.
option.
![]() Click this button to refresh the page's information.
Click this button to refresh the page's information.
![]() Use the buttons, included in this bar, to organize the listed items of the corresponding column:
Use the buttons, included in this bar, to organize the listed items of the corresponding column:
•![]() by ascending order.
by ascending order.
•![]() by descending order.
by descending order.
![]() Click this button to select all the items on display. In this case, the users.
Click this button to select all the items on display. In this case, the users.
Click the user's name (displayed in light blue) to access a page with the details of a particular user. See User Details.
Available Operations
The "User's" page also provides direct access to specific operations concerning users:
To add a new user, use the ![]() button. For more detailed information, see Adding a User.
button. For more detailed information, see Adding a User.
To delete selected users, use the ![]() button. For more detailed information, see Deleting a User.
button. For more detailed information, see Deleting a User.
To activate/deactivate the selected user's current status, click ![]() and proceed as follows:
and proceed as follows:

a. Click ![]() to confirm the operation.
to confirm the operation.
Depending on the selected user's previous status ("Enabled"/"Disabled"), the new status will be the opposite.
This chapter describes the operations available regarding users:
Topic/Operation |
Description |
|---|---|
View the user's profile. |
|
Create the necessary users (account administrators, site managers, device installers) to administrate the account and/or site(s). |
|
Modify details in a user's profile as well as their current status. |
|
Delete a user. |