|
Automatic Pairing/Staging onto the "Unassigned" Device Group |
  
|
Automatic Pairing/Staging onto the "Unassigned" Device Group
|
Automatic Pairing/Staging onto the "Unassigned" Device Group |
|
Overview
The Automatic mode is different when targeting a device group that is compatible with the Android device's manufacturer/model and when the destination is the "Unassigned" device group.
This topic describes the automatic pairing of an Android device onto the "Unassigned" device group - there is no attached staging because the "Unassigned" device group has no settings.
Before initiating the automatic mode, consider the following:
•The compatible MCL-Agent for Android devices MUST to be installed into the device(s) you want to pair/stage. See Installing MCL-Agent into an Android Device.
•There MUST be an Internet connection via Wifi.
•The Android devices MUST have their system date up-to-date and their timezone MUST be the same as the one defined in the destination site.
The automatic mode uses a QR code generated in the destination device group's details page. In this case, we want to add the device to the "Unassigned" device group which does NOT have a details page, so we generate the QR code within the "Devices" page.
Step-by-step
1. Access your MCL-Mobility Platform and click  in the Site Dashboard's "Control Panel".
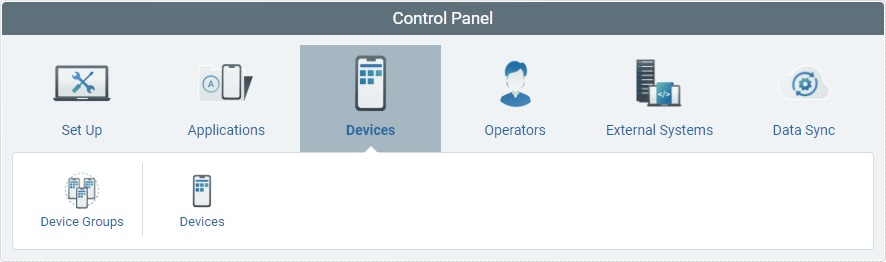
2. In the resulting row below, click  to access the "Devices" page.
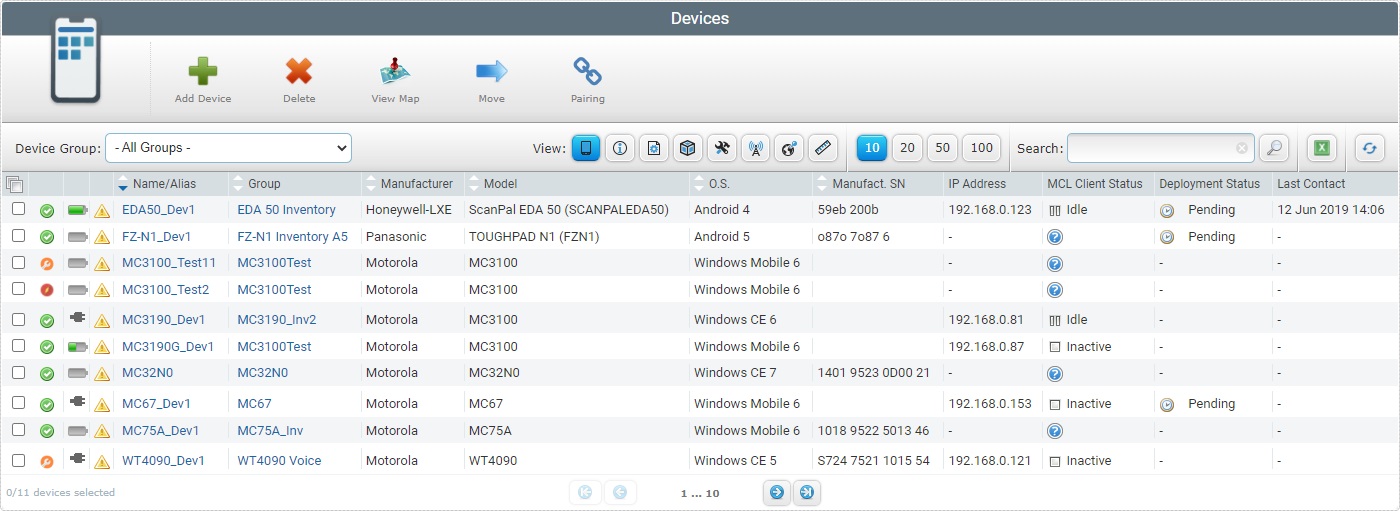
3. Click ![]() .
.
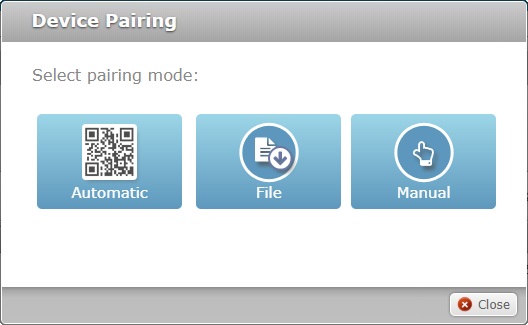
4. Click ![]() to continue.
to continue.
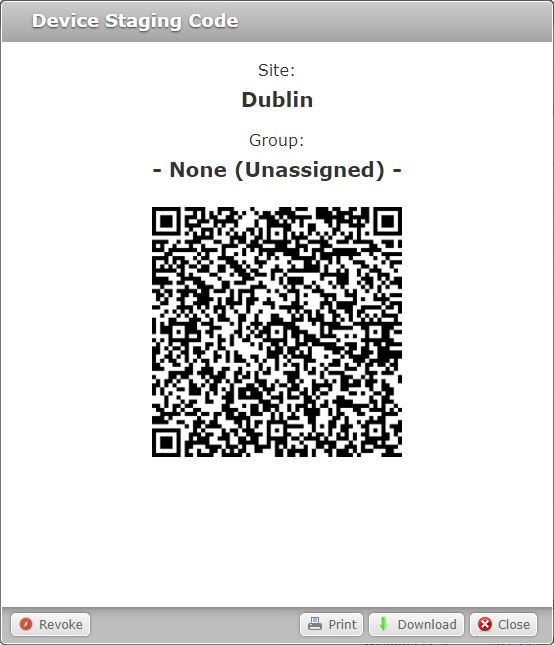
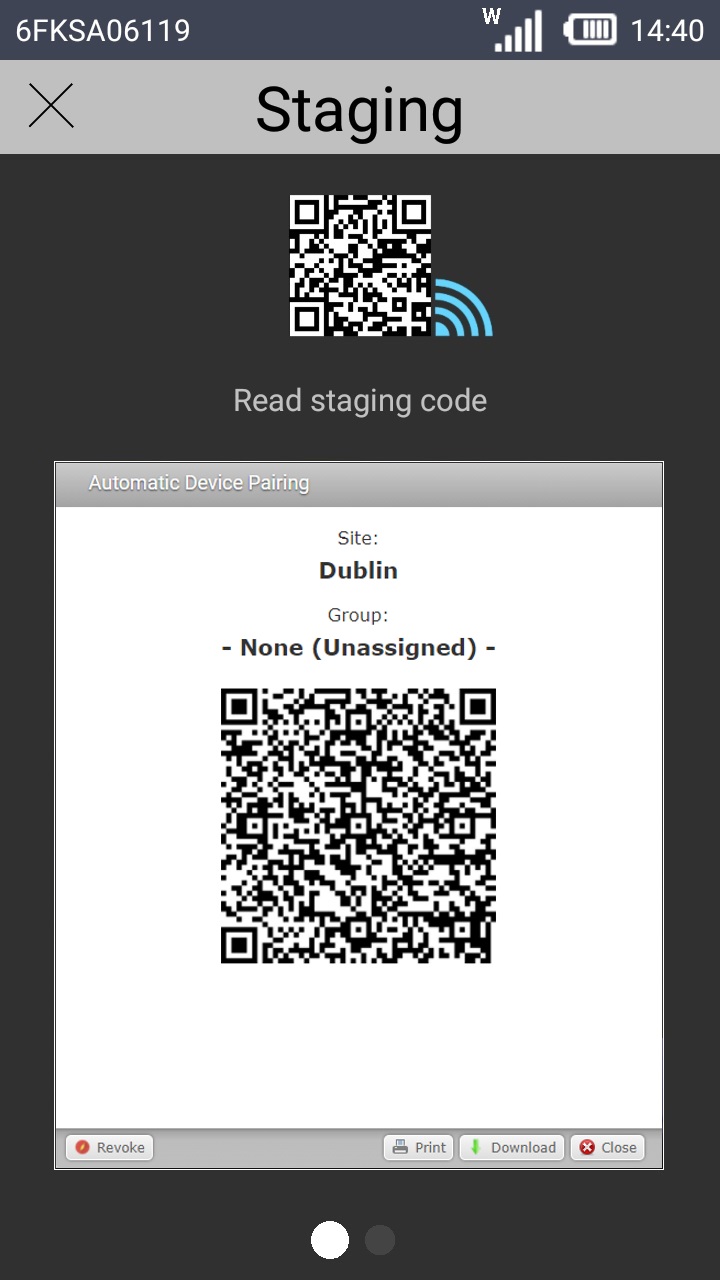
This pop-up window displays the following information/options:
Site |
The name of the target site for the pairing. |
|---|---|
Group |
The name of the target device group for the pairing, in this case, "Unassigned". |
QR Code |
The QR code - it contains the pairing information (ex: the target for the pairing). This QR code must be read by the device you want to pair. |
|
Use this option to revoke the current QR Code. See Revoking the QR Code for Pairing/Staging. |
|
Use this option to print the QR code so you can distribute it to the operator(s) performing the scan. |
|
Use this button to download the QR Code in a file format - an "*.mcfg" file that is used for "File Pairing/Staging". See File Pairing/Staging. |
|
Click this option to close this pop-up window. |
Now, it is time to use the device you want to pair.
MCL App Desktop must be launched (it should launch automatically due to the MCL-Agent installed and running but, if necessary, click ![]() to open MCL App Desktop).
to open MCL App Desktop).
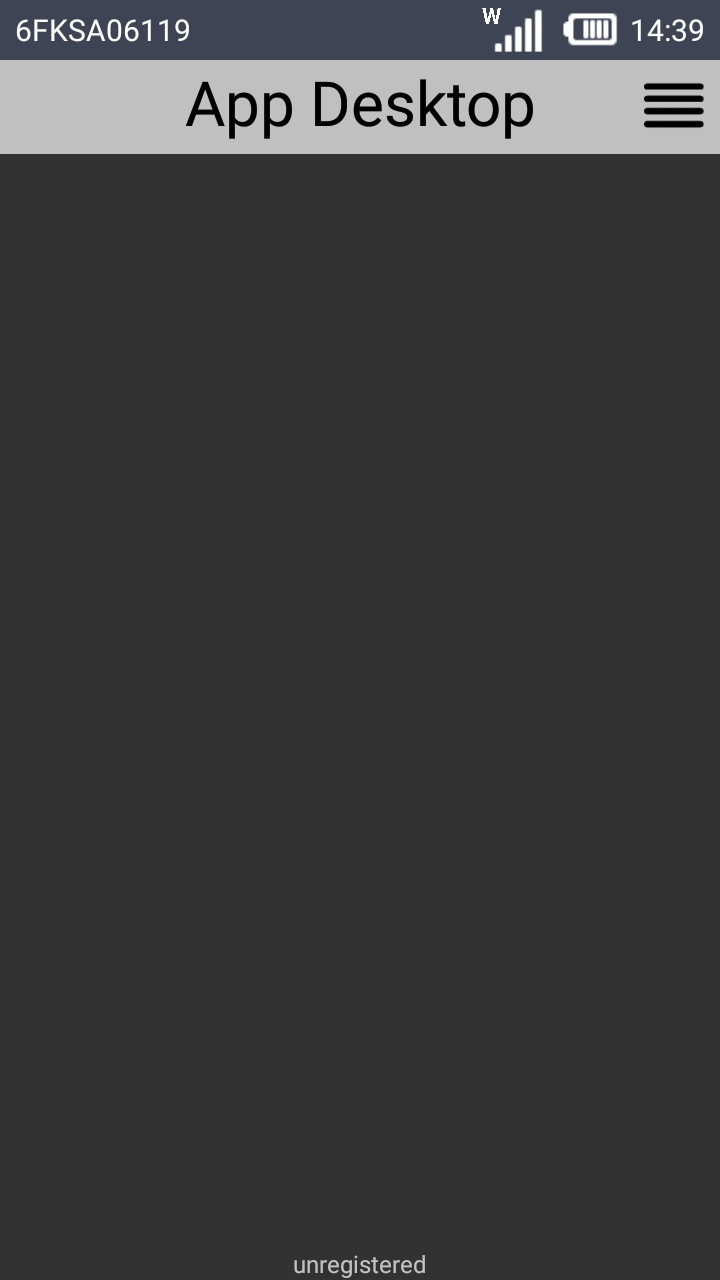
6. Click ![]() (located on the screen's upper right corner) to access MCL App Desktop's menu options.
(located on the screen's upper right corner) to access MCL App Desktop's menu options.
As an alternative, use the "Menu button" (![]() ) (a software or hardware key on the Android device).
) (a software or hardware key on the Android device).
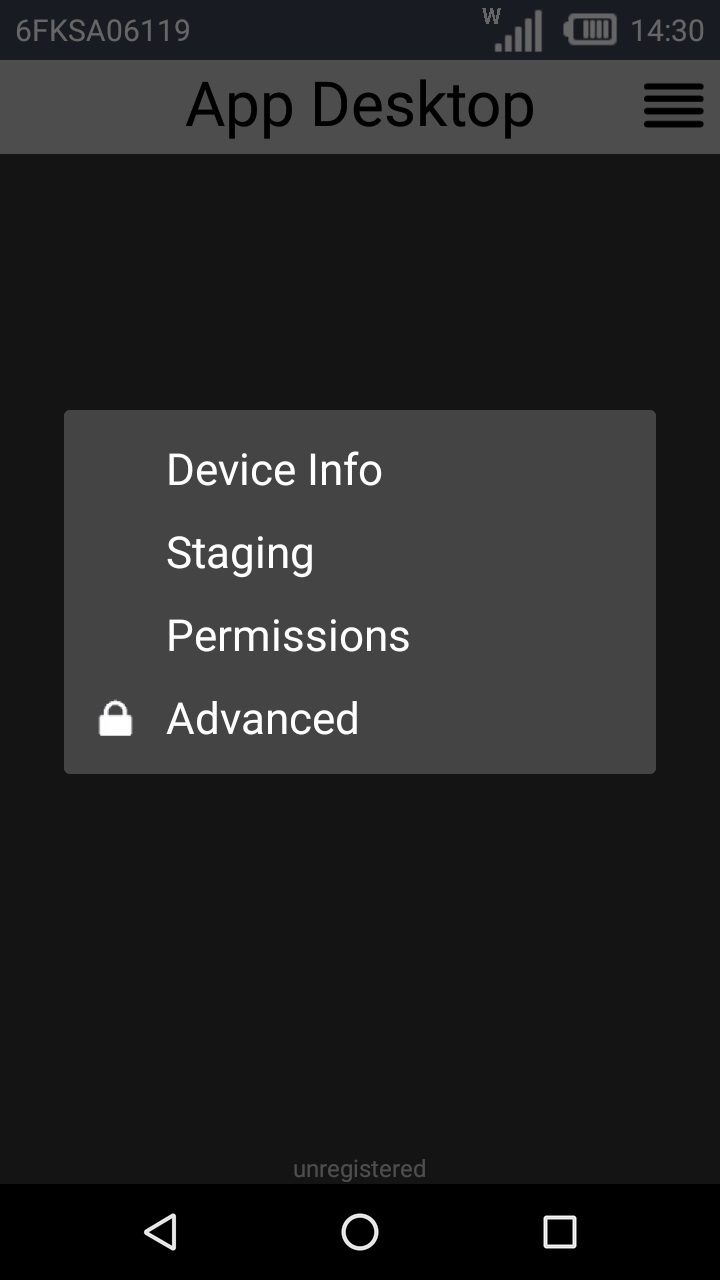
The options available in MCL App Desktop's menu depend on the device's OS version and manufacturer.
Our step-by-step illustrates the options/steps to take for the pairing of an Android Panasonic FZ-N1 device.
7. Click ![]() .
.
![]()
If you get a message requesting "Desktop" to have access to the camera to take pictures and record video, click![]() to proceed with the Staging process.
to proceed with the Staging process.
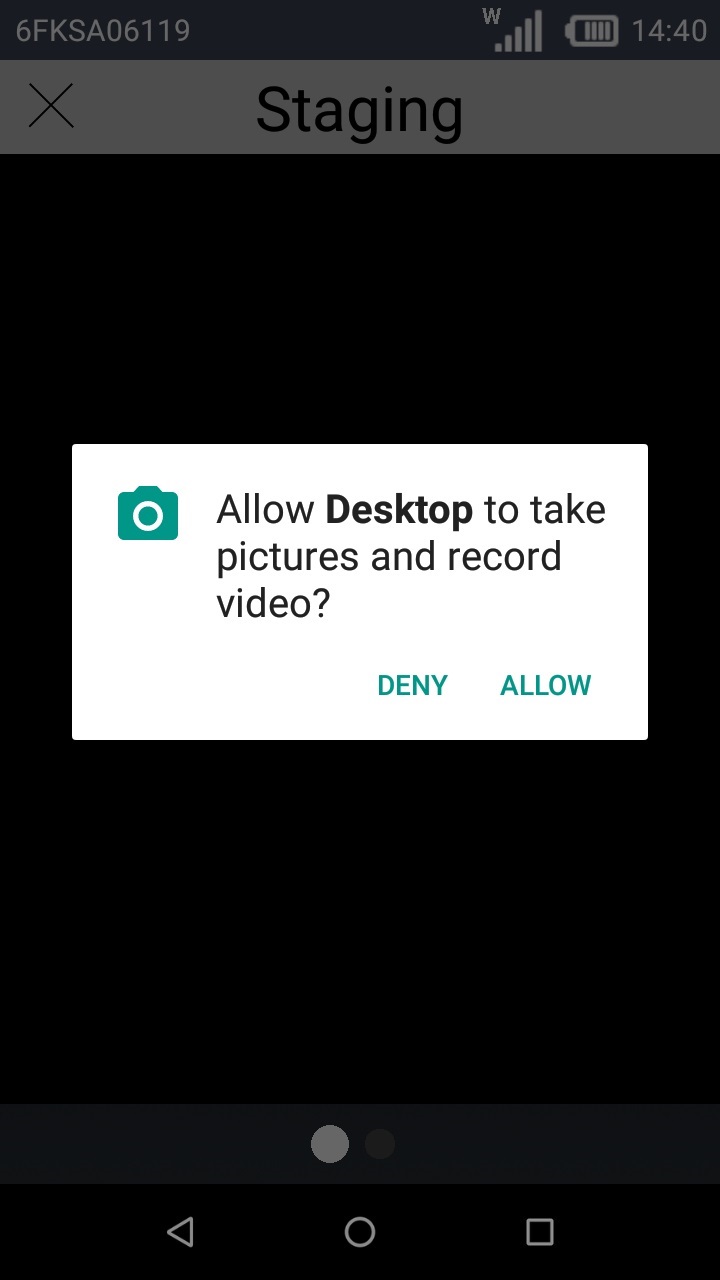
![]() During a Staging process (or when using MCL applications), you may be required to allow the use of the camera, storage, phone, microphone, location, or any other setting according to the application's needs. This is valid ONLY for devices with MCL-Agent v4.10 or above and it is manufacturer/device dependent - certain manufacturers/devices already have these permissions enabled by default.
During a Staging process (or when using MCL applications), you may be required to allow the use of the camera, storage, phone, microphone, location, or any other setting according to the application's needs. This is valid ONLY for devices with MCL-Agent v4.10 or above and it is manufacturer/device dependent - certain manufacturers/devices already have these permissions enabled by default.
Permissions can be granted when requested (ex: while running an MCL application, you may get a pop-up window requesting you grant a specific permission) or manually (access the MCL App Desktop menu, select "Permissions" and grant the intended permissions.
Once a permission is granted, it CANNOT be revoked.
Sometimes, when performing a staging, the system might not request a permission, such as the use of the device's camera, although it is necessary to that operation. In those cases, you can access the "Permissions" option of the MCL App Desktop menu and grant the intended permission(s) manually.
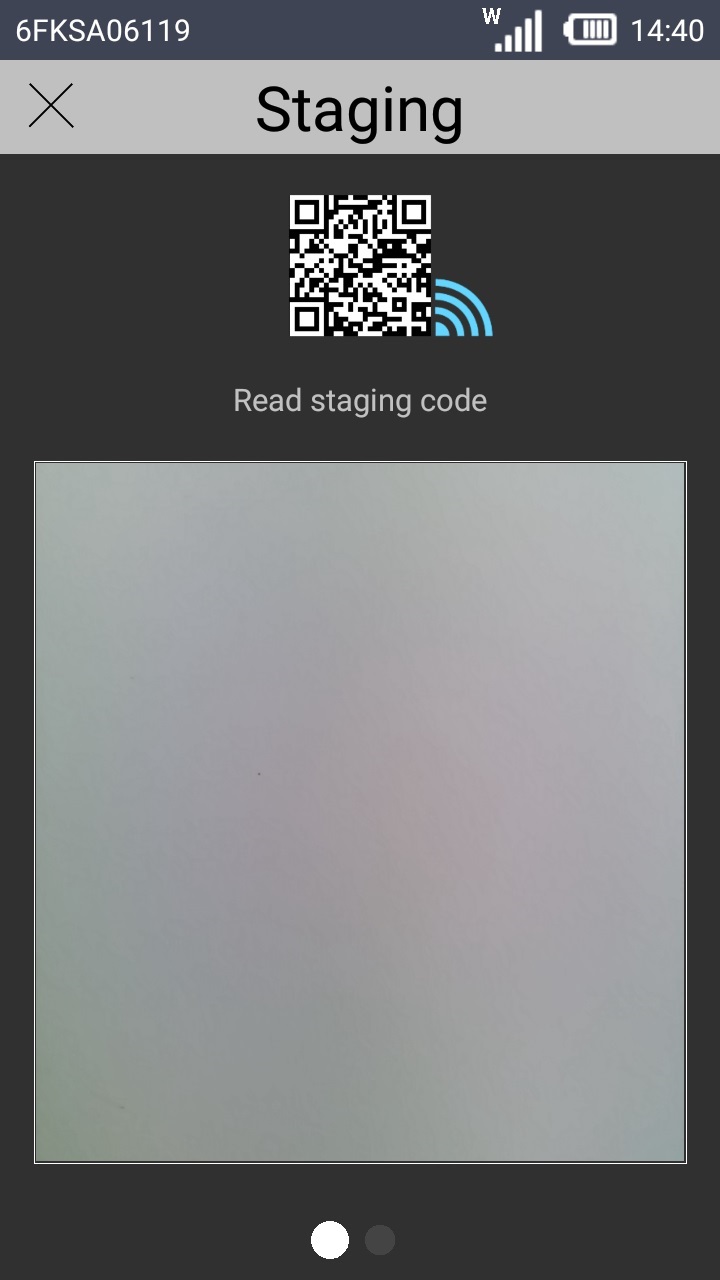
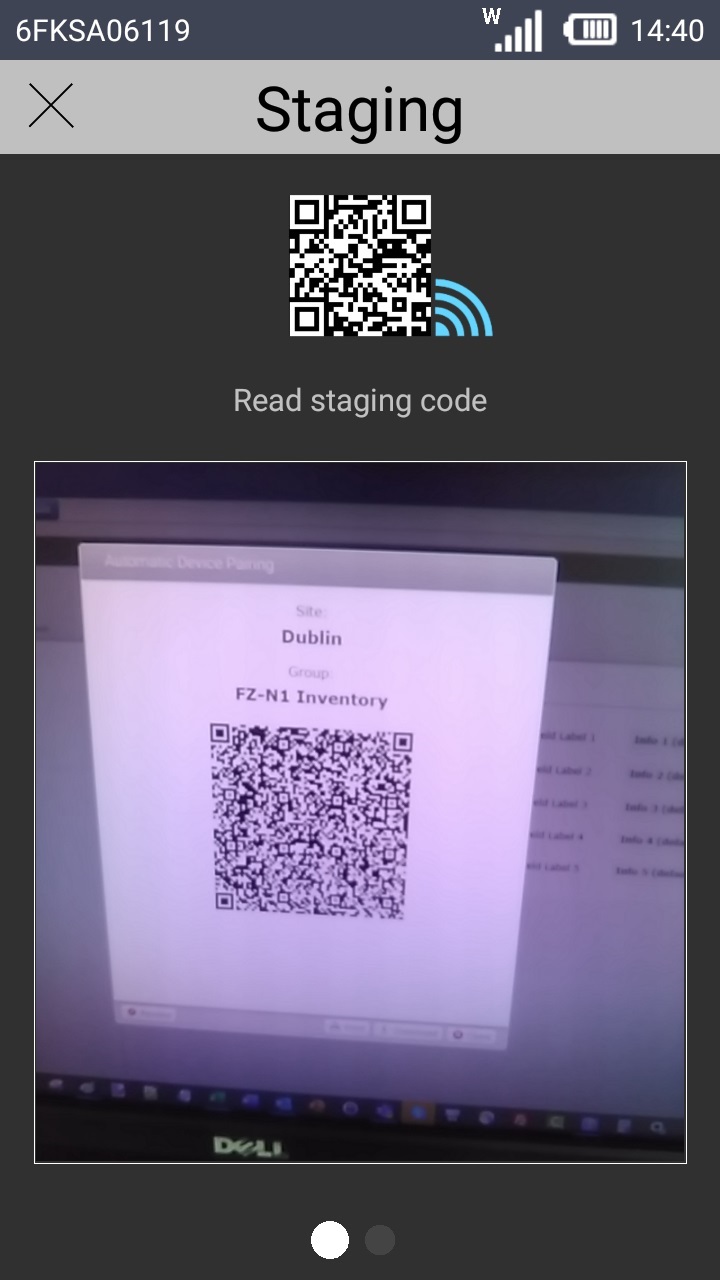
8. Read the QR code, provided by the MCL-Mobility Platform, with your Android device's camera.
|
|
|
|
|
![]()
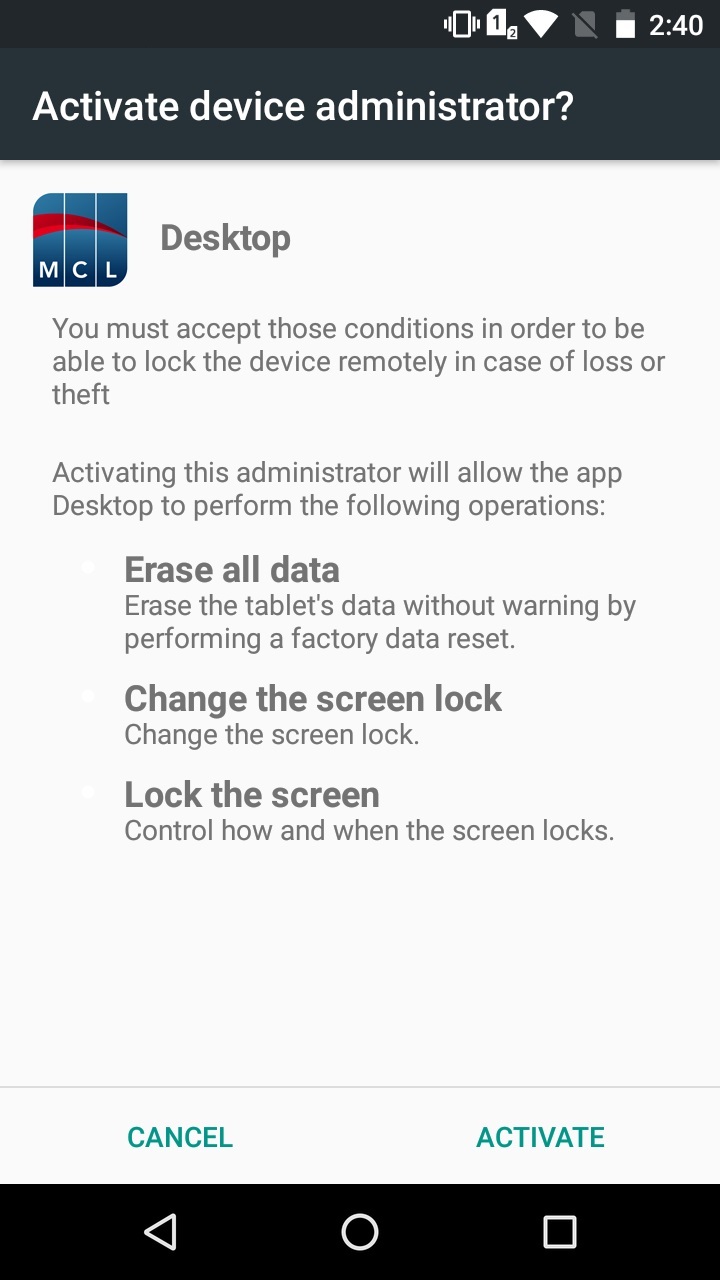
If you get a message requesting you to "Activate device administrator?" rights, click ![]() .
.
This is the device's screen once the pairing is completed.
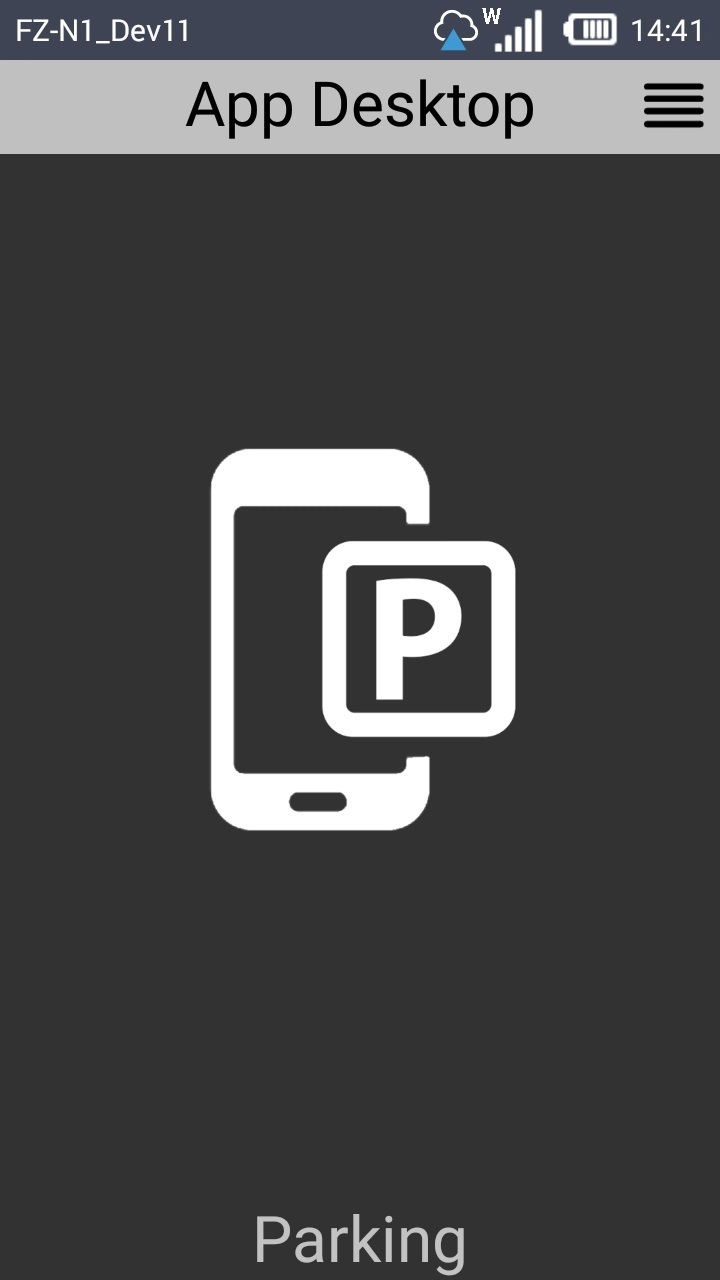
MCL App Desktop displays the word "Parking" at the bottom of the screen to inform that the device is included in the "Unassigned" device group and, therefore, cannot be used for any work related task. The device will, however, continue to contact the MCL-Mobility Platform account to check if there is a change in the device group it is associated to and its status.
If an error message appears, check Possible Error Message(s) below.
![]()
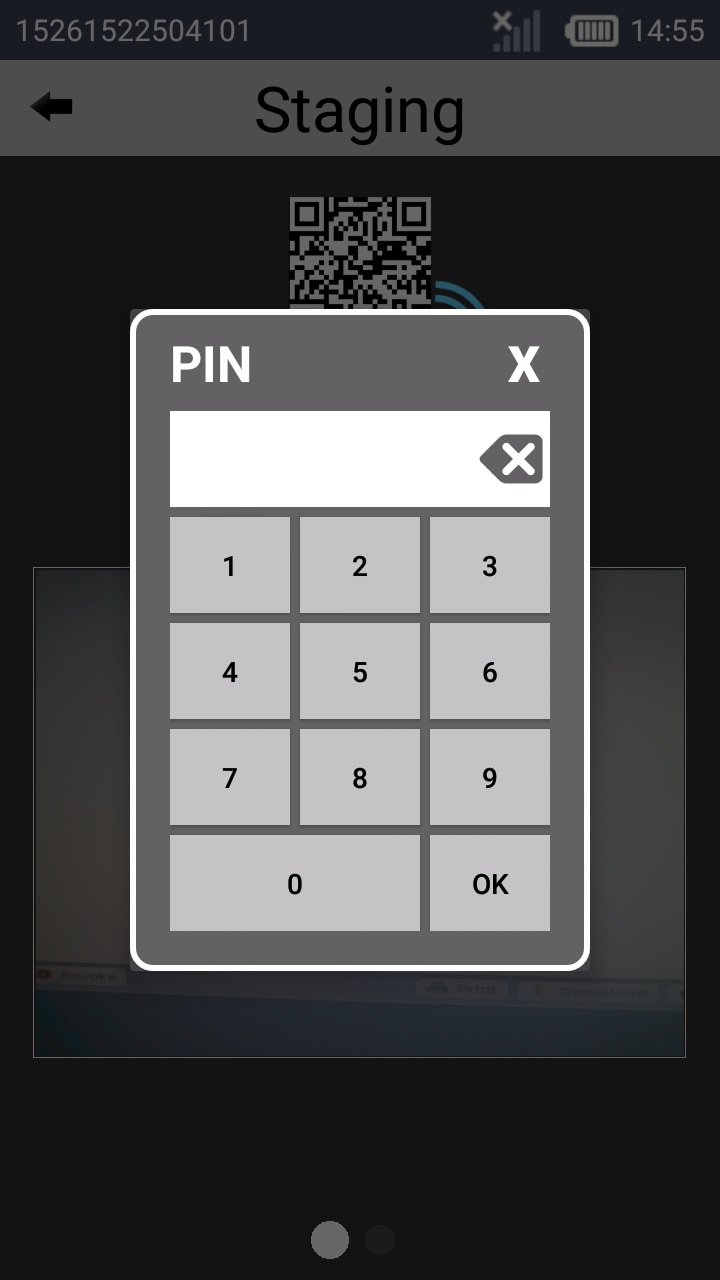
If you get a pin code request, that means that the read QR code includes a setting regarding a pin code. This is NOT a default option. If you want to add this option ,you must revoke the current QR code and create a new one with this requirement. See Revoking the QR Code for Pairing/Staging and Generating a New QR Code for Pairing/Staging.
Enter the requested Pin Code and wait for the pairing to proceed and conclude.
9. Back in the "Device Group Details" page, click ![]() to close the pop-up window.
to close the pop-up window.
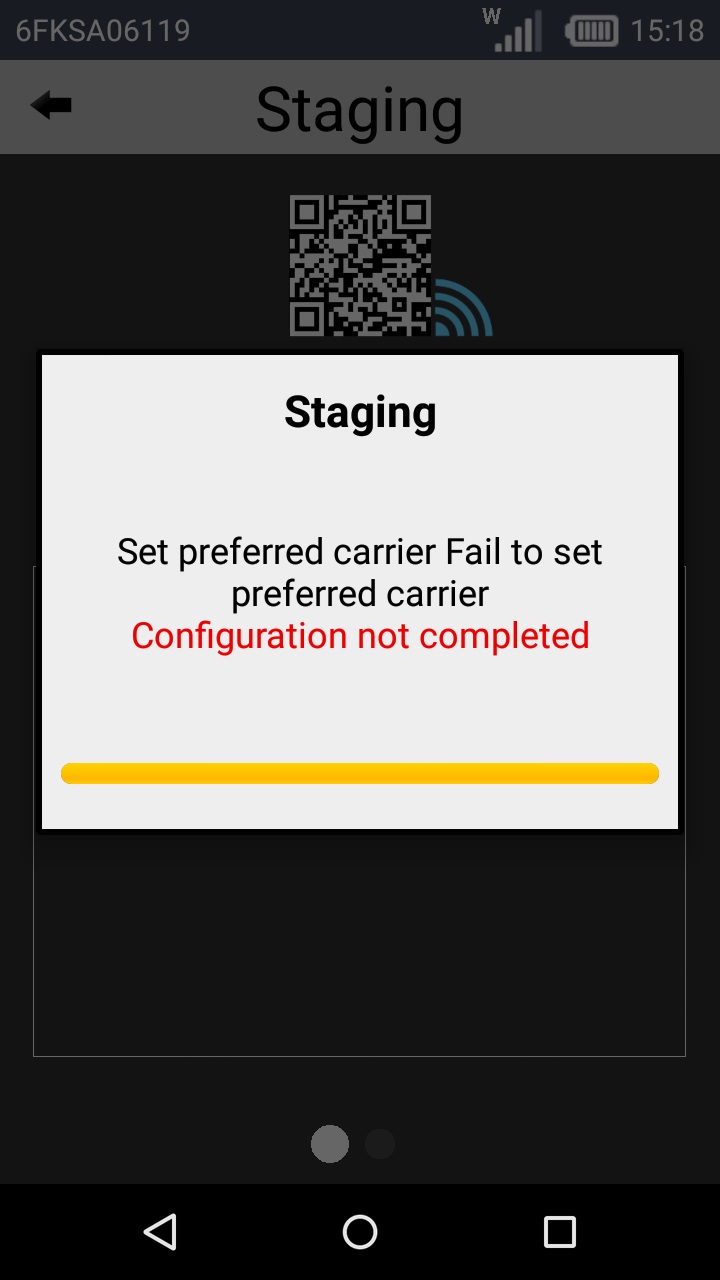
Occurrence: When reading the QR code.
Cause: The site's network Wifi profile is not correctly configured OR the device reading the QR code is not compatible.
Action: Go to the site's "Network Profile" tab and check the selected network Wifi profile OR use a compatible device.
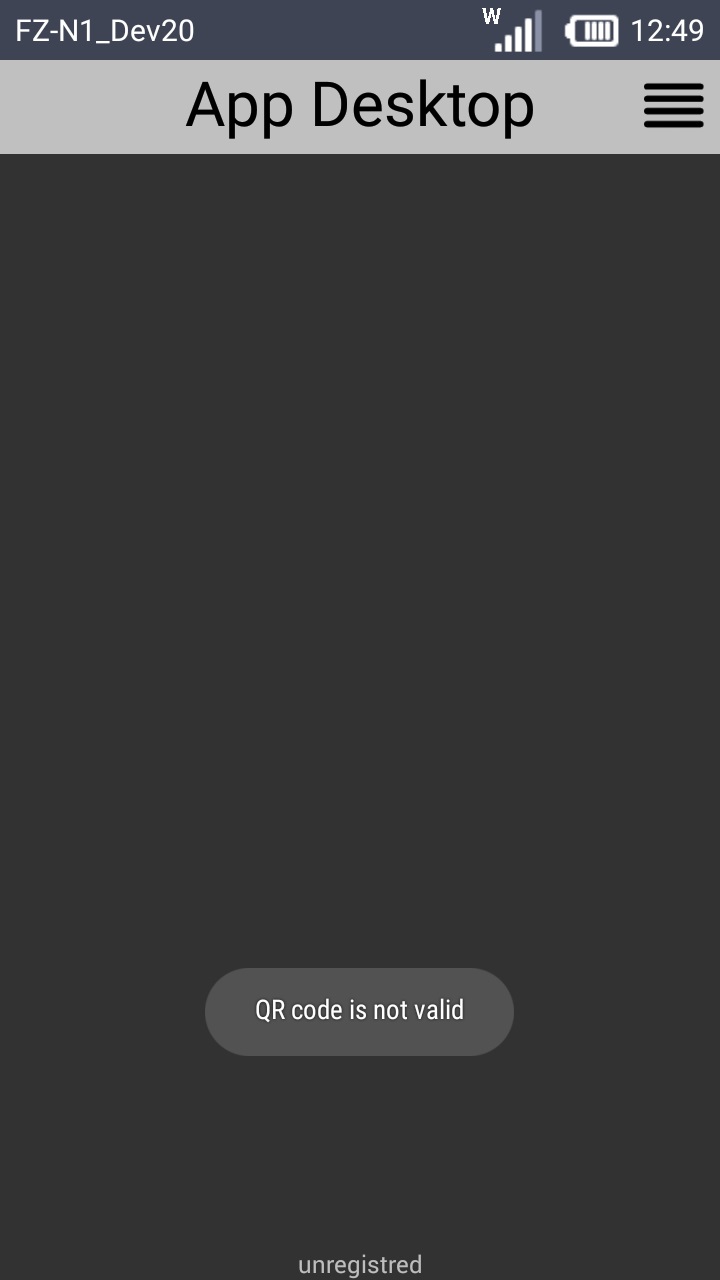
Occurrence: When reading the QR code.
Cause: The QR code has expired.
Action: Create a new QR code.