|
Editing a Device Group |
  
|
Editing a Device Group
|
Editing a Device Group |
|
Overview
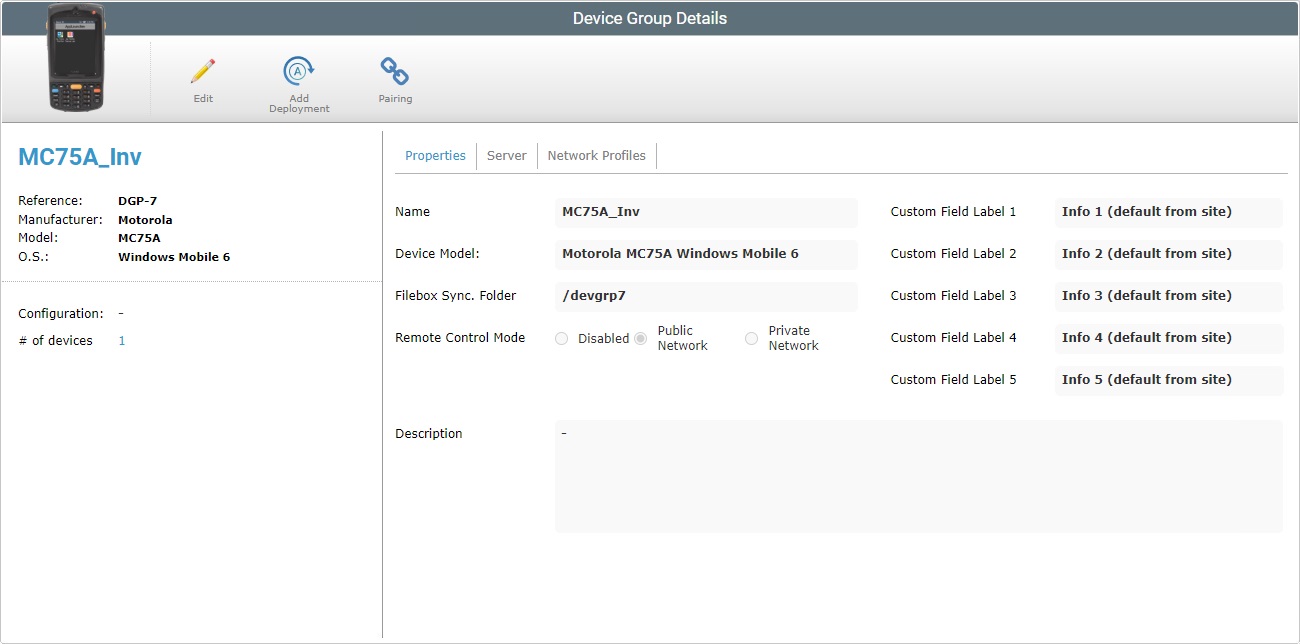
The "Device Group Details" page displays the selected device group's features. Some are editable (name, used server, descriptive information about the device group, etc.) but there is one main feature which can only be viewed and NOT edited - the model/manufacturer of the device that the device group is supposed to include.
Step-by-step
1. In the Site Dashboard's "Control Panel", click 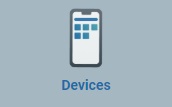 and, in the resulting row below, select
 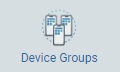 to open the "Device Groups" page.
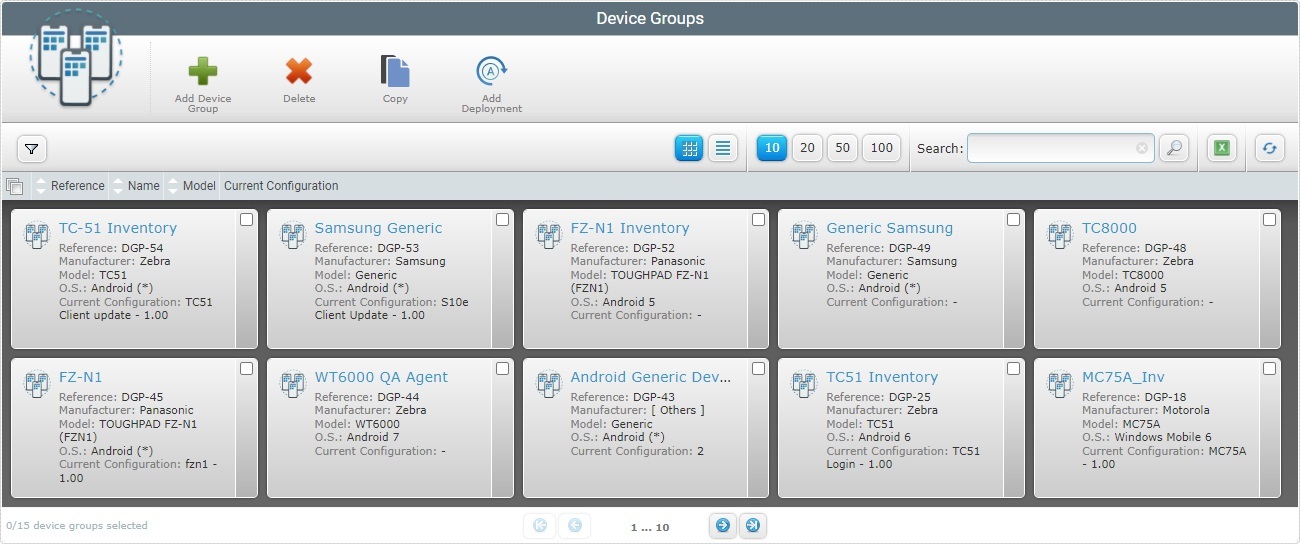
2. Select the device group you want to view by clicking its name (displayed in light blue).
This opens the "Device Group Details" page. The "Properties" tab is open by default.
3. Click ![]() to set the page to edit mode.
to set the page to edit mode.
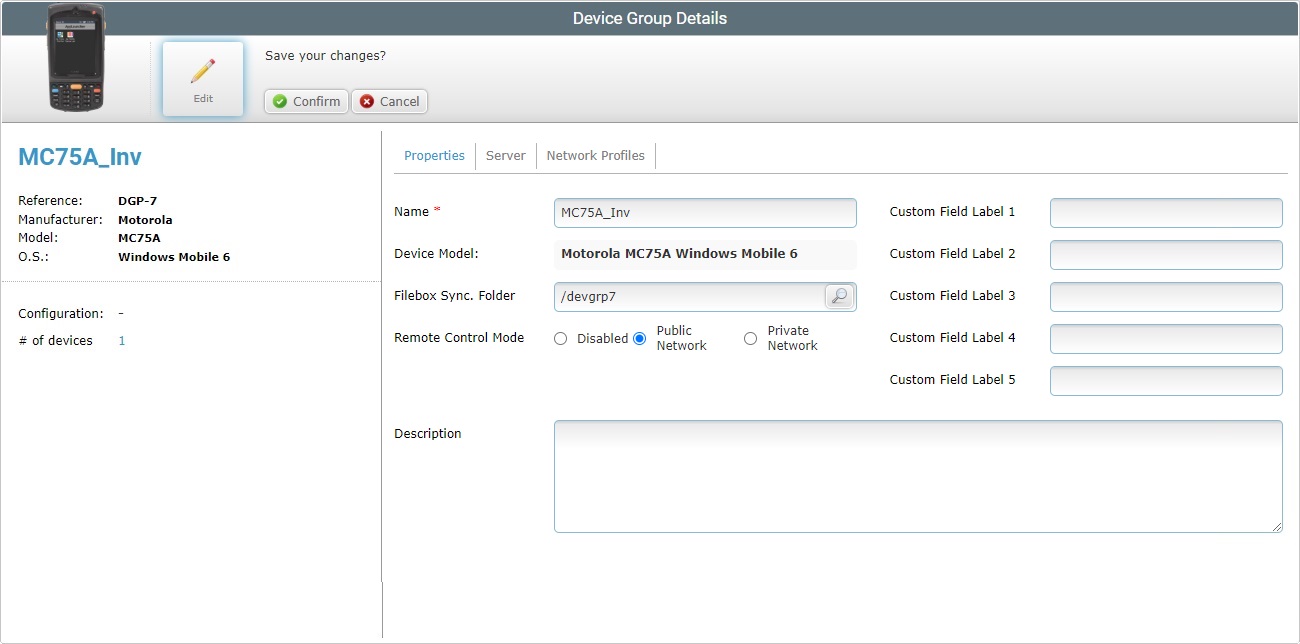
4. If required, edit the available fields:
Name * |
Maintain or enter a new device group name.
The underscore and/or dash characters are allowed. Start the device group name with an alphabetic character. |
Device Model |
Refers the device group's target model. Not editable. An asterisk (wild card) attached to the device model means the device group accepts other variations of the referred model. |
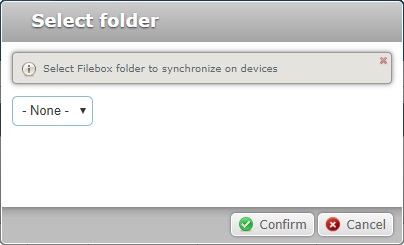
Filebox Sync. Folder |
Maintain or define another folder to synchronize files between the platform's filebox and the device group's private filebox (see Filebox): 1. Click
2. Select another folder.
3. Click
Instead of selecting an existing folder in the "Filebox Sync. Folder" option, you can enter a name for the folder and it will be created/displayed in the platform's Outbox area. However, we recommend following all the steps described in Creating a New Folder to ensure the synchronization between platform and target device group.
|
Maintain or define another mode: Disabled - Check this option to disable this feature for the devices included in this device group. Public Network - Check this option to have MCL-Mobility Platform's Remote Control Service manage the remote connection to the device(s) included in this device group (for "remote control sessions" and/or "remote quick views"). It will be a three elements connection: device > MCL-Mobility Platform's Remote Control Service > PC/browser. Private Network - Check this option to have the PC/Browser manage the remote connection (for "remote control sessions"). This connection rests entirely on a local network. See Remote Control. |
|
|
Maintain or, If required, substitute the default or customized device field labels.
Editing this tab will only affect the device field labels of the devices within this device group. |
Description |
Maintain or edit the information. |
5. Go to the "Server" tab.
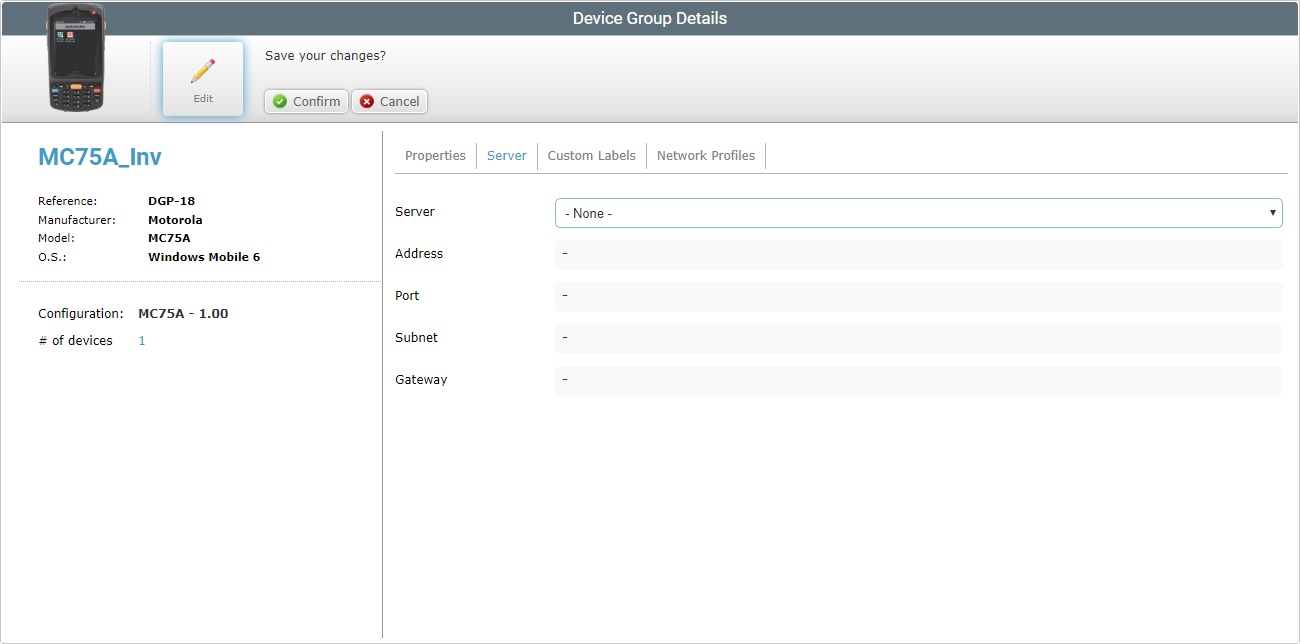
6. If required, edit the following tabs:
Server |
Maintain or select a different server to be used by the device group. If the new server is available on the drop-down list, the following fields will automatically display the corresponding information. If you select a custom server, you have to fill in the remaining fields. |
Address |
If the "-custom-" server is selected, fill in the custom server's address. |
Port |
If the "-custom-" server is selected, fill in the custom server's port. |
Subnet |
If the "-custom-" server is selected, fill in the custom server's subnet mask. |
Gateway |
If the "-custom-" server is selected, fill in the custom server's gateway. |
7. Open the "Network Profiles" tab.
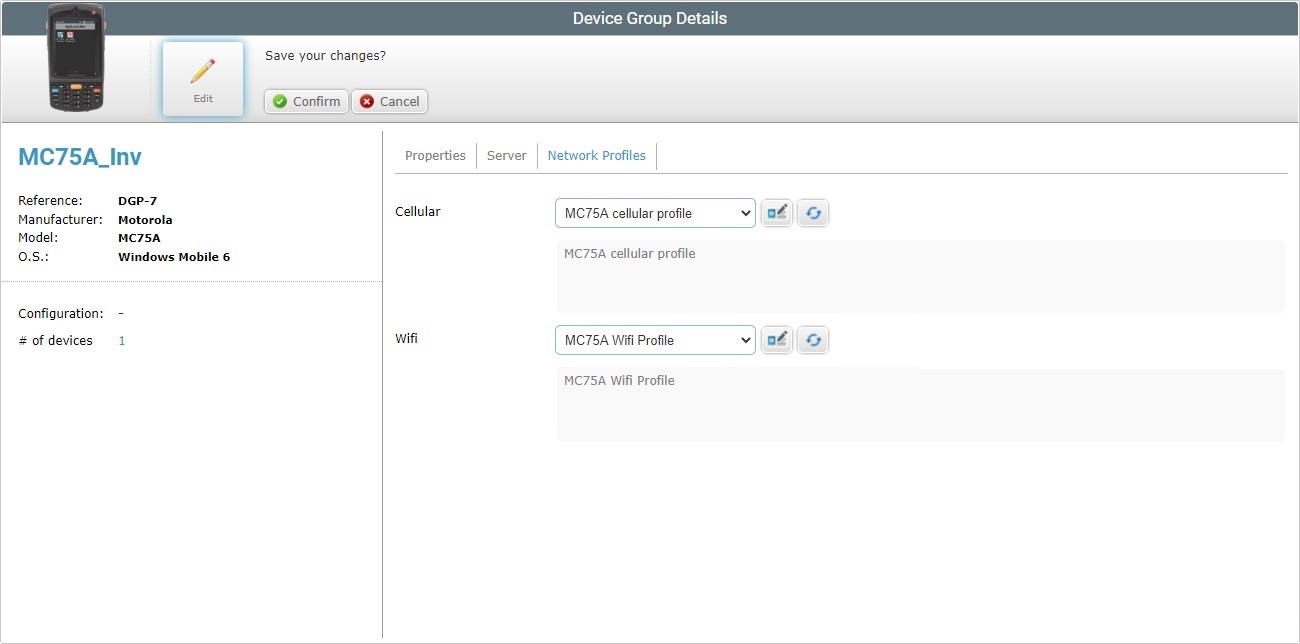
8. If required, modify the "Cellular" and/or "Wifi"profiles in the "Network Profiles" tab:
Deployment Profile |
Maintain or select another cellular network profile. Use the If "<Default>" or "<None>" is selected, the button will provide access to the "Profile Management" page. See The "Network - Cellular Profile" Page. Use the |
|---|---|
Deployment Profile |
Maintain or select another wifi network profile. Click If "<Default>" or "<None>" is selected, the button will provide access to the "Profile Management" page. See The "Network - Wifi Profile" Page. Use the |
9. After you have made all the necessary modifications, click ![]() to apply them.
to apply them.