|
Working with Update Record Process |
  
|
Working with Update Record Process
|
Working with Update Record Process |
|
Process Purpose
The Update Record process is used to update records from a table of a data source in a specific Host server.
This data source must always be connected/linked to the operating system being used. See To create a Data Source in the PC.
When you add a process, you are required to define its settings. This occurs in the process's properties window which is displayed automatically after having added the Update Record process. This properties window includes three tabs - "General", "Query" and "Advanced".
If any subsequent edition is required, double-click the process to open its properties window and enter the necessary modifications.
General tab
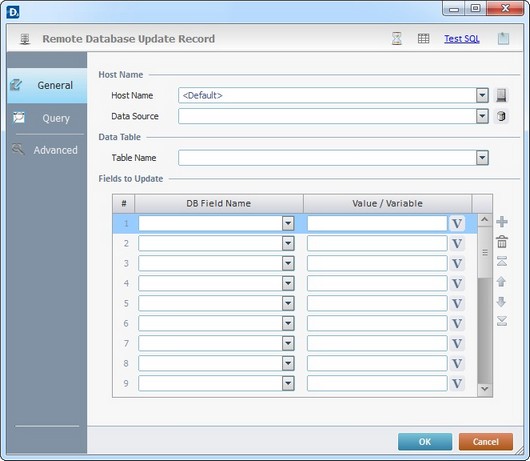
Proceed as follows:
Host Name |
|
Host Name |
Select a Host profile from the drop-down list or click |
Data Source |
Select the database to be updated from the drop-down list or click |
Data Table |
|
Table Name |
Select the table (included in the previously selected database) to be updated from the drop-down list. |
Fields to Update |
|
DB Field Name column |
Select the table's field(s) to be updated from the drop-down list. |
Value/Variable column |
Enter the fixed value to update in the previously selected table field(s) or click |
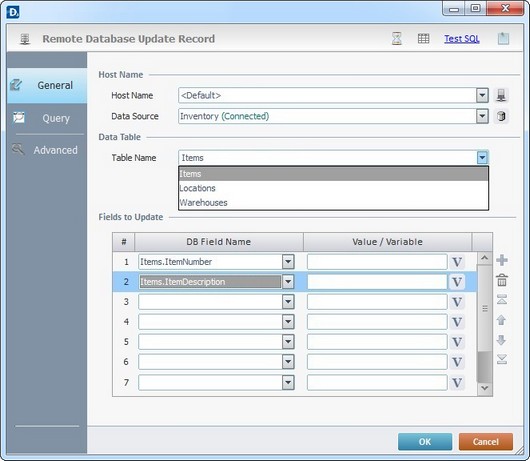
Example
|
The selected database ("Inventory") contains 3 tables ("Items", "Locations" and "Warehouses"). The selected table ("Items") will have its "ItemNumber" and "ItemDescription" fields updated.
|
Use the editing icons to the right of the table to move the rows up and down and to delete or add more rows.
Go to the "Query" tab.
Query tab
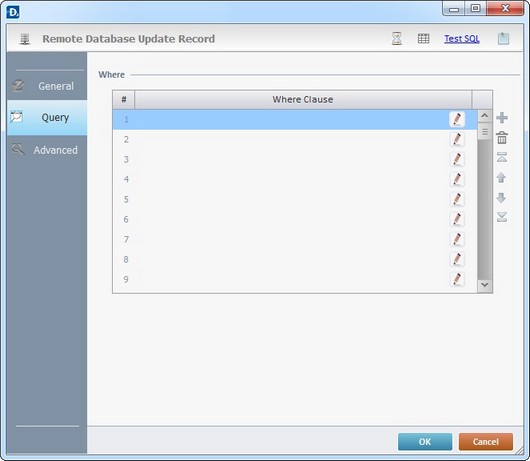
Proceed as follows:
Where |
|
Where Clause |
Click |
Use the editing icons to the right of the table to move the rows up and down and to delete or add more rows.
Continue to the "Advanced" tab.
Advanced tab
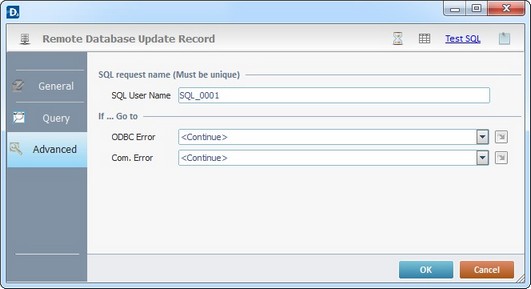
Fill in the following options:
SQL request name (Must be unique) |
|
SQL User Name |
Define a unique name for the SQL request. One is always suggested. |
If … Go to |
|
ODBC Error |
Select a target location from the drop-down or |
Com. Error |
Select a target location from the drop-down or |
Detail of a ![]() window:
window:

"S:Menu" is a screen included in the same program as the process.
"R:Routine_1" is a routine included in the same program as the process.
If required, use the icons on the top of the properties window:
![]() Click it to setup a timeout. See To Define a Time Out.
Click it to setup a timeout. See To Define a Time Out.
![]() Click it to edit a data file. See Editing a Data File.
Click it to edit a data file. See Editing a Data File.
![]() Used to test SQL Scripts. See To Test SQL Scripts.
Used to test SQL Scripts. See To Test SQL Scripts.
After filling in the required options, click ![]() to conclude, or
to conclude, or ![]() to abort the operation.
to abort the operation.
The added process is displayed in the corresponding "Actions" tab or "Process" window.
![]()
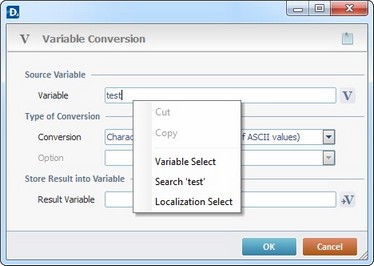
Use the right click in MCL-Designer's input boxes to access certain features regarding the input box's option as well as general actions such as "Copy"; "Paste"; "Search".
Ex: If you right-click the "Variable" input box (included in a "Conversion's" properties window), you are provided with the "Search..."and "Variable Select" options.
If you right-click another input box, it will provide other possibilities.