|
Editing Operator Group Details |
  
|
Editing Operator Group Details
|
Editing Operator Group Details |
|
Overview
The details of an Operator Group can be edited at any time.
Step-by-step
1. Click ![]() (in the Control Panel section) and, in the resulting row below, select
(in the Control Panel section) and, in the resulting row below, select ![]() to open the "Operator Groups" page.
to open the "Operator Groups" page.

2. Click the name of the operator group (displayed in light blue) you want to edit. This opens the "Operator Group Details" page.
3. Click ![]() to set the page to "edit mode".
to set the page to "edit mode".
4. Modify the editable fields according to your requirements. Fields marked with an asterisk are mandatory and must always contain information.
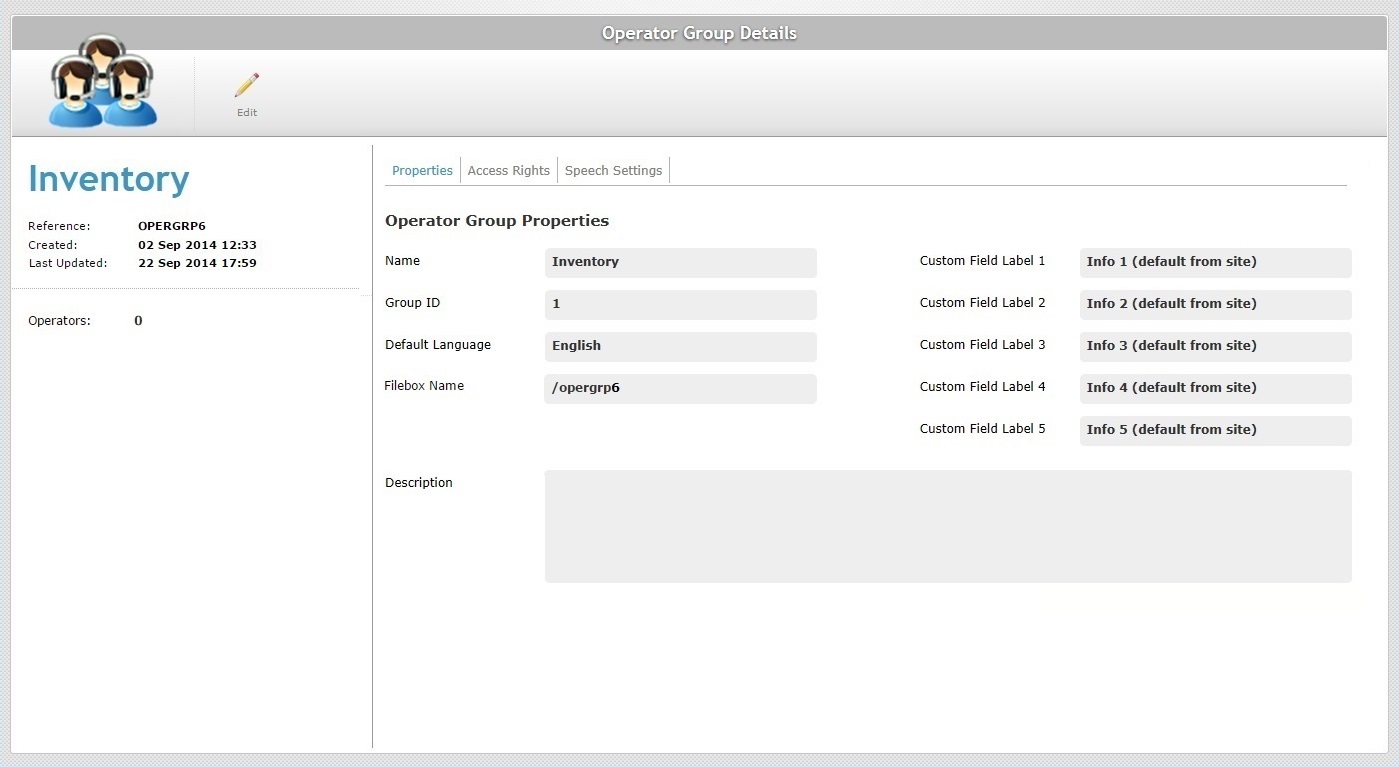
Operator Group Properties |
|
Name * |
Maintain or enter a new name for the operator group.
The underscore and/or dash characters are allowed. Start the operator group name with an alphabetic character. |
Group ID |
This field is NOT editable. |
Default Language |
Maintain or select another default language to be used by the operators included in the operator group. |
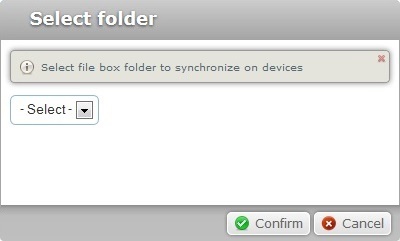
Filebox Name |
Maintain or define another folder to synchronize files between the platform's filebox and the operator group's private filebox (see Filebox). 1. Click
2. Select another folder.
3. Click
Instead of selecting an existing folder in the "Filebox name" option, you can enter a name for the folder and it will be created/displayed in the platform's Outbox area. However, we recommend following all the steps described in Creating a New Folder to ensure the synchronization between platform and target operator group. |
Custom Field Label 1 > 5 |
Maintain or edit the entered information. |
Description |
Maintain or edit the information regarding the operator group. |
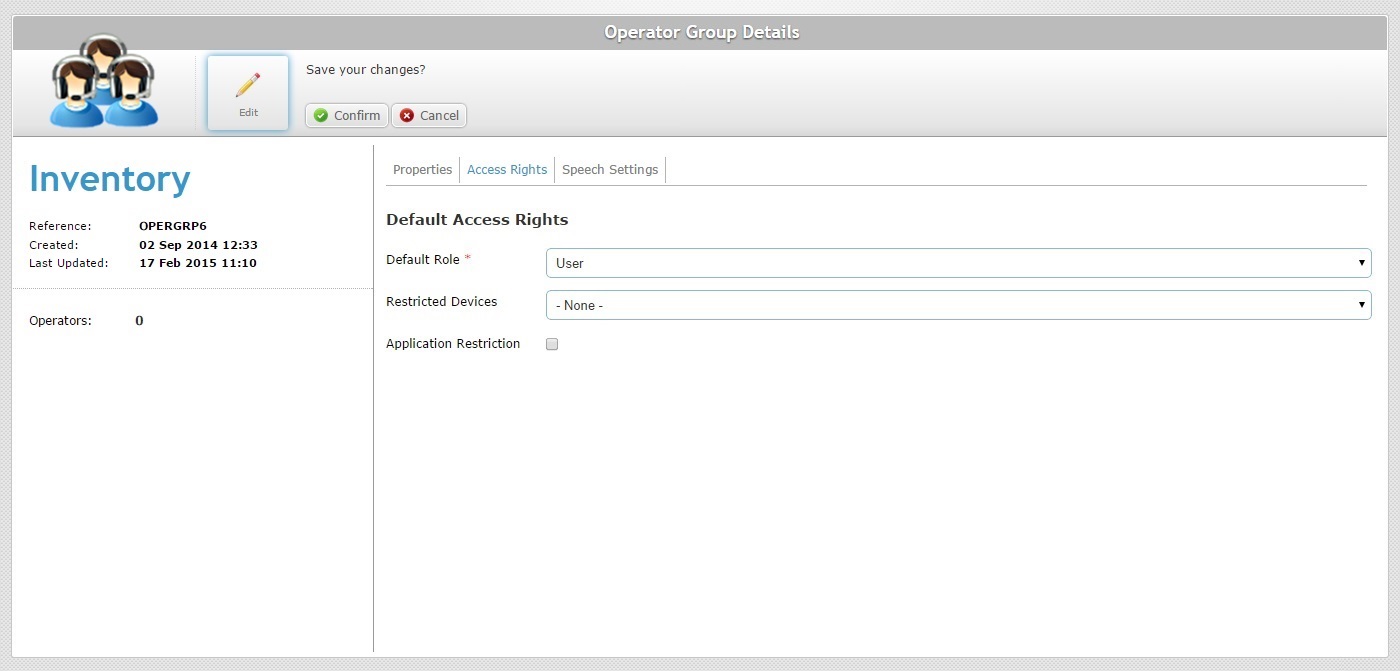
5. If required, go to the "Access Rights" tab. If you have finished editing the operator group's profile, continue to step 10.
6. Perform the necessary changes in the following fields:
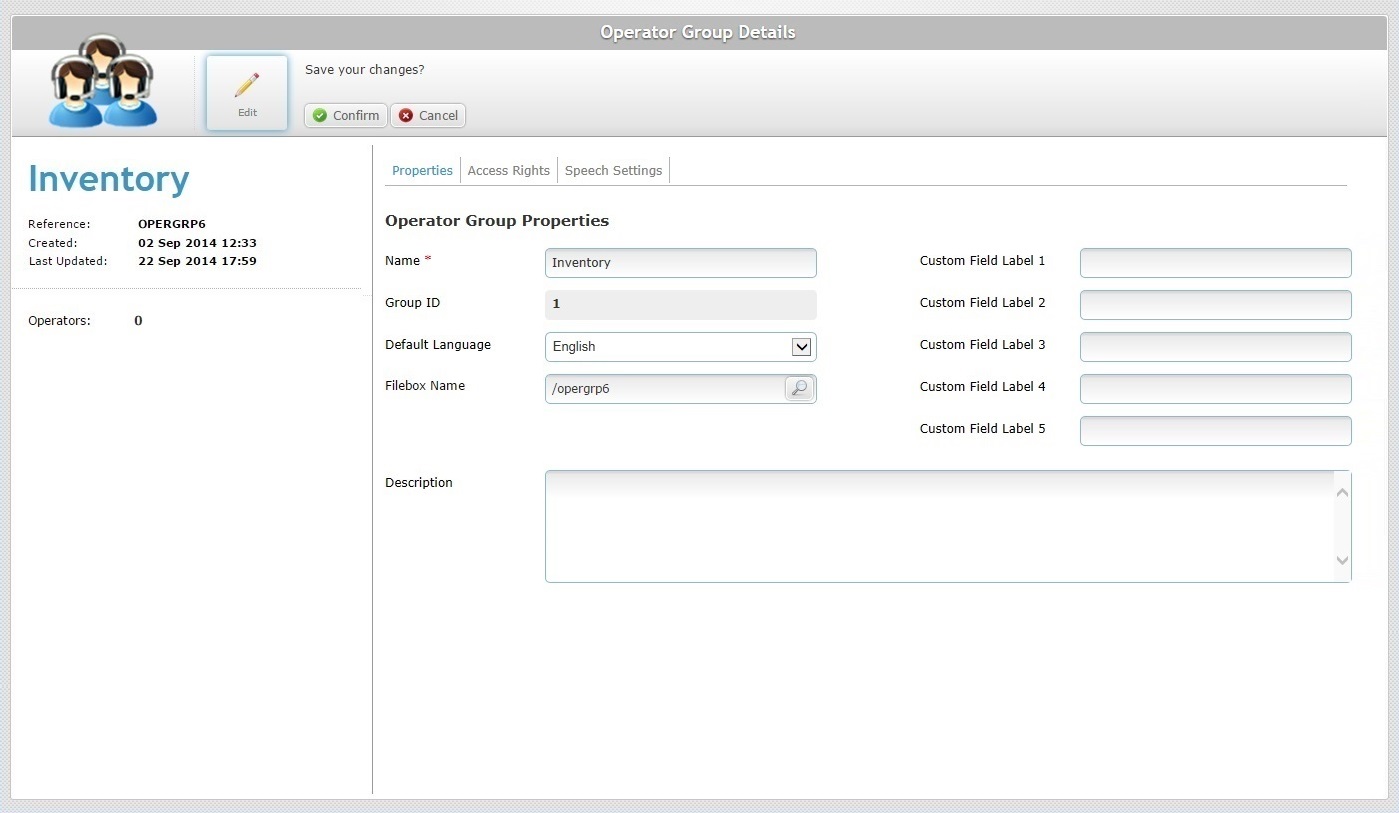
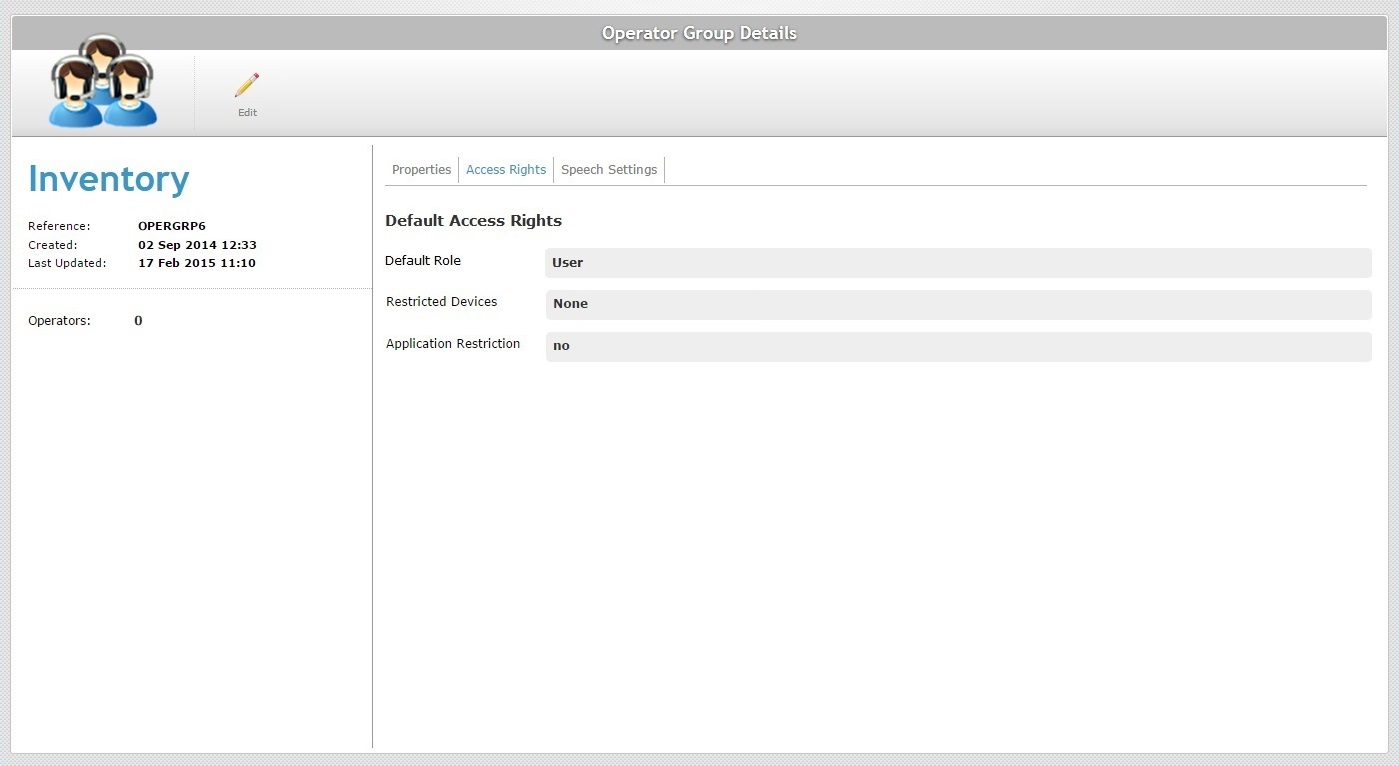
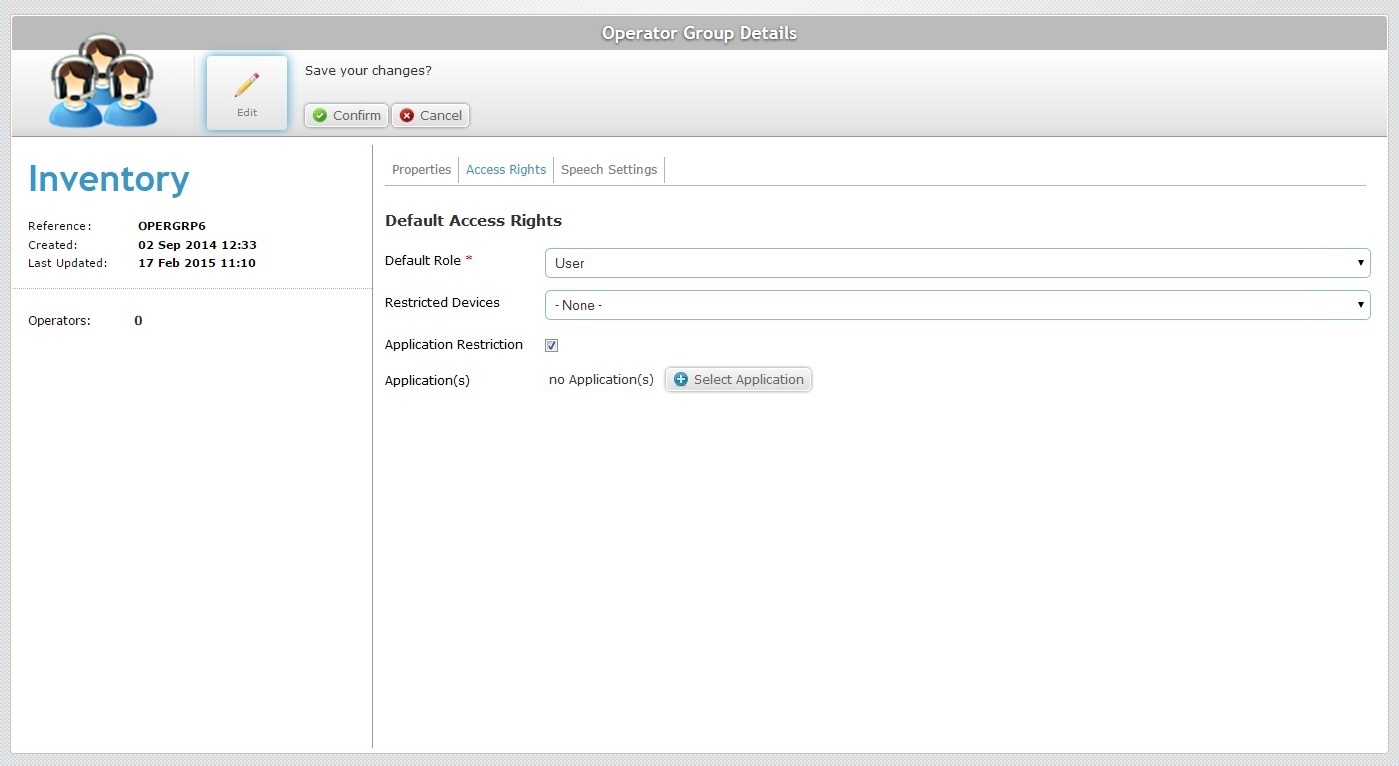
Default Access Rights |
|
Default Role * |
Maintain or select a role in the application(s) for the operator group from the drop-down list. |
Restricted Devices |
Either select another device group or remove the device restriction by selecting "-None-". |
Application Restriction |
Either add/remove applications or end application restriction by removing all applications and unchecking the "Application Restriction" box. |
7. If required, go to the "Speech Settings" tab.
If you are done editing, continue to step 10.
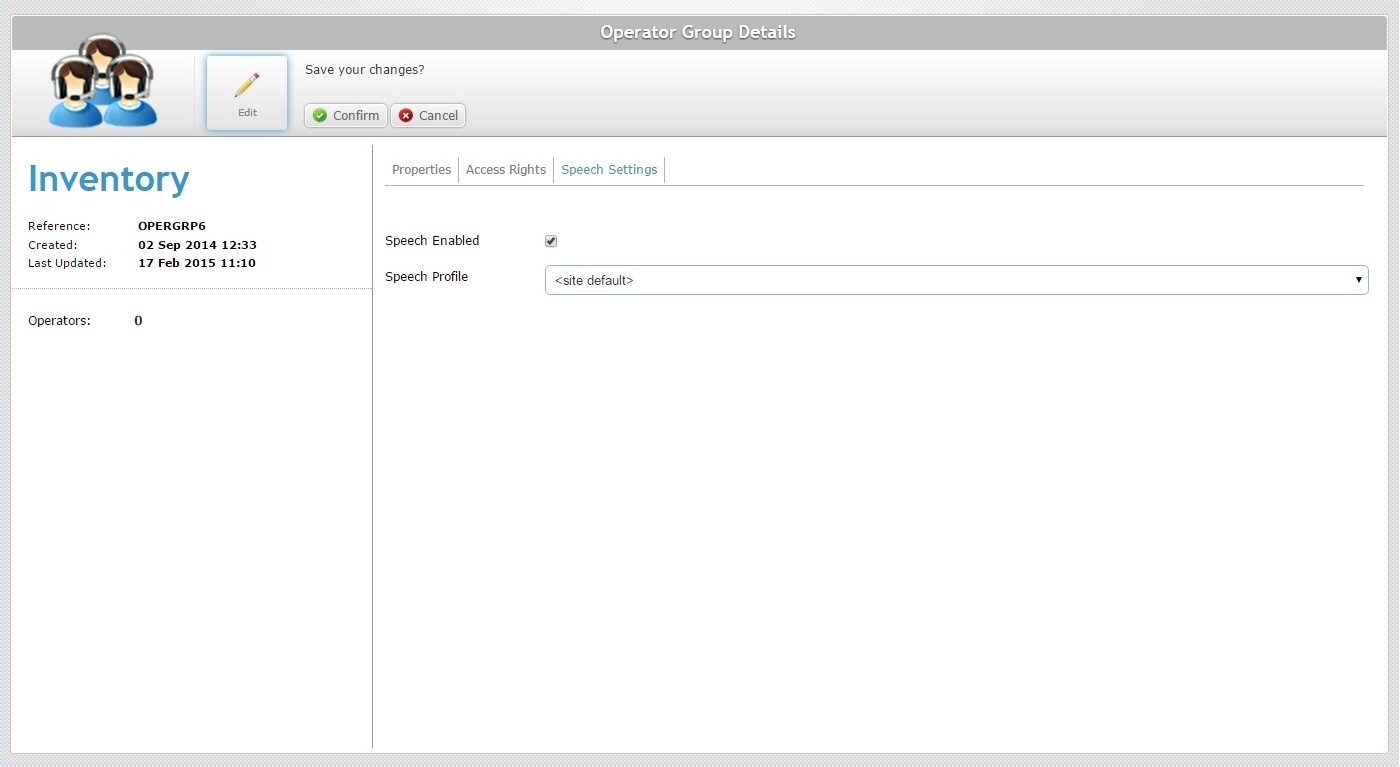
8. Check or uncheck the "Speech Enabled" option, as required.
9. If you have unchecked the "Speech Enabled" option, there are no more options to edit. Proceed to step 10.
If the "Speech Enabled" option is checked, there is a further option to edit. Maintain or select another speech profile from the "Speech Profile's" drop-down list.
10. Once you have edited the required tabs/information, click![]() . This opens a "Confirm action" window.
. This opens a "Confirm action" window.
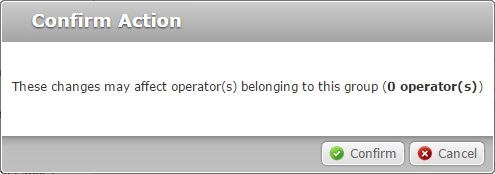
11. Click ![]() again. The changes are applied and the "Operator Group Details" page is set to "view" mode.
again. The changes are applied and the "Operator Group Details" page is set to "view" mode.
Detail of Application Restriction
If you intend to restrict an application, proceed as follows:
Step-by-step
1. Go to the "Access Rights" tab, located in the "Operator Group Details" page.
2. Click ![]() to set the page in "edit mode"
to set the page in "edit mode"
3. Check the "Application Restriction" option to enable the ![]() button.
button.
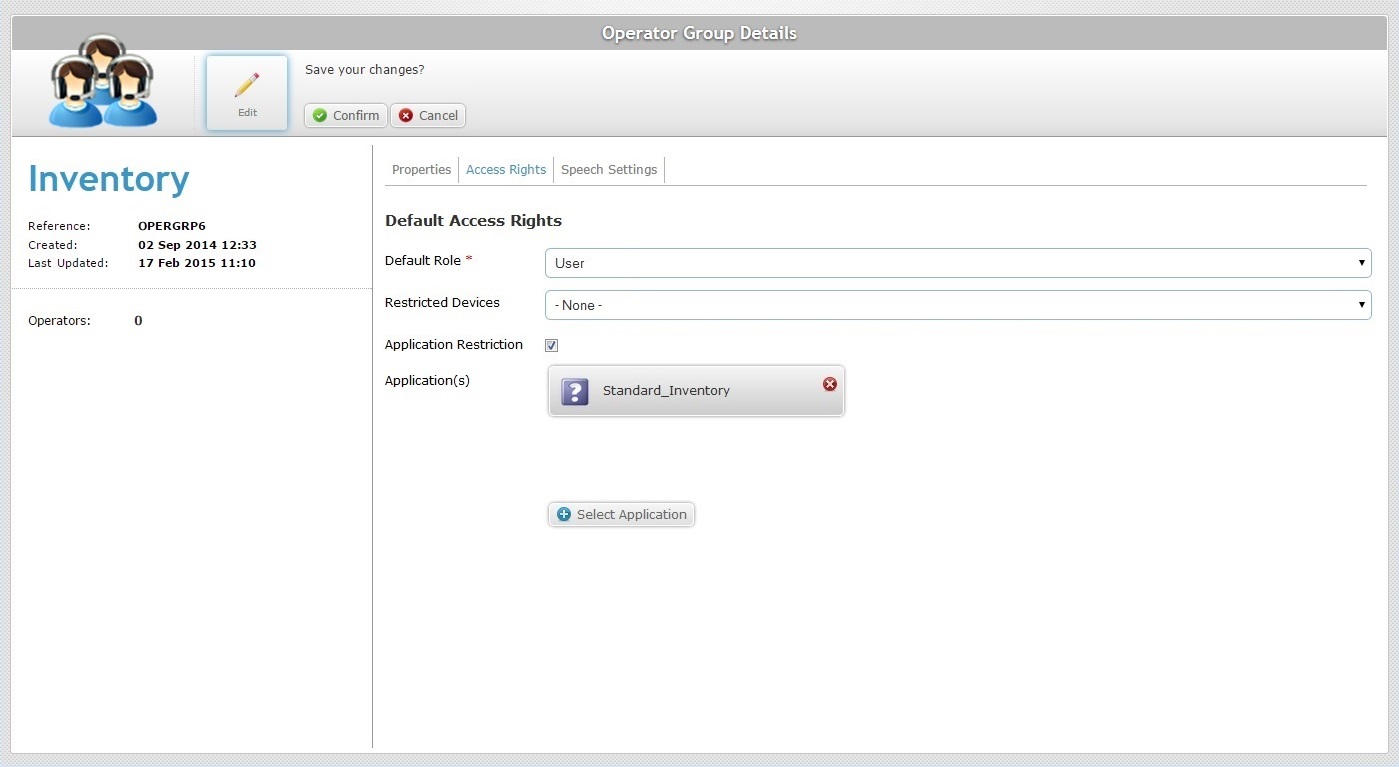
4. Click ![]() to open a window with the existing applications.
to open a window with the existing applications.
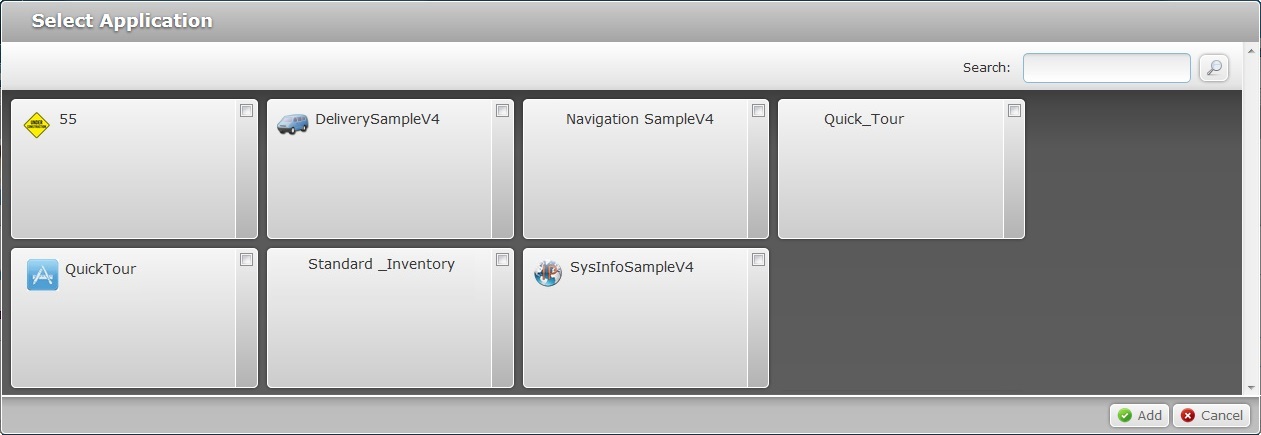
5. Select the desired applications by clicking the corresponding ![]() .
.
If required, use the ![]() to filter the displayed information:
to filter the displayed information:
a. Enter what you want to search for.
b. Click ![]() or press <ENTER> in your PC keyboard to initiate the search.
or press <ENTER> in your PC keyboard to initiate the search.
c. To conclude the search operation, empty the search box and click ![]() or press <ENTER> in your PC keyboard.
or press <ENTER> in your PC keyboard.
6. Click ![]() to return to the "Access Rights" tab where the selected applications are displayed.
to return to the "Access Rights" tab where the selected applications are displayed.
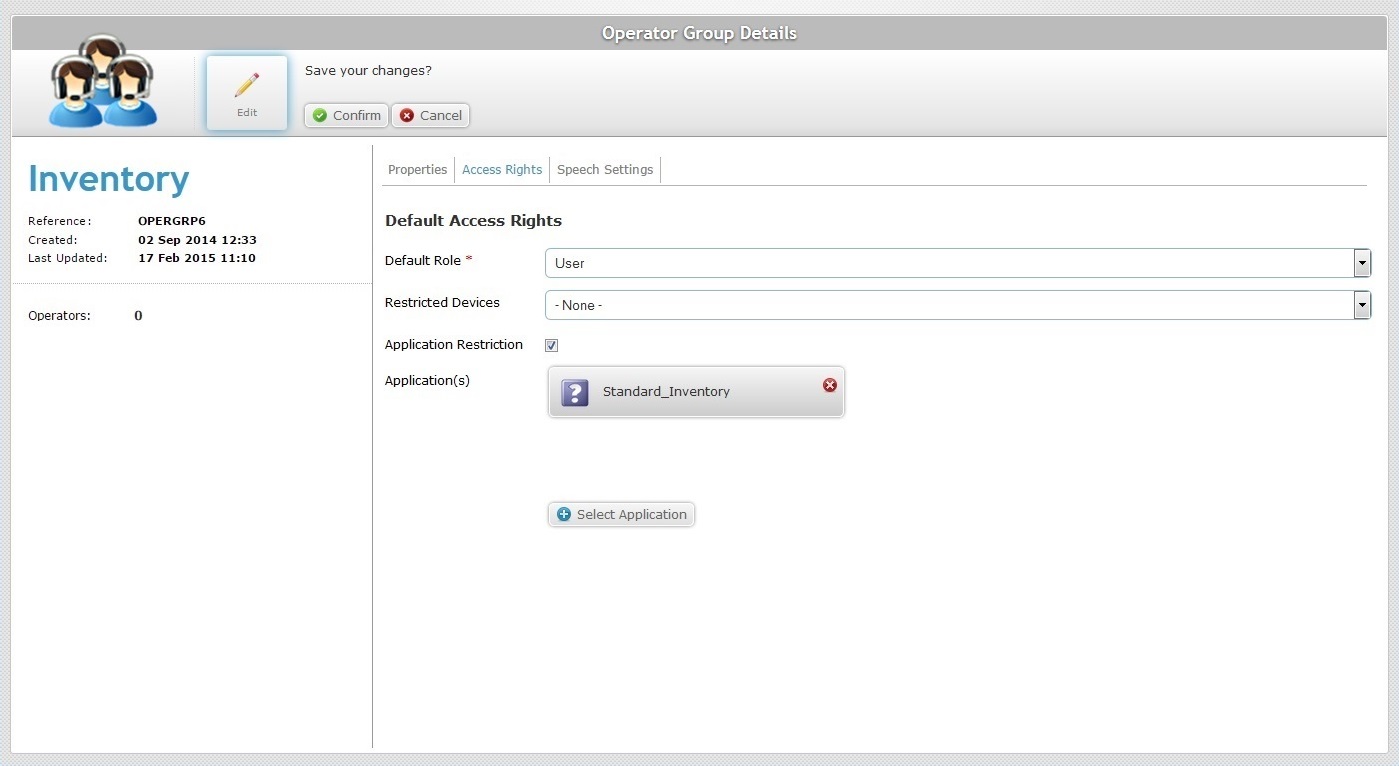
If, later on, you want to add more applications, repeat the steps described above.
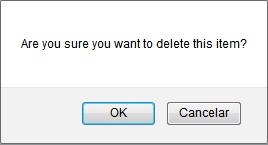
•To remove an added application, click the corresponding ![]() and confirm the operation by clicking
and confirm the operation by clicking ![]() in the following window:
in the following window:
•To remove application restrictions, delete all applications and uncheck the "Application restriction" box.
![]() Remember that any of the changes described above will only be applied after you have clicked
Remember that any of the changes described above will only be applied after you have clicked ![]() in "Operator Group Details" page and, then, in the resulting "Confirm Action" window.
in "Operator Group Details" page and, then, in the resulting "Confirm Action" window.