|
Editing Site Details |
  
|
Editing Site Details
|
Editing Site Details |
|
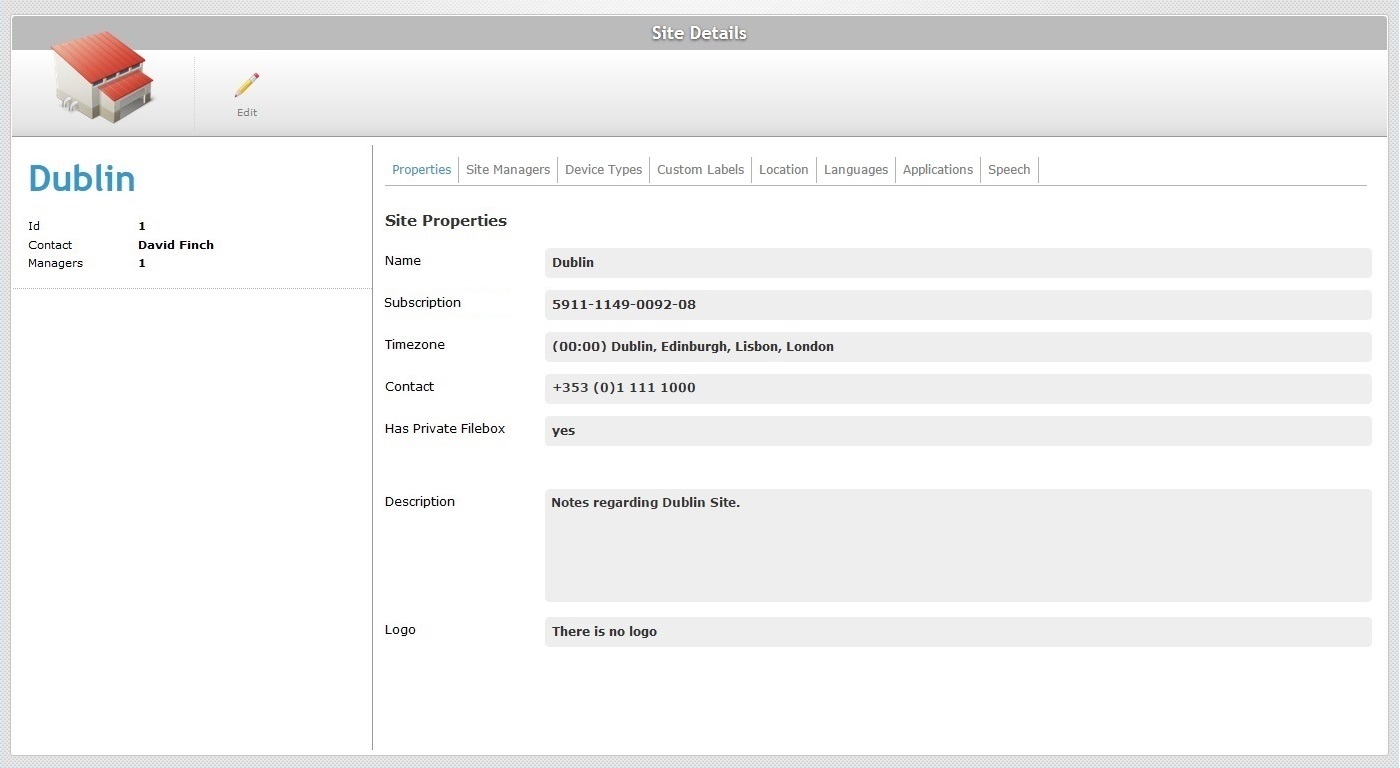
Overview
The Site Details sub-module provides access to the current site's "Site Details" page. Most of the displayed site details are editable.
Fields related to Subscription or Site Managers are NOT editable. These features can only be managed by the account administrator in the Admin Dashboard.
Step-by-step
1. To access the "Site Details" page, click ![]() (on the Control Panel) and, in the resulting row below, select
(on the Control Panel) and, in the resulting row below, select ![]() .
.
2. Click ![]() to set the page to "edit mode".
to set the page to "edit mode".
3. Edit the information in the tabs/fields, as necessary. The fields marked with an asterisk are mandatory, meaning, they must always contain information.
Properties tab
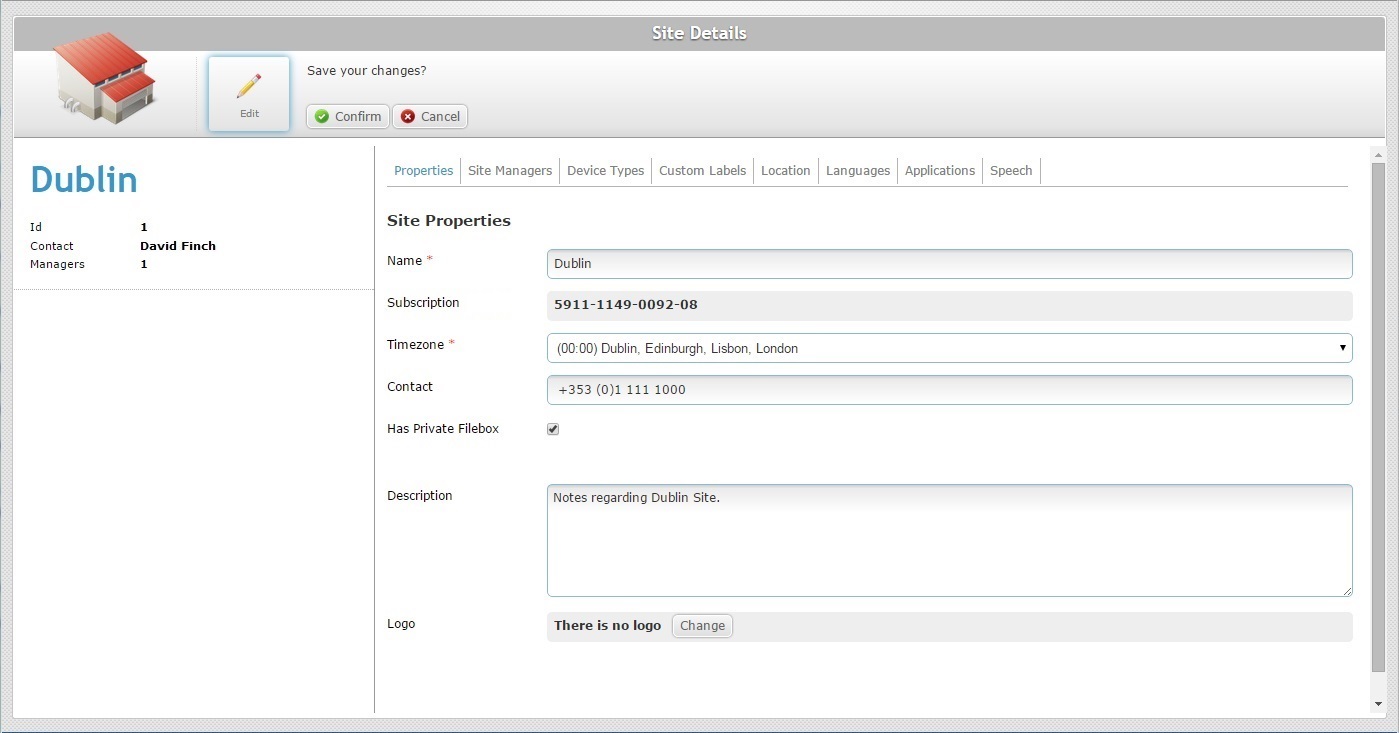
If required, edit the information in the following fields:
Name * |
Maintain or edit the site's name.
The underscore and/or dash characters are allowed. Start the site's name with an alphabetic character. |
Subscription |
This field displays the number of the subscription associated to the site and it is NOT editable. Any subscription related changes can ONLY be executed at account level (specifically, in the Admin Dashboard's "Account" module). |
Timezone * |
Maintain or edit the site's time zone from the drop-down list. |
Contact |
Maintain or edit the site's contact number. |
Has Private Filebox |
Maintain or edit this option. Checking this option means creating a private filebox for the current site. See Filebox. |
Description |
Maintain or edit the existing text. |
Logo |
Maintain or edit the site's logo. See To Add a Logo to a Site below. |
Step-by-step
a. Click ![]() OR double-click the "Logo" field.
OR double-click the "Logo" field.
![]()
b. Click ![]() to search for an image file.
to search for an image file.
c. In the resulting OS File Explorer window, select the desired file image.
d. Click ![]() to upload the selected logo.
to upload the selected logo.
![]()
The logo is displayed in the corresponding site's Site Dashboard.
e. Once you have edited the "Logo" field, click ![]() to apply the modifications.
to apply the modifications.
•To remove the image file, click the corresponding ![]() .
.
•To change the logo, click ![]() and repeat the image file selection ().
and repeat the image file selection ().
![]()
Remember to click ![]() after you have replaced or removed a logo image.
after you have replaced or removed a logo image.
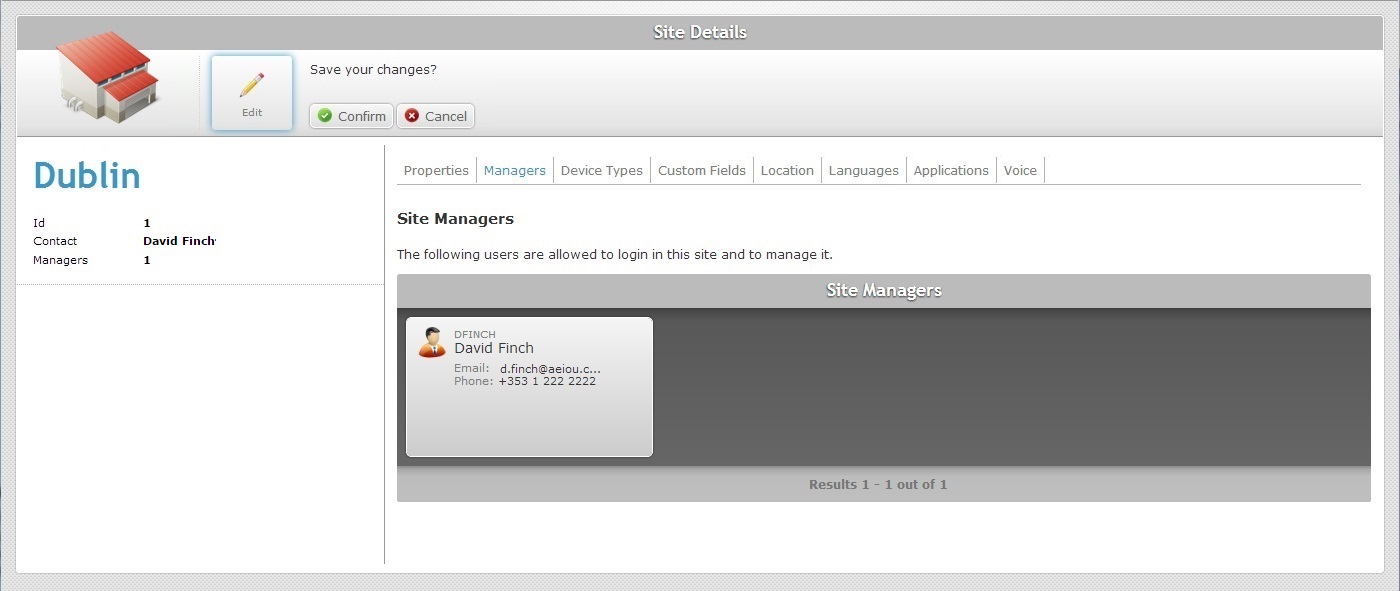
Site Managers tab
The "Site Managers" tab is a "read only" tab.
Device Types tab
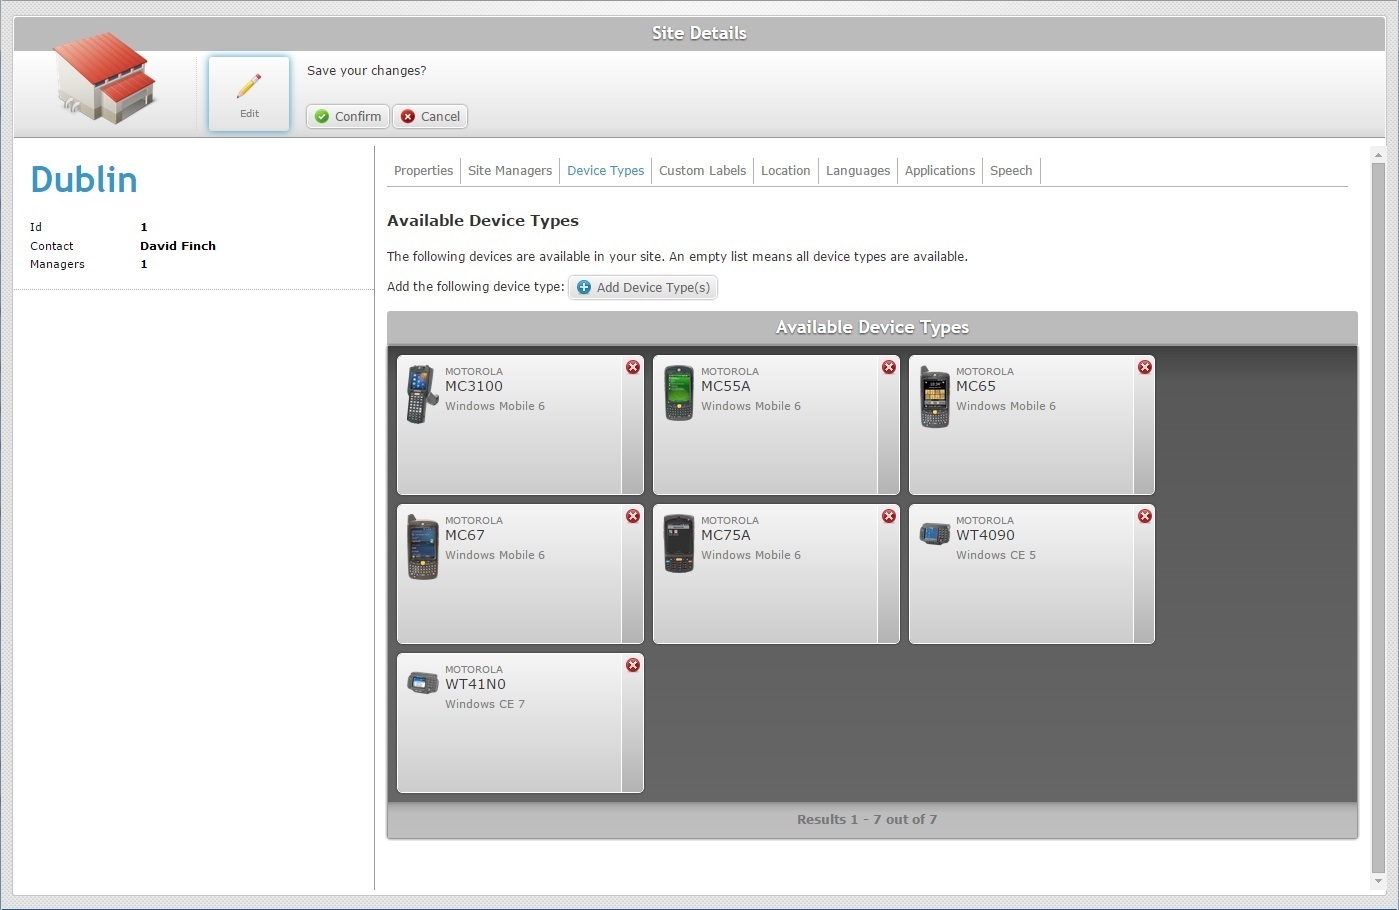
If necessary, use the following operations to edit this tab:
•To delete a previously selected device, click the corresponding ![]() .
.
•To add other device types, proceed as follows:
a. Click ![]() .
.
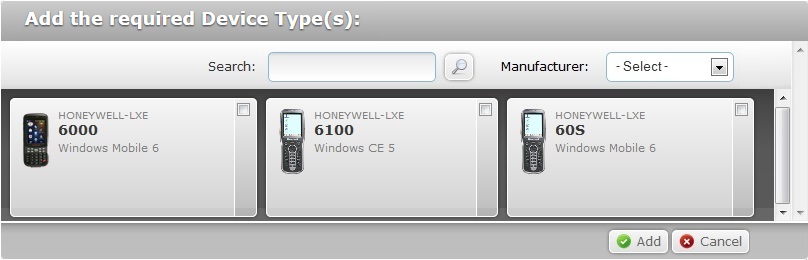
b. In the resulting window, select the required device model(s) by checking the corresponding ![]() . (If no devices are specified, all are available.)
. (If no devices are specified, all are available.)
You can use the ![]() option or the drop-down list, with the available manufacturers, to filter the displayed information.
option or the drop-down list, with the available manufacturers, to filter the displayed information.
c. Click ![]() to apply your choices.
to apply your choices.
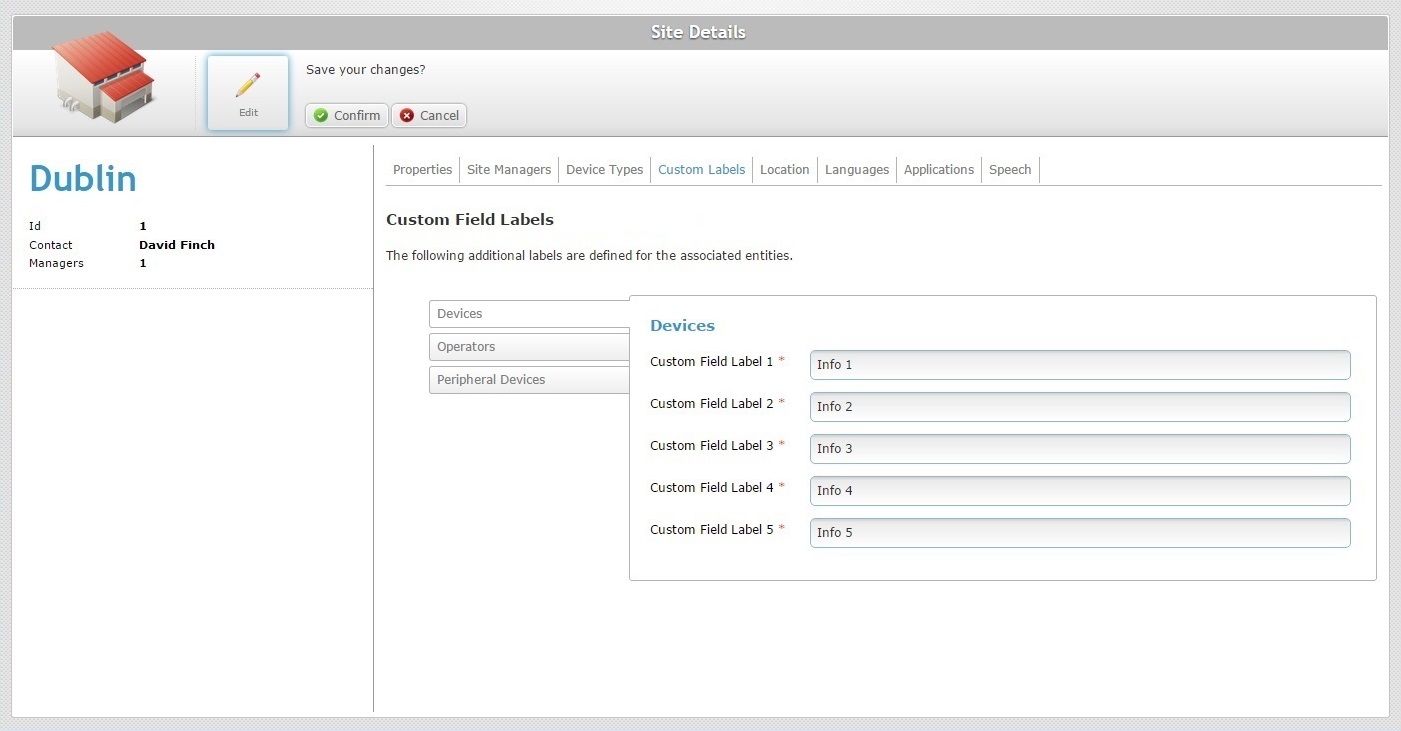
Maintain or replace the labels of the fields displayed in the "Device" and/or "Operator Details" page according to the information you want to retrieve. These fields are mandatory, meaning, they have to be filled with either the default options or with your suggestions.
![]()
The "Devices" side tab is open, by default. If necessary, click the"Operators" and/or the "Peripheral Devices" side tab to edit its information.
Location tab
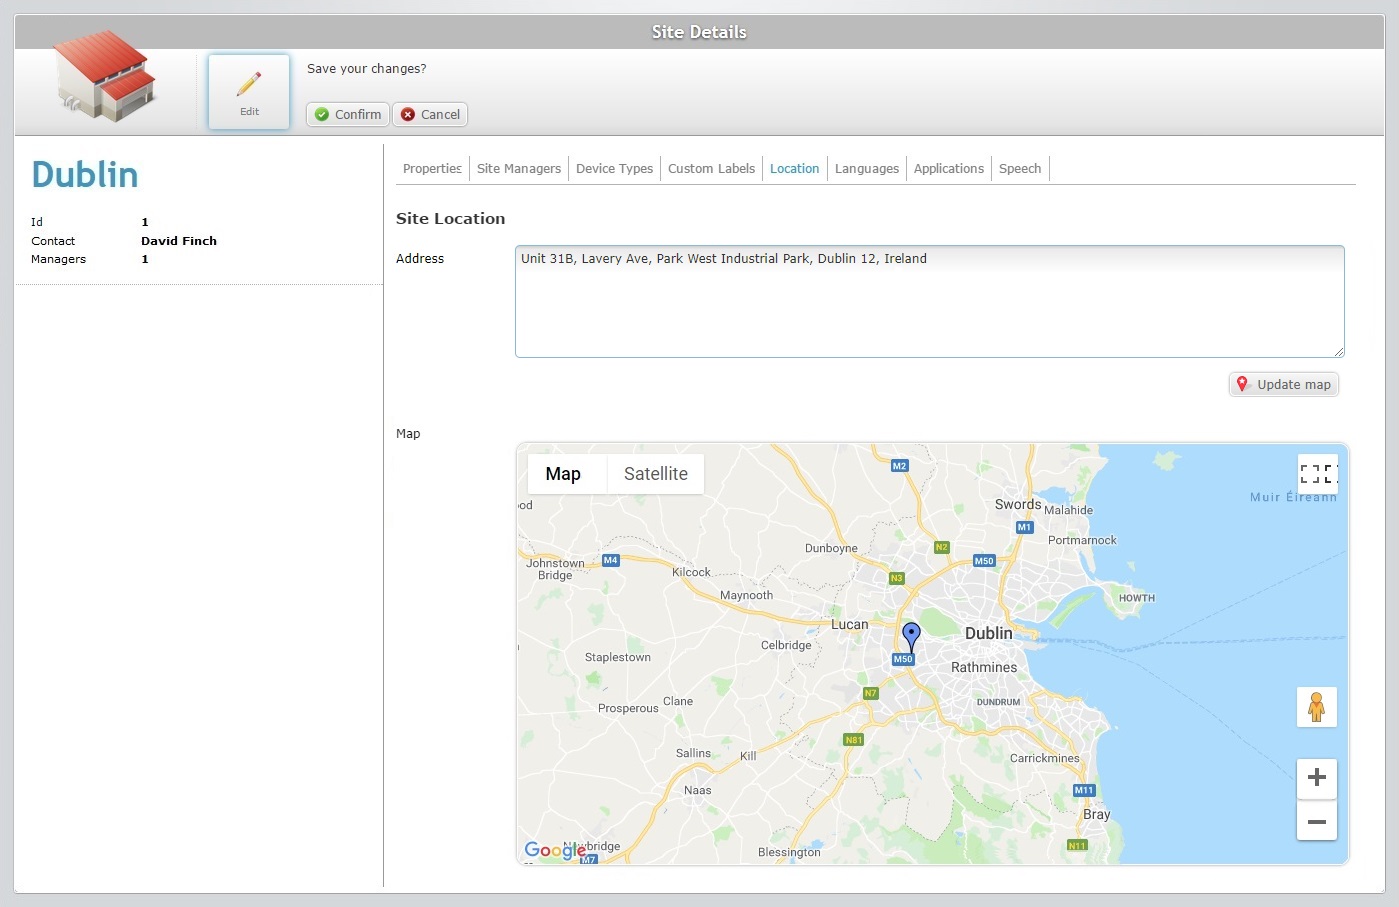
Maintain or edit the site's address in the "Address" box.
The latitude and longitude coordinates are automatically filled in, as soon as you click ![]() .
.
Languages tab
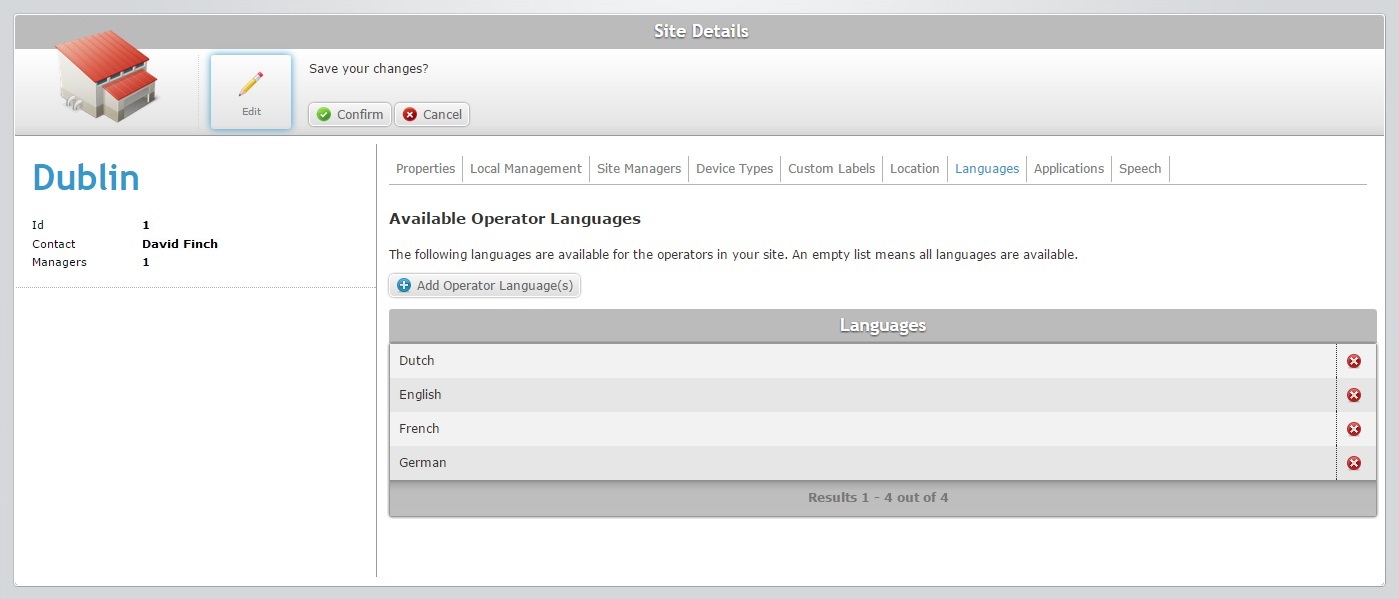
If required, use the following operations to edit this tab:
•To delete a previously selected language, click the corresponding ![]() .
.
•To add other languages, proceed as follows:
a. Click ![]() .
.
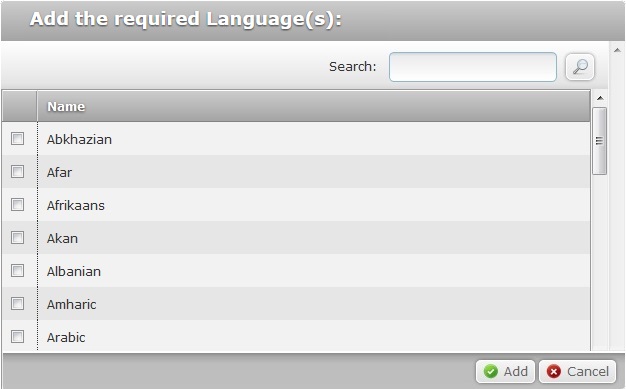
b. Select the required language(s) by checking the corresponding ![]() .
.
You can use the ![]() to search for a specific language.
to search for a specific language.
c. Click![]() to apply the changes. (If no languages are specified, all are available.)
to apply the changes. (If no languages are specified, all are available.)
Applications tab
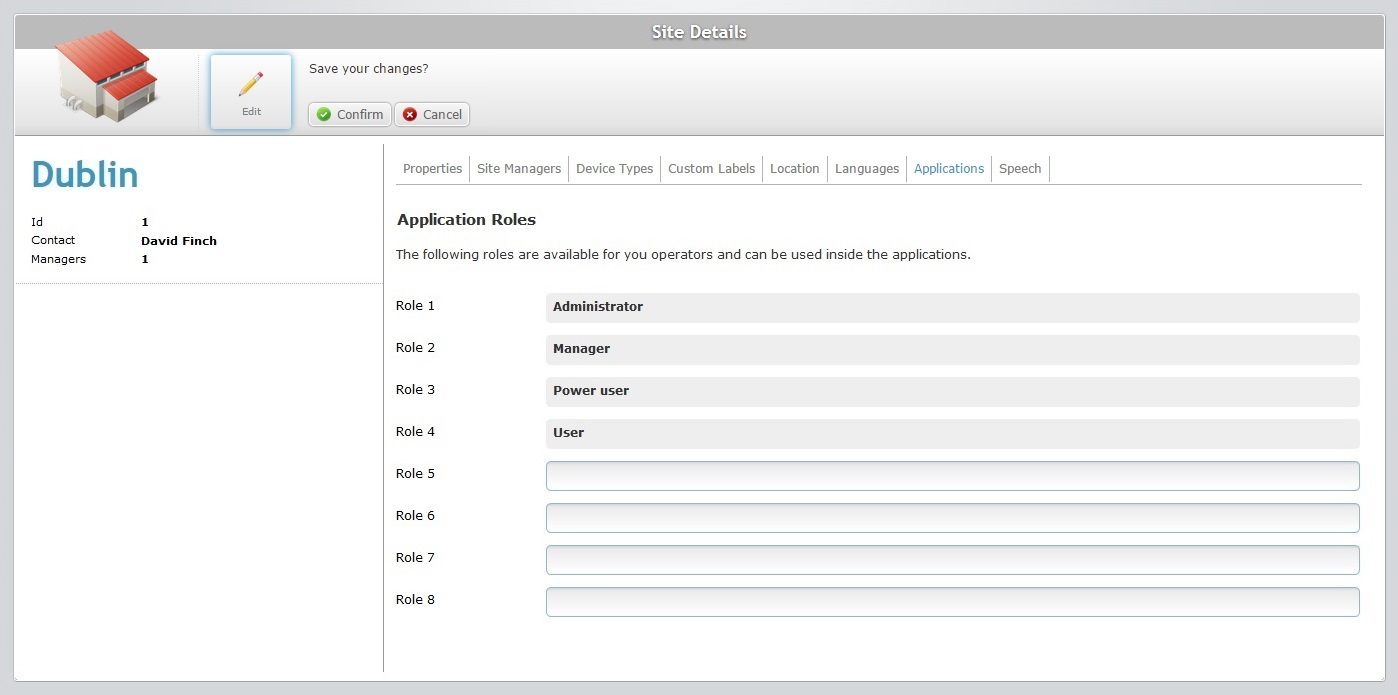
Maintain or add "operator roles". All of these options are displayed in the "Role" drop-down option of the "Operator Details".

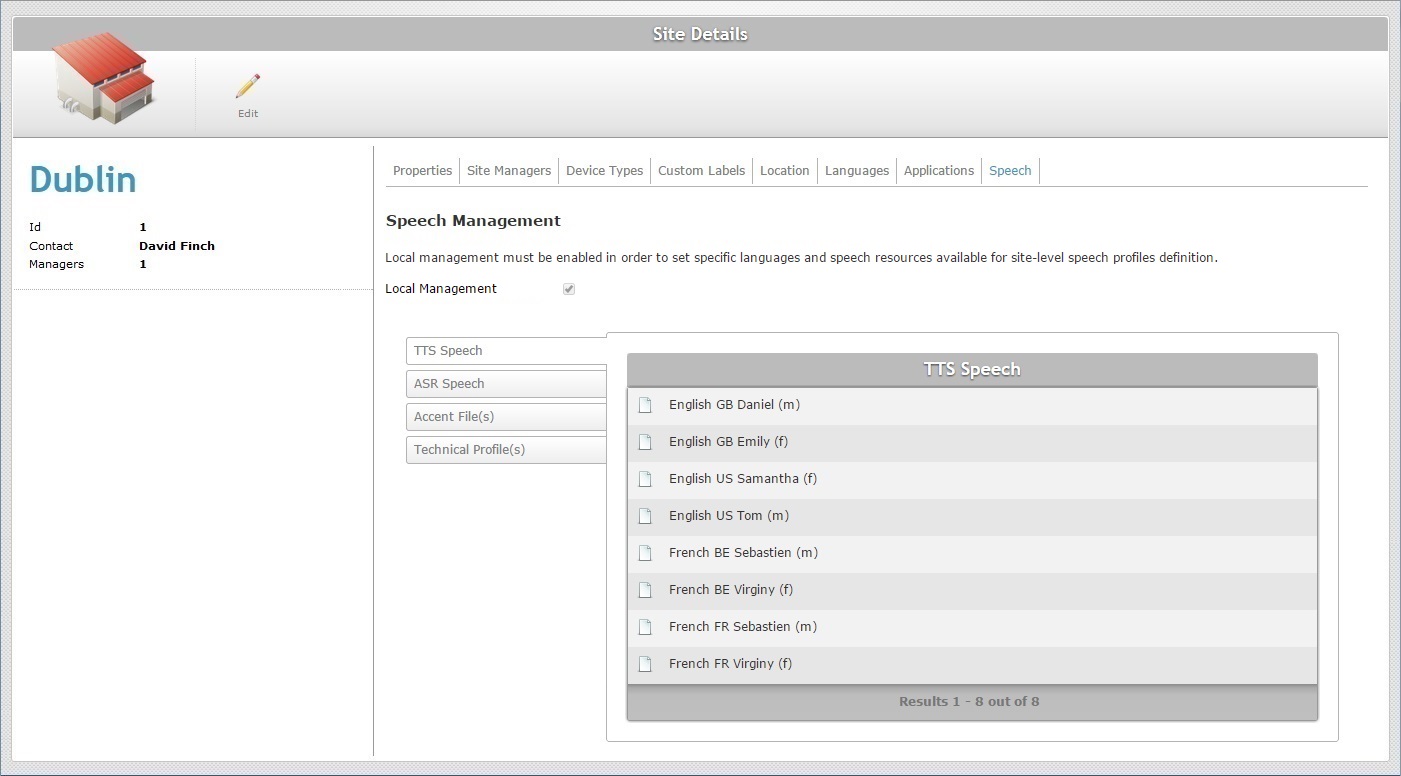
The "TTS Speech" side tab is open, by default. To edit one of the other side tabs, click it.
Maintain the existing language choices/files or define new ones with the following operations:
![]()
Before you start, make sure you have the correct side tab open.
•To delete a previously selected language or uploaded file, click the corresponding ![]() .
.
•To select other TTS/ASR Speech languages, proceed as follows:
a. Open the intended side tab - "TTS Speech" OR "ASR Speech".
b. Click ![]() OR
OR ![]() , depending on the tab you have opened to edit.
, depending on the tab you have opened to edit.
c. In the resulting window, check the intended language(s).
d. Click ![]() to apply.
to apply.
•To upload Accent Files or Technical Profiles, proceed as follows:
a. Open the intended side tab - "Accent File(s)" OR "Technical Profile(s)".
b. Click ![]() .
.
c. The OS File Explorer window opens automatically. Select the appropriate file (with an .mtp extension for technical profile or an .lmd extension for accent file) and click ![]() . The file is displayed in the "Upload File" window:
. The file is displayed in the "Upload File" window:
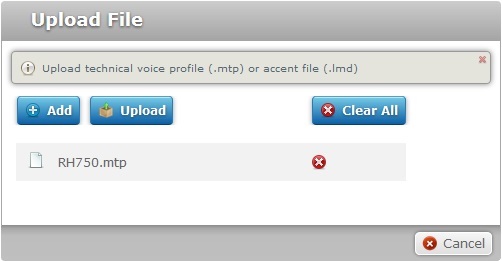
d. If you want to add more files, click ![]() to open an OS File Explorer window again and select another file. Repeat this process as many times as necessary because you can only add one file at a time.
to open an OS File Explorer window again and select another file. Repeat this process as many times as necessary because you can only add one file at a time.
If necessary, delete added files by clicking the corresponding ![]() or
or ![]() to delete all added files at once.
to delete all added files at once.
e. Once you have added all the necessary files, click ![]() .
.
•To download an uploaded file, proceed as follows:
a. Open the intended side tab - "Accent File(s)" OR "Technical Profile(s)".
b. Click the corresponding ![]() .
.
c. Confirm the operation by clicking ![]() in the resulting window.
in the resulting window.
•To change the level of speech profile management from Local to Global, see To Apply a Global Speech Profile Management to a Site that is Currently under Local Speech Profile Management.
![]() Be aware that any changes in the current speech profile management will affect the account entities that use speech profiles (ex: operator groups or operators). You will have to review and/or associate new speech profiles to the entities that used a profile and check the available speech resources (ex: current speech profiles may have been removed or replaced, language files may have been lost or replaced).
Be aware that any changes in the current speech profile management will affect the account entities that use speech profiles (ex: operator groups or operators). You will have to review and/or associate new speech profiles to the entities that used a profile and check the available speech resources (ex: current speech profiles may have been removed or replaced, language files may have been lost or replaced).
There are two levels of speech profile management:
Global Speech Profile Management - The speech profiles are managed at account level (in the Admin Dashboard's "Speech Profiles" module). They are called Global Speech Profiles and are available for all the existing sites/operator groups/operators.
If you opt for this type of management, none of the account's sites will have any management choices regarding speech profiles (ex: a site cannot create or delete a global speech profile). The sites will not have a "Speech Profiles" sub-module available.
Local Speech Profile Management - Each site manages its own speech profiles in the "Speech Profiles" sub-module (included in the "Operators" module). They are called Local Speech Profiles. These profiles cannot be managed or even viewed at account level.
Any existing Global Speech Profiles will not be locally available for viewing and/or editing.
4. Save your changes (in all the tabs) by clicking ![]() . The page is set to "view mode".
. The page is set to "view mode".
To Apply a Global Speech Profile Management to a Site that is currently under Local Speech Profile Management
1. In the Site Dashboard's "Control Panel", click ![]() and, then,
and, then, ![]() to open the corresponding "Site Details" page.
to open the corresponding "Site Details" page.
2. Open the "Speech" tab.
3. Click ![]() to set the page to "edit mode".
to set the page to "edit mode".
4. Uncheck the "Local Management" option.
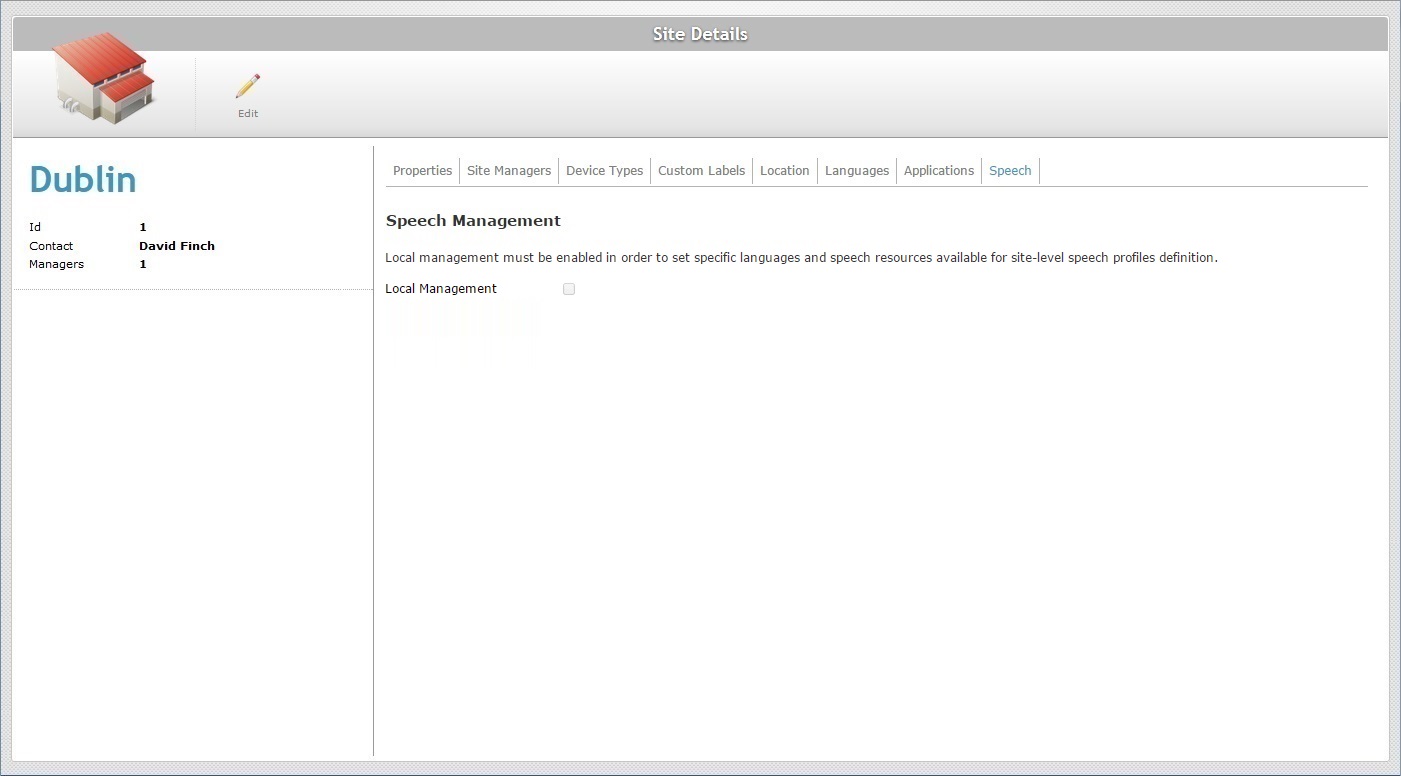
![]() The associated local speech profiles are removed. Any entity that used local speech profiles will be associated to the default Global Speech Profile. The locally defined speech resources (speech input/output language choices) and any uploaded technical profiles/language files are no longer available. The available Global Speech Profiles follow the parameters established in the Account Details page (the Speech tab).
The associated local speech profiles are removed. Any entity that used local speech profiles will be associated to the default Global Speech Profile. The locally defined speech resources (speech input/output language choices) and any uploaded technical profiles/language files are no longer available. The available Global Speech Profiles follow the parameters established in the Account Details page (the Speech tab).
The "Speech Profiles" sub-module is no longer available in the "Operators" module. The management of speech profiles is, now, done at account level, in the Admin Dashboard (Speech Profiles module).
5. Review all the entities that used a local speech profile (operator groups/operators) and, if you do not want to use the default global speech profile, attribute another available speech profile (in the corresponding "... Details" page. See Editing Operator Group Details and Editing Operator Details.