|
Creating a Deployment |
  
|
Creating a Deployment
|
Creating a Deployment |
|
Overview
A Deployment is the task responsible for sending and uploading a configuration into a device group.
Configurations can be deployed to a specific site/device group, to all the device groups in a site (Single-Site Deployment) OR be delivered to device groups of all the sites in the account (Multi-Site Deployment). See Deployments.
![]()
A deployment always implies the previous creation of a configuration that is compatible with the deployment's target. For instance, you cannot use a site restricted configuration in a Multi-Site Deployment. See Creating a Configuration.
![]()
If several deployments for the same site/device group have the same planning date, only the most recent one is deployed.
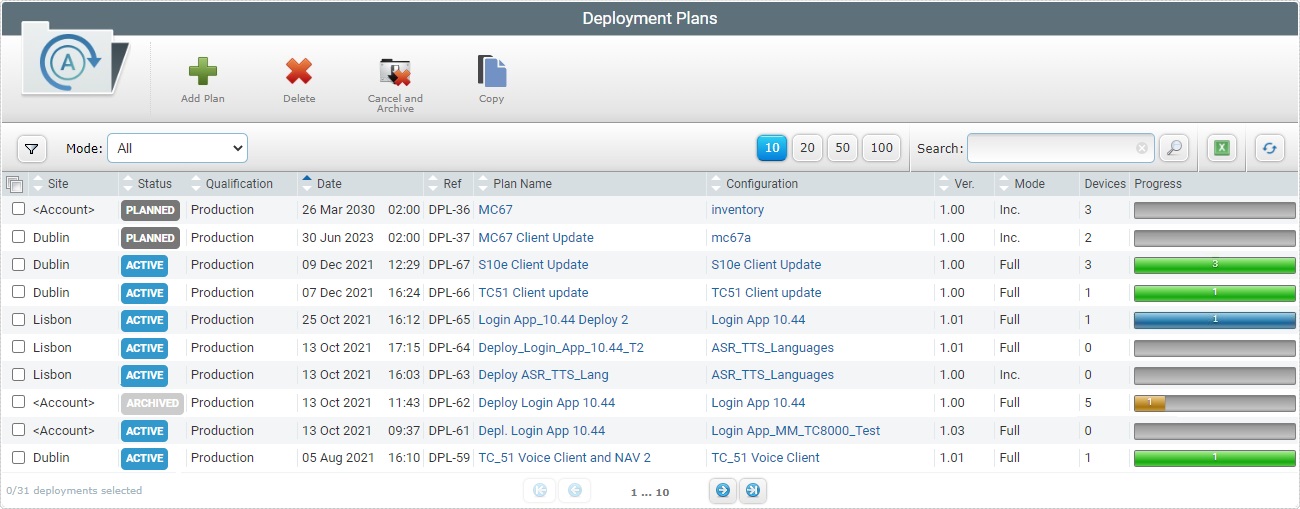
![]() Before creating a new deployment, check the "Deployment Plans" page to avoid creating incompatibilities deployments.
Before creating a new deployment, check the "Deployment Plans" page to avoid creating incompatibilities deployments.
Step-by-step
1. In the Admin Dashboard's "Control Panel", click  , and, then, select
  .
.
2. Click ![]() to open a New Deployment wizard.
to open a New Deployment wizard.
If an error message appears, check Possible Error Message(s) to know how to proceed.
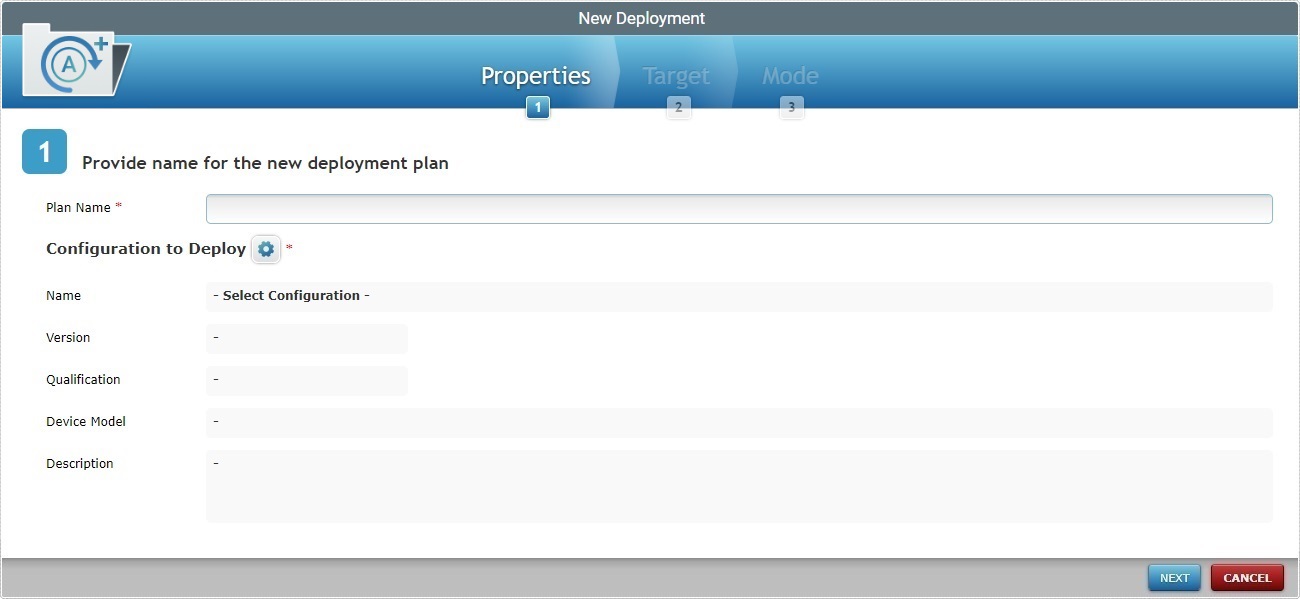
3. Fill in the available options (the fields marked with an asterisk are mandatory):
Plan Name * |
Enter a name for the new deployment (minimum of 4 characters).
We recommend you avoid special characters and consider the related best practices when you define a deployment plan's name: •Use alphabetic/numeric characters (a-z; A-Z; 0-9); •Underscore and/or dash characters are allowed; •Always start the entity's name with an alphabetic character. |
|---|---|
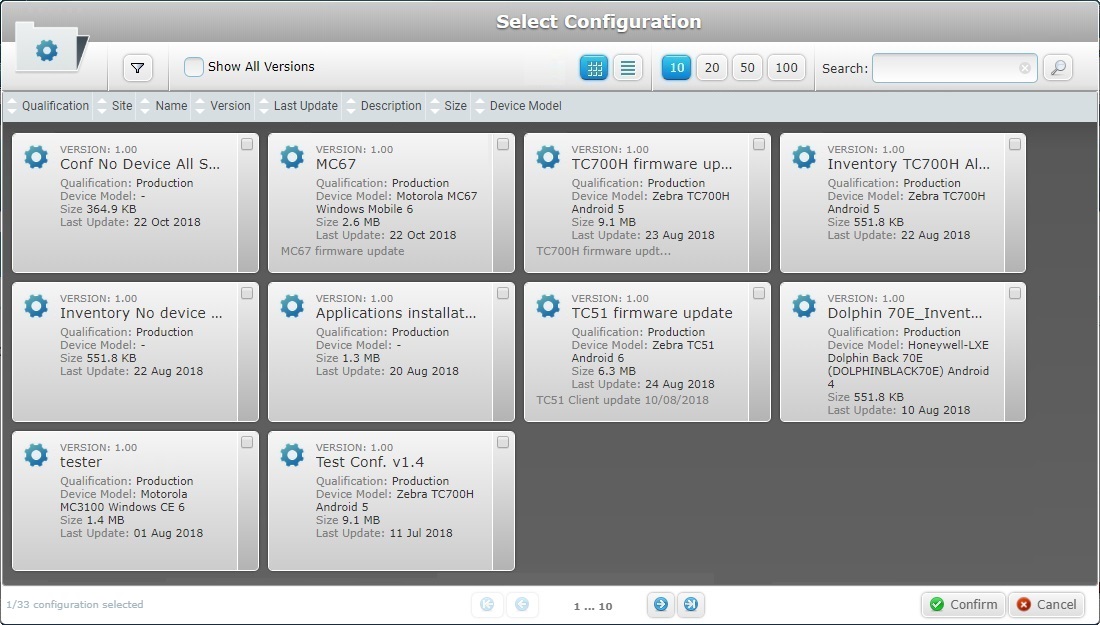
Configuration to Deploy * |
Click Once the configuration is selected, the field is filled in with its name and version. Specific configuration information is automatically displayed (the configuration's qualification, size, target device's model and other information).
Make sure the selected configuration is compatible with the target you intend to define for the deployment. Ex: Selecting a configuration restricted to "Site A" will not allow you to deploy it to another a site. |
Name |
The size of the configuration name. This field is NOT editable. |
Version |
The size of the configuration version. This field is NOT editable. |
Qualification |
The selected configuration's qualification (ex: "Production", "Acceptance", "Test" or "Development"). This field is NOT editable. See Qualification. |
Device Model |
The selected configuration's target device: manufacturer, device model and Operating System. This field is NOT editable. |
Description |
Information about the selected configuration. This field is NOT editable. |
a. In the "New Deployment" page, click the If you want to view all configuration versions, check
b. Select a configuration by checking the corresponding
c. Click
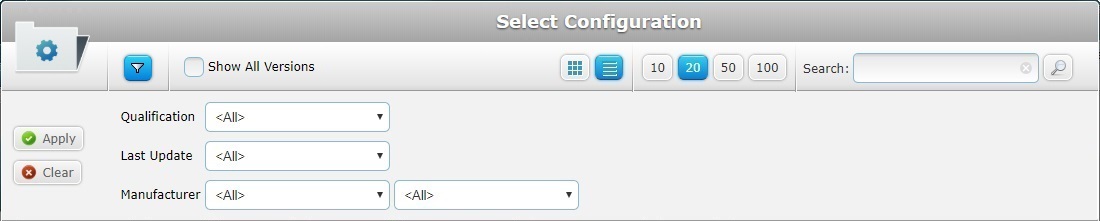
Use the following options to control the display of listed items:
•Select the most appropriate view by either clicking
•Define how many items are displayed, at a time, by clicking one of the buttons
•Use
I. Select the intended data from the drop-down. You can use as many filters, simultaneously, as necessary. II. Click III. Click
•
I. Enter what you want to search for. II. Click III. End the search operation by emptying the search box and clicking
• • •
|
4. Click ![]() to continue.
to continue.
To return to the step 1 (Properties tab) wizard page, click ![]() or
or ![]() .
.
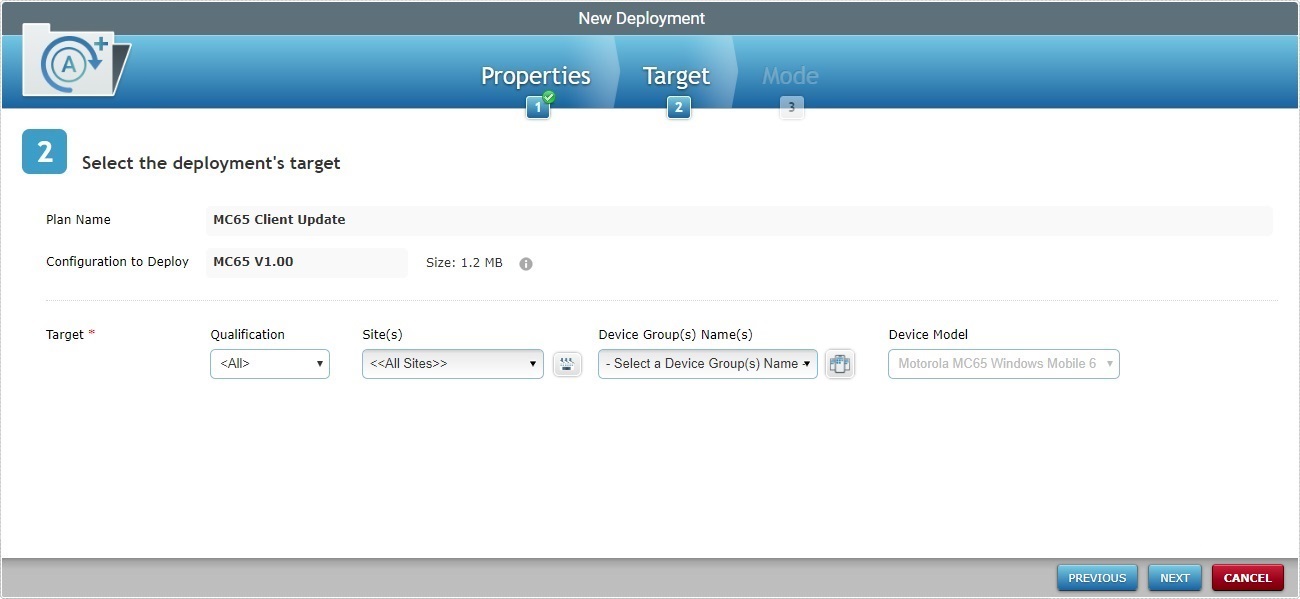
5. Fill in the available options:
Target * |
|
|---|---|
Qualification(s) |
If available, select the intended qualification from the drop-down to filter the sites available for the deployment. See Site Details. If the configuration selected in step 1 is restricted to a site, this option will NOT be active - it will display the qualification of the site the configuration is restricted to.
If you intend to execute a multi-site deployment, you can select "All" (to deploy to all the account's sites) or restrict the deployment to all the sites with the same qualification. |
Site(s) |
Select the target site(s) for the deployment from the drop-down or click If a qualification has been defined, the drop-down will only provide sites with the same qualification. If the configuration selected in step 1 is restricted to a site, this option will NOT be active - it will display the name of the site the configuration is restricted to.
If you intend to execute a multi-site deployment, you select "<< All Sites >>" (to deploy to all the account's sites/sites compatible with the previous "Qualification" selection). |
Device Group(s) |
Select the target device group(s) for the deployment from the drop-down list or click See Details on the "Select a Device Group" window. If you intend to execute a multi-site deployment, you can select the name of the common device group (a device group, created previously, for all the account's sites with the same name/device model) so the configuration is delivered to that particular device group within each site OR select "<< All Device Group Names >>" to deploy to all the device groups compatible with your previous choices. |
Device Model |
If the configuration selected in step 1 ("Properties" tab) has a target device, this field will reference that target device's model - it will NOT be editable regardless of the device group you select in the "Device Groups(s)" option - its information depends solely on the selected configuration. Ex: The configuration selected for this deployment has a defined target device - a Windows Mobile 6 Motorola MC67 device - so the information is already filled in when you open the "Target" tab. If the selected configuration (in the wizard's step 1) does NOT have a defined target device, the "Device Model" drop-down may be editable - it will depend on your previous choice of device group. |
![]()
Read the displayed system information to be aware of how your choices affect the current deployment's execution:
Information Examples:
Example 1: This is an initial message - there is nothing selected:

Example 2: The configuration is set to be deployed to the selected device group. Since it, currently, does NOT include any devices, this deployment will only execute when a device is added to the targeted device group:

Example 3: The configuration is set to be deployed to the compatible device groups (in this case, only 2 device groups). Only 1 device group includes a device so, at the moment, the configuration will only be deployed to that particular device group.

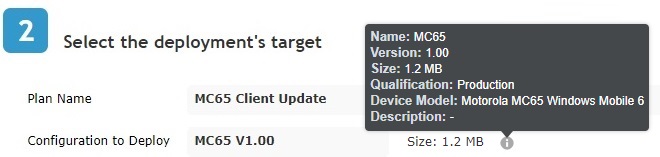
![]() Mouse over the
Mouse over the ![]() to see details on the configuration used in the deployment.
to see details on the configuration used in the deployment.
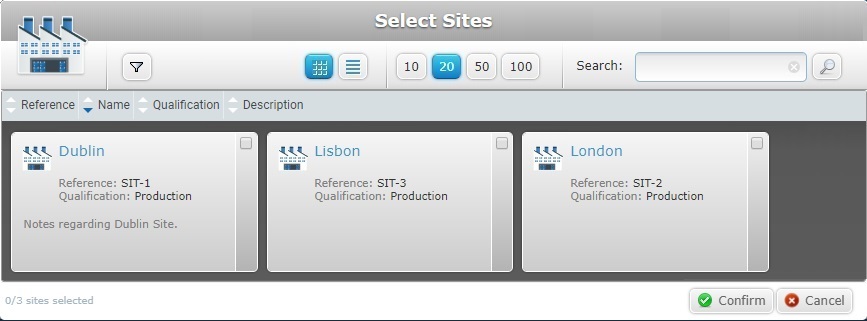
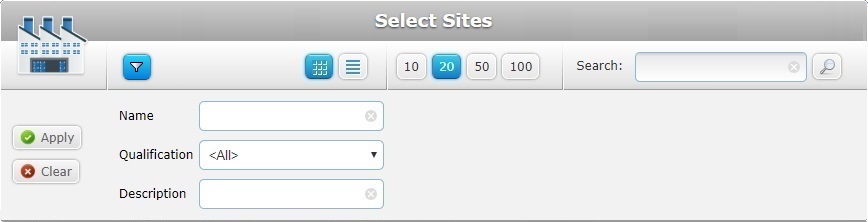
![]() Click Here for Details on the "Select Sites" window
Click Here for Details on the "Select Sites" window
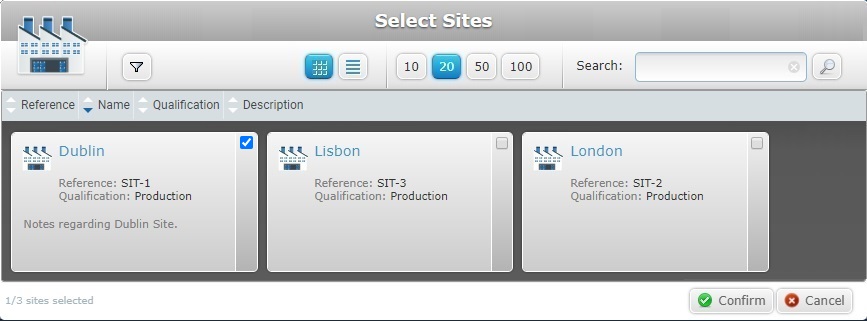
a. Click
b. Select the desired site(s) by checking the corresponding
c. Click
Use the following options to control the display of listed items:
•Select the most appropriate view by either clicking
•Define how many items are displayed, at a time, by clicking one of the buttons
• Use
I. Enter/select the intended data in the corresponding field/drop-down. You can use as many filters, simultaneously, as necessary. II. Click III. Click
•
I. Enter what you want to search for. II. Click III. To conclude the search operation, empty the search box and click
|
a. Click
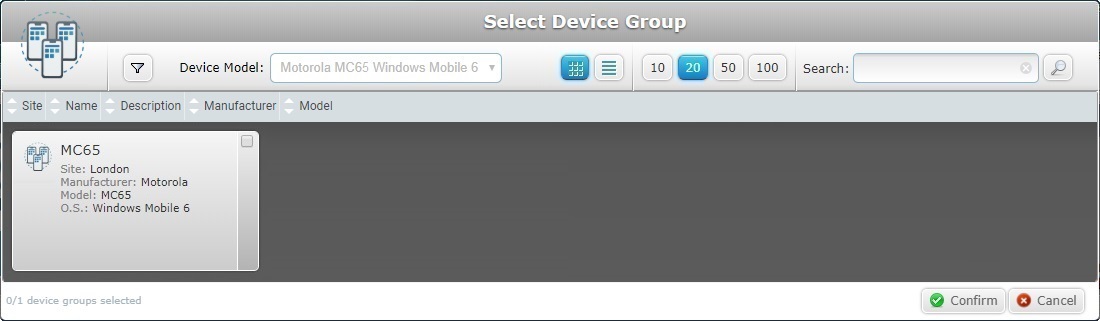
•Example 1 - The configuration is restricted to the "London" site and it only includes one device group ("MC65") with the same device model as the configuration's target device (MC65 Windows Mobile 6). •
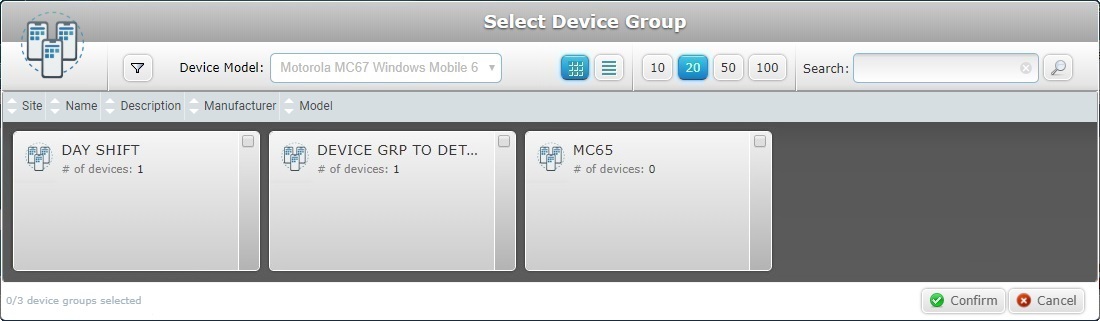
•Example 2 - The configuration is NOT restricted so we have every site that includes a device group with the same device model as the configuration's target device available for selection.
If the configuration being deployed has a specific target device , the "Device Model" filter is grayed out and cannot be changed - the field displays the configuration's target device model. Ex:
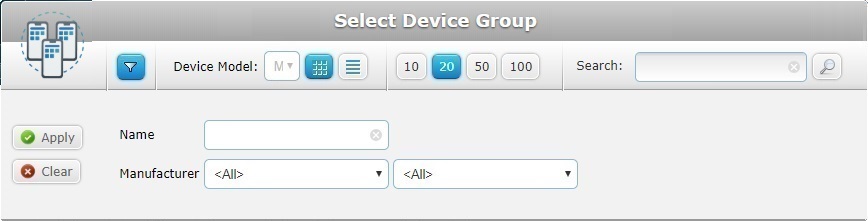
If the configuration being deployed has NO device model defined, there is no "Device Model" field. ex:
b. Select the desired device group by checking the corresponding
c. Click
Use the following options to control the display of listed items:
•Select the most appropriate view by either clicking
•Define how many items are displayed, at a time, by clicking one of the
• Click
•
I. Enter what you want to search for. II. Click III. To conclude the search operation, empty the search box and click
|
6. Click ![]() to continue.
to continue.
To return to the step 2 (Target tab) wizard page, click ![]() or
or ![]() .
.
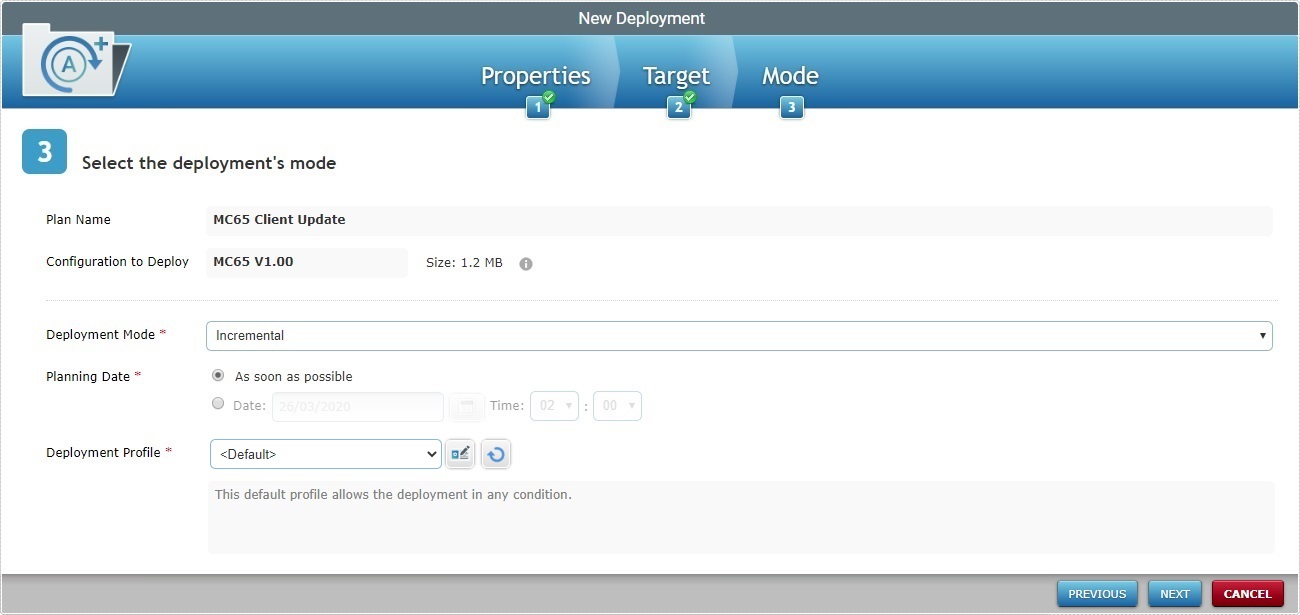
7. Fill in the available options:
Deployment Mode * |
Select the deployment mode from the drop-down list. There are two available: Incremental: Only components present in the deployed configuration, that are not present on the device, will be implemented. Full install: Deletes all the applications/firmwares and forces the installation of the components present in the deployed configuration. |
|---|---|
Planning Date * |
Check the most appropriate scheduling for the deployment: As soon as possible: the deployment will happen as soon as the device contacts the account and the deployment criteria are met. Date: Click |
Deployment Profile * |
Select the deployment profile from the drop-down.
The drop-down includes the created deployment profiles but also the "Default" profile (provided by the system). Select this profile, if you do not want any criteria restrictions associated to your deployment. If you click
The "Profile Management" page includes deployment but also network (Wifi/Cellular) profiles. Use the "Type" drop-down to filter the display and ONLY present deployment profiles.
If you select another deployment profile, you can use
Use the |
Description |
If required, read the selected deployment profile's description. |
8. Click ![]() .
.
To return to the step 2 (Target tab) wizard page, click ![]() or
or ![]() .
.
To cancel the wizard, click ![]() .
.
If an error message appears, check Possible Error Message(s) below to know how to proceed.
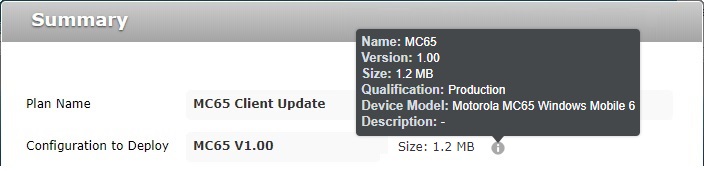
9. A summary window is displayed with the deployment's details.
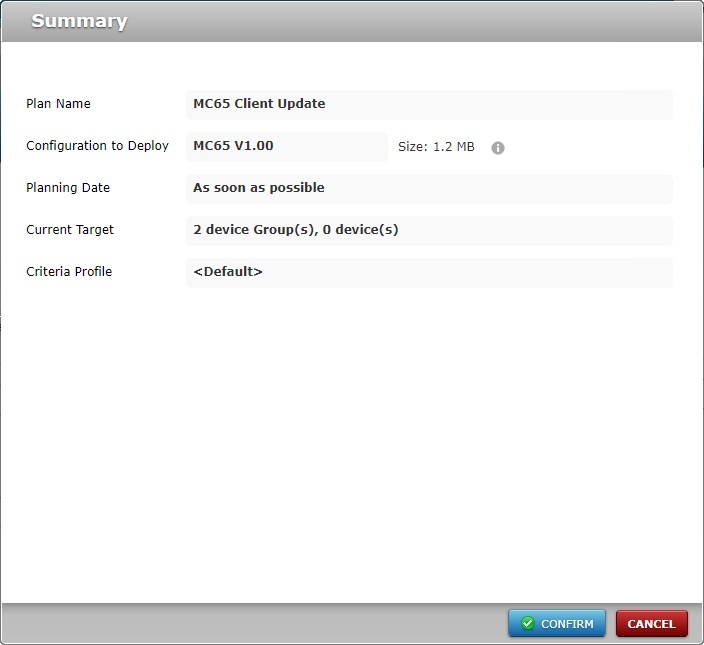
10. If all checks out, click ![]() .
.
The new deployment will be displayed in the "Deployment Plans" page.
![]() Mouse over the
Mouse over the ![]() to see details on the configuration used in the deployment.
to see details on the configuration used in the deployment.
![]()
Deployments can be planned/scheduled in several contexts and sub-modules. You can plan/schedule a deployment, if you use any of the options below:
•In the "Deployment Plans" page, click the deployment's plan name (displayed in light blue). For more information, see Editing a Deployment.
•In the "Configurations" page, use ![]() . For more information, see Deploying a Configuration.
. For more information, see Deploying a Configuration.
Once a deployment is created, all the devices belonging to the selected device group that meet the deployment criteria (set in the deployment's deployment profile) and log on to MCL App Desktop on the selected "Planning Date" ("as soon as possible" or a specific date) will receive the defined configuration.
When there are several deployments targeting the same device group, only the last deployment to become "Active" will be delivered to the target device group.
Check the screen sequences below which illustrate what happens in Windows Mobile and Android devices when a deployment is executed.
At Device Level
![]() Each device must have MCL-Agent already installed.
Each device must have MCL-Agent already installed.
![]() The MCL-Client logo (
The MCL-Client logo (![]() ) is only displayed after the first MCL-Client deployment.
) is only displayed after the first MCL-Client deployment.
Depending on the device's Operating System (Windows Mobile or Android), the deployment's screen sequence will be different:
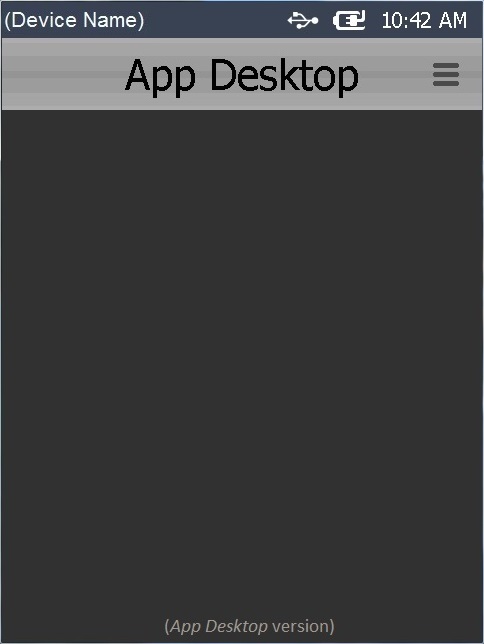
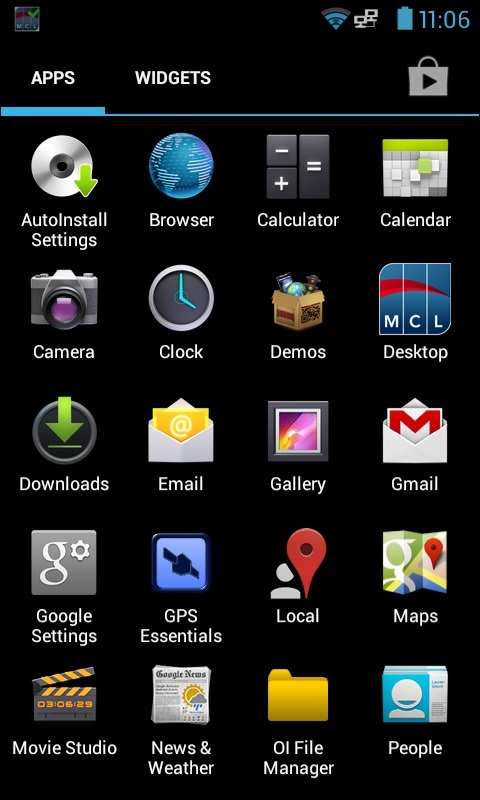
Screen Sequence of a Deployment in a Windows Mobile Device
1. Initial MCL App Desktop state before starting the deployment.
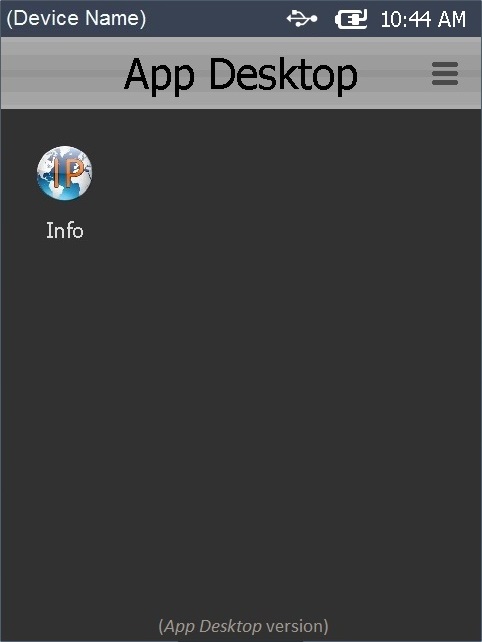
2. Once the deployment is concluded, if the deployment includes an application, the MCL App Desktop displays that application's shortcut icon.
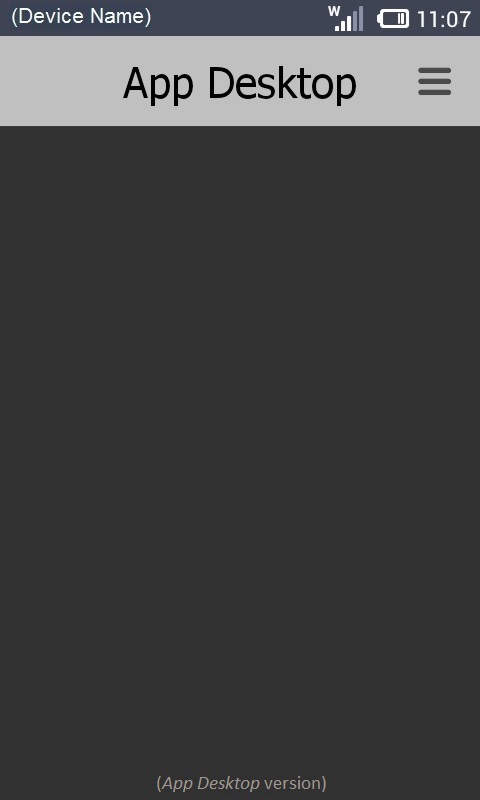
Screen Sequence of a Deployment in an Android Device
![]() Make sure the devices have MCL-Agent already installed.
Make sure the devices have MCL-Agent already installed.
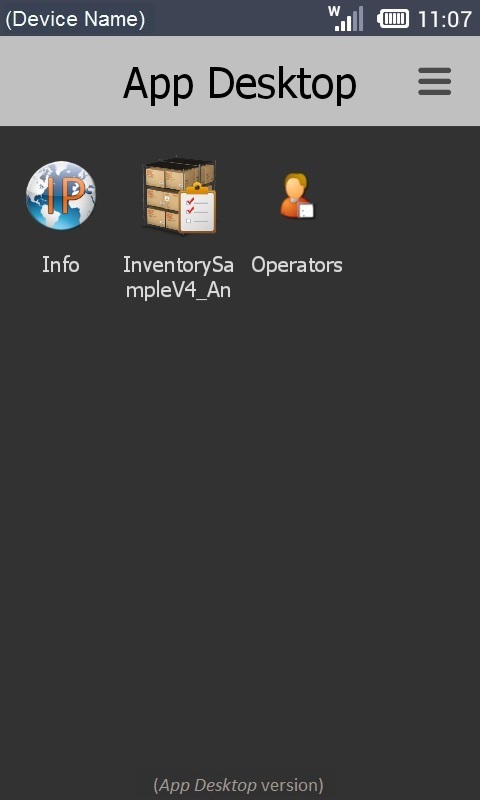
1. Initial MCL App Desktop state before starting the deployment.
2. Once the deployment criteria are met, MCL App Desktop closes and displays the last OS open area.
(The deployment downloads and installs its components.)
3. MCL App Desktop starts again.
4. Final MCL App Desktop state once the deployment is finished.
If the deployment includes an application, MCL App Desktop displays that application's shortcut icon.
![]()
Occurrence: When clicking ![]() .
.
Cause: No deployment name defined.
Action: Define a deployment name ( with at least 4 characters) and, then, click ![]() .
.
![]()
Occurrence: When clicking ![]() .
.
Cause: Illegal characters used in the deployment's name.
Action: To define a deployment's name use only alphanumeric characters (a-z; A-Z; 0-9) and, then, click ![]() .
.
![]()
Occurrence: When clicking ![]() .
.
Cause: The deployment's name is less than 4 characters long.
Action: Enter a deployment name with 4 or more characters and, then, click ![]() .
.
![]()
Occurrence: When clicking ![]() in the "New Deployment Plan" page.
in the "New Deployment Plan" page.
Cause: No device group is selected.
Action: Click the ![]() button of the "Apply to Device Group" option, select a target device group in the "Select a Device Group" window and, then, click
button of the "Apply to Device Group" option, select a target device group in the "Select a Device Group" window and, then, click ![]() to apply.
to apply.
![]()
Occurrence: When clicking ![]() in the "New Deployment Plan" page.
in the "New Deployment Plan" page.
Cause: No configuration is selected.
Action: Click the ![]() button of the "Configuration to Deploy" option, select a configuration in the "Select a Configuration" window and, then, click
button of the "Configuration to Deploy" option, select a configuration in the "Select a Configuration" window and, then, click![]() to apply.
to apply.
![]()
Occurrence: When clicking ![]() in the "Summary" page.
in the "Summary" page.
Cause: The selected configuration is not compatible with the target Device Group device type.
Action: Select a compatible target device group (device type) with the selected configuration in step 5.