|
Exporting/Importing Dashboards |
  
|
Exporting/Importing Dashboards
|
Exporting/Importing Dashboards |
|
Overview
Dashboards can be reused in other accounts, meaning, you can export a dashboard and its widgets and import it into another account.
When performing a dashboard import, review the data sources to avoid any broken links. For instance, if the imported dashboard includes widgets with counters as data sources, you must define another counter as the data source if the original counter is not available within your account.
You can only export/import one dashboard at a time.
Depending on what you intend to execute (dashboard export or import), check the corresponding step-by-step:
To Export a Dashboard below
1. In the Site Dashboard's "Control Panel", click ![]() , and, in the resulting row, click the
, and, in the resulting row, click the ![]() sub-module.
sub-module.
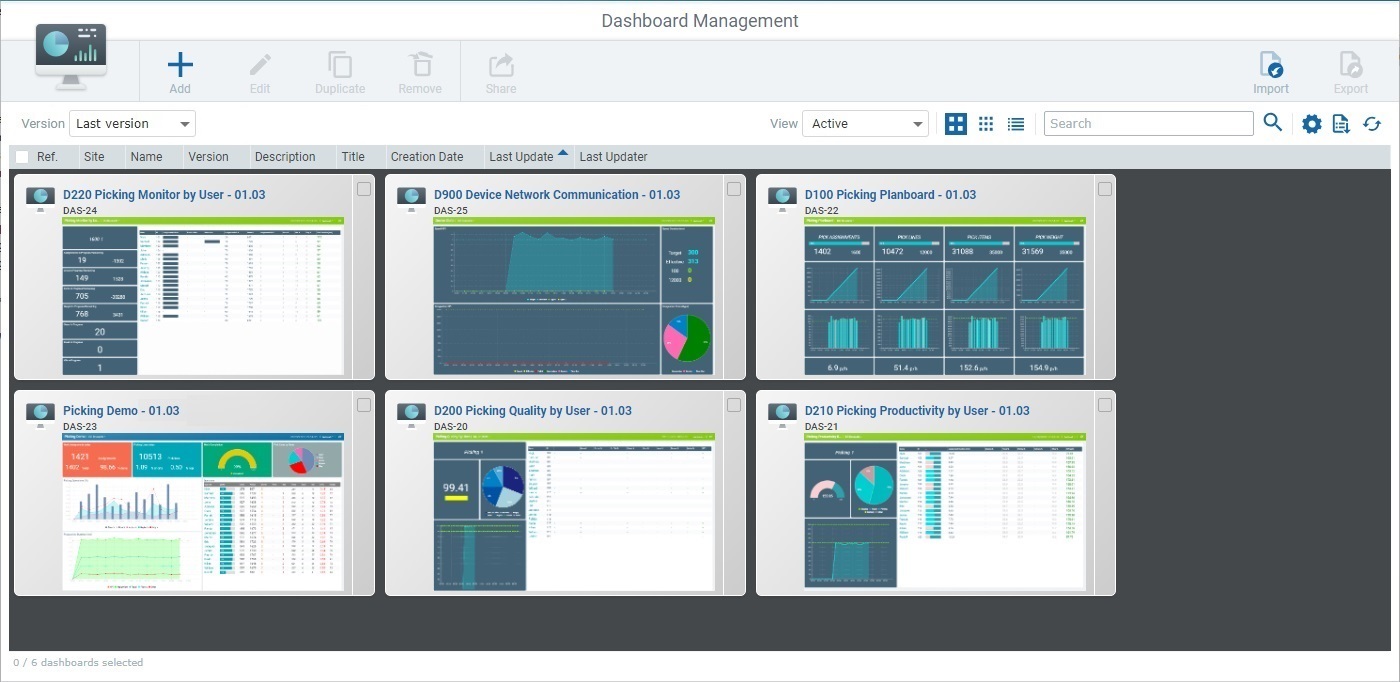
This opens the "Dashboard Management" page.
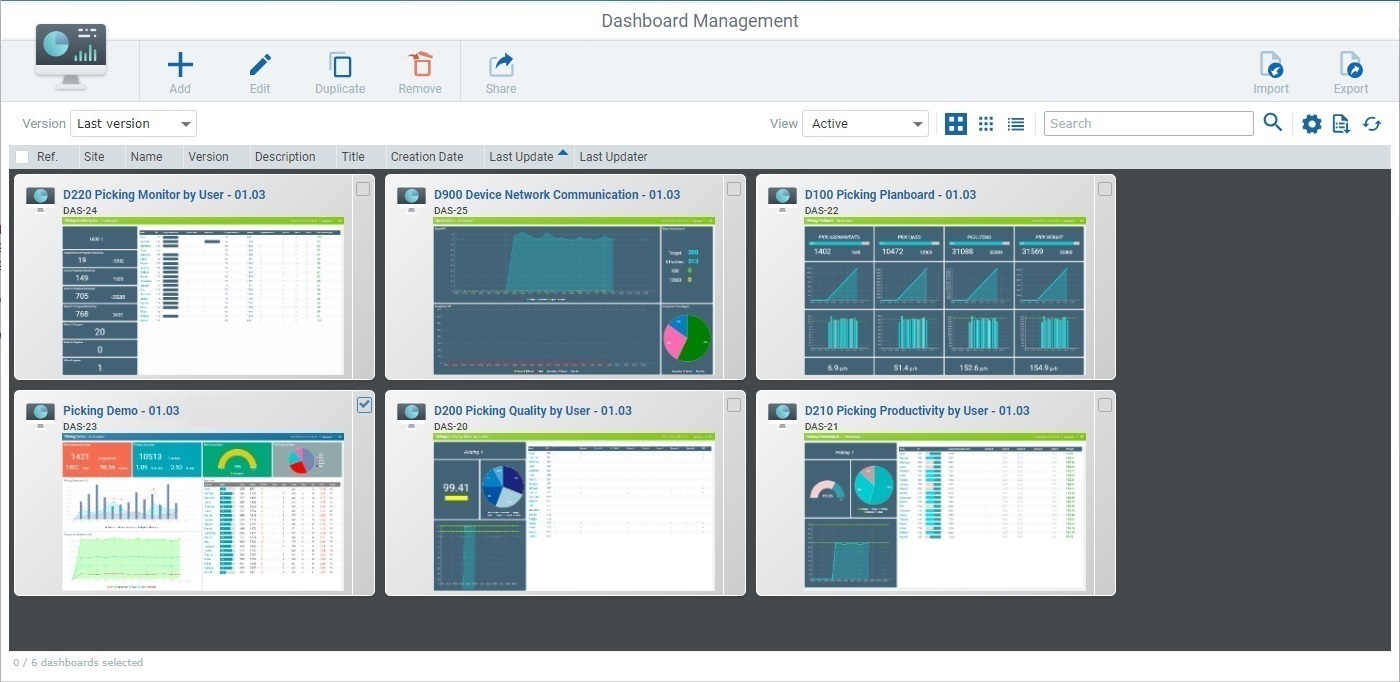
2. Select the dashboard you want to export by checking its ![]() . This activates the
. This activates the ![]() option.
option.
3. Click ![]() .
.
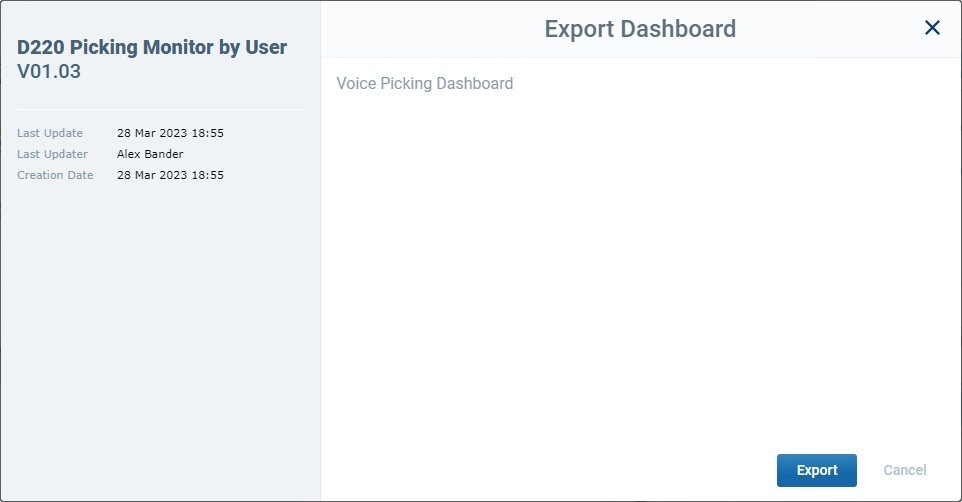
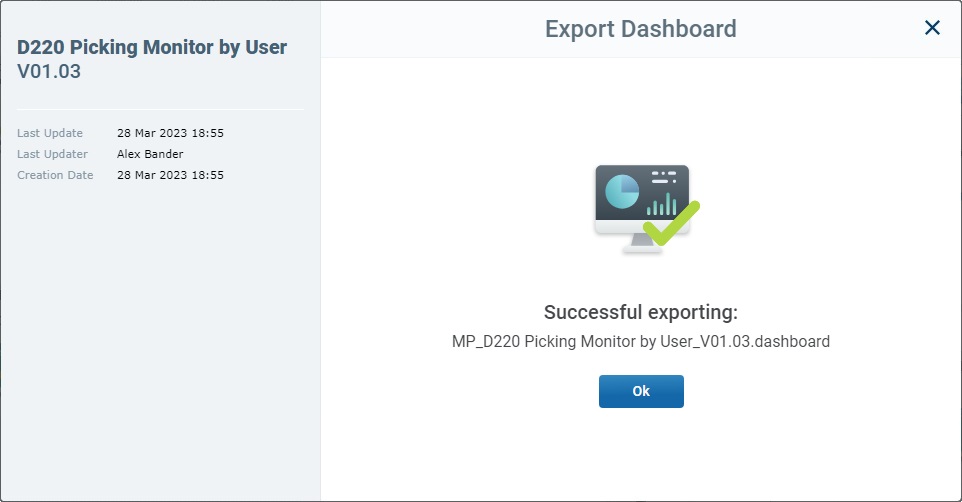
This window provides some information on the dashboard being exported. To the left you have:
Name + version of the Dashboard being exported |
|
Last Update |
The date and time of the last saved dashboard update. |
Last Updater |
The platform user that performed the last dashboard update. |
Creation Date |
When the dashboard being exported was created. |
4. Proceed by clicking ![]() . An "MP_<dashboard name>.dashboard" file is, automatically, generated (ex. "MP_My_Dashboard2_V01.00.dashboard").
. An "MP_<dashboard name>.dashboard" file is, automatically, generated (ex. "MP_My_Dashboard2_V01.00.dashboard").
This, also, opens an OS browse window to allow you to save the file in your PC.
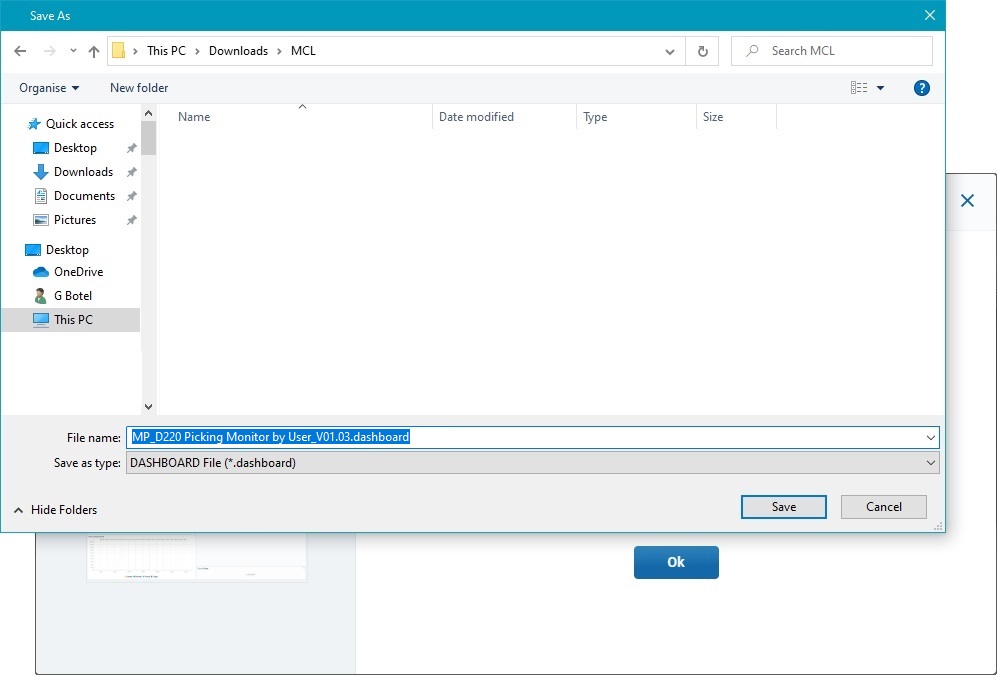
5. Click ![]() to save the dashboard file.
to save the dashboard file.
The dashboard is exported as a ".dashboard" extension file into your PC (into your designated folder for downloads).
6. Click ![]() to conclude and close the "Export Dashboard" pop-up window.
to conclude and close the "Export Dashboard" pop-up window.
1. In the Site Dashboard's "Control Panel", click ![]() , and, in the resulting row, click the
, and, in the resulting row, click the ![]() sub-module to open the "Dashboard Management" page.
sub-module to open the "Dashboard Management" page.
2. Without selecting any existing dashboard, click ![]() (this option is ONLY available if there is nothing selected).
(this option is ONLY available if there is nothing selected).
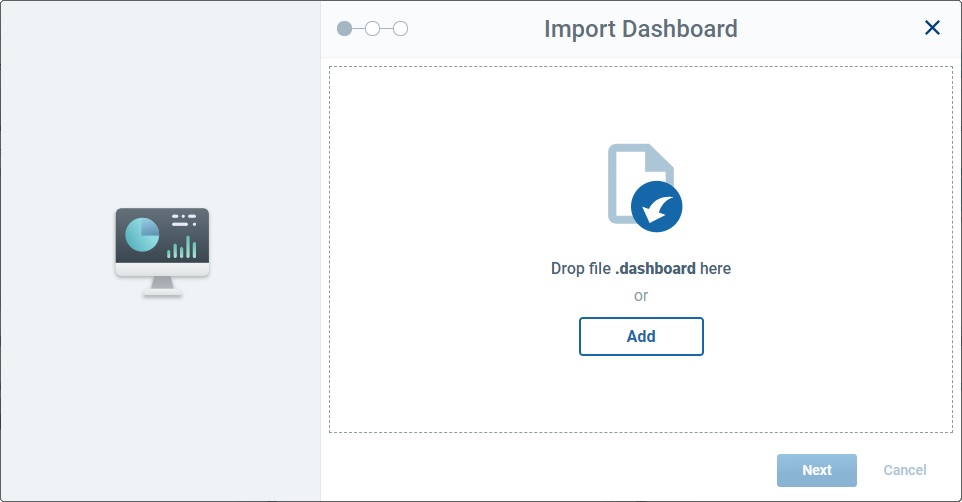
3. Use one of the following methods to add the intended dashboard:
•Drag the intended dashboard onto the designated drop area.
OR
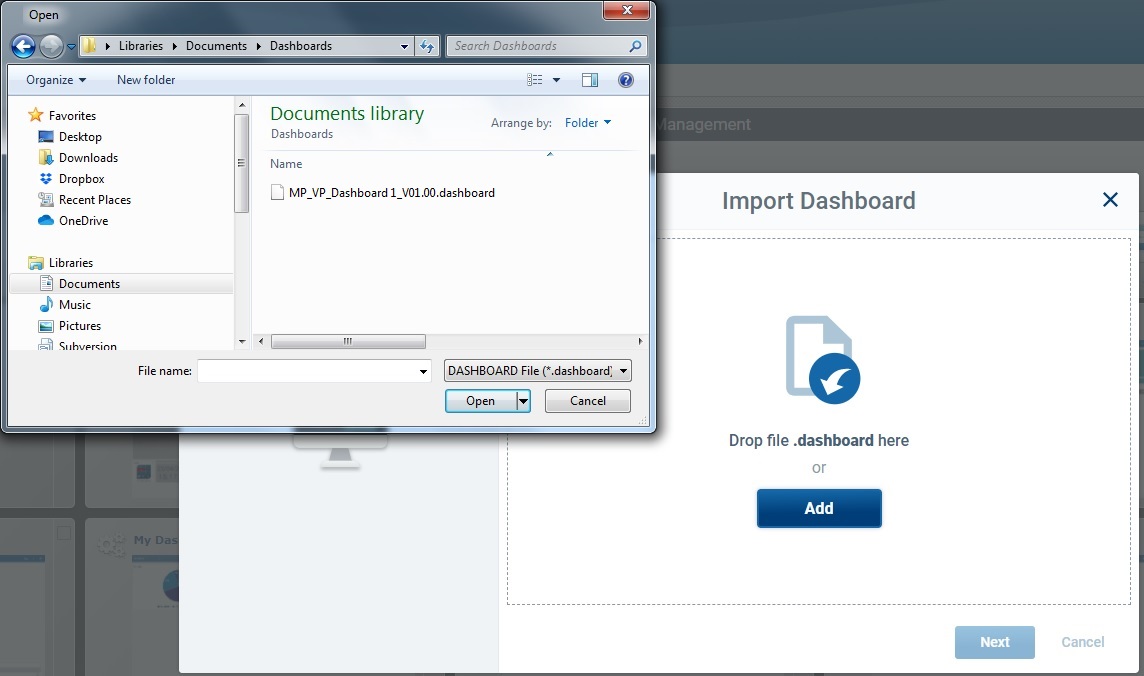
•Click ![]() and, select the intended dashboard in the resulting OS browse window.
and, select the intended dashboard in the resulting OS browse window.
4. Wait for the dashboard file to upload.
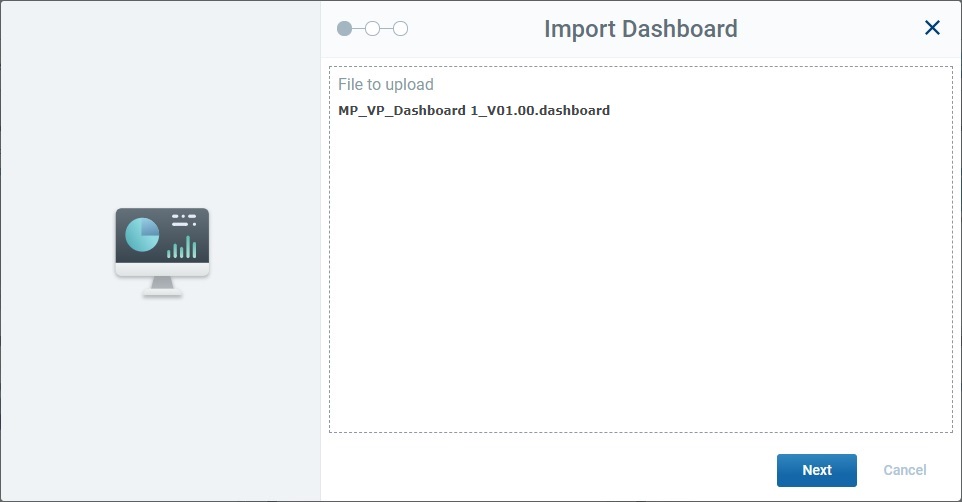
5. Click ![]() .
.
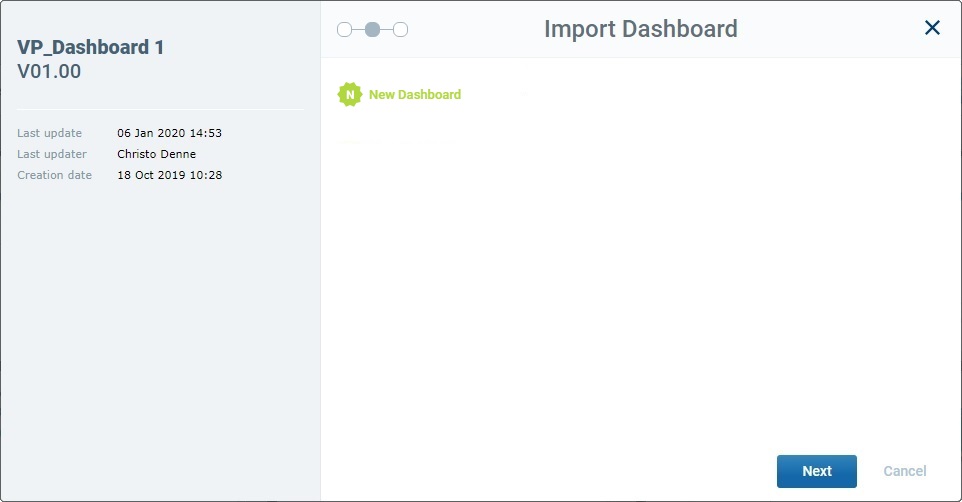
6. Click ![]() to proceed with the import.
to proceed with the import.
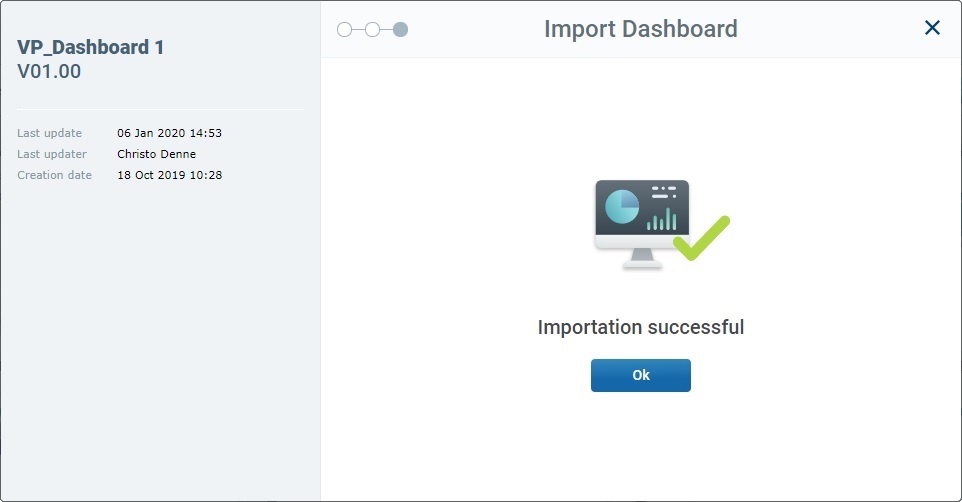
7. Wait for the import success message and, then, click ![]() to conclude and close the "Import Dashboard" pop-up window.
to conclude and close the "Import Dashboard" pop-up window.
The newly imported dashboard is available in the "Dashboard Management" page.
Potential Import Issue
Dashboard Name/Version Conflicts
If, during the import operation, the system detects that the dashboard/dashboard version being imported is already included in the target account, you will get an error message.
Proceed as follows to solve the issue:
1. Initiate the import, select/upload the intended dashboard file and follow the Import wizard until you reach the following step/error message:
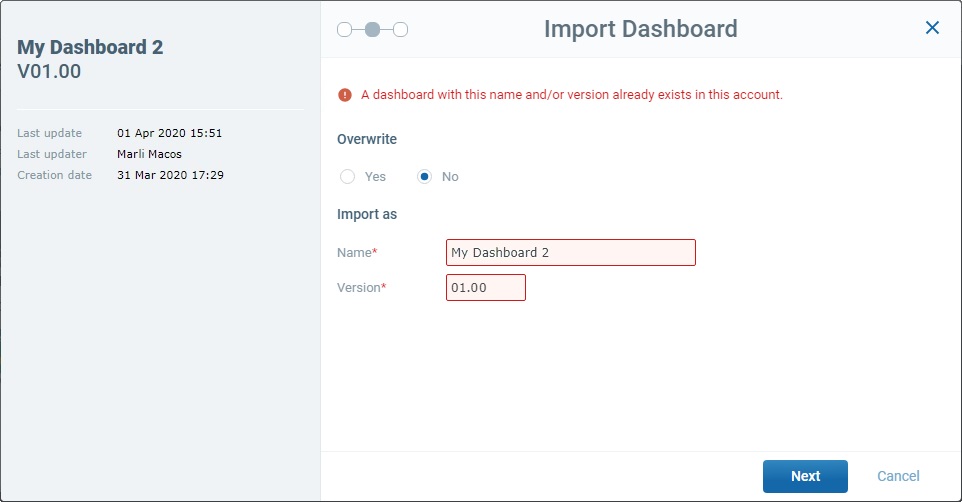
2. Decide the course of action to apply:
•Overwrite/replace the dashboard that was already included in the target account with this newer dashboard file.
a. Maintain the dashboard's name/version and check the "Yes" associated to the "Overwrite" option.
b. Click ![]() to conclude the import.
to conclude the import.
The account will ONLY keep the dashboard version that was imported.
•Keep both versions by editing the new dashboard's file's name and/or version.
a. Maintain the "No" associated to the "Overwrite" option checked.
b. Edit the name and/or version of the dashboard file you want to import.
I. Click the "Name *" box to set it to edit mode and edit the dashboard's name.
II. Click the "Version *" box and use the resulting arrows to increment/decrement the dashboards's version.
c. Click ![]() to conclude the import.
to conclude the import.
The account will have both dashboard versions available for use.
•Cancel the import operation to check the situation by clicking