|
Editing a Dashboard |
  
|
Editing a Dashboard
|
Editing a Dashboard |
|
Overview
ONLY dashboards created at site level can be edited. You can edit their properties and included widgets, at any time.
![]() If you want to edit a dashboard created at account level, you can duplicate it and edit that duplicate (operationally speaking, the duplicate is created in the current site so it can be edited).
If you want to edit a dashboard created at account level, you can duplicate it and edit that duplicate (operationally speaking, the duplicate is created in the current site so it can be edited).
Please check the step-by-steps available below and follow the ones that are appropriate for your purpose:
To Edit a Dashboard's Properties below
To Edit the Dashboard's Layout
To Add a Widget to a Dashboard
To Remove a Widget from a Dashboard
Save your editions prior to leaving the dashboard's details page to ensure they are applied. See The Dashboard's Save Feature.
Edit a Dashboard's Properties
![]() It is ONLY possible to edit dashboards created within the current site. You can check the settings of dashboards created at account level (and available to all sites) but you cannot change them.
It is ONLY possible to edit dashboards created within the current site. You can check the settings of dashboards created at account level (and available to all sites) but you cannot change them.
If you open a details page of one of those dashboards, the page will be set to view mode without the possibility to change it to edit mode.
Step-by-step
1. In the Site Dashboard's "Control Panel", click ![]() , and, in the resulting row, click the
, and, in the resulting row, click the ![]() sub-module.
sub-module.
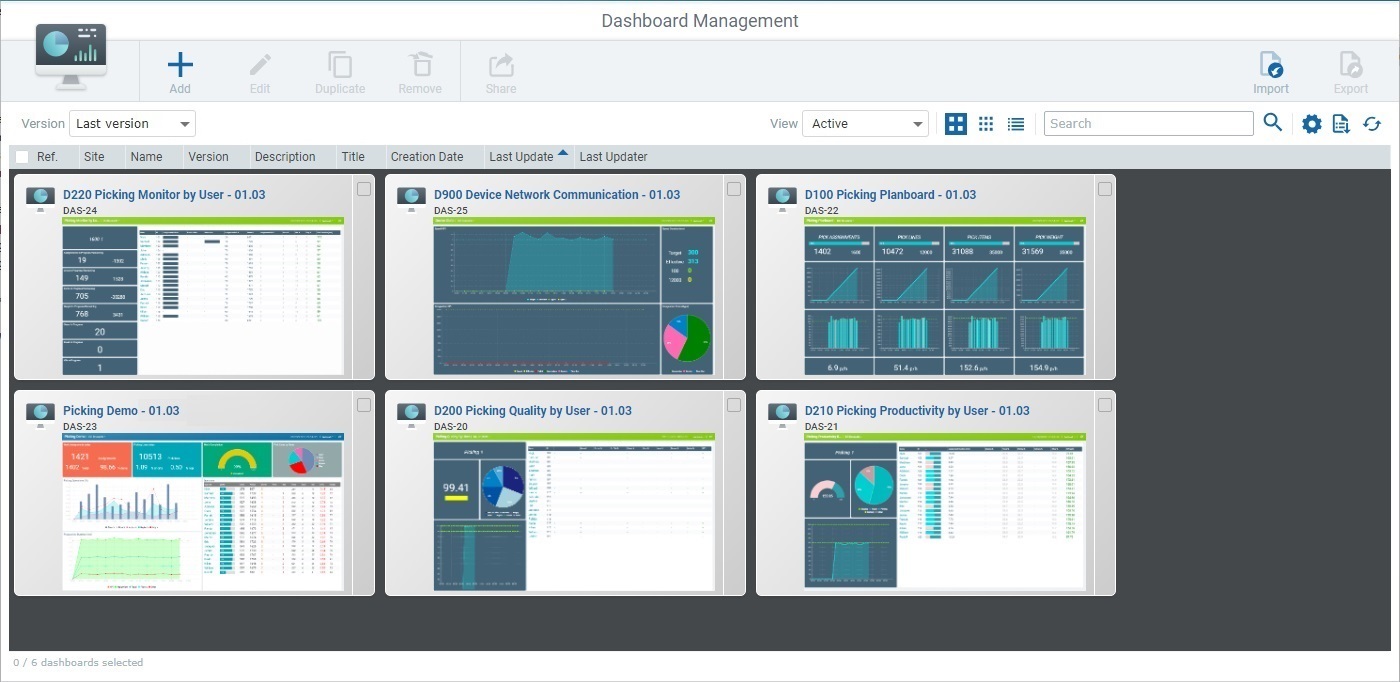
2. Check the ![]() of the dashboard you want to edit and, then, click
of the dashboard you want to edit and, then, click ![]() .This button only becomes available after you have selected ONE site dashboard (=dashboard created within the current site).
.This button only becomes available after you have selected ONE site dashboard (=dashboard created within the current site).
![]() If the selected dashboard was created at account level, it cannot be edited so the details page will open in view mode without the possibility of setting it to edit mode.
If the selected dashboard was created at account level, it cannot be edited so the details page will open in view mode without the possibility of setting it to edit mode.
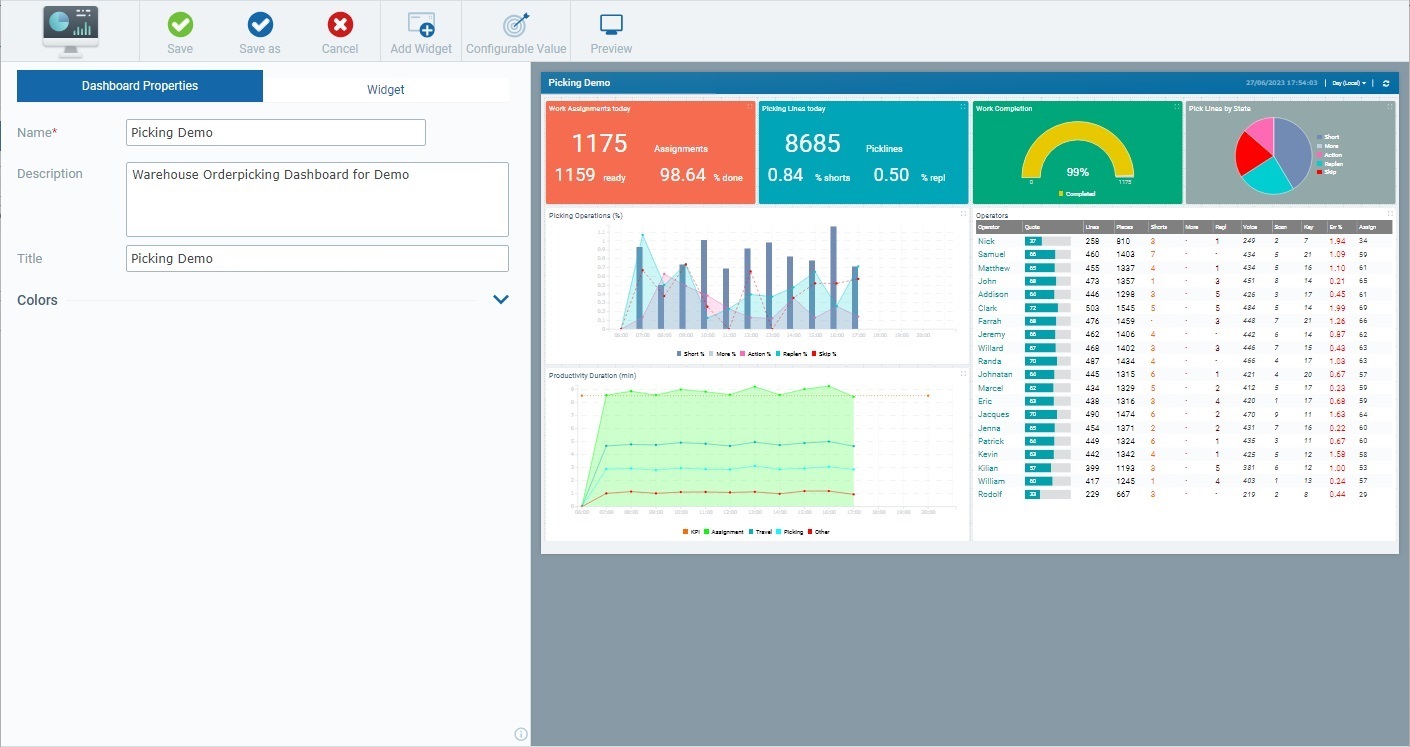
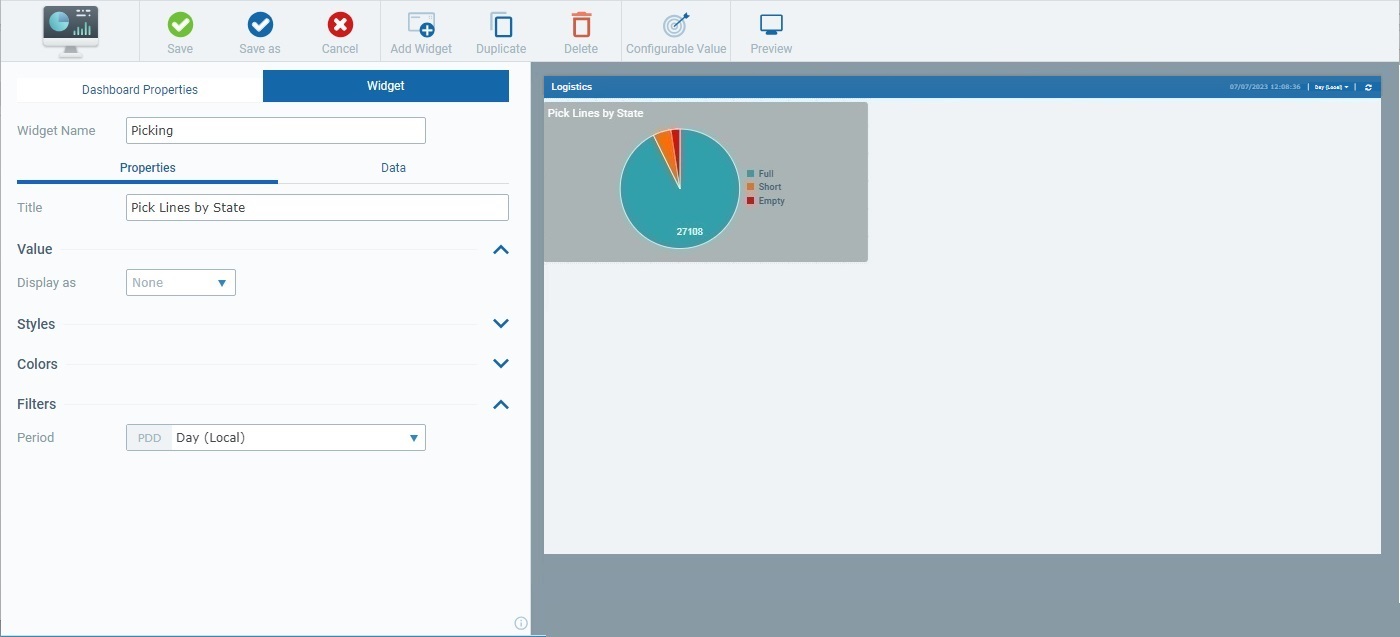
3. Open the "Dashboard Properties" tab and edit its available fields:
Name * |
If required, rename the current dashboard - this name identifies the dashboard within the site but it will NOT be visible in the dashboard itself. If you settled for the default name suggestion ("My Dashboard #"), we recommend you edit it so the name provides some context to the displayed widgets. |
Description |
Maintain, edit or enter relevant information on the current dashboard. |
Title |
Maintain, edit or enter a new title for the current dashboard. Since the title is displayed in the dashboard's upper left corner, we recommend you define a title that illustrates the dashboard's purpose/values it displays. |
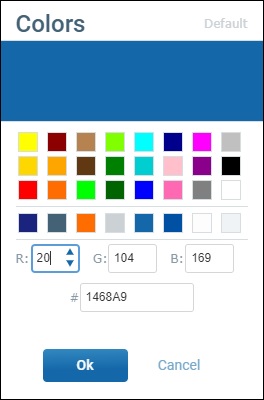
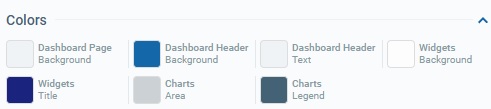
4.If required, click the accordion next to the "Colors" section to access its options. Edit the available colors, as necessary - click the box of the color you want to edit to open the corresponding "Colors" pop-up window.
|
To define a different color, select a color from the color palette OR enter the RGB color codes OR Hex color code of the intended color.
If you want to revert back to the default color, click
To apply your new color choice, click |
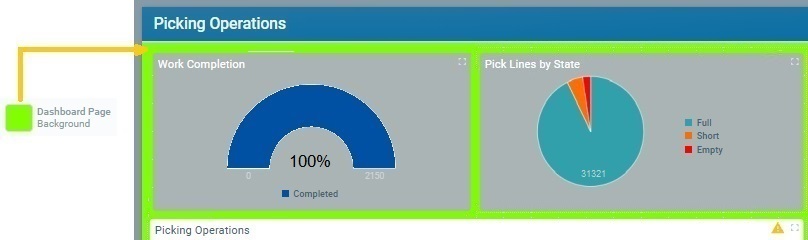
Examples for the Dashboard related colors:
Dashboard Page Background |
|
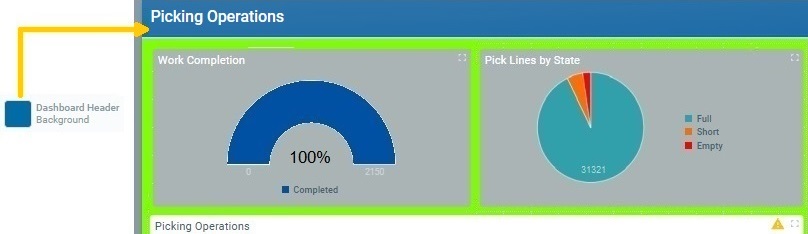
Dashboard Header Background |
|
Dashboard Header Text |
|
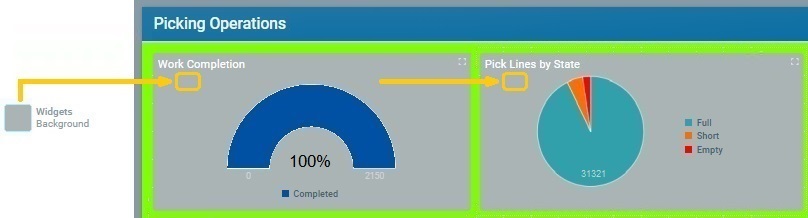
Examples for the Widget related colors:
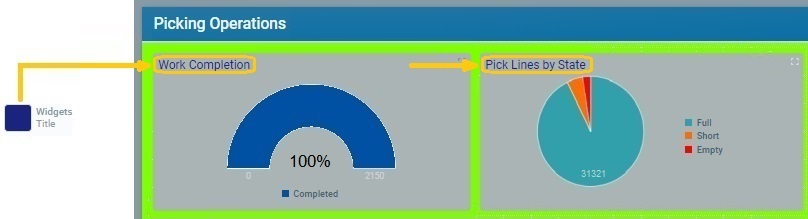
Widget Background |
|
Widget Title |
|
Charts Area |
|
Charts Legend |
|
![]()
Remember that the widget related colors you define here ("Widgets Background", "Widgets Title", "Charts Area" and "Charts Legend") are considered the default, at widget level. So, any widget that uses "default colors" (defined in the widget's "Properties" and "Data" tabs) will be affected by the edition of these options - they will inherit these colors.
5. If you want to proceed with the edition of other dashboard elements, such as a widget, proceed to that element. Follow the appropriate step-by-step:
To Edit the Dashboard's Layout
To Add a Widget to a Dashboard
To Remove a Widget from a Dashboard
How To Create a Configurable Value
6. If your edition is restricted to the "Dashboard Properties" tab, click ![]() to apply your changes.
to apply your changes.
![]() As an alternative, use the
As an alternative, use the ![]() option to save a new name/version of the dashboard. This option allows you to define a different name and control the dashboard's version, instead of relying on the version number that is, automatically, attributed by the system when you create a dashboard. See The Dashboard's "Save" Feature below.
option to save a new name/version of the dashboard. This option allows you to define a different name and control the dashboard's version, instead of relying on the version number that is, automatically, attributed by the system when you create a dashboard. See The Dashboard's "Save" Feature below.
If required, you can shuffle/re-size the widgets you have added to your dashboard. Set the intended dashboard's details page to edit mode, and work in its Preview Section:
•Drag the intended widget across the Preview Section and drop it in the intended area.
•Use the mouse to re-dimension the widget within the dashboard. Once you select the widget, in the Preview Section, use the mouse cursor to drag the widget's blue dots to expand or shrink the widget.
The Dashboard's "Save" Feature
•The dashboard's details page (set to edit mode) provides 2 buttons to perform a manual save of a dashboard's edition:
![]() saves the changes you have made and incorporates them in the current dashboard version. If you use this option when you first create a dashboard, the system will, automatically, provide a version number.
saves the changes you have made and incorporates them in the current dashboard version. If you use this option when you first create a dashboard, the system will, automatically, provide a version number.
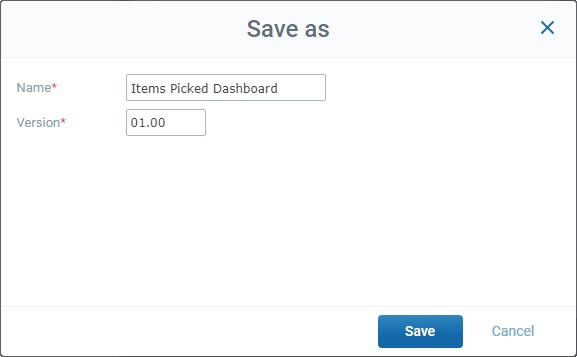
![]() saves the changes you have made into a different version of the current dashboard (you can define a new name and version number). If you use this option when you first create a dashboard, you will be able to control the dashboard's version number.
saves the changes you have made into a different version of the current dashboard (you can define a new name and version number). If you use this option when you first create a dashboard, you will be able to control the dashboard's version number.
a. Click
b. Edit the "Name" and/or the"Version" field, as required. These fields are mandatory so they MUST have content to proceed with the save operation.
I. If required, click the "Name" field and enter another name for the dashboard;
II. If necessary, click the "Version" field and use the activated
c. Click
|
•If you do NOT save your alterations in a widget or the dashboard's settings before exiting the page, MCL-Mobility Platform has an AutoSave mechanism in place that keeps your edition for a small amount of time so you can manually save it when you access the dashboard with the unsaved changes again.
•When you do NOT save your changes to a widget/the dashboard's settings before exiting the dashboard's details page, the next time you access it, there will be a warning message.

•If you intend to keep your previous (unsaved) changes, click ![]() or
or ![]() to apply them.
to apply them.
•If you have changed your mind about the unsaved edition and do NOT want to apply it anymore, use the ![]() option:
option:
I. Click ![]() .
.

II. Click ![]() to confirm. The dashboard will NOT have any of the unsaved changes applied to it.
to confirm. The dashboard will NOT have any of the unsaved changes applied to it.