|
Adding, Editing and Deleting a Widget |
  
|
Adding, Editing and Deleting a Widget
|
Adding, Editing and Deleting a Widget |
|
Overview
The next step to creating a dashboard is to add the widgets you consider suited for the display of the intended values.
Those widgets can be edited or deleted, at any time. Be advised that the edition or removal of a widget will, automatically, affect the dashboard's display.
You can ONLY edit/delete the widgets of a dashboard that was created within the site (imported dashboards into the site or duplicates of existing dashboards can also be edited).
Regardless of the widget related operation you intend to execute (add, edit or remove), you must, first, open the "Dashboards" sub-module, check the intended dashboard and click ![]() to open the corresponding details page. The page is already set to edit mode so you just have to select the widget you want to edit to access its settings.
to open the corresponding details page. The page is already set to edit mode so you just have to select the widget you want to edit to access its settings.
The dashboard's details page provides more options such as the canceling of any previous edition that was not saved, access to the dashboard's "configurable values" (see Configurable Values), etc.
Go through the step-by-steps below that describe the available operations you can perform, at widget level:
Add a Widget to a Dashboard below
Arrange a Widget within a Dashboard
Remove a Widget from a Dashboard
Step-by-step
1. Click  in the Site Dashboard's "Control Panel" and, then,
 ![]() . This opens a "Dashboard Management" page.
. This opens a "Dashboard Management" page.
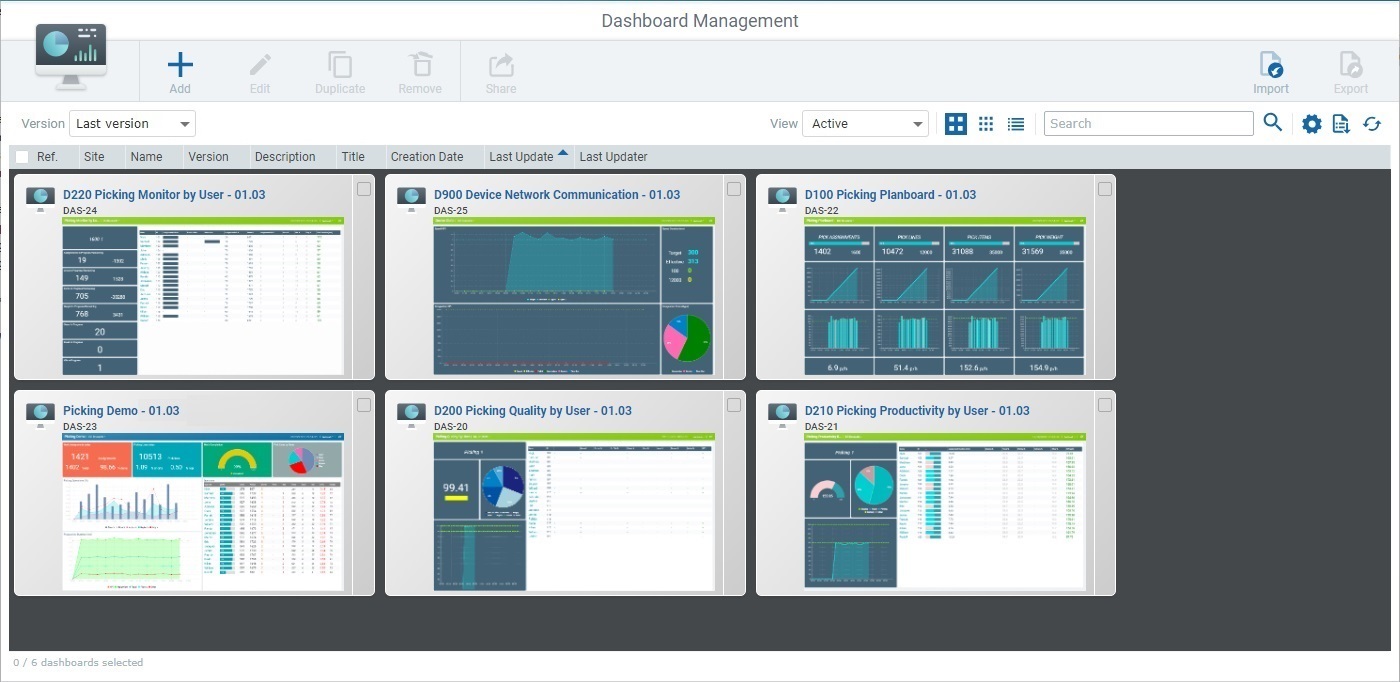
2. Check the ![]() of the dashboard you want to add a widget to and click
of the dashboard you want to add a widget to and click ![]() (this option is only available after you select a dashboard).
(this option is only available after you select a dashboard).
The dashboard's details page opens in edit mode.
![]() If the selected dashboard has unsaved changes (meaning, the last time you accessed this dashboard, you made changes but did NOT save them before leaving the details page), the page will open with a warning message:
If the selected dashboard has unsaved changes (meaning, the last time you accessed this dashboard, you made changes but did NOT save them before leaving the details page), the page will open with a warning message:

•Click ![]() OR
OR ![]() , if you intend to apply the unsaved edition.
, if you intend to apply the unsaved edition.
•Use the ![]() option, if you want to discard the unsaved changes.
option, if you want to discard the unsaved changes.
3. Click ![]() .
.
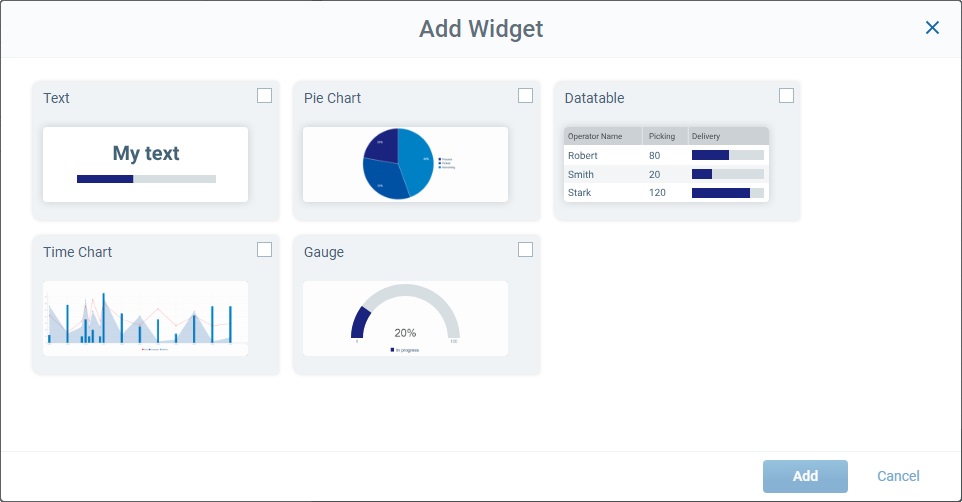
4. Check the widget(s) you want to add to the dashboard.
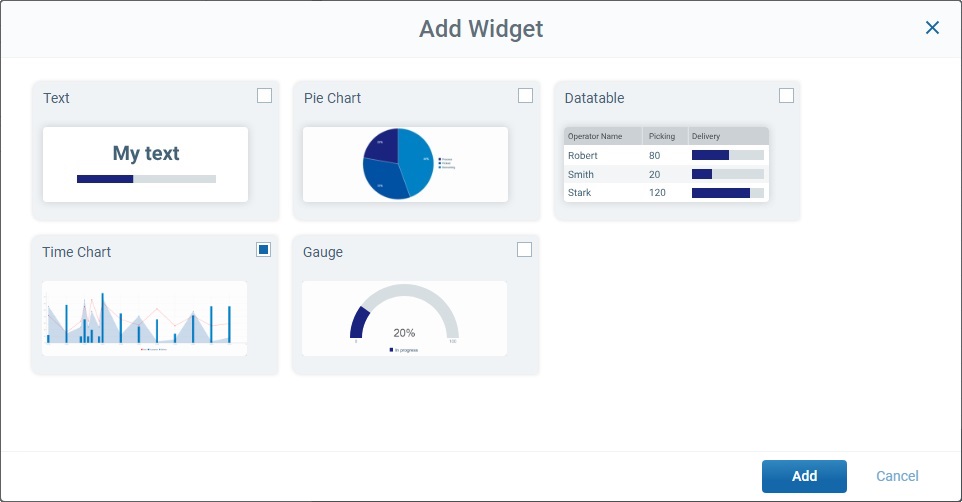
5. Click ![]() .
.
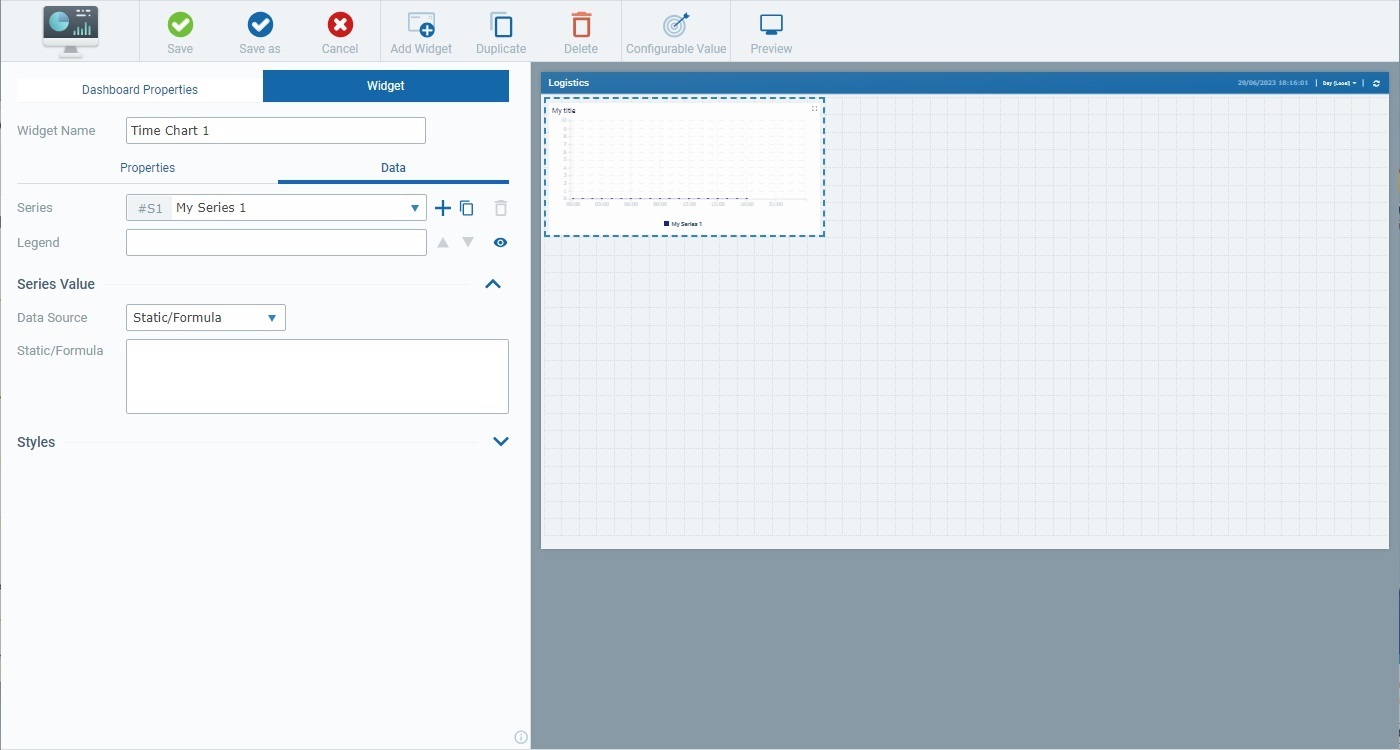
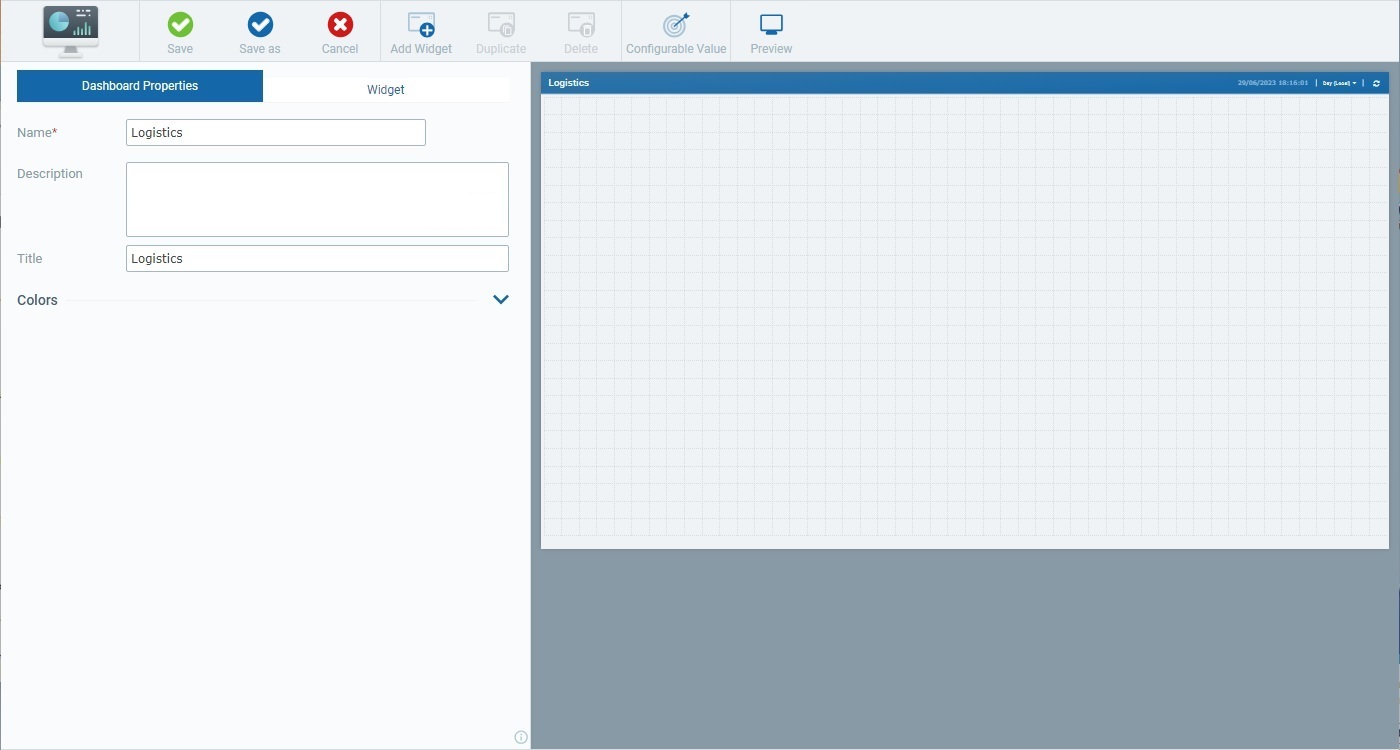
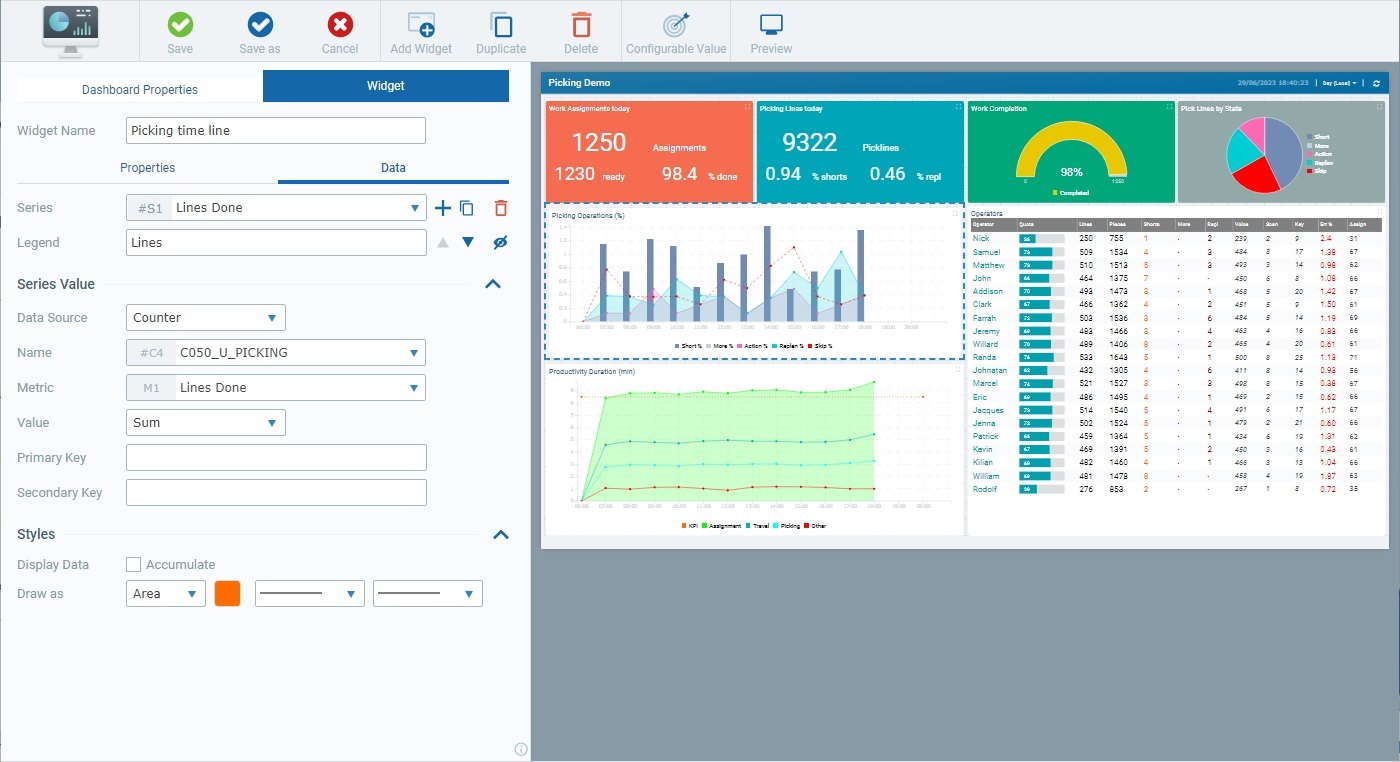
The selected widget is added to the Preview Section. The "Data" tab (included in the "Widget" main tab) is open so you can edit the newly added widget.
6. Proceed with the edition of the widget's settings in the "Properties" and "Data" tabs OR click ![]() or
or ![]() to apply the new widget and leave the edition for later.
to apply the new widget and leave the edition for later.
The available options depend on the selected widget. Follow the links below so you can check how to configure/edit the intended widget(s):
![]() Duplicating a Widget
Duplicating a Widget
As an alternative, you can add more widgets to a dashboard by duplicating an existing widget:
a. In the dashboard's details page, select the widget you want to duplicate in the Preview Section.
b. Click ![]() . The widget is duplicated- it is added to the Preview Section and the tab open to the right adapts to show the duplicate's settings. The duplicate's name consists of the original widget's name plus "copy".
. The widget is duplicated- it is added to the Preview Section and the tab open to the right adapts to show the duplicate's settings. The duplicate's name consists of the original widget's name plus "copy".
c. Edit the available fields, as needed.
d. Click ![]() to save your changes.
to save your changes.
Step-by-step
1. Click in the Site Dashboard's "Control Panel" and, then, ![]() . This opens a "Dashboard Management" page.
. This opens a "Dashboard Management" page.
2. Check the ![]() of the dashboard you want to add a widget to and click
of the dashboard you want to add a widget to and click ![]() (this option is only available after you select a dashboard).
(this option is only available after you select a dashboard).
3. Click the intended widget, in the Preview Section, to select it.
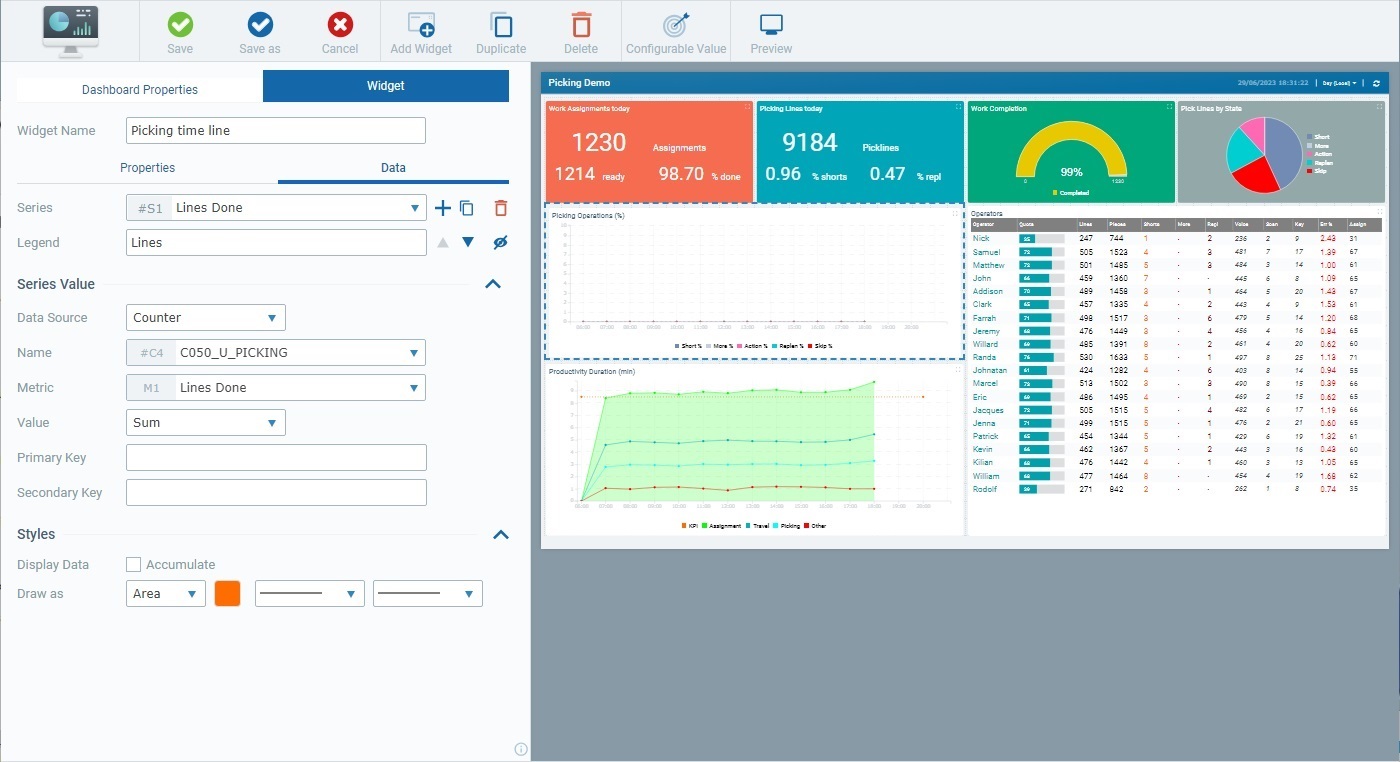
4. Edit the available options in the "Properties" and "Data" tabs, as required. The options are always related to the widget that is currently selected.
![]() Widget Color Management
Widget Color Management
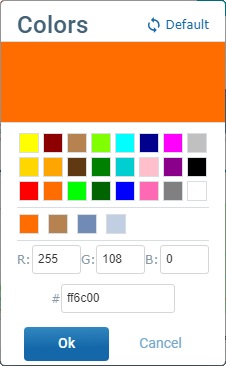
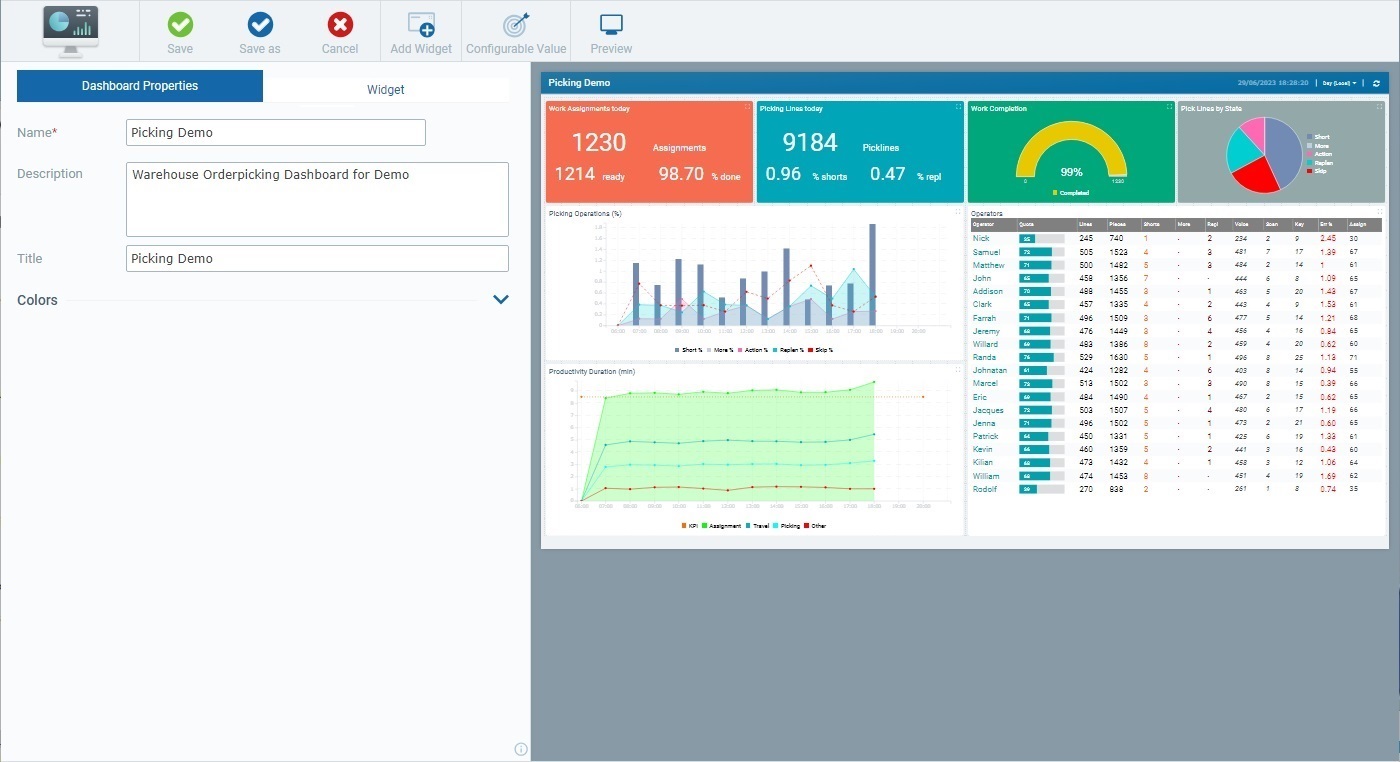
There are color options for widget elements in both the "Properties" and "Data" tabs.
The default colors for these widget elements are defined at dashboard level, in the dashboard's "Properties" tab. This means that if you choose "Default" for a widget element, that element will inherit the color defined in the dashboard's "Properties" tab. See "Dashboard Properties" Tab - "Colors" Section.
When a widget element has "default" as the defined color, its box will contain a white square in its upper right corner.
Example:

If required, however, you can customize a widget element's color in the corresponding "Colors" pop-up window.
|
•If you want the current widget element to inherit the color defined in the dashboard's "Dashboard Properties" tab ("Colors" section), check the Once you apply the default color to a widget element, that element's box will include a white square. Ex:
•If you want to customize the color of the current element, uncheck the
▪Click one of the colors available in the color palette;
OR
▪Fill in the intended RGB color codes in the respective boxes;
OR
▪Enter the Hex color code in the corresponding box.
To reset the element's color to its default, click
•Always click |
For more detailed information on the options for each widget, see:
5. Click ![]() to apply your changes.
to apply your changes.
If you skip this step before leaving the details page, you can still recover your changes the next time you access this dashboard - its details page will display a warning message informing you that there are unsaved changes. To apply them, click ![]() . See The Dashboard's Save Feature.
. See The Dashboard's Save Feature.
To discard these changes, click ![]() and confirm the operation.
and confirm the operation.
Arrange the Widgets within the Dashboard
If required, you can shuffle/resize the widgets you have added to your dashboard. Work in the Preview Section:
•Drag the intended widget across the Preview Section and drop it in the intended area.
•Use the mouse to redimension the widget within the dashboard. Once you select the widget, use the mouse cursor to drag the widget's blue dots to expand or shrink the widget.
Remove a Widget from a Dashboard
Step-by-step
1. Click in the Site Dashboard's "Control Panel" and, then, ![]() . This opens a "Dashboard Management" page.
. This opens a "Dashboard Management" page.
2. Check the ![]() of the dashboard you want to add a widget to and click
of the dashboard you want to add a widget to and click ![]() (this option is only available after you select a dashboard).
(this option is only available after you select a dashboard).
3. Click the intended widget, in the Preview Section, to select it.
4. Click ![]() .
.
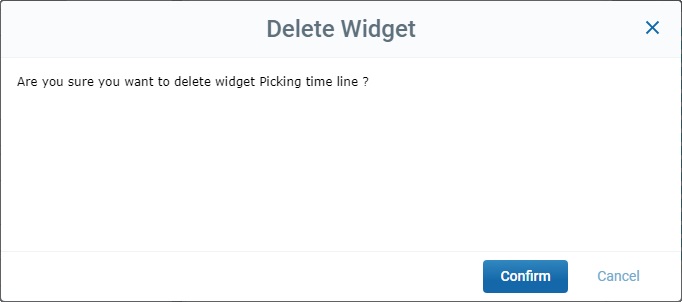
5. Confirm the widget removal by clicking ![]() .
.