|
Android File Pairing/Staging |
  
|
Android File Pairing/Staging
|
Android File Pairing/Staging |
|
Overview
The File Pairing/Staging mode uses an "*.mcfg" file with pairing (and eventual) staging information provided by the intended device group.
This mode is available to Windows Mobile/CE and/or Android devices. This topic describes the File Pairing/Staging of Android devices.
Before initiating the pairing/staging, consider the following:
•The compatible MCL-Agent for Android devices MUST to be installed into the devices being handled. See Installing MCL-Agent into an Android Device.
•There MUST be an Internet connection.
•The site SHOULD include a device group that is compatible with the device(s) being handled. Otherwise, they MUST be contained in the "Unassigned" device group - the devices will NOT be ready for use, they will have to be moved onto a compatible device group.
•The devices being handled MUST have their system date up-to-date and their timezone MUST be the same as the one defined in the destination site.
•The pairing (and eventual staging) operation occurs simultaneously in the device and in the MCL-Mobility Platform account.
Step-by-step
The location/entity (=pairing information) contained in the "*.mcfg" file determines the entity the devices will be connected to:
•Accessing/downloading the "*.mcfg" in the "Devices" page means the devices will be associated to the "Unassigned" device group.
•Accessing/downloading the "*.mcfg" from a device groups's "Device Group Details" page, results in a connection to that device group and the adopting of its settings (if the file contains staging information).
1. Depending on your target device group, access one of the following in the Site Dashboard's "Control Panel":
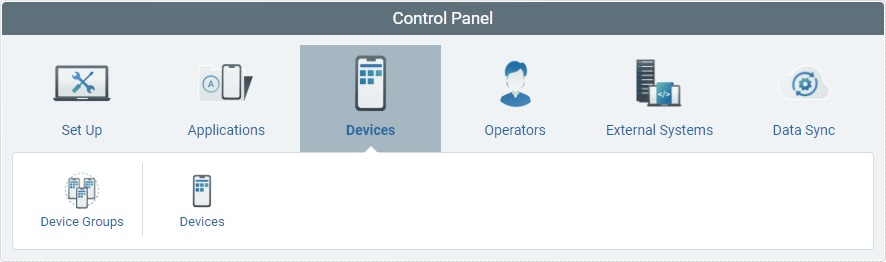
▪File Pairing/Staging onto a Specific Device Group:
a. Click 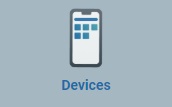 and, then, select
 ![]() to access the "Device Groups" page.
to access the "Device Groups" page.
b. Click the name of the intended device group, displayed in light blue, to open the corresponding details page.
c. Proceed to step 2.
▪File Pairing/Staging onto the "Unassigned" Device Group:
a. Click and, then, select the 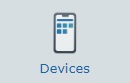 sub-module to access the "Devices" page.
b. Proceed to step 2.
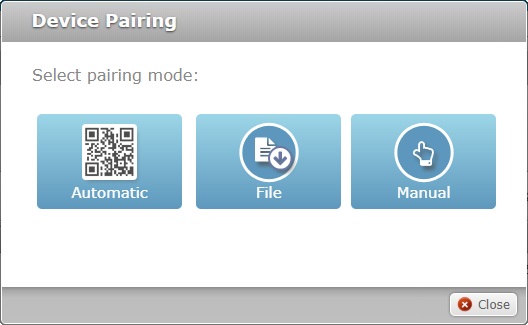
2. Click ![]() to open the pop-up window.
to open the pop-up window.
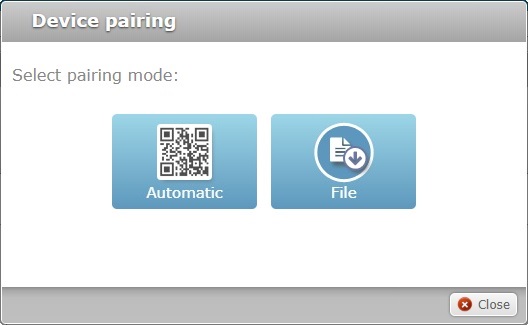
![]()
If you accessed this pop-up window, via the "Devices" page, it will provide another option - "Manual" - ignore it because it relates to another pairing method - see Manual Pairing/Staging.
3. Click ![]() to download the "*.mcfg" file with the current Staging Code.
to download the "*.mcfg" file with the current Staging Code.
![]()
If the ![]() option is inactive, it means that there is no active QR code available for this device group (ex: The QR code for the device group was revoked and NOT generated again).
option is inactive, it means that there is no active QR code available for this device group (ex: The QR code for the device group was revoked and NOT generated again).
Select ![]() instead, create a new Staging Code (see Generating a New Staging Code) and, then, repeat steps 1, 2, 3 described here.
instead, create a new Staging Code (see Generating a New Staging Code) and, then, repeat steps 1, 2, 3 described here.
4. Save the "*.mcfg" to your PC.
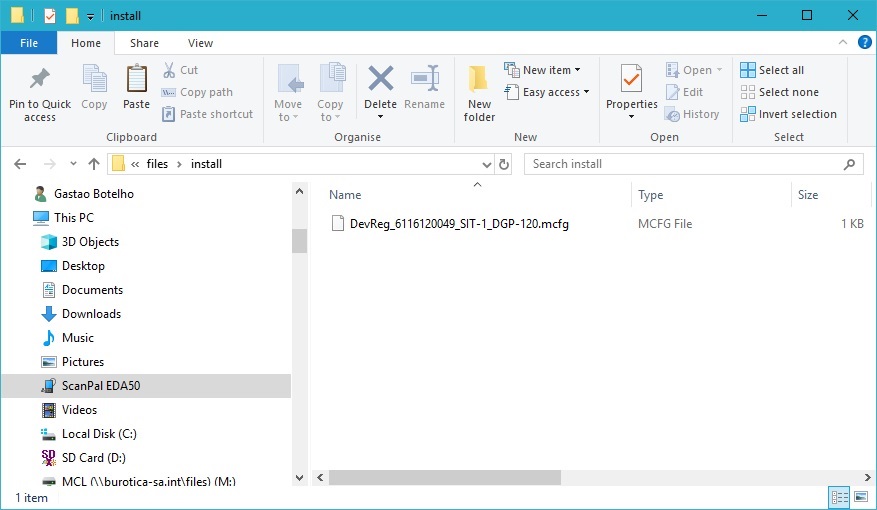
The details referenced in the downloaded file's name provide information on the destination for the devices:
Ex: "DevReg_6116120049_SIT-1.mcfg" (DevReg_<account number>_<site reference>.mcfg") - there is no discriminated device group, so the devices will be paired with the "Unassigned" device group.
Ex: "DevReg_6116120049_SIT-1_DGP-120.mcfg" (DevReg_<account number>_<site reference>_<device group reference>.mcfg") - not only does it refer the account and site it, also, mentions the device group that the devices will be associated to.
5. Click ![]() to close the pop-up window.
to close the pop-up window.
The next steps are performed in the devices you want to pair.
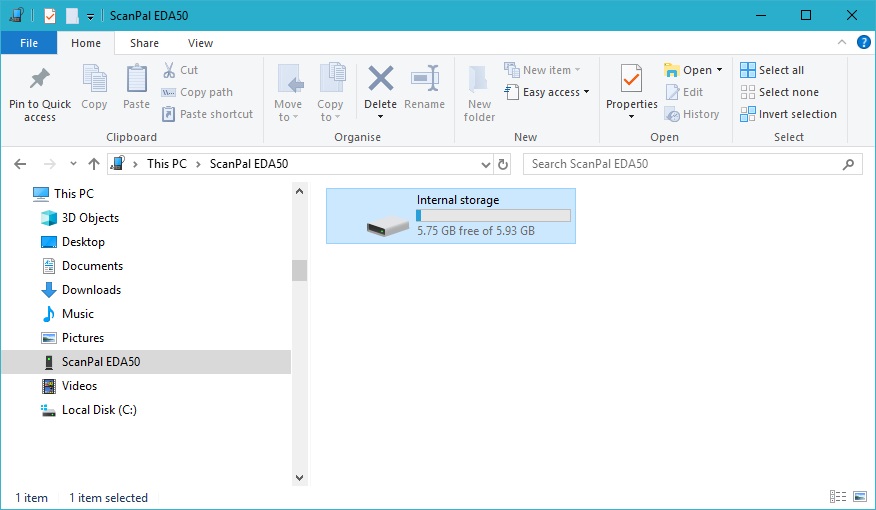
6. Connect your Android device to your PC, via USB, and wait for it to be detected (ex: Honeywell ScanPal EDA 50).
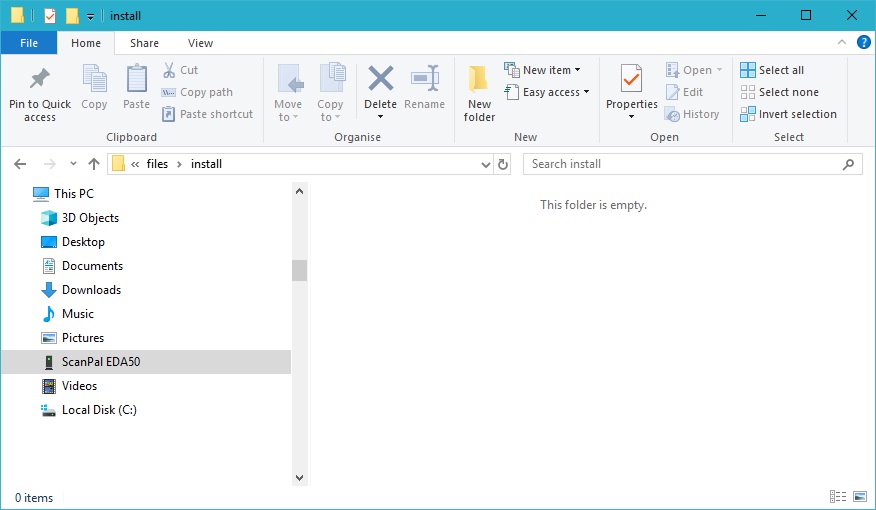
7. Use the following path to open the folder where you will add the "*.mcfg" file (the "Install" folder):
Ex: Android\data\com.mcltechnologies.android.agent.hsm\files\Install
![]() The path varies according to the device's manufacturer:
The path varies according to the device's manufacturer:
Android\data\com.mcltechnologies.android.agent.<manufacturer code>\files\install
Below are examples of accepted manufacturer codes:
Manufacturer |
Code |
Zebra/Motorola |
mot |
Honeywell |
hsm |
Datalogic |
dtl |
Samsung |
sam |
Panasonic |
pan |
Generic |
generic |
8. Copy/paste the "*.mcfg" file into the "Install" folder.
9. Reboot the device.
10. Connect another device and repeat the open folder/copy/paste/reboot steps described above (steps 6 to 9).
11. Execute the same steps for the remaining devices.
After the reboot, MCL App Desktop is launched and the pairing (and eventual staging) operation is performed automatically.
The devices are included in the intended device group, if you downloaded the "*.mcfg" file from its details page OR they will be associated to the "Unassigned" device group, if the file was downloaded from the "Devices" page.
![]() If the devices have been associated to the "Unassigned" device group and you want to work with them, you MUST remember to:
If the devices have been associated to the "Unassigned" device group and you want to work with them, you MUST remember to:
1. Move the devices into compatible device groups (see Moving a Device).
2. Change each device's status to "Enabled" (see Changing a Device's Status).