WM/CE Manual Pairing
Overview
The Manual Pairing is different for WM/CE and Android devices. This topic describes the manual pairing of a WM/CE device.
Before initiating the pairing, consider the following:
•The compatible MCL-Agent for WM/CE devices MUST to be installed into the device(s) being paired.
•There MUST be an Internet connection via Wifi or via USB, in which case, you MUST use the Windows Mobile Device Center.
•The site SHOULD include a device group that is compatible with the device(s) being paired. Otherwise, the pairing MUST target the "Unassigned" device group - the devices will NOT be ready for use, they will have to be moved onto a compatible device group.
•The devices being paired MUST have their system date up-to-date and their timezone MUST be the same as the one defined in the destination site.
•The pairing operation occurs simultaneously in the device and in the MCL-Mobility Platform account.
Step-by-step
1. Make sure the device being paired has a compatible MCL-Agent installed.
If it does not, install it. See Installing MCL-Agent into a Windows Mobile Device.
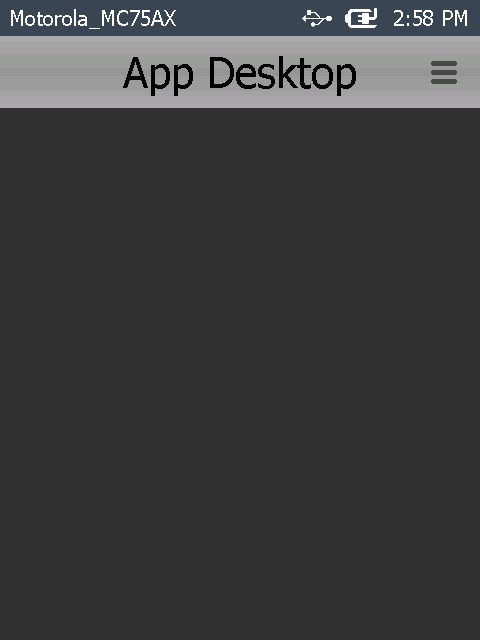
MCL App Desktop should launch automatically, once the device has MCL-Agent installed and running, in which case, continue to step 3.
If it does NOT, proceed to step 2 to launch it manually:
2. Launch MCL App Desktop by clicking ![]() ..
..
![]() If your device is connected to the Internet by USB (in a cradle), make sure that Windows Mobile Device Center was launched and has recognized your device's connection.
If your device is connected to the Internet by USB (in a cradle), make sure that Windows Mobile Device Center was launched and has recognized your device's connection.
3. Click ![]() (located on the screen's upper right corner) to access the MCL App Desktop menu.
(located on the screen's upper right corner) to access the MCL App Desktop menu.
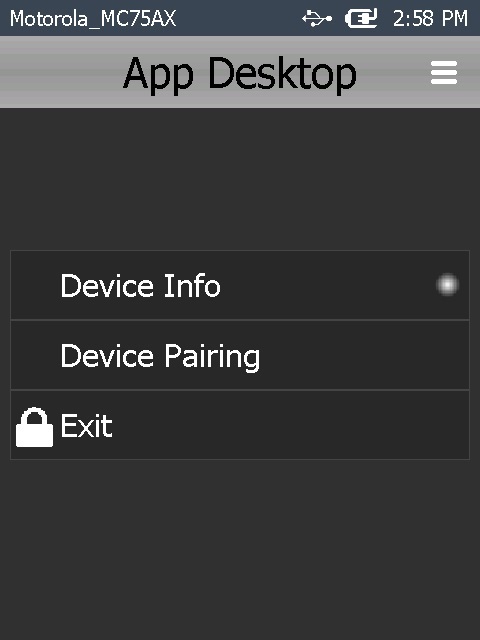
![]() There may be some differences between the MCL App Desktop menu of a Windows Mobile and a Windows CE device.
There may be some differences between the MCL App Desktop menu of a Windows Mobile and a Windows CE device.
4. Click ![]() .
.
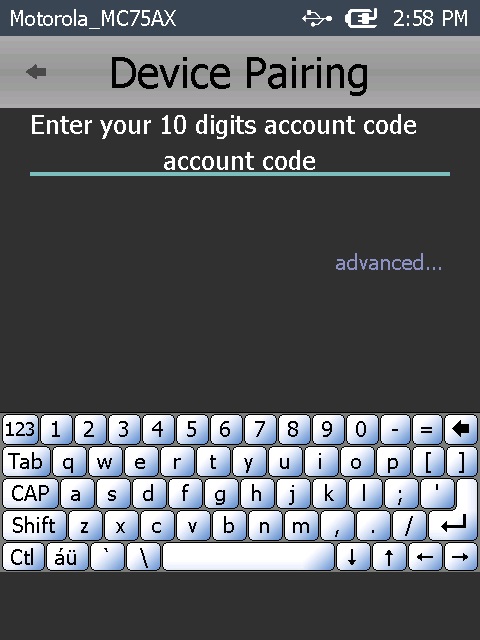
5. Key in the account number that you want to pair the device with. Once you enter the last digit, a ![]() button is enabled.
button is enabled.
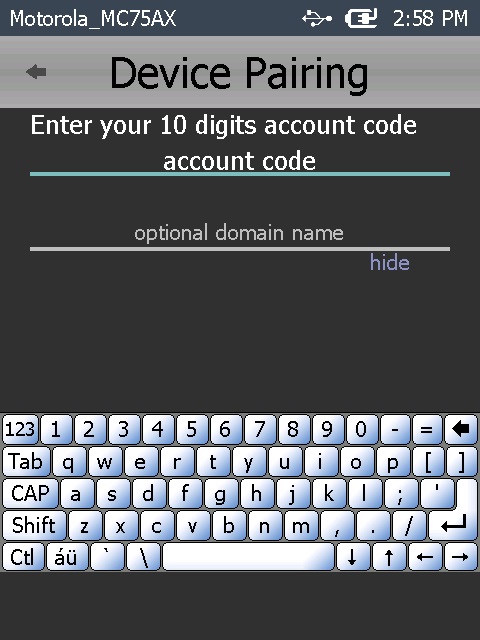
![]() If required, click "advanced..." and enter the used network's domain name in the newly enabled field.
If required, click "advanced..." and enter the used network's domain name in the newly enabled field.
Click "hide" to hide the "domain" related field.
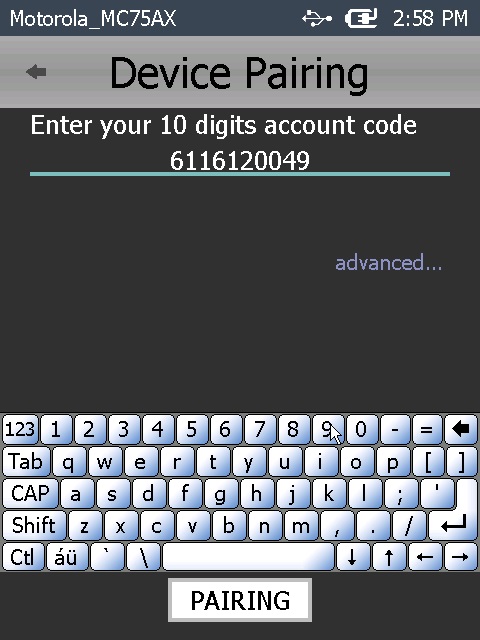
6. Click ![]() .
.
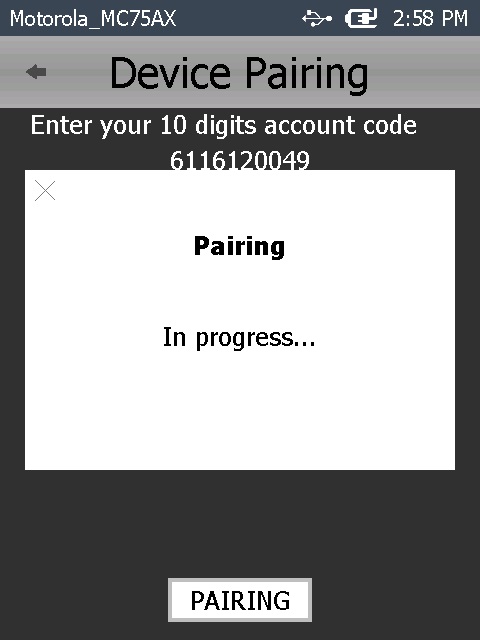
7. Wait a few moments for the device's MCL-Agent to generate an 8 numbers sequence PIN to be entered in your MCL-Mobility Platform account.
If an error message appears, check Possible Error Message(s) to know how to proceed.
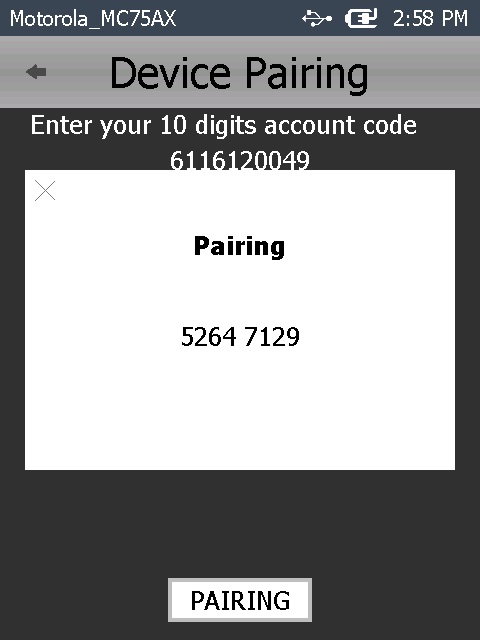
![]() Be aware of the 5 minute time frame you have to conclude the "Pairing" operation after clicking
Be aware of the 5 minute time frame you have to conclude the "Pairing" operation after clicking ![]() .
.
The pairing operation now proceeds to the MCL-Mobility Platform account:
8. In the Site Dashboard's "Control Panel", click  and, in the resulting row below, click the
  sub-module .

This opens the "Devices" page.
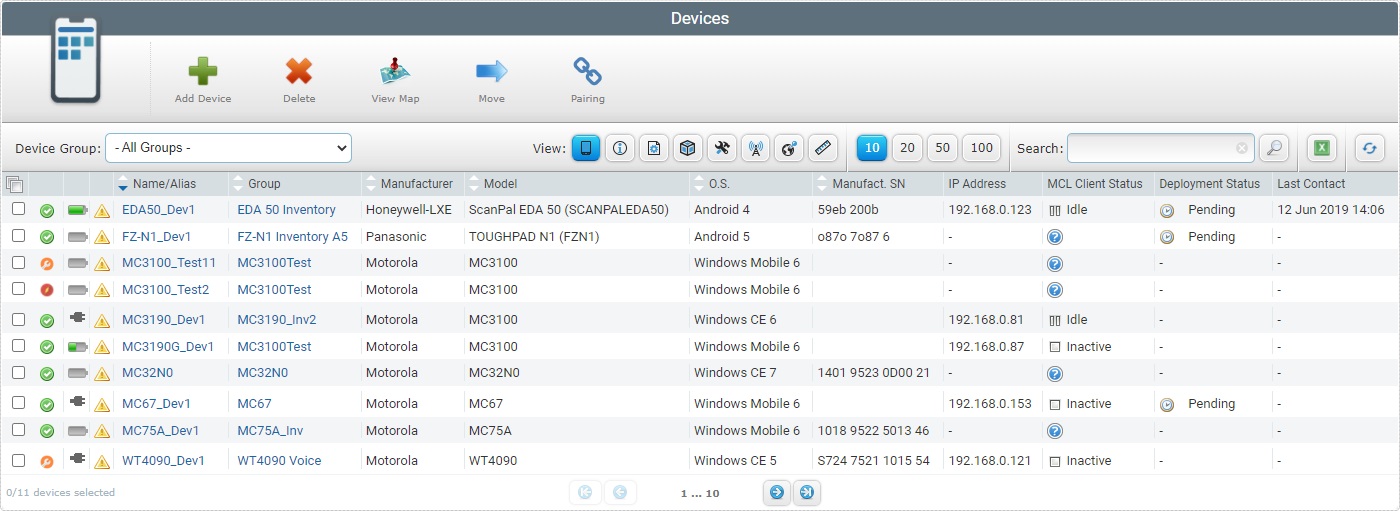
9. Click ![]() and access the "Device Pairing" pop-up window.
and access the "Device Pairing" pop-up window.
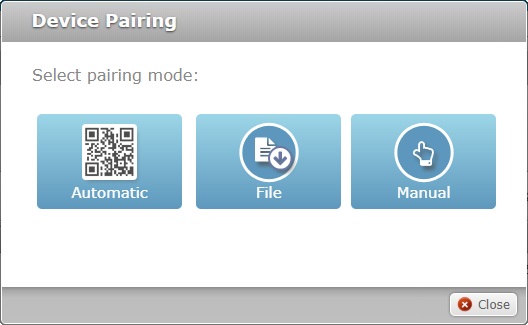
10. Select  to proceed to the Device Pairing wizard.
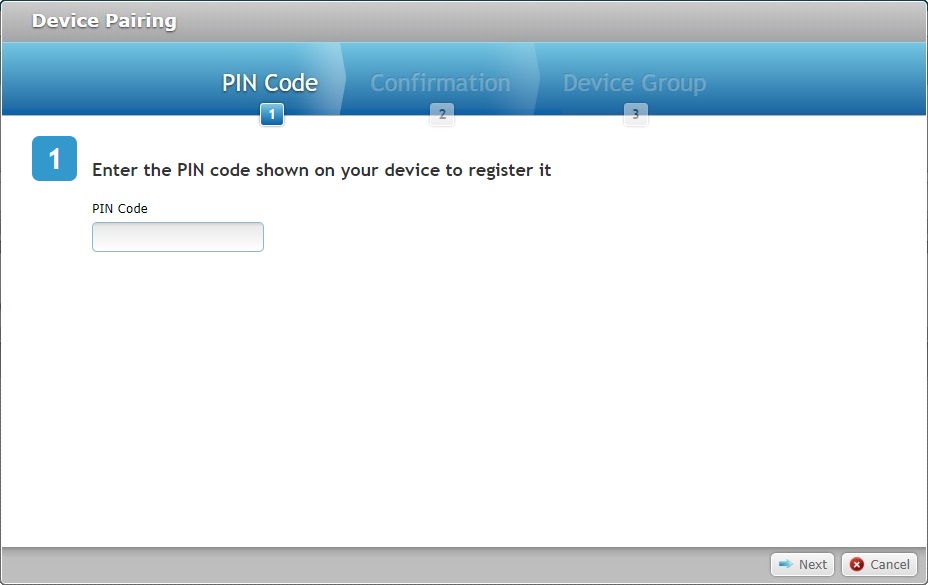
11. Enter the PIN code (8 numbers) provided by the device's MCL-Agent.
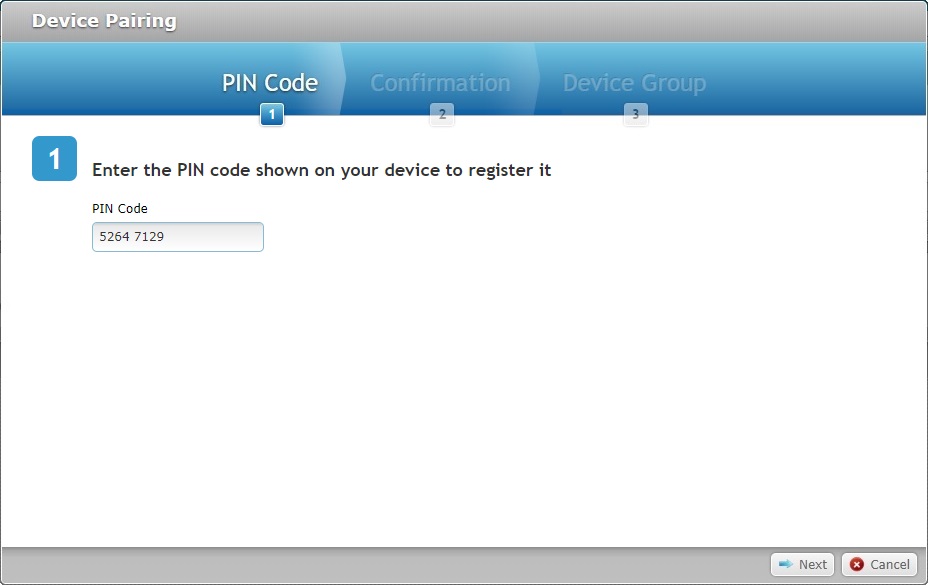
12. Click ![]() .
.
If an error message appears, check Possible Error Message(s) to know how to proceed.
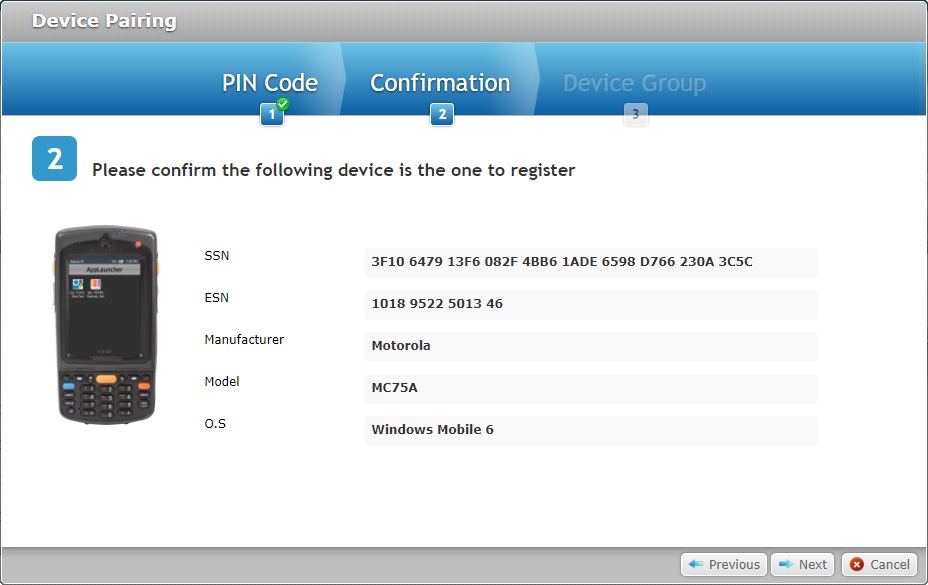
13. Check the information about the device being paired.
SSN |
The device's software serial number. |
|---|---|
ESN |
The device's manufacturer serial number. |
Manufacturer |
The device's manufacturer. |
Model |
The device's model. |
O.S. |
The device's Operating System. |
14. Click ![]() to proceed.
to proceed.
If you want to return to the previous window and restart, click ![]() .
.
If you want to abort the operation, click ![]() .
.
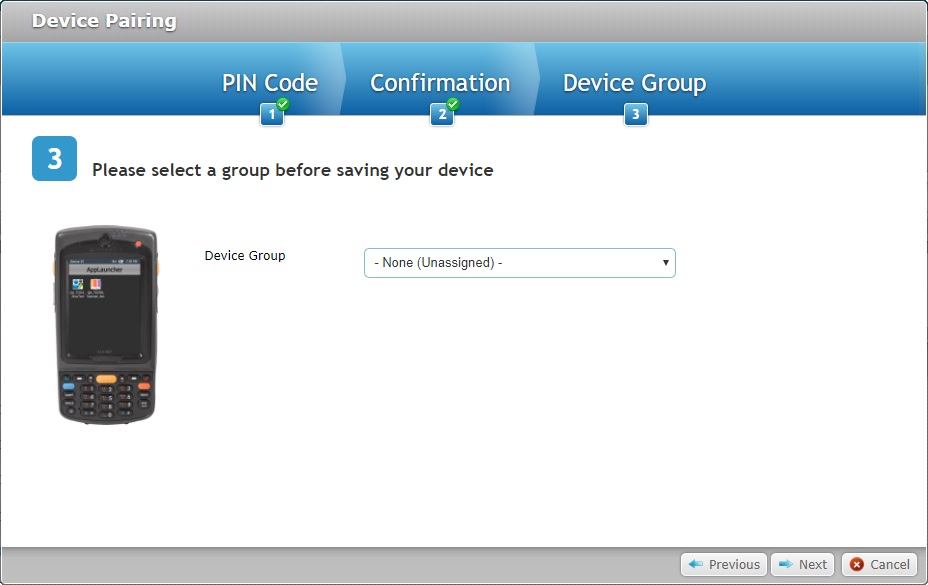
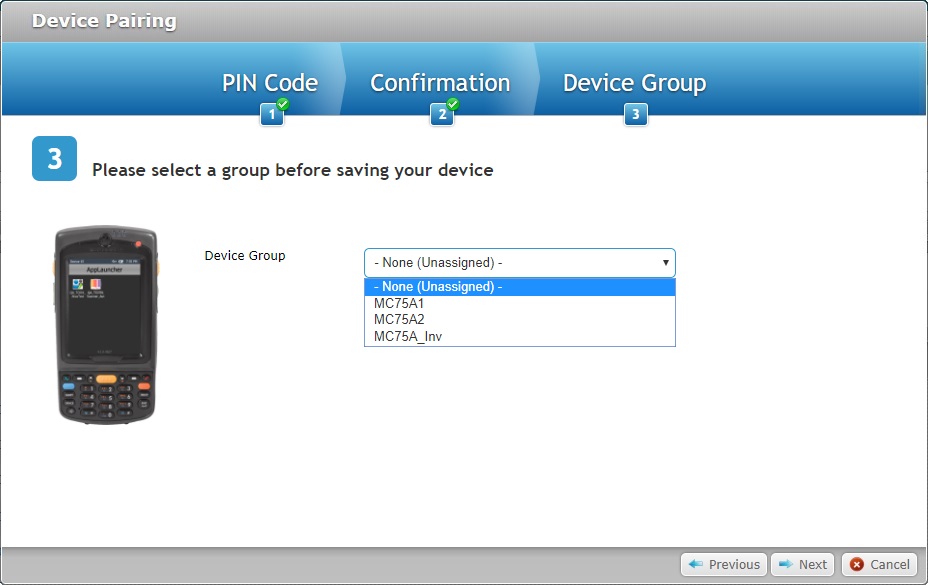
15. Select the appropriate device group. The drop-down only provides device groups that are compatible with the device's device model.
If you select "-None (Unassigned)-", the device will have a "spare" status after it is paired. You will not be able to work with it. You must move the device to a compatible device group (see Moving a Device) and enable the device's status -see Changing a Device's Status.
16. Click ![]() to conclude the pairing operation in MCL-Mobility Platform.
to conclude the pairing operation in MCL-Mobility Platform.
If you want to return to the previous window, click ![]() .
.
If you want to abort the operation, click ![]() .
.
Once you click ![]() , the corresponding "Device Details" page opens.
, the corresponding "Device Details" page opens.
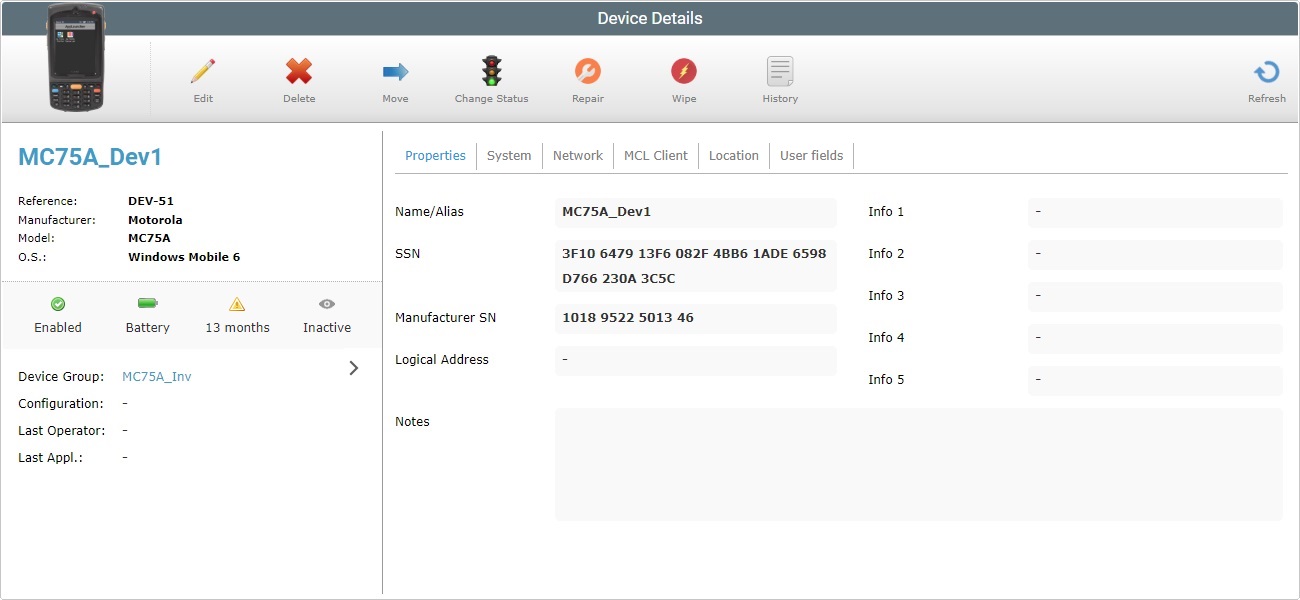
![]() We recommend you rename the device according to your site's structure/organization.
We recommend you rename the device according to your site's structure/organization.
By default, the account suggests a name based on the previously paired/added device’s name with an added increment.
For instance, if the name of the device that was paired/added last is “Dev-123”, the suggestion for the next device is “Dev-124” – the increment is based on the last character, which is numeric. If, however, the last character is an alpha character, the suggested device name will include a dash and an incremented number (ex: The name “Device_HH” in the previous pairing will have the account suggest “Device_HH-1” for the next device to be paired).
![]()
If you pair a device that has already been connected to the account and, then, disconnected without removing the corresponding entry (meaning, you "unpaired" a device and left its entry in the site's device list), the device is identified and automatically adopts its former name/alias. The device also adopts its previous status (ex: If the device had an "enabled" status before the unpairing, it will resume that "enabled" status once the "pairing" is concluded).
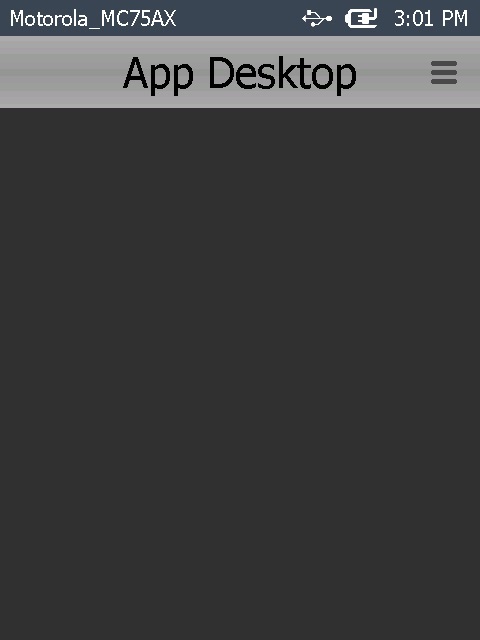
The pairing is concluded. The device displays MCL App Desktop.
In MCL-Mobility Platform:
![]()
![]()
Occurrence: After entering the PIN code and clicking ![]() .
.
Cause: The entered PIN code is incorrect.
Action: Make sure the PIN code is correct, enter it in the appropriate field and click ![]() .
.
In the Device:
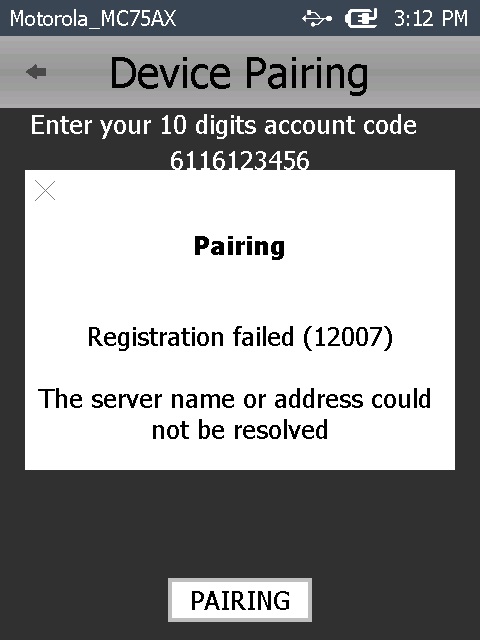
Occurrence: After clicking ![]() in the device.
in the device.
Cause: Wrong Account number.
Action: Click ![]() to return to MCL App Desktop and repeat procedure from step 3.
to return to MCL App Desktop and repeat procedure from step 3.